Transcripts
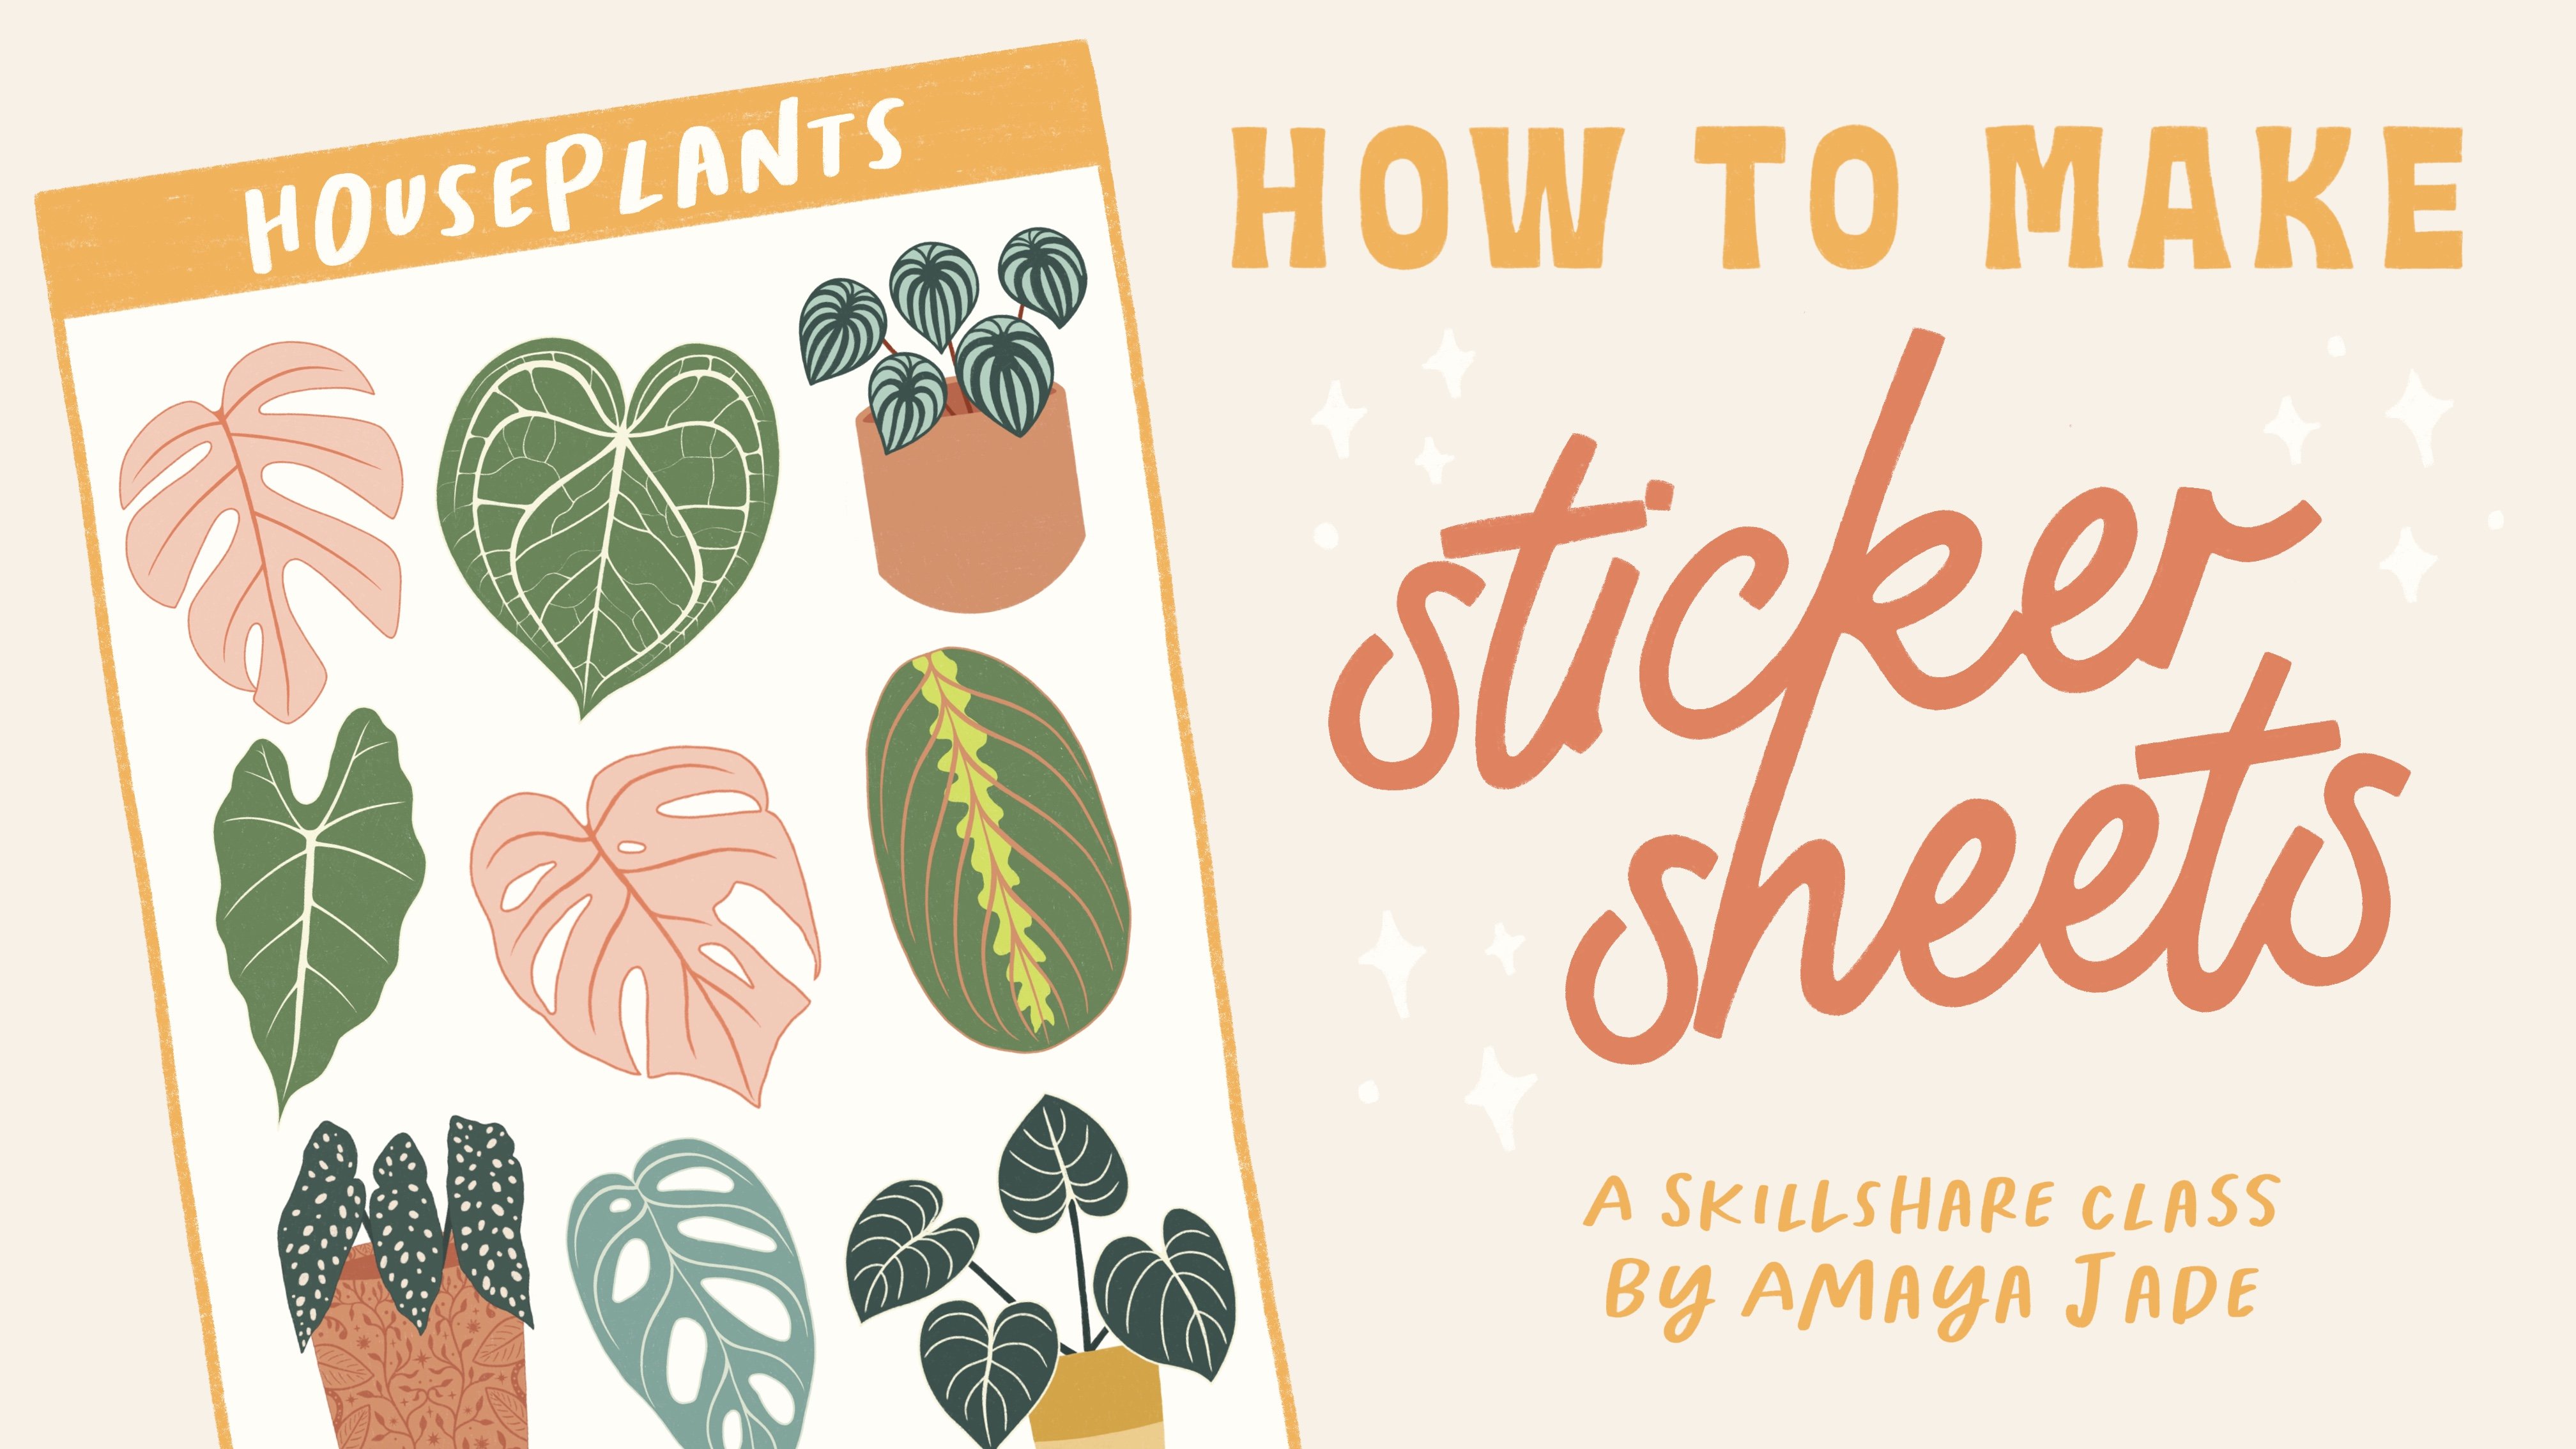
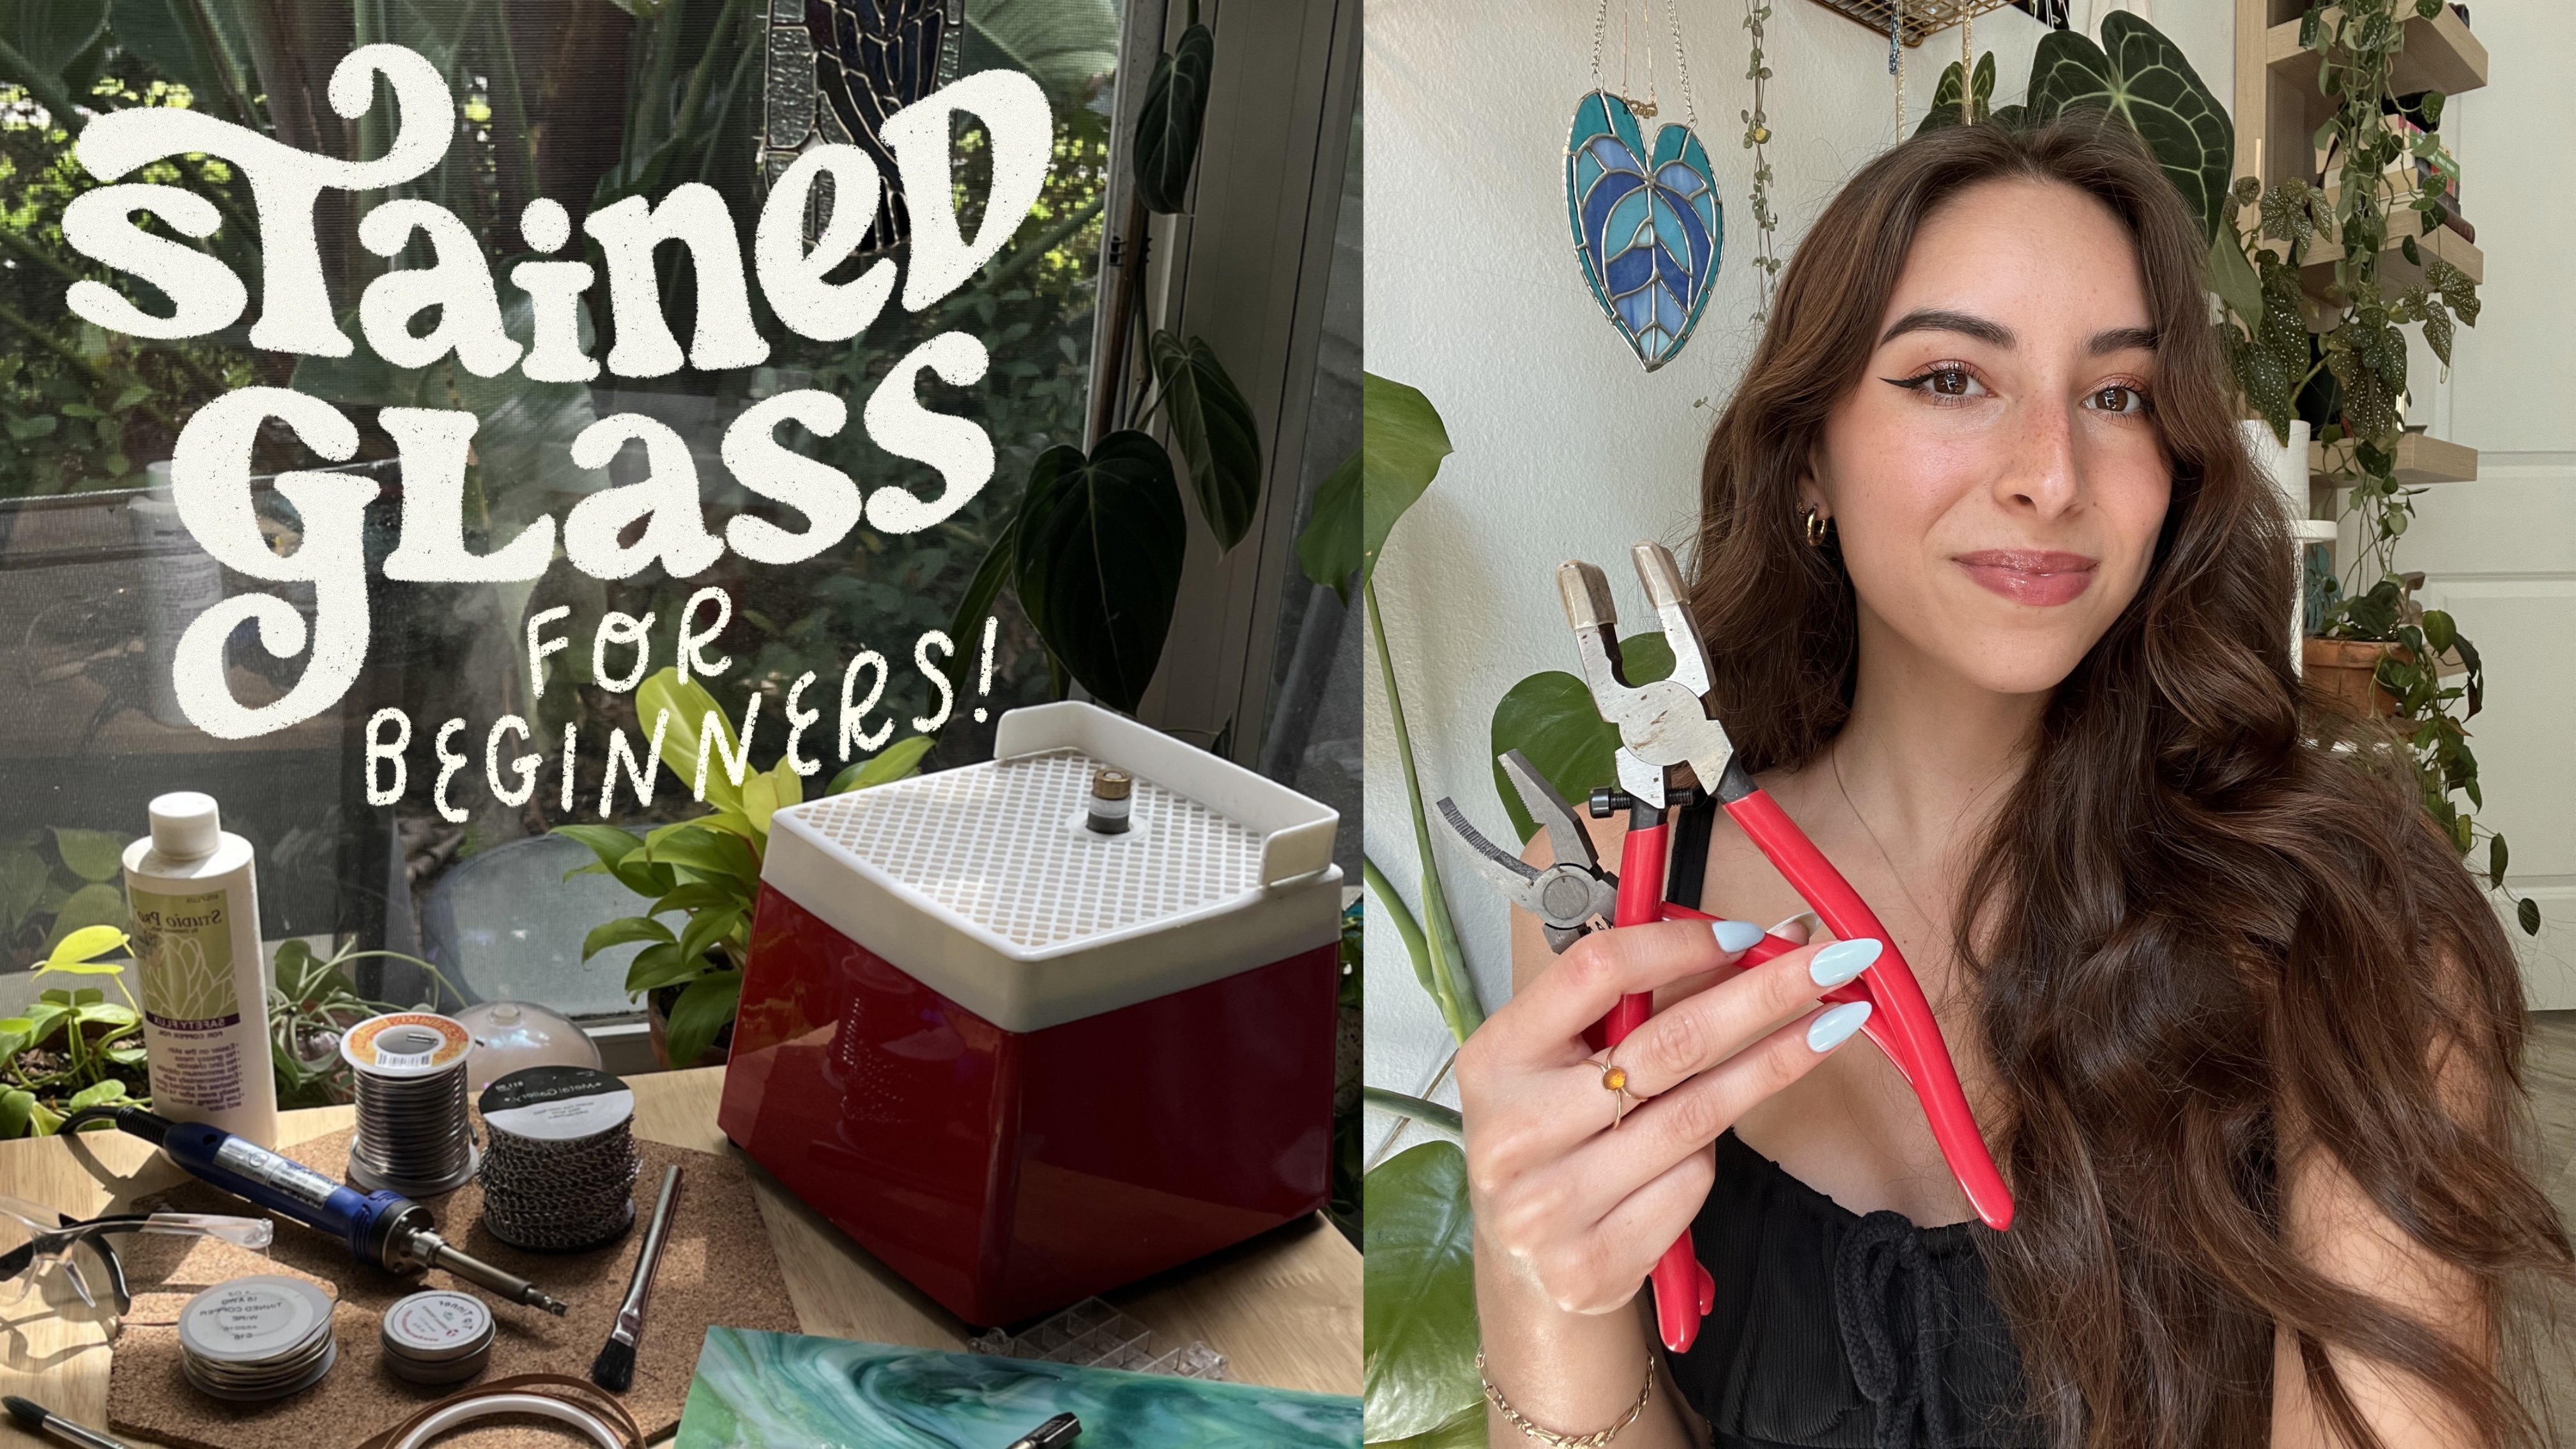
1. Introduction: Hi. My name is Amaya, and I'm an artist
and video creator. In this class, I will
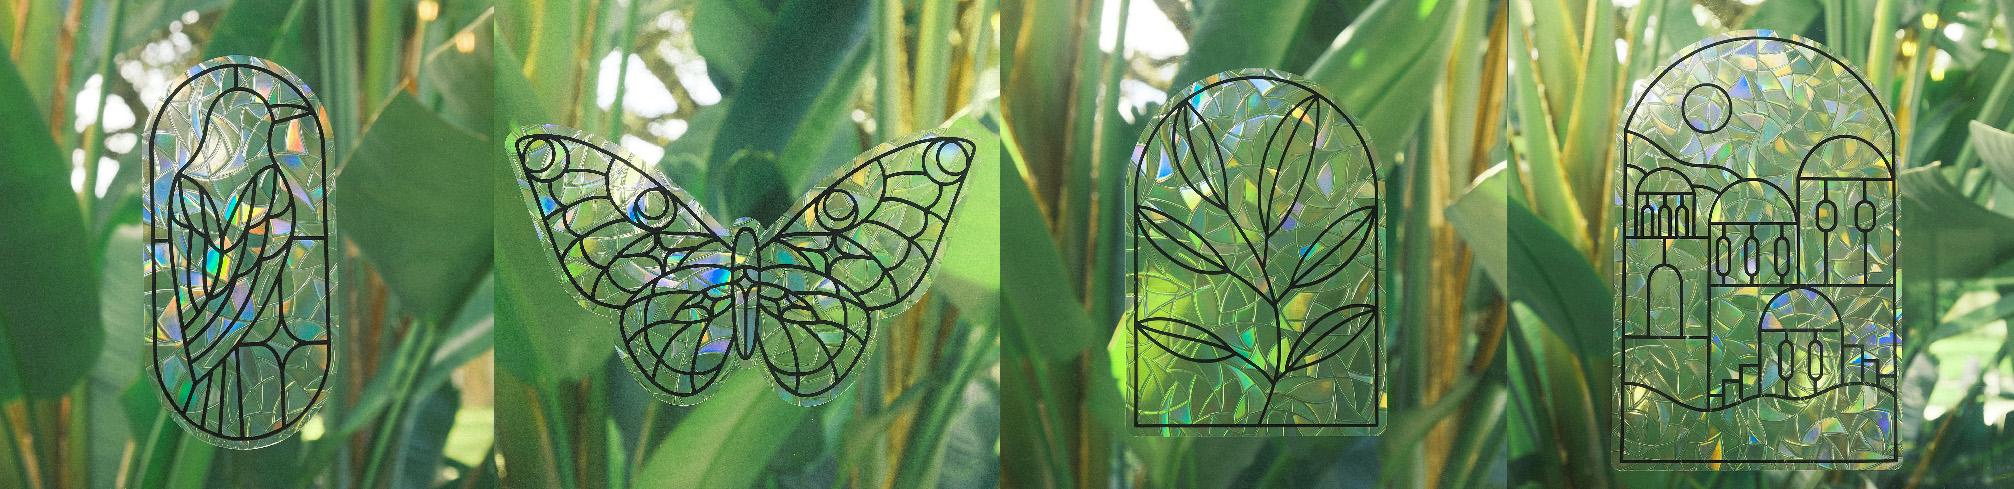
be showing you how to make these Sun
cuter window clings. I will share my process of creating the linework
in Procreate, setting up the CUT
files in Photoshop. Keep in mind, you can use your preferred programs
if you aren't using the same ones as me and cutting everything out
using a cricket machine. You can choose to make a
design of your own or use the template provided
so you can get started as soon as
you join the class.
2. Setting up the design: We'll start by creating
and setting up the design. If you'd like to make
your own design, this is my process
within Procreate. The Canvas size depends on what size you want
the cling to be. The design that I'm drawing
is approximately five by 8 ", so that is the
size of my canvas. I use the round
brush and increase the streamline and stabilization
for smooth line work. I keep the brush size around 5%. So here I'm tracing over a
design that I already had. The line work just
needed to be thicker. Oh. Once you have your design drawn, turn off any background
layers and save it as a PNG. I bring the design
into Photoshop. This is where I will
create the files for both the vinyl cut layer
and the outline cut layer. Create a new layer
above your design, create a shape in the corner
and fill it in with black. Copy this shape to each corner, and these are going to
be our sizing marks. You need these to prevent the cricket design space from resizing the canvas
automatically. If you don't add these,
the cricket will basically crop it right
up to the linework, and that's what
we want to avoid. Make sure you turn
off the background and save it as a PNG. This is our vinyl cut layer, and now we need to create
the outline cut layer, which is the window
cling material. Create a new canvas the
same size as the other. In this case, minus five by 8 ". Drag over both your design and the sizing marks
to the new canvas. Select the design layer
and add a stroke. I keep the size at 50 pixels and then use the paintbrush to
fill in the entire shape. So this is going to be the outline cut layer
for the ling material. Go ahead and turn
off the background, save it as a PNG and open
the cricket design space. Go ahead and bring in both files and choose the
single layer option. In the canvas, change the size to the size
of your canvas. Again, minus five by 8 ", so
that's what I'm entering. Oh Once I have them both in here, I'm going to go ahead and
start with the outline layer, so I'm just turning
off the vinyl one. For the outline layer, use the card stock for
intricate cuts option, and I keep the default pressure. That is the cut setting
I have found to be the best for cutting the
window cling material. Once you have that
cut out first, which you'll see in
the next lesson, we will go ahead and cut
the vinyl layer next. And for this one, I use the premium vinyl permanent
glossy cut setting, but choose the one based on
the vinyl that you're using. I set the pressure to less because I was using a
new blade at the time, but normally I just use default, and that is the process of creating and setting
up the design. So now we will move
on to the cutting.
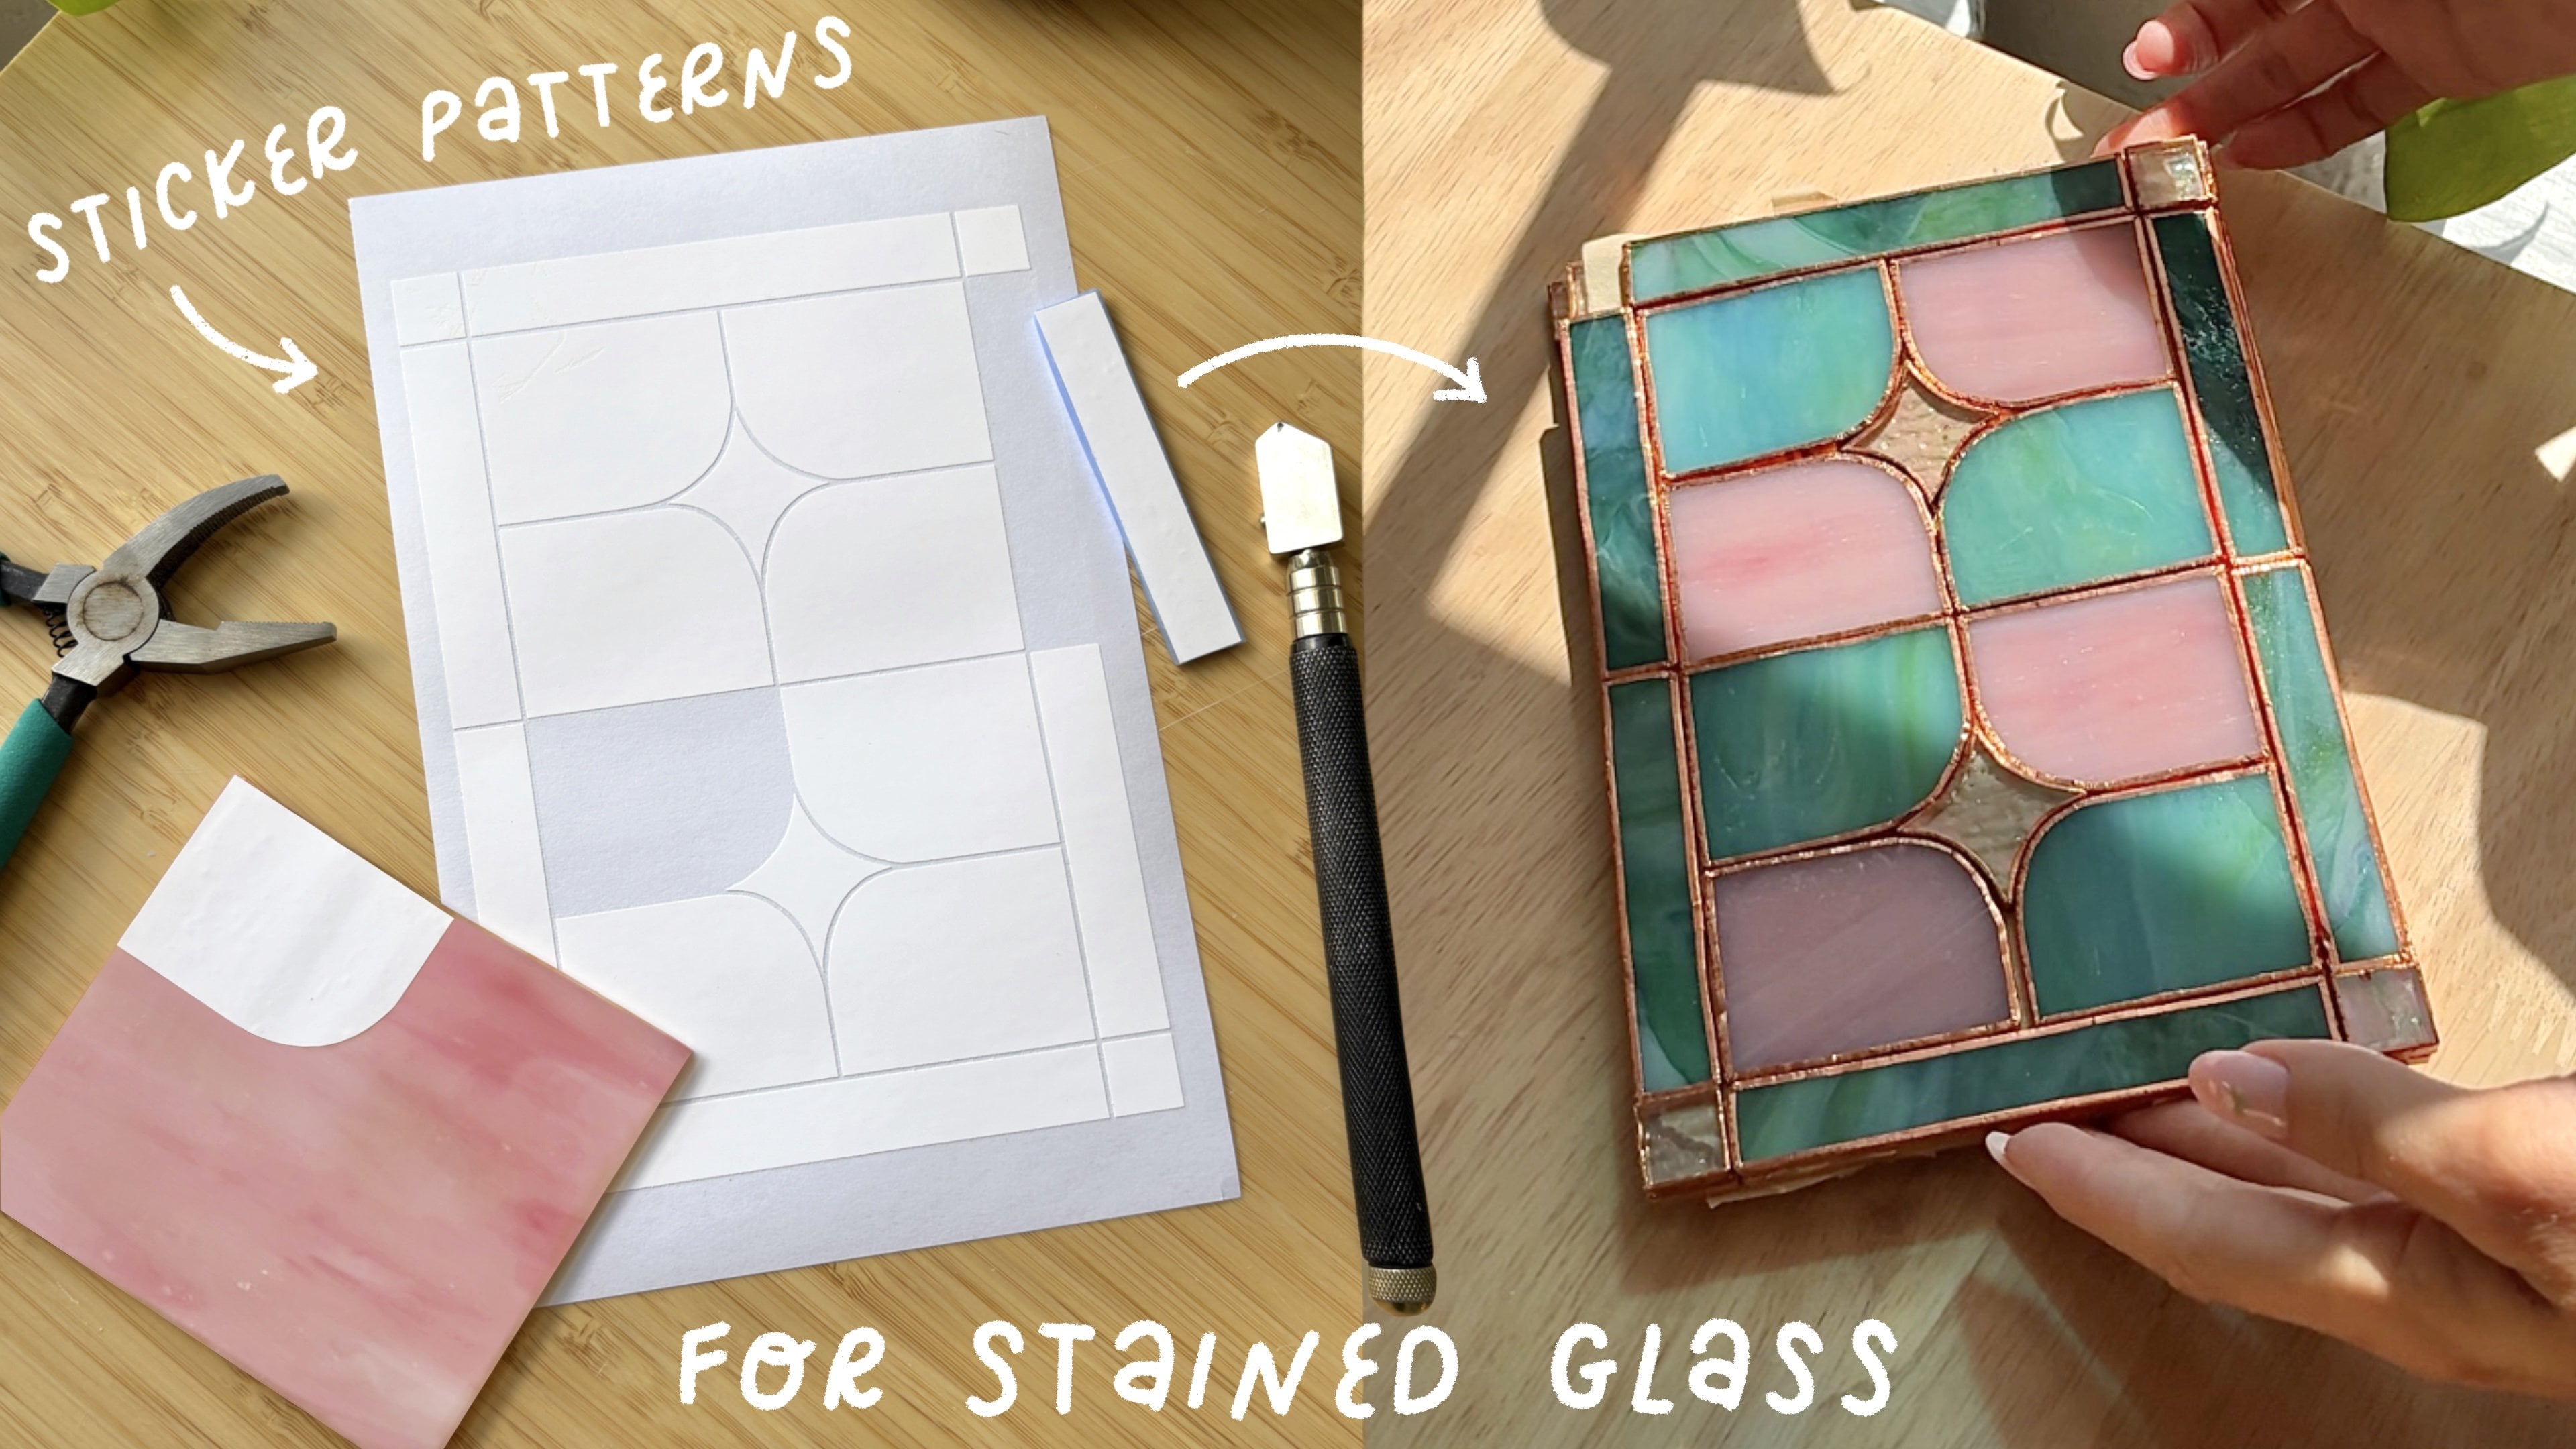
3. Cutting the vinyl: Let's go ahead and
start by cutting out the vinyl window cling
and transfer tape. I cut them based on the
canvas size of the design. So again, this one
is five by 8 ". Let's start with
the outline layer, which is the cling material. Make sure you place it with
the textured side on top. And on the mat, you
can kind of see a square shape where the
cricket cuts the sizing marks, which is about a quarter
inch from the lines. So that's where I
place the material. And again, I am
using the card stock for intricate cut
setting on the cricket. When that's done,
peel everything off. Now we'll cut the vinyl
and make sure to adjust the cut setting for the
specific vinyl that you choose. For the next step, you
will need a weeding tool. You want to remove all
of the extra vinyl, leaving only the linework. I also cut off the
extra vinyl at the end to save for making
smaller window clings. So now you should be left
with just your design. We're going to peel
off the backing paper of the transfer tape,
and if you can, it helps to line
up the lines with the lines in your design to make the process a little easier. Use a scraper tool to make sure all of the vinyl is
adhered to the tape. And then peel off the tape and the vinyl should
come off with it. Take the ling outline
and place it back onto the mat with the
textured side on top. I'm making sure to line
it up with the line in the center so that I can
line up the vinyl easier. Just make sure to look
at all the edges to try and get it as even
around as possible. And then slowly, you can place the vinyl
down onto the ling. Use the scraper again to really make sure that the vinyl
is adhered to the cling, and it's easier to peel off the transfer tape first and then remove the
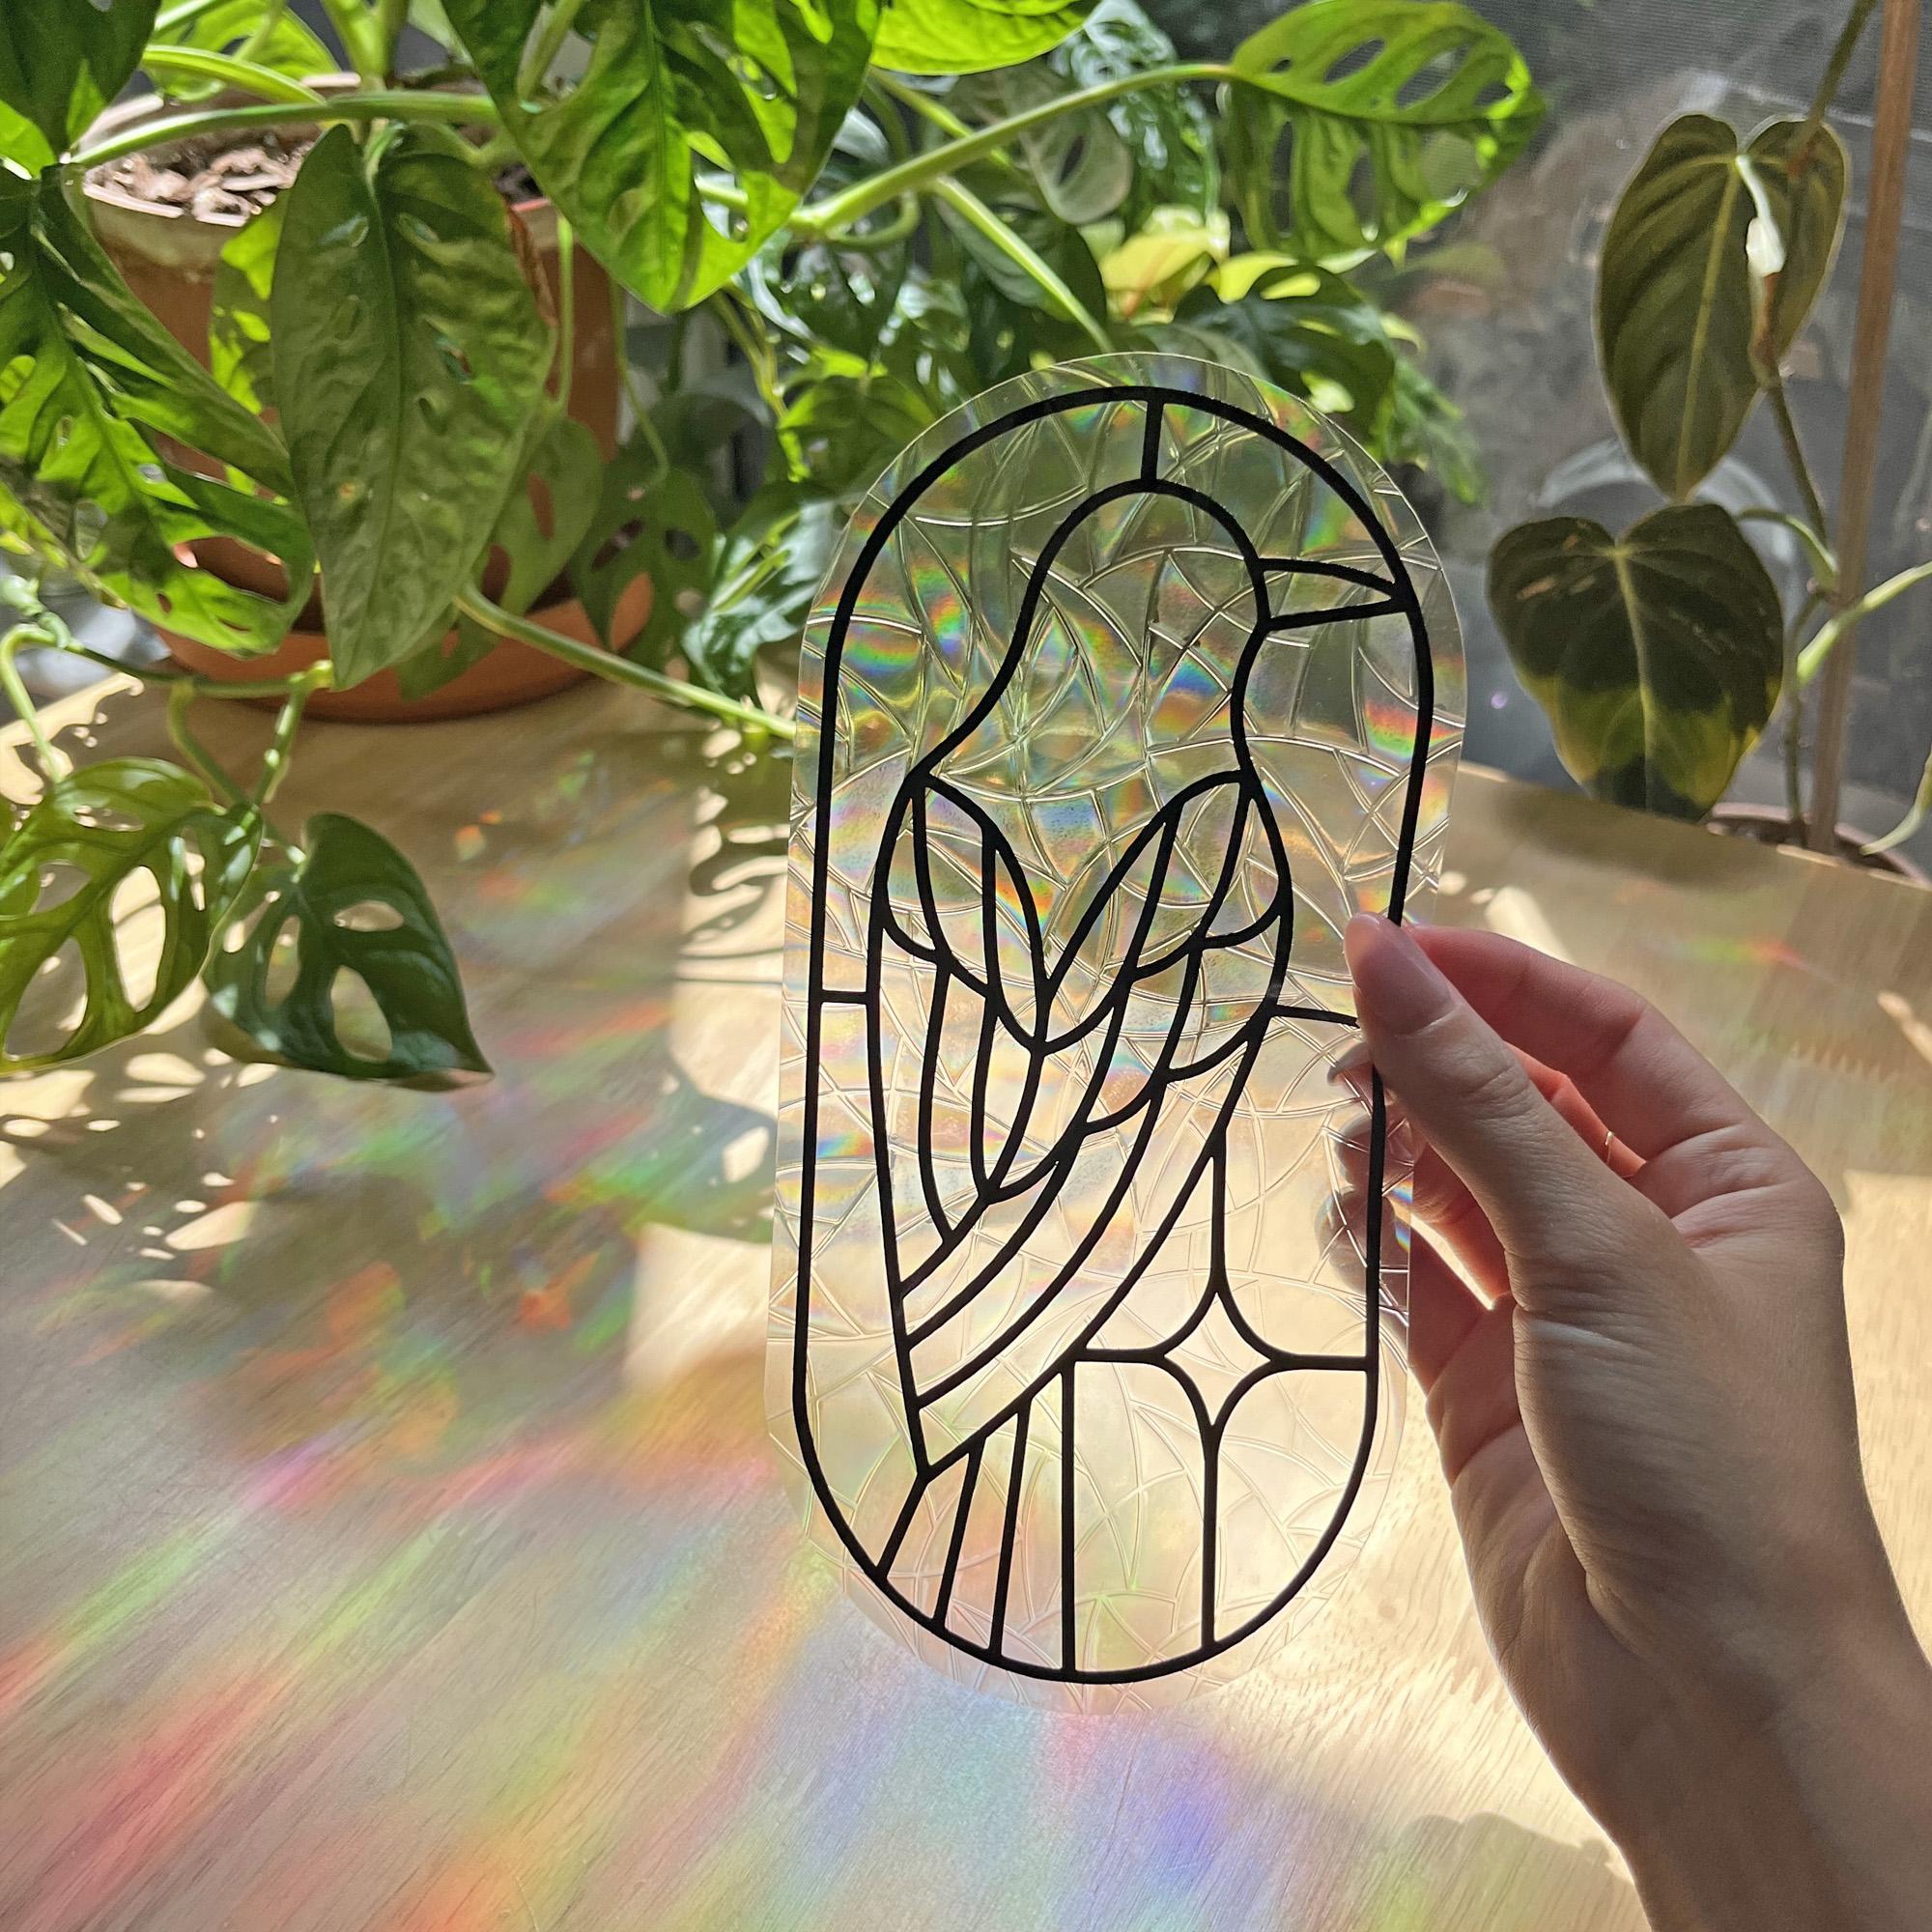
cling from the mat. And here is the finished
window cling suncatcher.
4. Applying the cling: Here's how to apply the cling. Before using it, make sure to remove the plastic
backing on the ling. Clean an area of
your window that gets direct sun
for best results, and the cling should
adhere nicely. You can also spray
some water onto the window beforehand
if it's not staying. And if the cling ever
starts to peel off, you can wash it with a little
bit of soap and water, and it will work like new. And because these don't
have any sticky adhesion, there's no glue, you can remove and reapply
whenever you need.
5. Project: Now that we've gone
over all the steps to create a window
cling suncatcher, it's time for your project. You can either create a cling of your own design or use the
template I provided for you. The PNG files can be found under the Projects
and Resources tab. They are ready to cut, so just import them into the
cricket design space, and when you get to the Canvas, enter four by 4 "
for the Canvas size. Once you've made
your window cling, please share photos of it in the project section
of the class. And as always, if you
have any questions, let me know in the
discussions tab, and thank you for joining.
 Amaya Jade, Artist and Video Creator