Transcripts
1. Welcome: Hi everyone. I'm Deb Merhege. In this class, I'm going
to teach you how to make a quick and simple pattern Improcreate using the
quadrant symmetry option. It's a fun way to make a fast, simple pattern that looks
really cute. Let's get started.
2. Setup: Let's set up our Canvas. I'm going to tap
the plus sign in the upper right corner
and tap on new Canvas. My Canvas width is going
to be 3,000 pixels. My height is also going
to be 3,000 pixels, DPI is going to be 300. Make sure I have
pixels selected. I'm also just going to
check my color profile. I want mine to be set to RGB. But if you were going
to use this for a printer that requires CMYK, you could tap on CMK. But in my case, I'm
going to use RGB. And tap that arrow
and we're done. Next thing we need to
do is we need to turn on drawing assist,
go to the wrench. Let's tap on drawing guide
and edit drawing guide. We're going to go to
symmetry and options, and we're going to
choose quadrant, and we're going to choose
rotational symmetry and assisted drawing. Tap the checkmark and our
Canvas is ready to go. I have provided a
template for you. You can find this in the
project and resources section where you can download it to your device and you
can either save it in your Photos app or you can also save it in your files app. I'm going to tap on the wrench. In my case, I saved
it as a file. I'm going to say insert a file. If you save it to
your Photos app, you tap Insert a photo. I have to scroll down
to where I saved it and tap on the image. It imported it, and I'm
going to tap fit to Canvas just to make sure that it's filling my entire canvas. We want it to fill the canvas rather than be smaller
than the canvas. Next, we are going to change the blend mode
of this template. Tap on the end and
move it to multiply and then turn down the opacities so that we can just
barely see it. What this is going to do is help us when we start drawing, we will still be able
to see our template, but hopefully it won't interfere so much as we're painting. Next, let's add a new layer
so we can begin our painting. Tap on the plus sign,
that'll insert a new layer. I want to drag it down
underneath the template and then as we start drawing
and painting on this layer, our template will
still be visible to us because we selected
the multiply mode. This is the layer that we are
going to start drawing on. The first thing
that we need to do is we need to turn on
that rotational symmetry. If you tap the layer, you can select drawing assist and it'll show up
here as assisted. That means that when
we start drawing, it's going to go in
all four sections. The really fun thing about using this quadrant symmetry is that we only have to
draw a few elements, this whole flower is going
to repeat everywhere else, we're really only
drawing one rather than four and then we have
to fill in the centers. Next, we need to decide what
brush we'd like to use. I went through
Procreate's new library of brushes and tested
out several new brushes, and the one I came up
with that I really liked was this loyalty brush. Not sure if I'm
saying that right, but it was a really
fun gouache brush. It's very painterly. If I turn up the size, you can see it really
makes some pretty marks, and I thought that
would be really pretty for using to create florals. It's got some transparency, and it shows the brush marks. So that's a really fun brush. I'm going to clear that using my three fingers and doing a little wiggle back and forth, we'll clear your layer.
But just be careful. You don't want to
delete the whole layer if you've got other
things on it. You can find if you want to use the same brush
that I'm using, you can find that under
the Procreate Library. If you're not in the
Procreate library, you can find that by
pinching down and scrolling through your
brushes until you find Procreate Library and then tap on it and bring it up. Then this brush is in
the Guash section. That's what I'm going to be
using for my whole drawing. The next thing you need to do
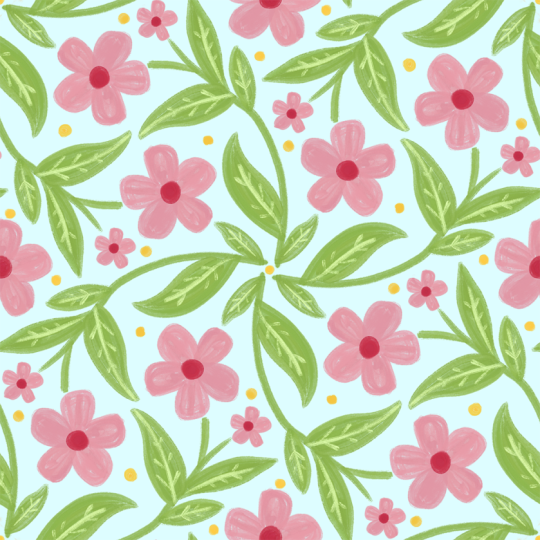
is select a color palette. I'm going to use a color
palette that I created. It has some pinks and some greens and just
a creamy white. I will provide
this color palette for you to download also in the project and
resources section if you want to use
this palette as well. I suggest keeping
it very minimal since this is a small pattern, keep the palette colors minimal. Five, six, at the most
probably would be good.
3. Drawing motifs: All right, let's start drawing. I am going to draw
the foliage first, and I'm going to use
the darker green, and I've got my brush selected, and I'm drawing on
the lower layer and assisted drawing is on, so I'm ready to go. The first thing I'm going to
do is select my brush size, and I think I'm going
to use that size there, which is 5%. Testing it out here. Maybe
even a little bigger. Let's see what 10% looks like. Yeah, I kind of like
that little thicker. All right. So I'm just going to draw a
few strokes to make my stem and then start
drawing the leaves. And with this brush, it's fun to draw
multiple strokes so you really see some of that
painterly texture coming through and you can
see how it's already filling in all the
other sections, so this is going
to be really fast. Sometimes with these
textured brushes, it's a little hard to get a pointy tip if you wanted a
pointy tip on those leaves. So what you can do is
erase with the same brush. I've got my brush selected, and now I'm going to tap and
hold on my eraser brush, and that's going to
set my eraser brush to the same brush. Then I can go in and
just really lightly erase away that tip and it'll keep some
of the texture there, but give me a little
bit of sharper edges. All right. Back to painting. And when you're
doing this, try not to go too far
beyond the template because then things will start overlapping in a strange way. So we want to try
and stay within the template as
much as possible. And this brush has a little
bit of pressure sensitivity. So sometimes you can do thick or thin depending
on the pressure of your pencil thin to thick with little pressure
to heavier pressure. I'm going to undo that with
two finger taps. All right. Our foliage is done
pretty fast, huh? Next, let's do our flowers. I'm going to tap on the plus
sign over here to create a new layer and we always have to remember to
select drawing a cyst. Otherwise, when
we start drawing, it'll just stay in one
corner rather than repeating like it's supposed to around the four quadrants. Next, I'm going to
choose the light pink. And I want to do a
five petal flower. I'm going to give myself
a little guide so I can keep the petals spaced
a little nicely. I'm going to draw a star here. Then from there,
create my petals. This guide helps me space
them out so they look nice. And I'm just doing
multiple strokes. I'm not trying to do too
many strokes because then you won't be
able to see them. They'll fill in and become really solid, and
I don't want that. I want to keep that
painterly look. And then we have
these little ones. These I'm going to do a little
more organically and just kind of do some bubbles. And when I'm painting, I'm trying to because of
the texture of this brush, I am using my strokes
to kind of go in the shape that I am drawing. All right. Now we need to
fill in this center flower, but we don't want to I don't want it to be
in a quadrant symmetry. I don't think it
looks very natural. So I'm going to go to my layer, my pink layer and I'm going
to turn off drawing assist. This will let me paint here and it won't be
repeated four times. Just for this one
flower right now, I'm going to do it without
the drawing assist. Once again, I'm going to
draw my little guide. And then start painting. Okay. And then I'm going to turn on drawing assist so if I
have to come back to it, hopefully I won't
forget to turn that on. That's pretty easy to do. A
4. Add details : Now I'm going to change the
color of my background. I'm going to tap on my layers and select background color, and I'm going to choose
this light green. Then next, I want
to start adding some details to my leaves
and to my flowers. I'm going to go down
to my leaf layer and I'm going to add another
layer on top of it, and I'm going to click
on Drawing Assist, and I'm going to pick
that lighter green color. I'm going to choose a little
bit smaller brush size. This one is 5%. I
think I'm going to use that for the veins in the leafs. It's so much fun seeing it
come together so quickly. That's it for the veins. Let's add some detail
to the flowers. I'm going to go to my
layers and add a new layer above the flowers and
turn on drawing a cyst. I'm going to choose
this creamy color, and I'm just going to add
a center to my flowers. Then I need to add one to the center flower so I
don't need it to repeat. I'm going to turn
off drawing a cyst and drawing that center. I'm going to on drawing assist again just to
leave it at that state. Now what I want to do
with the flowers is add some little lines on the petals. I'm going to go back
to the flower layer and add another
layer above that. Turn on drawing assist
and I want it to be below the whites because it needs to be behind the
little white spots. Next choose this darker pink. And I'm going to go to
the smaller line size, which is 2%. In case you didn't
know, if you want to save a size so that you can stay consistent
within your drawing. Say I was using this size here, all I have to do is
tap the plus sign, and then I can come back
to that very easily, and you can also get rid of that if you
don't want it by just tapping on it and deleting it. I'm going to this small size, and I'm going to start drawing
the lines in the petals. And I'm trying to vary them. All right. And then I'm
going to turn off drawing a cyst so that I can
do the center flower. Turn back on. All right. Now the next
thing I want to do is add some little lines
to these flowers. And I'm just gonna draw
a little little curves. One last thing I'd like to add before we move
on to the next steps is a little bit of white
dots in the middle here, just for some more pop of color. I'm going to go back
to my white layer and I'm just going to draw a few dots just to fill
in some of the empty spaces. Now that we've finished
filling in all of our motifs, we can turn off
our drawing guide. We don't need that anymore. I'm going to just check that
off and I'm going to go ahead and select all
of these by swiping to the right and I'm
going to group them.
5. Make pattern tile : To turn this into a
seamless pattern, we need to duplicate our artwork and then we need to have one of the copies in the center and we need one copy in each
of the four corners. What I'm going to do is I'm
going to take our group. I'm going to duplicate it. And I'm going to turn
off the bottom group. This is going to be a copy
that we can save as a backup. Then this new group
that we've created, I'm going to tap on
it and say flatten. It has created a copy
with everything all on one layer and it does not have the background because the background
is separate. If I turn off the background, you can see that this
is our new layer. So what we want to do is
duplicate this four more times and then
manipulate them to the corners so it will
create a seamless repeat. To do that, we are going to start by picking a
color that is not in our template so that we
can manipulate our canvas. Pick a bright color that
we're not using in here, one that's easily seen. What we're going to
do is on this layer, and we're going to make
sure that it's assisted. We're going to draw a
line in each corner. What that's going to do is when we start
duplicating and moving, it's going to treat this
block as the full canvas. If those lines weren't there, it would just select
this little center part and it would be too hard to
create a repeat using that. We want to use the whole
canvas to manipulate this. Now that we've done that,
we're going to duplicate this layer four more times, and I'm always going to select this bottom layer so that
we can keep the quality. If you start duplicating
the duplicates, the quality can
deteriorate somewhat. I'm always going to
duplicate this bottom layer. I need five copies total. There we go. We
have five copies. Now we need to move one copy
to each of the four corners. I'm going to tap
on this top layer and then tap on my arrow. And I need to make sure that magnetics is turned on and
snapping is turned on. Distance is at max and
velocity is at max. Then I'm going to
move this layer up to the corner and it should
snap and you want to make sure that you see a orange line there and an orange line there. On both directions and then
lift off without moving it. And then we can go
to the next layer. As you can see, it joined up pretty close to
our center motif. Now we're going to do the
same for each corner. Tap on the arrow, slide
this up and make sure you have the vertical and
horizontal orange lines. You can see them
there and there and lift off your pencil without nudging anything. Next layer. I'm going to move to the
bottom and here you can really see the two orange
lines there and then lift off and tap away. Now if you're having trouble
moving these layers, sometimes a good thing to do is to turn off all the
other layers underneath. Then that makes it
easier to move a layer. Sometimes, for some reason, inpcrit can interfere
with the snapping. You can turn off all the layers and then just move it to
where you need to go. There's my cross hairs with
the orange lines, lift off. And tap away. And then I can turn
everything back on. All right. So now
you can see that our pattern is complete. This flower repeats here, and this flower
also repeats here. Same with the leaves.
You can tell that we're getting closer
to a repeat Well, this is a repeating pattern. The next thing we need to do is to remove our orange guidelines. So I'm going to take
the top four layers and I'm going to
pinch them together. I I turn off this lower layer, you can see that this is
just our border we have that orange those orange guidelines left in the middle and
I want to erase them. So just going to do that,
and now they're gone. And then I'm going to
turn this other one on and I'm actually
going to turn off the top layer so that I can also erase the orange
lines on this layer. We don't want to include them in our pattern, so they
need to be gone. They were just for guides
for moving things. We erase them and then we
can turn that back on. Now that we've erased
our guidelines, we can go ahead and merge
those two layers together, pinching them and
merging them together. If that doesn't work for you, you can also go to your
menu by tapping on the layer and you can say
merge down. All right. The next thing we need
to do is there are some gaps that we
need to fill in and it's not easy
to see right here. But if we manipulate
this pattern again, you will see that
there is a little empty space in between these leaves in all
four top and center. We're going to fill that in with just a little tiny dot of white and this is going
to be really easy. What I'm going to
do is duplicate this layer twice or once. We have two layers. All right, so we're going to move
this around so that we can fill in that
little empty space. Tap on your top layer and
then the transform button, and we're going to move
this to the left until we see those orange lines
in both directions. And then the bottom
layer, we're going to move to the right until we see those orange lines both ways. Then I'm going to go
ahead and merge them. As you can see, there's
this little middle space here that doesn't have anything in it and
it's not a big deal. It's very small. I just want to add something to fill
that little space. As you can see, we've
moved the leaves now to this center area rather than that pink flower that
was in the center. What I'm going to do is add another layer on top and I'm going to turn
on drawing assist, no drawing assist because
this is in the center. I'm going to draw just that
little white.in the center. I'm going to use I'm going to turn on the
transform and I'm going to use snapping again
to move it to precise center. I'm just going to move
it around until I see those orange cross hairs
in both directions. Sometimes this is tricky
to do since it's so small. What I'm going to do is I'm going to turn that off
and see if that helps. There you go. You can see
that I got the orange lines. Well, I did. There we go and lift off
your pen without nudging it. It doesn't have to be exact, but I like it being
in the center. Next thing we're going to
do is on this same layer, I'm going to turn on drawing
assist and I'm going to get that orange color that I had before and draw in the corners. The reason we need to do this is we need to make some copies, and then we need to
move that white dot also to the other corners because those are empty as well. I'm going to duplicate
this four times, always duplicating
the bottom layer. And I'm going to move a white
dot to each of the corners. I'm going to pick the top layer and I'm going to move
it to the top left. Wait for those lines and
lift very carefully. Go to move this way. I'm going to take
the next layer and move it down this way. If you ever feel like
you weren't sure if it got exactly
to that corner, you can just tap reset
and do it again. Sometimes when you
lift off your pen, it can nudge it slightly. This is the one
place it's tricky and you really want
to get it perfect. Otherwise, you'll get a gap
and we don't like those gaps. All right. Those are all
moved to the four corners. You can see a tiny piece of it. Now what I want to do is merge those top four layers because
those are the corners, merge that and erase
this center, the orange. So take that away, and then
I'm going to turn that off. Well, I guess I don't need
to, but I'm going to go to this bottom layer and erase
the corners of the orange. Then I can merge those two layers because
our guides are gone, and we have that.in
all four corners. One last thing I'm going to do is I'm going to add
another white dot. There's one little space
there that looks blank to me. I'm going to add
another little.in there and assisted drawing is on. I'm just going to come
in and draw that dot. And if you feel like there's any other little
areas maybe here, you can do that and
it fills it in, and then I think that's good. I think we are done with this.
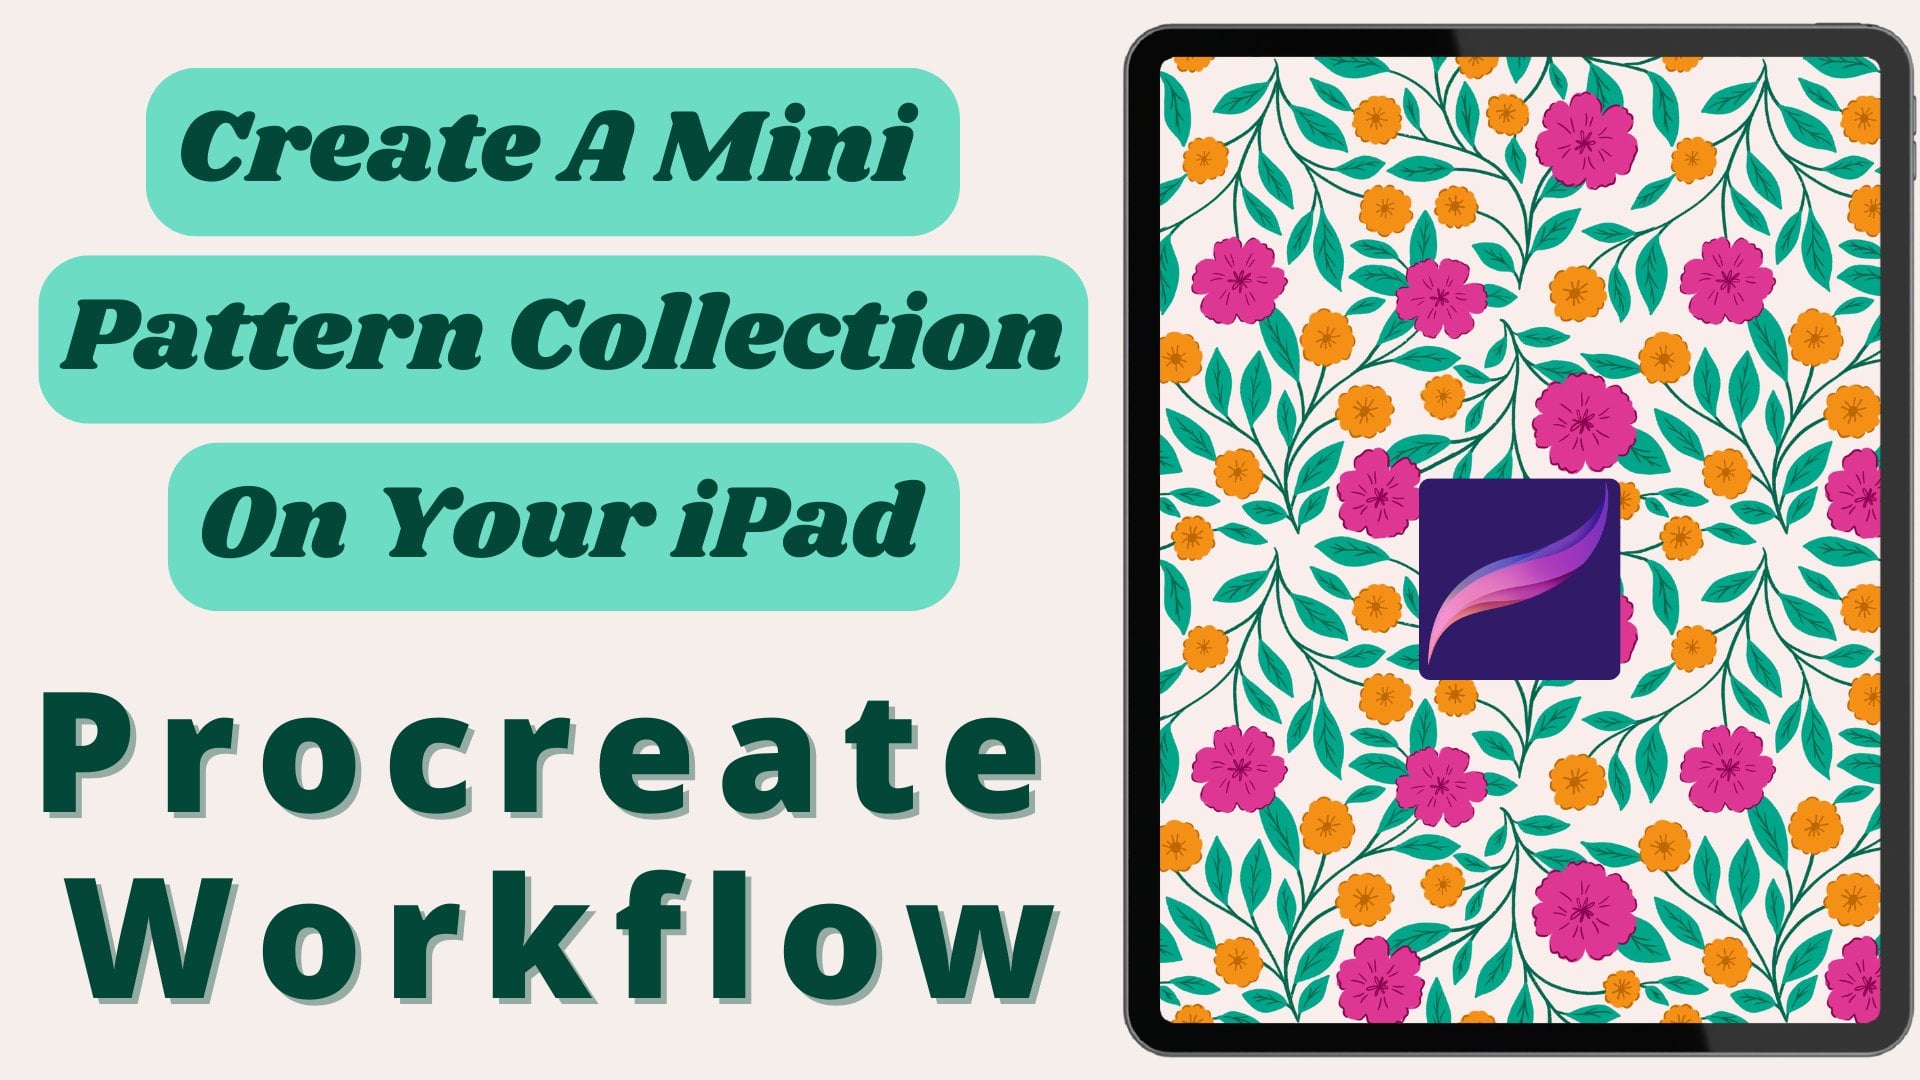
6. Test the repeat: This is our final repeat tile. Everything that we have
on here is set up now to repeat as we start adding more and more tiles.
Let's give it a try. I'm going to use three fingers
and I'm going to swipe on my screen to bring up this menu and I'm
going to say copy all. What that's going
to do is just take a snapshot of this whole
screen on one layer and I'm going to go
to this top layer and I'm going to do that
again three finger swipe and I'm going to say paste. So now it has pasted a copy
of our completed tile. I'm going to go ahead
and turn everything else off except for this. I'm going to duplicate
this and I'm going to turn the bottom one off and now I'm going to
duplicate this one. This is just a test so that
we can see what it looks like when we've added more
tiles to each other. I'm going to
duplicate this twice, and then I'm going to take this corner down here and
I'm going to I'm going to move that dot until it
gets to the center and snaps so that we can see those three or those two orange lines. And then I'm going
to do the same with this one and pull this one up to the other corner until
we get the orange lines. I go to merge them together. I'm going to duplicate it, and I'm going to move it down until we see
the orange lines. And I can duplicate
those, and that gives us an idea of what it's going to look like when it's
repeated more and more. So there we go, and we
can see how it's all connected and how everything
repeats perfectly together. And you can zoom in
and make sure there's no weird mismatched lines,
and it's working great. And there's our
repeated pattern. If you wanted to upload your pattern to a
print-on-demand site like Spoonflower or Redbubble or other sites that
use pattern tiles, this is the one
that you would use. You would download this image to your files or camera roll and
this is your repeat tile, and that's the one
that you would use to upload to those
types of sites.
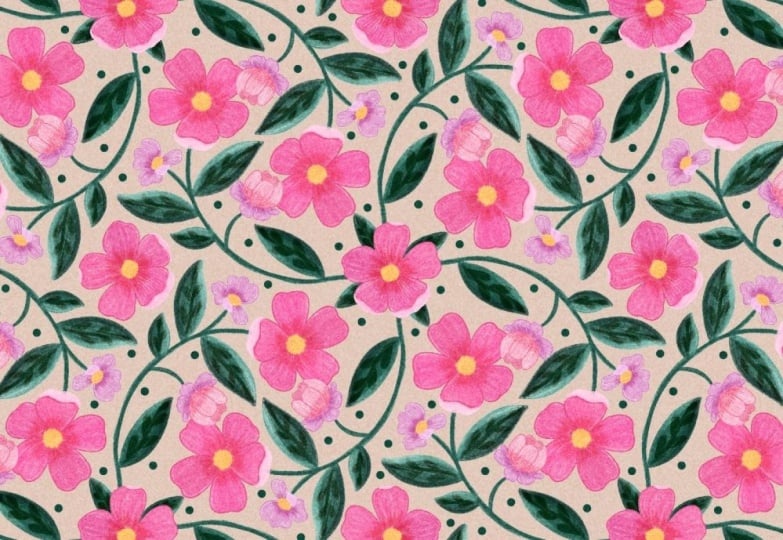
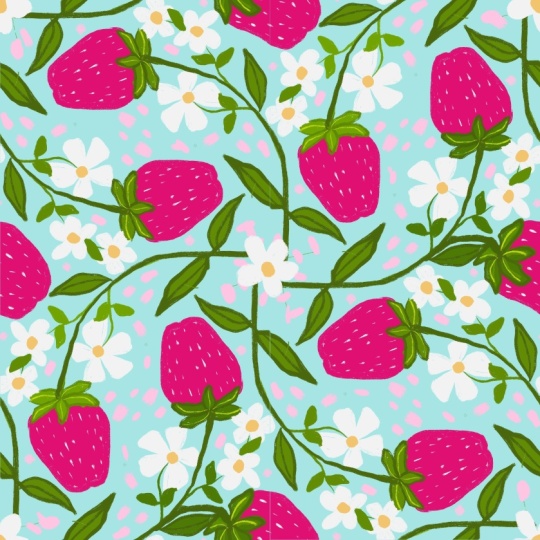
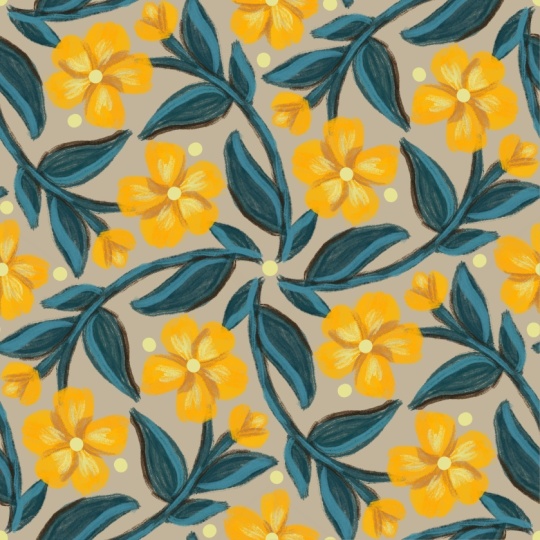
7. More examples and Thank you!: Before we say goodbye, I thought I would show
you some other patterns that I've created using
the same technique. I used the same template here. I just used a different brush and different shape of flowers. I just stayed
within that circle. This one was the Pilon brush in the pencils section of
the Procreate library. This one I did using the same
brush, the loyalty brush. This one I used the abalone brush and made
a fall theme with this one. I use the same template, change the shapes of the leaves, and just use the pumpkins in the circles section
and then added some different type motifs in the center, leaves
floating around. It's a pretty
versatile template. It's very easy and you can use
it in many different ways. Use your imagination. I'd
love to see what you create.
 Debbie Merhege, Artist, Illustrator, Teacher