Make a Large Bow by Hand | Elisa Gabrielli | Skillshare

Playback Speed


1.0x


  • 0.5x
  • 0.75x
  • 1x (Normal)
  • 1.25x
  • 1.5x
  • 1.75x
  • 2x

Watch this class and thousands more

Get unlimited access to every class
Taught by industry leaders & working professionals
Topics include illustration, design, photography, and more

Watch this class and thousands more

Get unlimited access to every class
Taught by industry leaders & working professionals
Topics include illustration, design, photography, and more

Lessons in This Class

    • 1.

      Introduction to making a bow

      1:25

    • 2.

      Step #1 Measure ribbon for Bow

      1:14

    • 3.

      Step 2# Make Loops to form Bow

      2:07

    • 4.

      Last Step & Conclusion

      2:45

  • --
  • Beginner level
  • Intermediate level
  • Advanced level
  • All levels

Community Generated

The level is determined by a majority opinion of students who have reviewed this class. The teacher's recommendation is shown until at least 5 student responses are collected.

56

Students

--

Projects

About This Class

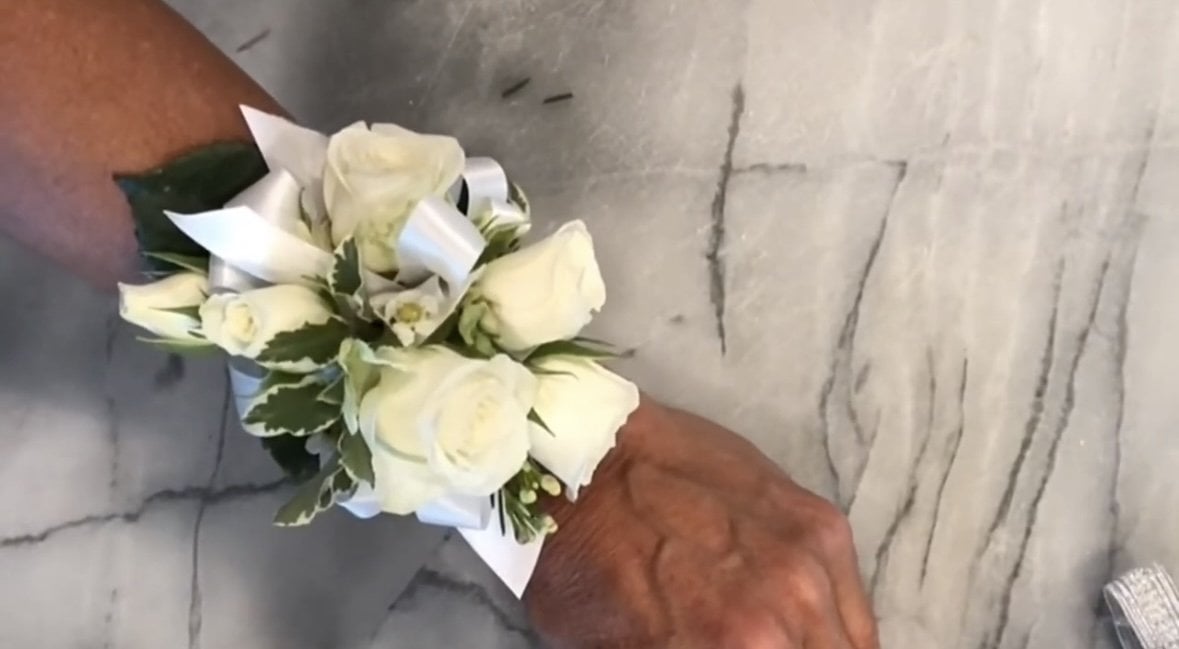
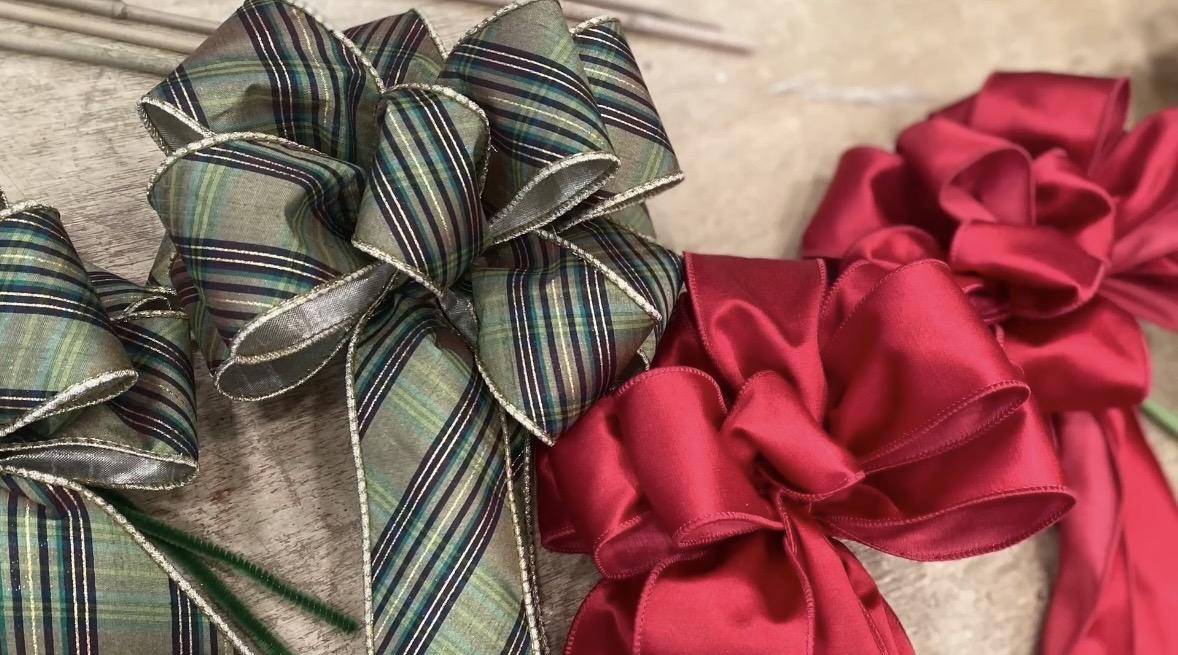
In this class, you’ll learn how to create a large, beautiful hand-tied bow that’s perfect for décor, events, gifts, and floral designs. Whether you’re decorating for the holidays, styling a wreath, elevating a gift, or adding a statement detail to an event, this technique will give you a polished, professional look—without needing special tools or pre-made bows.

I’ll walk you through the process step by step, showing you how to:

  • Choose the right ribbon for large bows

  • Measure and shape full, balanced loops

  • Hand-tie a bow that holds its shape

  • Fluff, adjust, and finish for a clean, high-end result

This class is great for beginners but also helpful for creatives who want to refine their bow-making skills. The method I teach is versatile and can be used for seasonal décor, weddings, floral arrangements, and everyday styling.

By the end of the class, you’ll have the confidence to create large hand-tied bows anytime—customized to your ribbon, project, and style.

Meet Your Teacher

Teacher Profile Image

Elisa Gabrielli

"Create easy to do Art & Floral Designs"

Teacher

Hi, I'm Elisa! I'm a certified, award-winning Floral Designer and Artist with over 20 years of experience creating one-of-a-kind arrangements and art pieces that celebrate beauty, creativity, and connection. My journey began when I was just seven years old, helping in my mother's flower shop, where I fell in love with the artistry of floral design. Since then, I've worked with numerous florists, venues, and clients, specializing in weddings and events where I blend natural elements, flowing designs, and romantic colors to create unforgettable pie

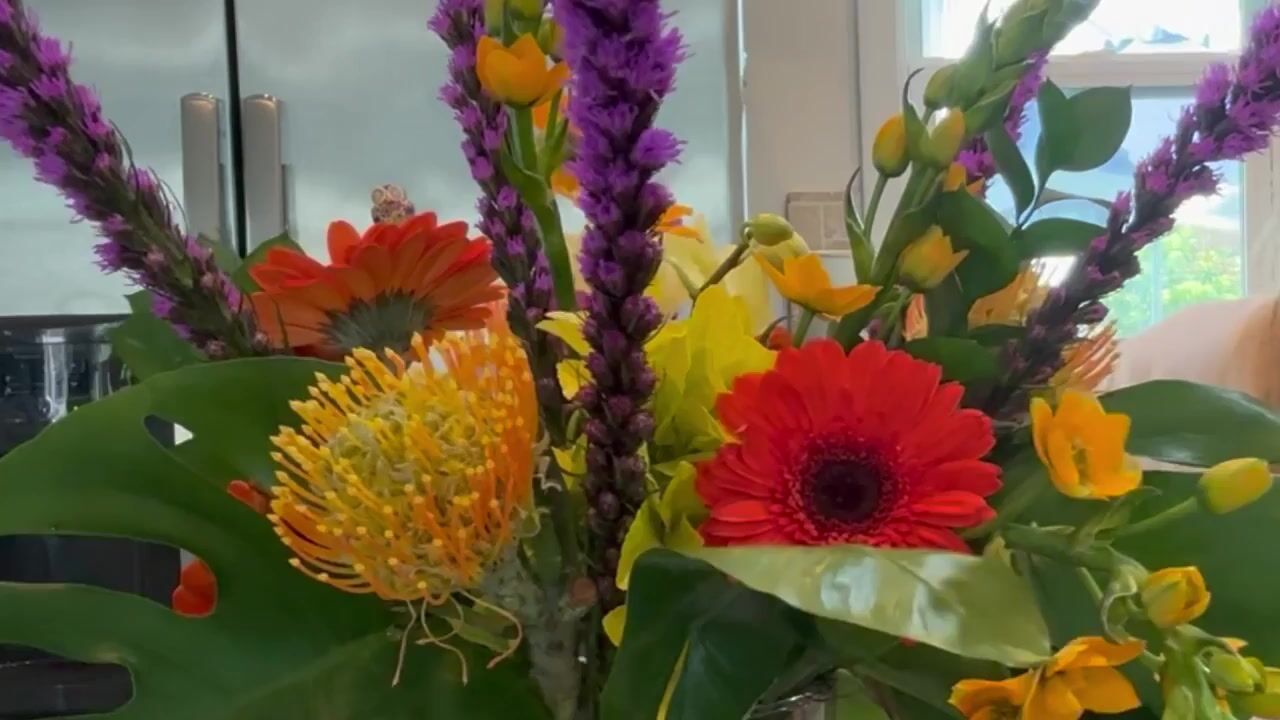
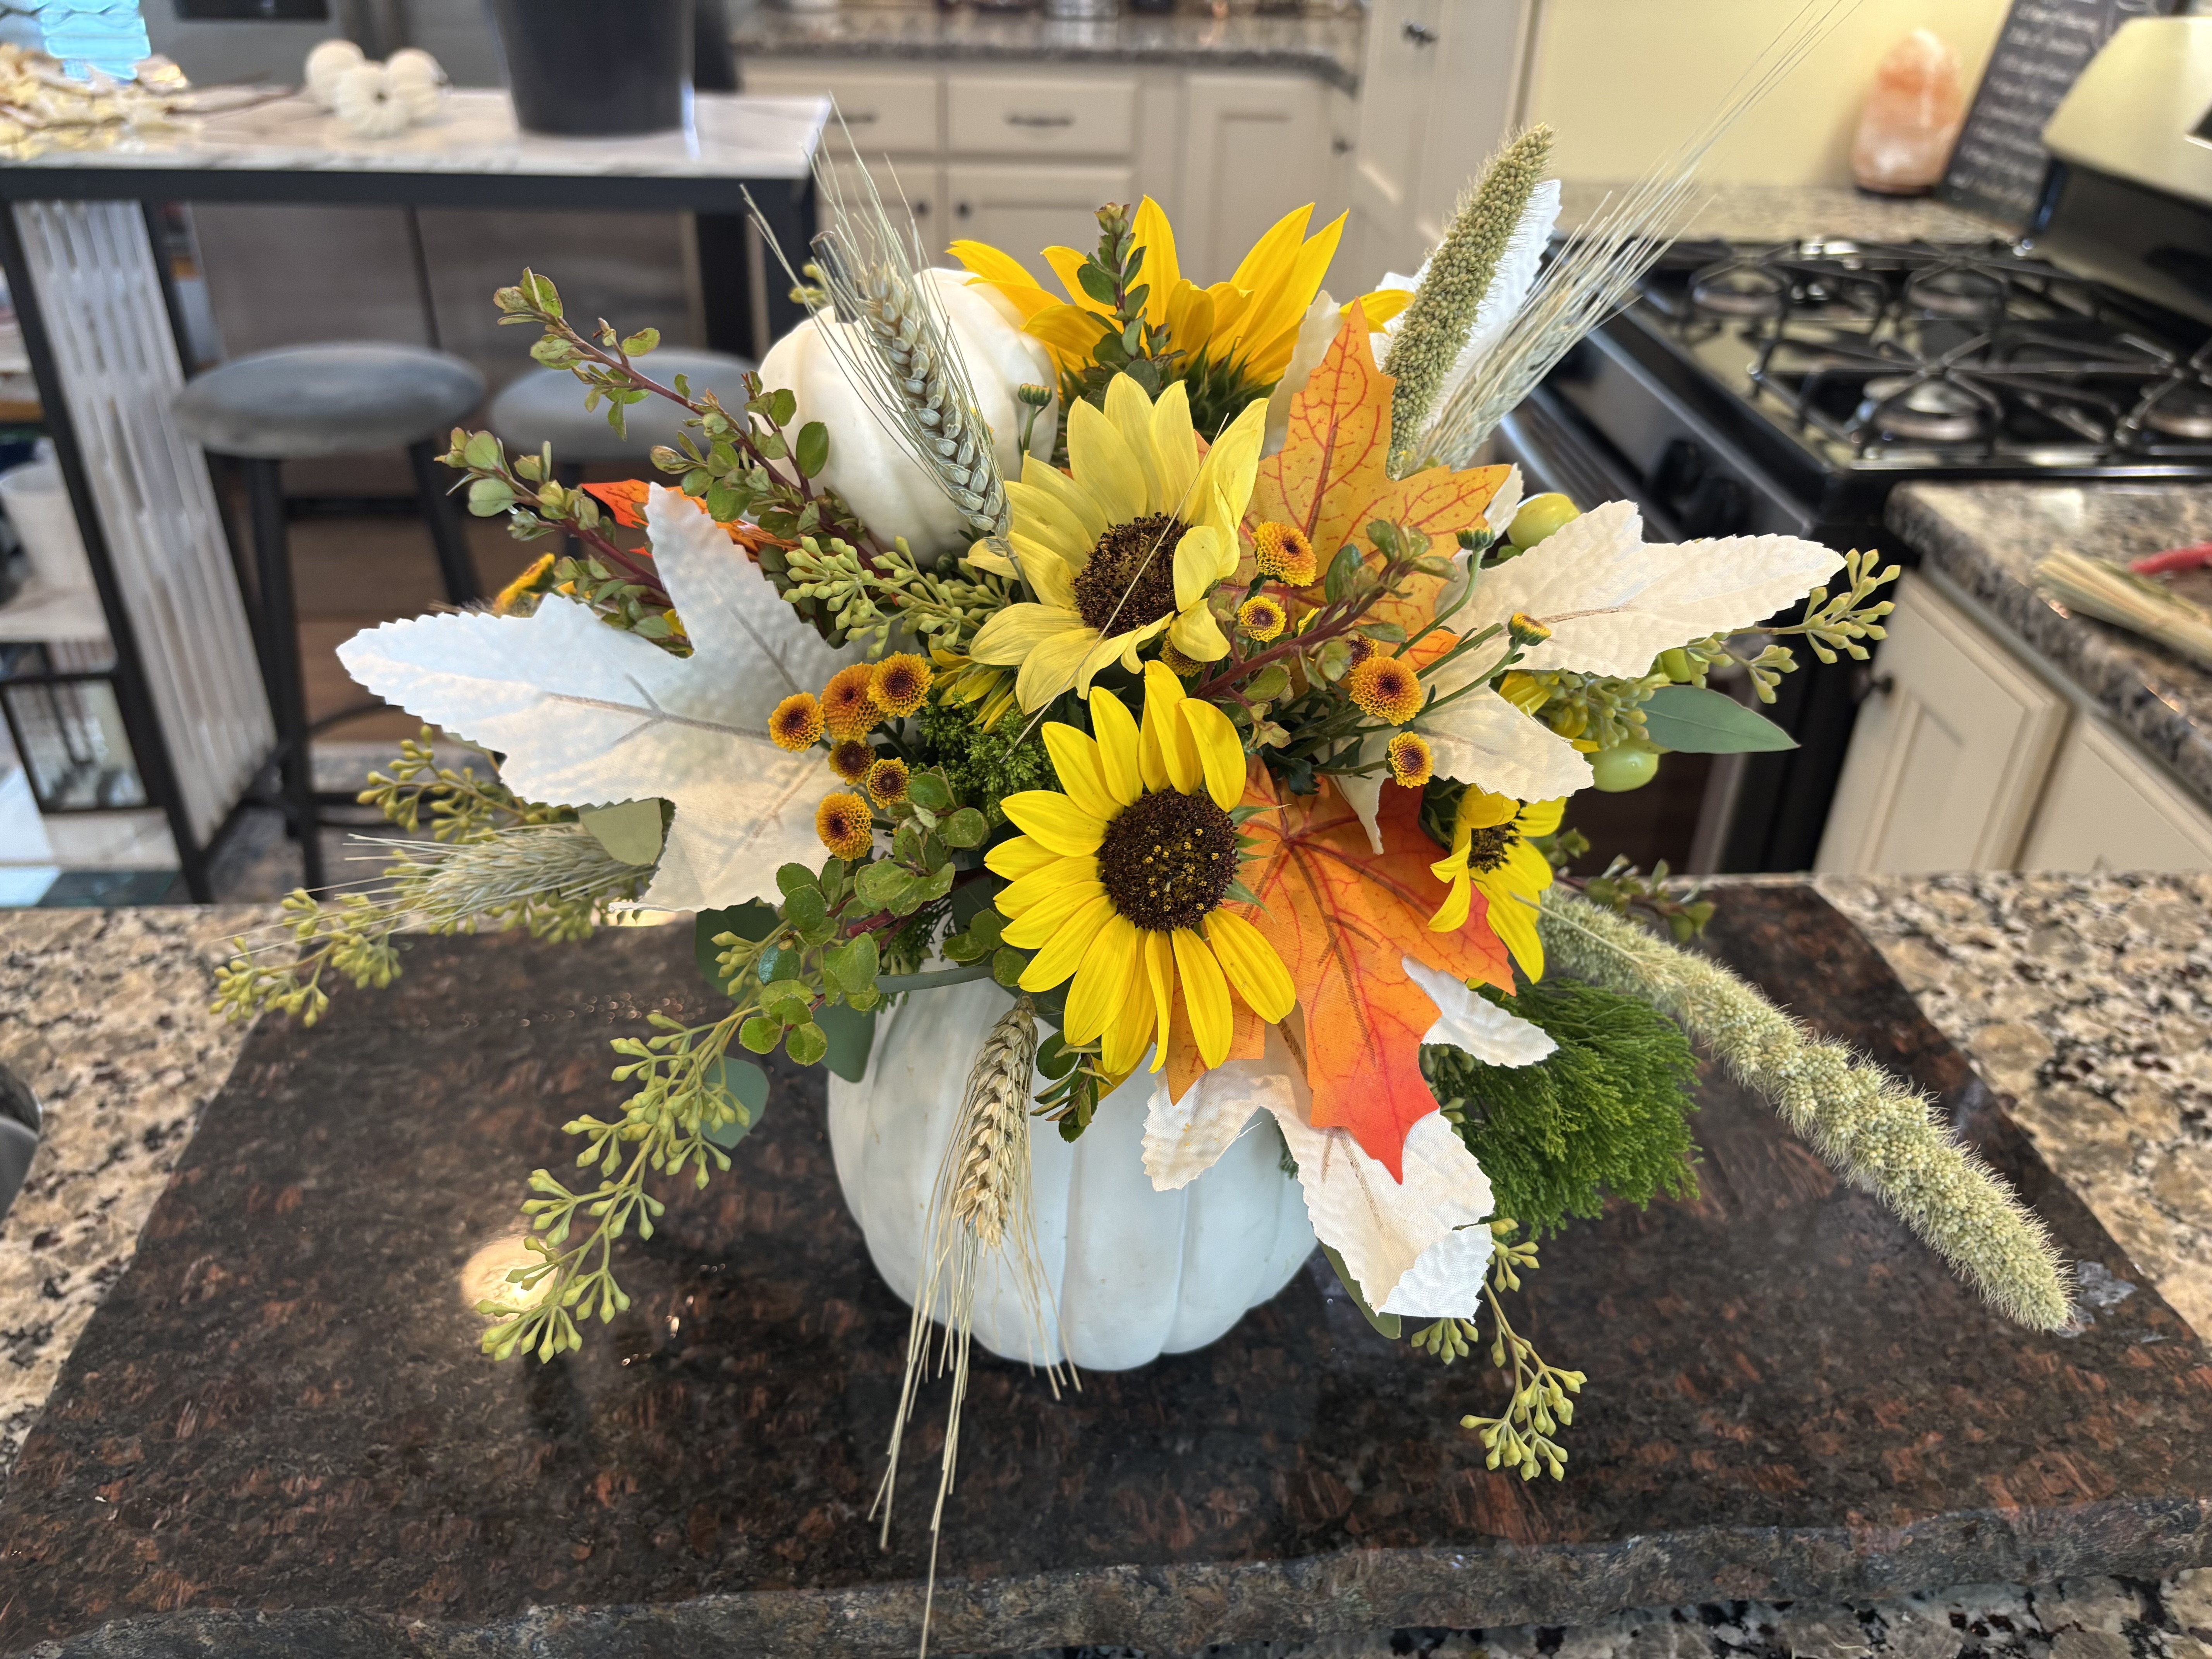
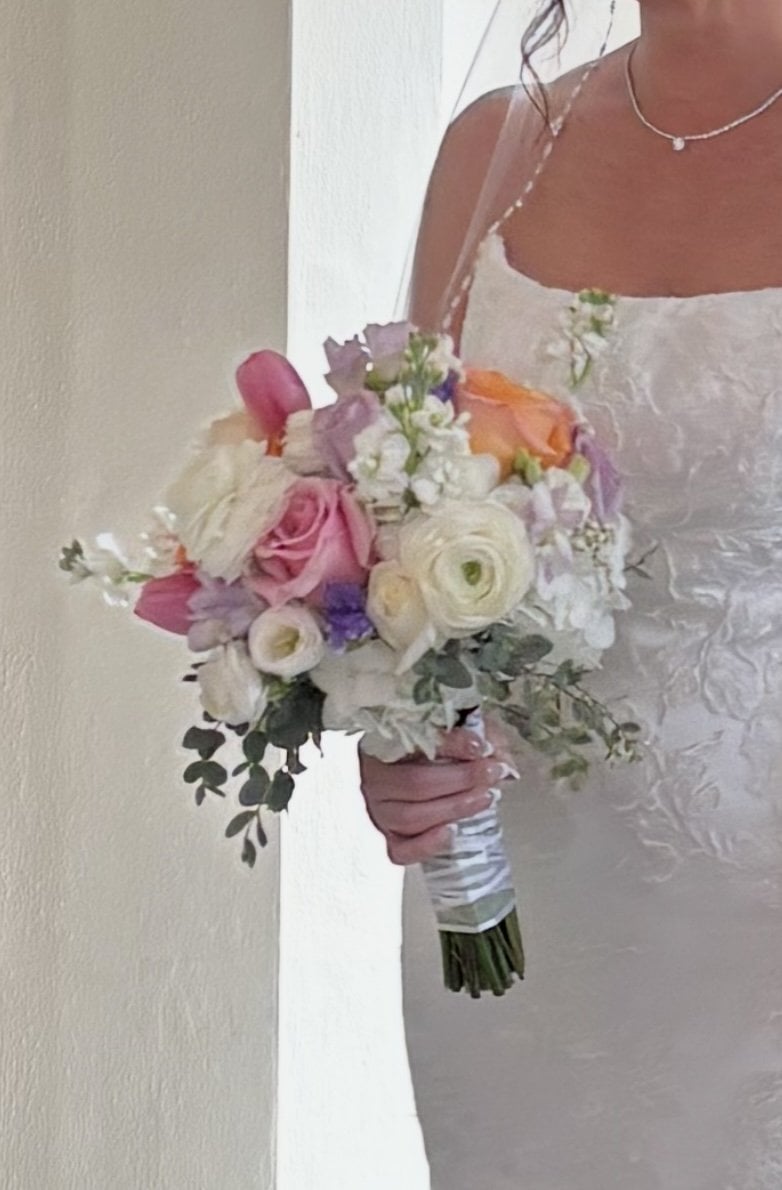
I consider myself not just an artist or a florist, but a floral artist--each arrangement/design I create is thoughtfully designed to reflect a story, a mood, or a moment. My artistry is self-taught, ins... See full profile

Level: Beginner

Class Ratings

Expectations Met?
    Exceeded!
  • 0%
  • Yes
  • 0%
  • Somewhat
  • 0%
  • Not really
  • 0%

Why Join Skillshare?

Take award-winning Skillshare Original Classes

Each class has short lessons, hands-on projects

Your membership supports Skillshare teachers

Learn From Anywhere

Take classes on the go with the Skillshare app. Stream or download to watch on the plane, the subway, or wherever you learn best.

Transcripts

1. Introduction to making a bow : In this video, I'm going to show you how to make a bow by hand. I will show you what kind of ribbon to use and all the supplies you're gonna need. You can choose really any pattern you like. Chanel stems or pipe cleaners and wires to tie it off. This is either called a 2.5 inch D Stevens ribbon is what I'm using for the bow, but you can use any width that you like and have the same effect. It just determines the size of the bow. I'll be showing you how to measure it out to know how many yards to make a bow that has at least five to seven loops on a side. And I'll show you how to twist and hold with one hand and then make your loops a little larger each time you build your bow a little larger. You'll learn how to tie it off and to secure it. And then how to fluff it out to make it nice and full. You can turn it anyway you like, but there are certain ways that makes it easier for you. At the end, I'll show you how to finish off the streamers for a nice finish on the edges. I hope you have fun. 2. Step #1 Measure ribbon for Bow : Okay, I chose the D Stevens 2.5 inch with ribbon, and now it's time to measure. And we're gonna measure out 5 yards. It's easy just to lay down a tape measure or a yardstick, and just pull until you get to your 5 yards. This is enough ribbon to make, you know, a pretty large bow with about five loops on a side. So once you have your 5 yards, we cut it from the roll. And now we've got to decide how many inches we want the tail to be. If you're gonna have it hanging on a wreath, you want to have some extra ribbon hanging down, which we call the tail. So 15 to 18 " is good. This ribbon has a shiny side and a dull side. And I want it to be 18 " for my tail, so I'm gonna measure that out. And this is just one side you're gonna measure first. Okay. 3. Step 2# Make Loops to form Bow: Okay, starting out, we put the tail in front of us and make a loop over our thumb in the mintal and turn it. And then you make a little larger loop on the sides on either side of the center loop. Twist, and there's the start of your bow. We have the shiny side up and the dull side down. So each time you make a loop, you make it just a little bigger than one beforehand. You twist and hold. Shiny side is up, dull sides down, and make another loop equal to the same one you just did on the other side. Keep twisting and making loops. Twist and hold. Twist, grab it with your finger and hold. We're gonna do about five to seven loops on each side. I just got to keep in mind that I want the 18 inch tail on the other side. So I don't want to use all the ribbon up. I want it to be pretty much equal to the one that's already been started when we began the bow. Your hand does get a little tired, and you can only hold so much ribbon. So that looks really good. I have extra ribbons, I'm gonna go ahead and do another loop, and that should be enough to give me a tail the length that I need leftover. 4. Last Step & Conclusion : So now we're ready to tie it off. We can use a wire or you can use a pipe cleaner to secure your bow. What we want to do is we want to go through the center loop and the front side of the bow, so it comes out the other side. Still holding with your left hand. You want to push it through with your right and through your fingers so that you can grab it out the other side. Pull it as tight as you can, and then twist it. So now that you're twisting your left hand is free to help turn it, as well. You're gonna turn it about three or four times to secure it. And then you have a bow. And now you can fluff it and make it nice and full. And I usually take every other loop and bring one up and bring one down. And it makes it fill out nicely. If you do one side at a time, you can see better what you're doing. And there you go. It forms the shape of your bow. It's a nice size bow. And it's best to lay it down now, we're gonna cut the tails to the same length. And then you can you can give it a fish tail finish or you can keep it a straight edge, or you can cut it on a slant, whatever finish you like. But if you want to do the fishtail, you fold the two ends together. And then we'll be cutting it with some scissors. So fold over until they match up. And then we want to cut from the out edge, the outside edge all the way across. And that gives you the fish tail finish. We do both of the tails one at a time. And there you go. Now, you got a beautiful bow. Thank you.