Design a Wedding Bouquet with Hydrangeas & mixed flowers
 Elisa Gabrielli, "Create easy to do Art & Floral Designs"
Watch this class and thousands more
Watch this class and thousands more
Lessons in This Class
-
-
1.
Wedding Bouquet Introduction
0:54
-
2.
Flowers for Wedding Bouquet
0:26
-
3.
Design your Bouquet
8:52
-
4.
Wrap it up Conclusion
14:10
-
-
- --
- Beginner level
- Intermediate level
- Advanced level
- All levels
Community Generated
The level is determined by a majority opinion of students who have reviewed this class. The teacher's recommendation is shown until at least 5 student responses are collected.
372
Students
--
Projects
About This Class
Class Overview:
In this hands-on floral design bouquet making class, you’ll learn how to create a stunning wedding bouquet using hydrangeas and an assortment of soft, pastel spring flowers. Whether you're designing for a bride, a special event, or just for the joy of it, this class will guide you through the process of crafting a bouquet that looks both professional and heartfelt.
What You Will Learn:
-
How to select and prepare hydrangeas and other seasonal blooms
-
Techniques for color harmony and balanced bouquet composition
-
Step-by-step instructions for spiral stem wrapping and hand-tied bouquet assembly
-
Tips on securing, finishing, and caring for your bouquet
-
How to add your own personal and creative touch to floral arrangements
Why You Should Take This Class:
Designing a bouquet is more than arranging flowers—it’s a creative, calming, and deeply satisfying process. You’ll walk away with a beautiful floral piece and the skills to replicate it for weddings, events, or as thoughtful gifts. Whether you’re curious about floral design or dreaming of becoming a florist, this class will give you the tools and confidence to get started. Learn from an experienced floral artist with over 20 years in the industry who will share pro tips, real-world techniques, and creative encouragement.
Who This Class is For:
This class is perfect for beginners, DIY brides, creative hobbyists, and anyone interested in floral design. No prior experience is necessary—just a love of flowers and a desire to learn something new with your hands!
Materials/Resources:
You’ll need:
-
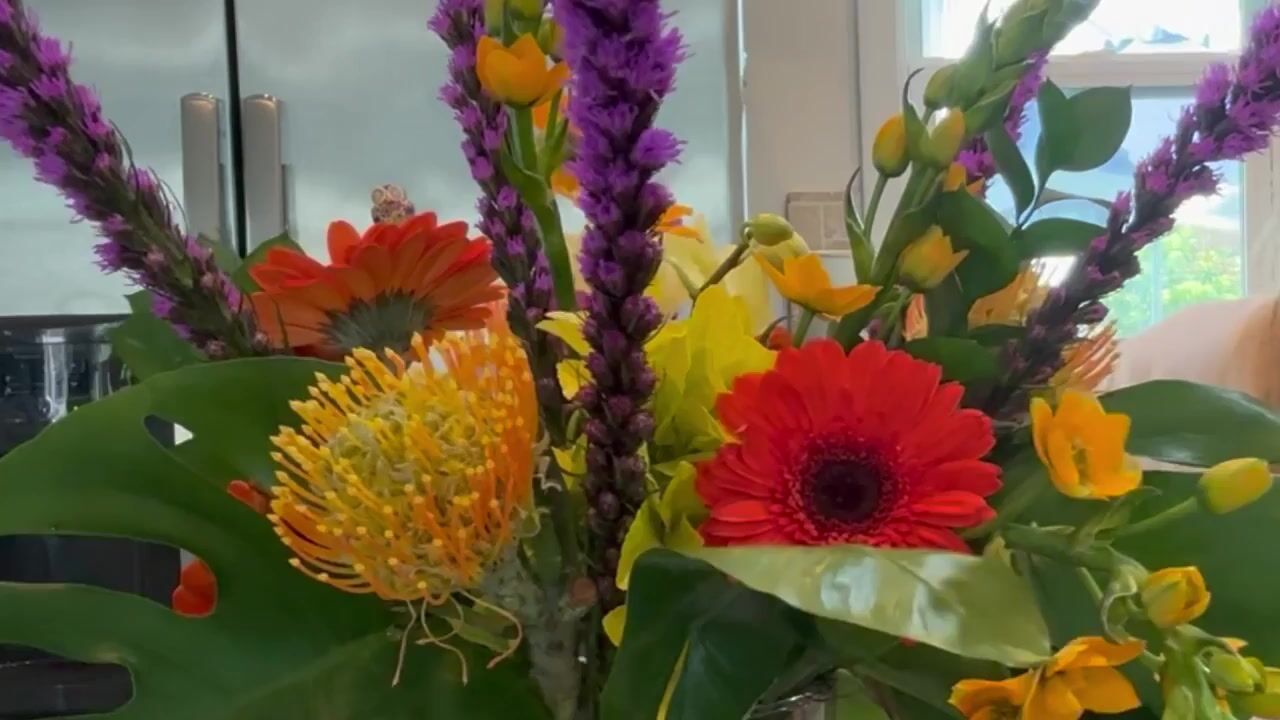
Fresh hydrangeas and a selection of pastel spring flowers (roses, lisianthus, ranunculus, etc.)
-
Floral tape and wire
-
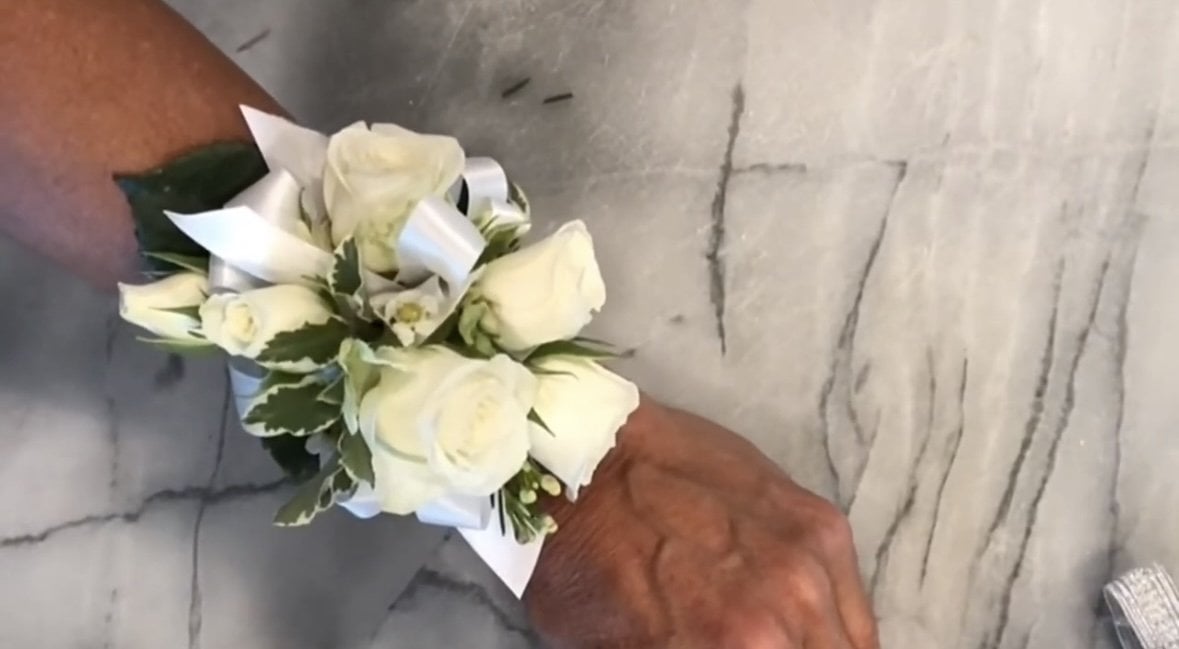
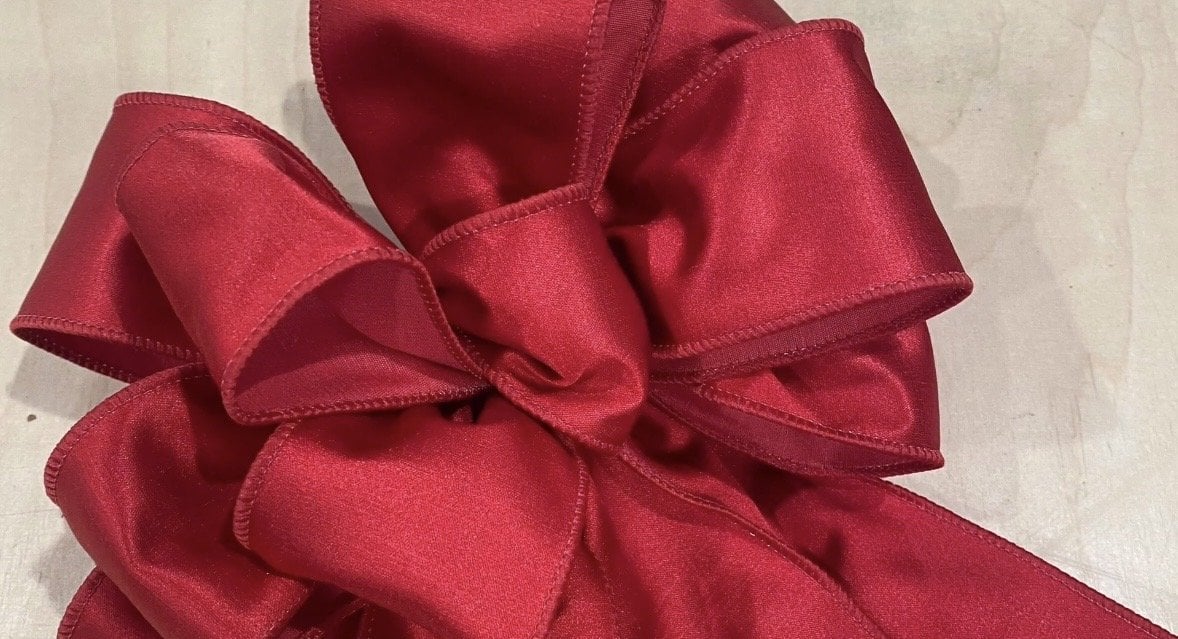
Ribbon of your choice
-
Sharp floral shears or scissors
-
A water source and workspace
Meet Your Teacher

I consider myself not just an artist or a florist, but a floral artist--each arrangement/design I create is thoughtfully designed to reflect a story, a mood, or a moment. My artistry is self-taught, ins... See full profile
Hands-on Class Project
Class Project: Create Your Own Romantic Spring Wedding Bouquet
In this project, you’ll design and assemble your own hand-tied wedding bouquet using hydrangeas and a mix of pastel spring flowers. This is your chance to apply what you’ve learned in the class and showcase your creativity by crafting a professional-quality bouquet with a personal touch.
Project Steps:
-
Gather Your Flowers and Tools
-
Select your hydrangeas and 3–5 additional spring flowers in soft, pastel shades (e.g. roses, lisianthus, stock, ranunculus, etc.)
-
Prepare your materials: floral tape, wire, ribbon, shears, and water source.
-
-
Prepare and Condition Your Flowers
-
Follow the tips from the class on hydrating and cleaning your stems to ensure freshness and ease of use.
-
-
Design Your Bouquet
-
Use the spiral hand-tie technique to build your bouquet.
-
Play with shape, color balance, and movement. Don’t be afraid to get creative!
-
-
Secure and Finish
-
Wrap your bouquet stems with floral tape and finish with your choice of ribbon.
-
Trim stems to your desired length.
-
-
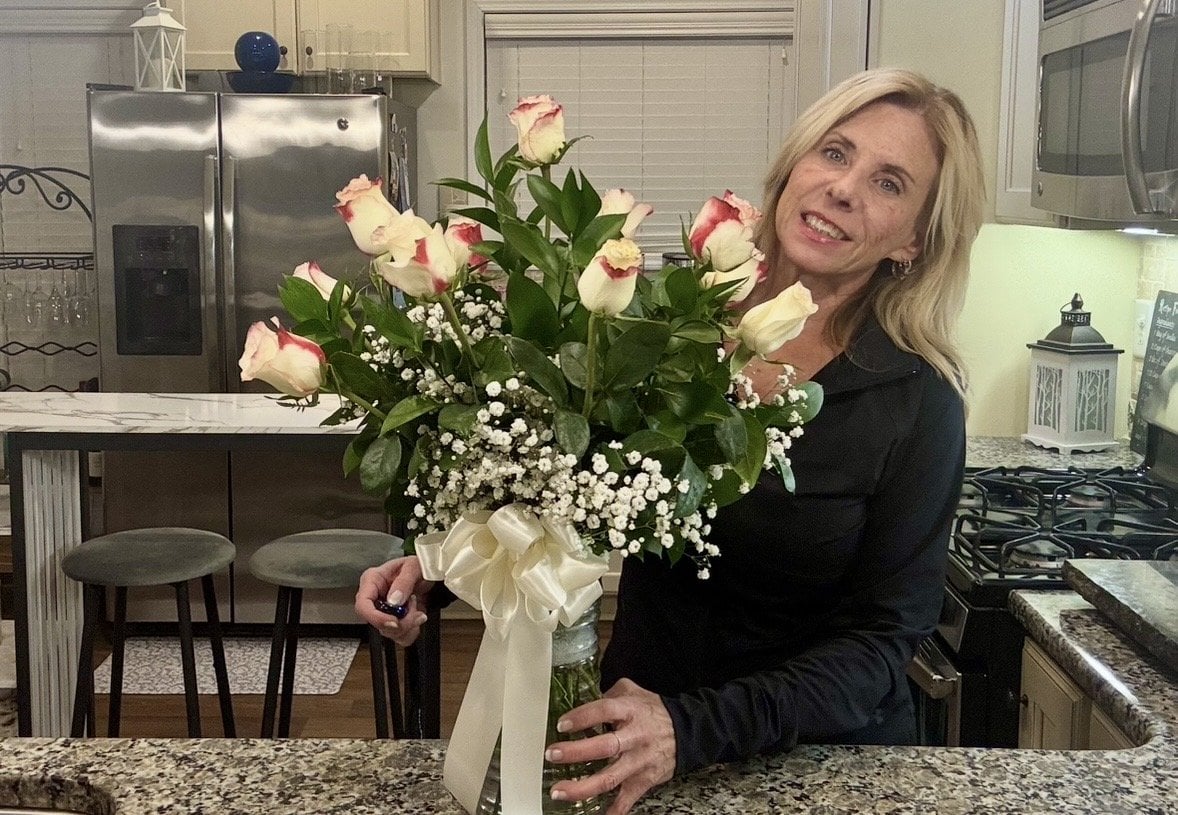
Take a Beautiful Photo
-
Style your finished bouquet in natural lighting and snap a clear, well-composed photo to share!
-
Final Deliverable:
Upload a photo of your completed bouquet to the Project Gallery. Include a short note about your flower choices and what you enjoyed most about the process. Feel free to share your inspiration or any creative challenges you overcame.
Bonus:
Leave a kind comment or compliment on another student’s bouquet—you never know who you might inspire!
Class Ratings
Why Join Skillshare?
Take award-winning Skillshare Original Classes
Each class has short lessons, hands-on projects
Your membership supports Skillshare teachers
Learn From Anywhere
Take classes on the go with the Skillshare app. Stream or download to watch on the plane, the subway, or wherever you learn best.