Transcripts
1. Welcome: What We’re Exploring: Hello, I'm Brenda and
welcome to class. Today we're going to be spending some time playing with wet on wet watercolor in a really
gentle relaxed way. I'm going to show you
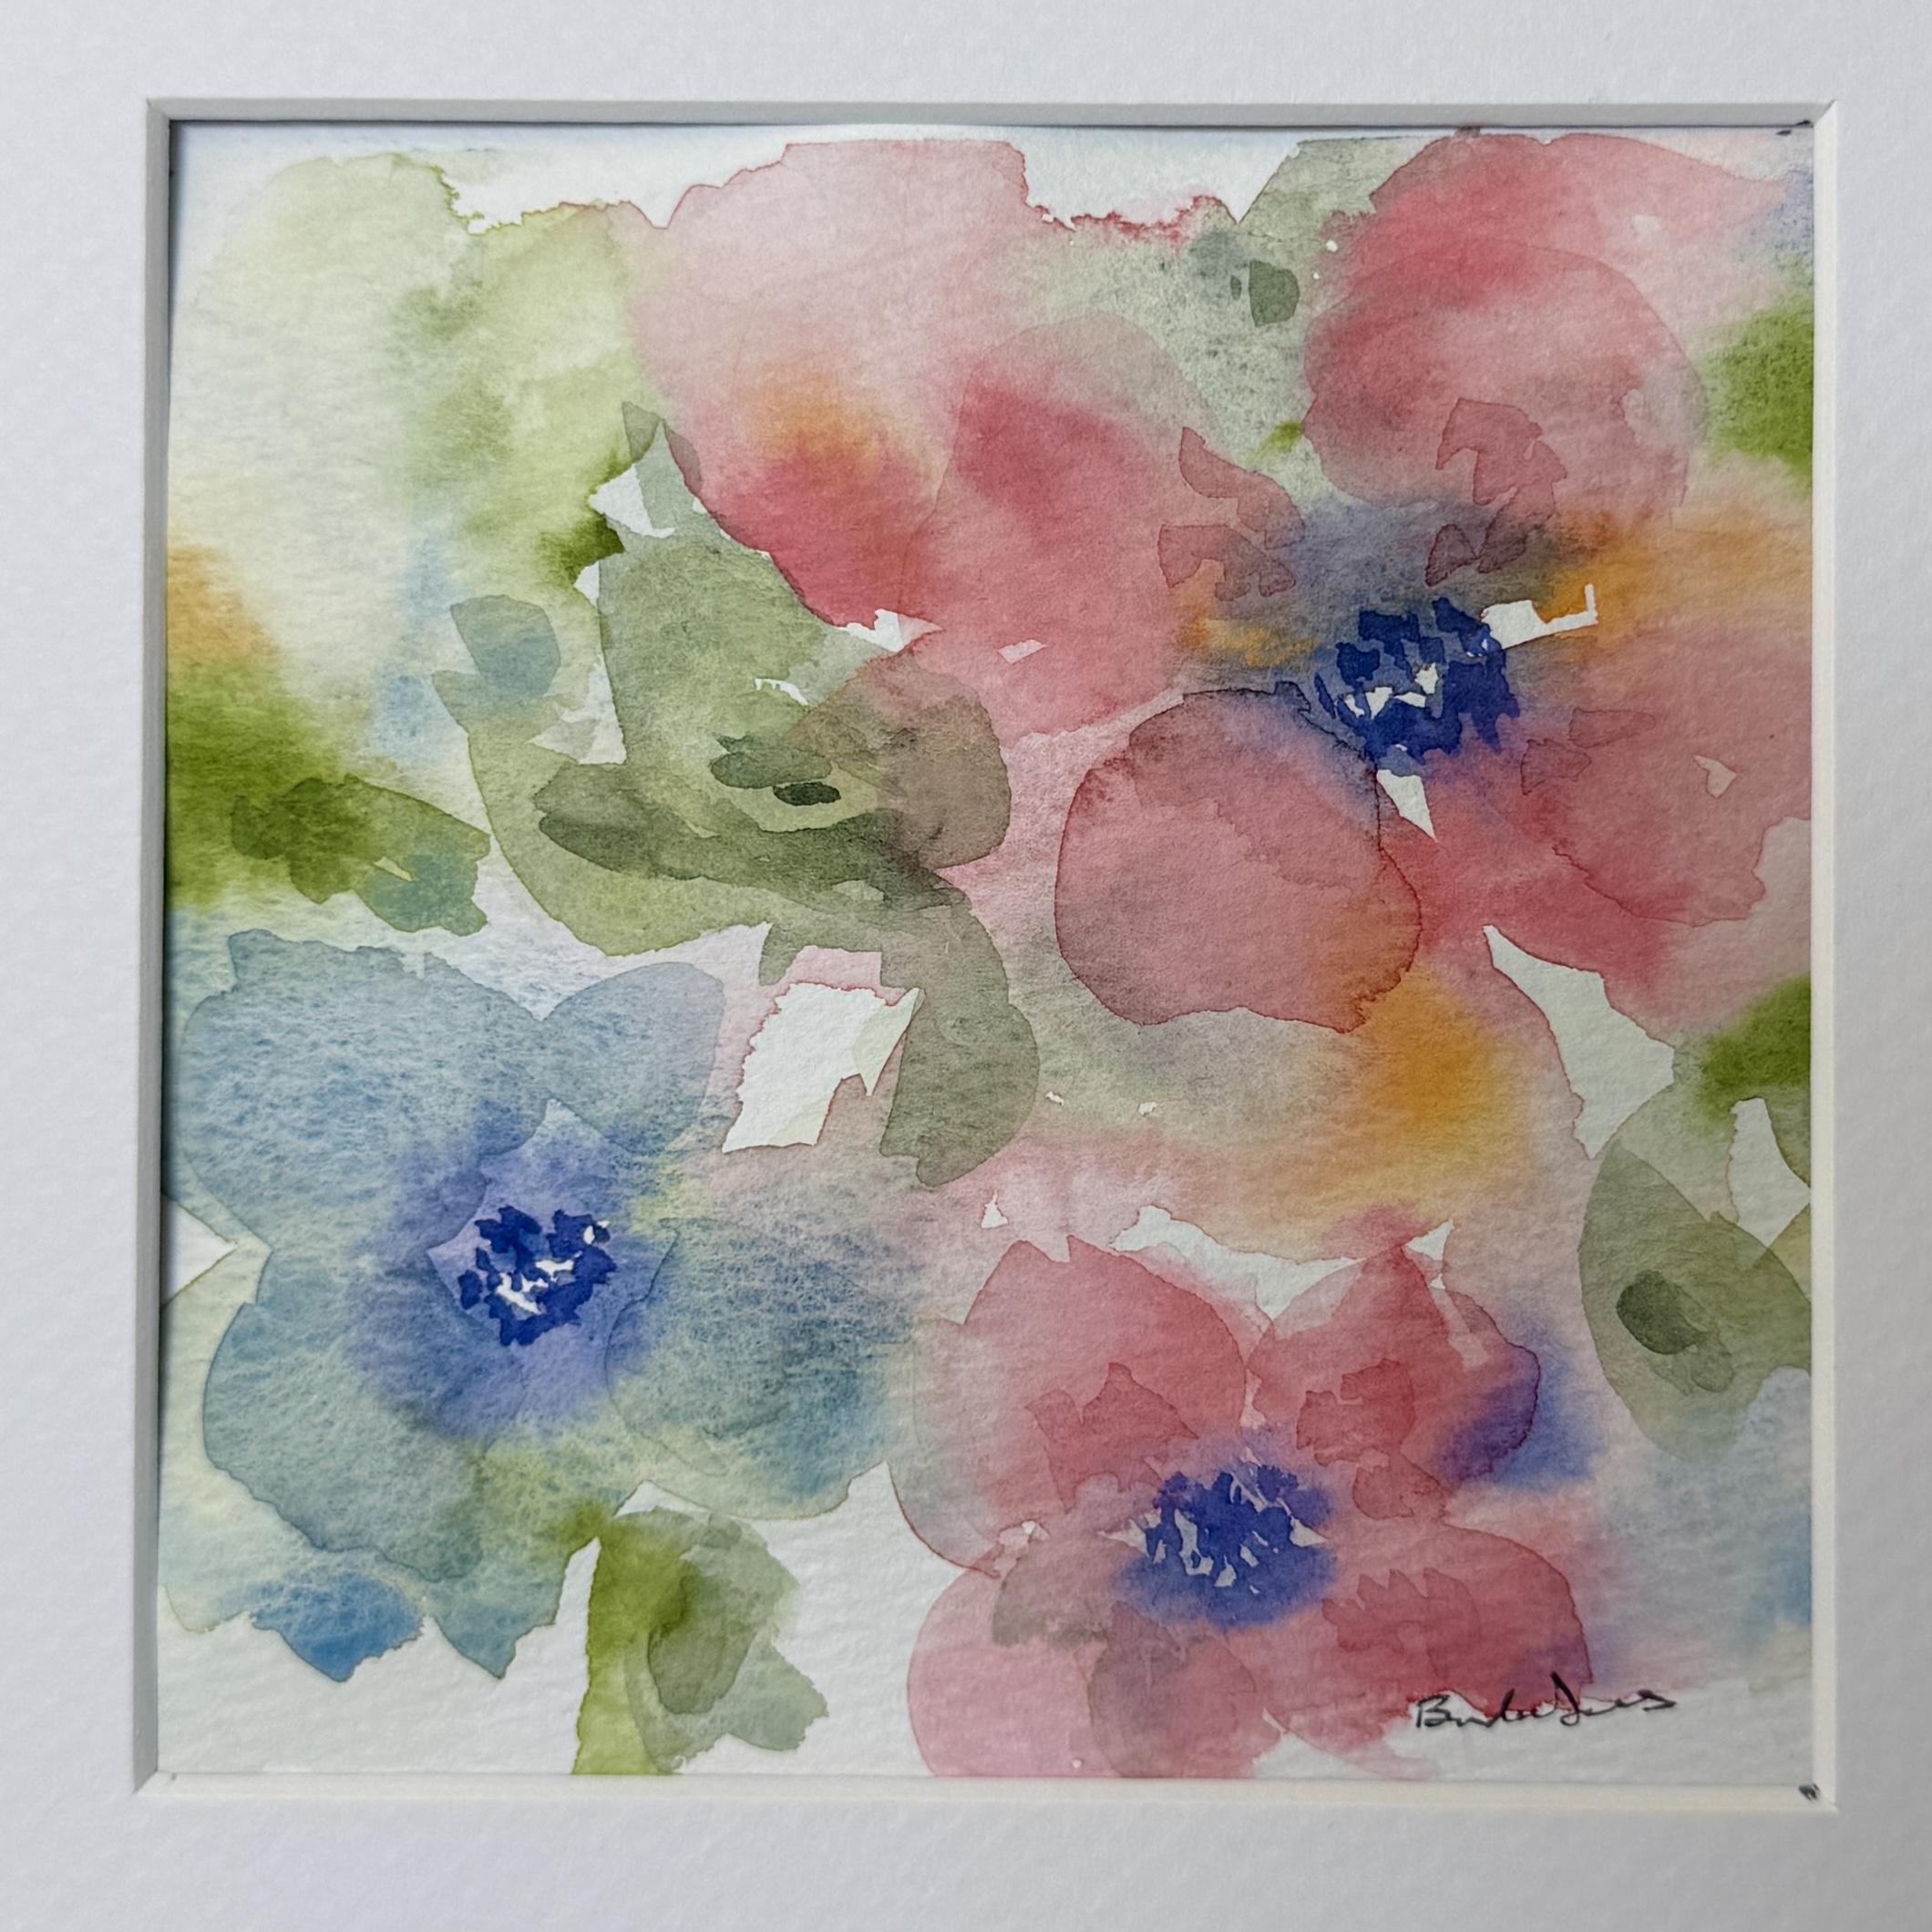
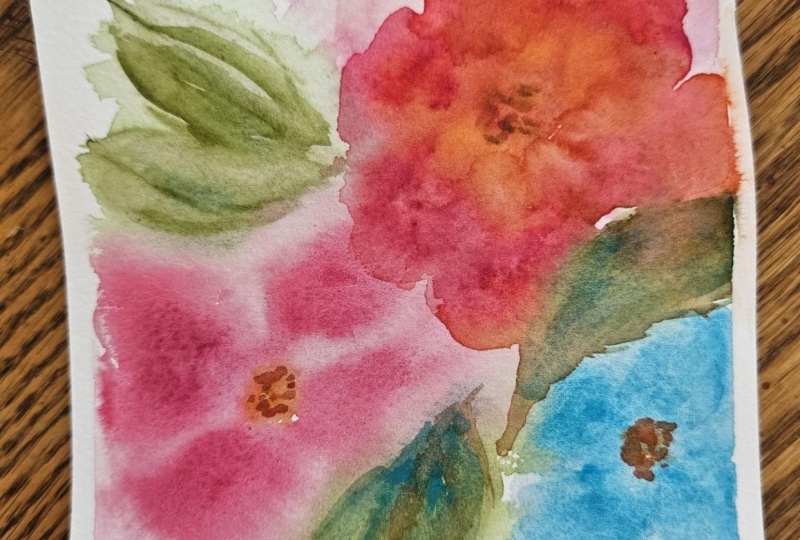
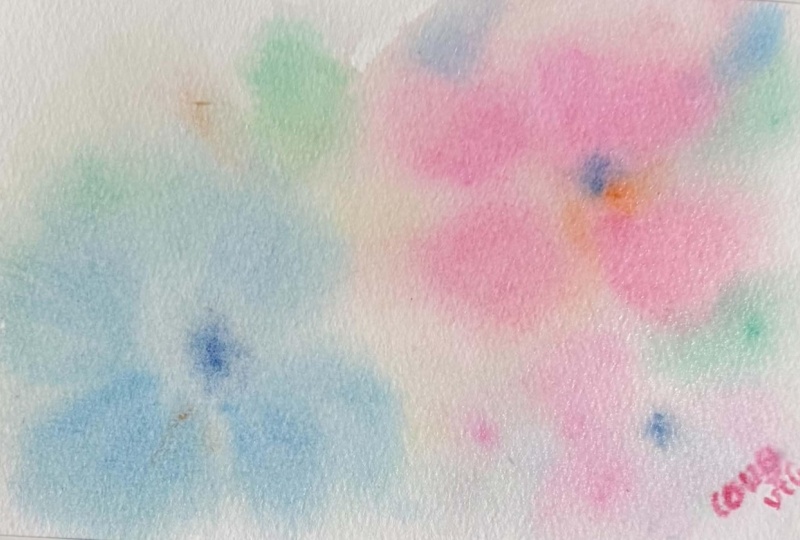
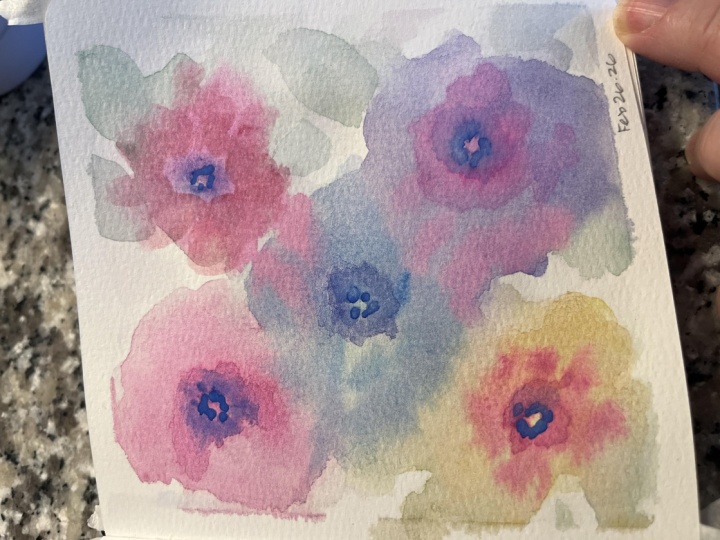
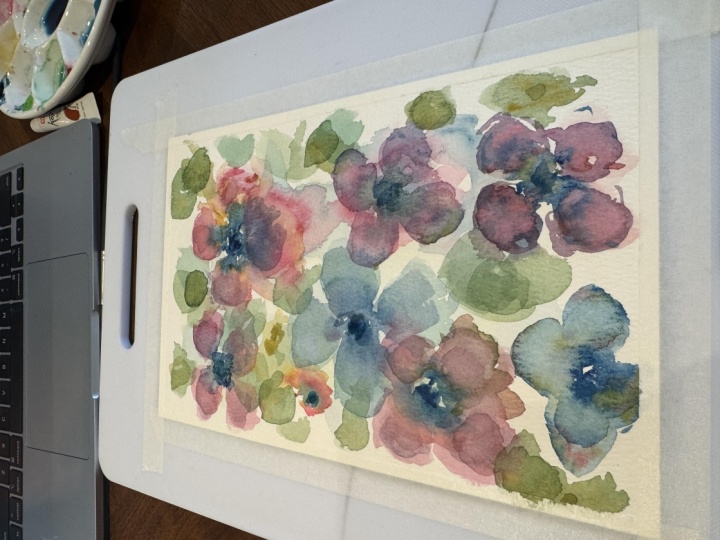
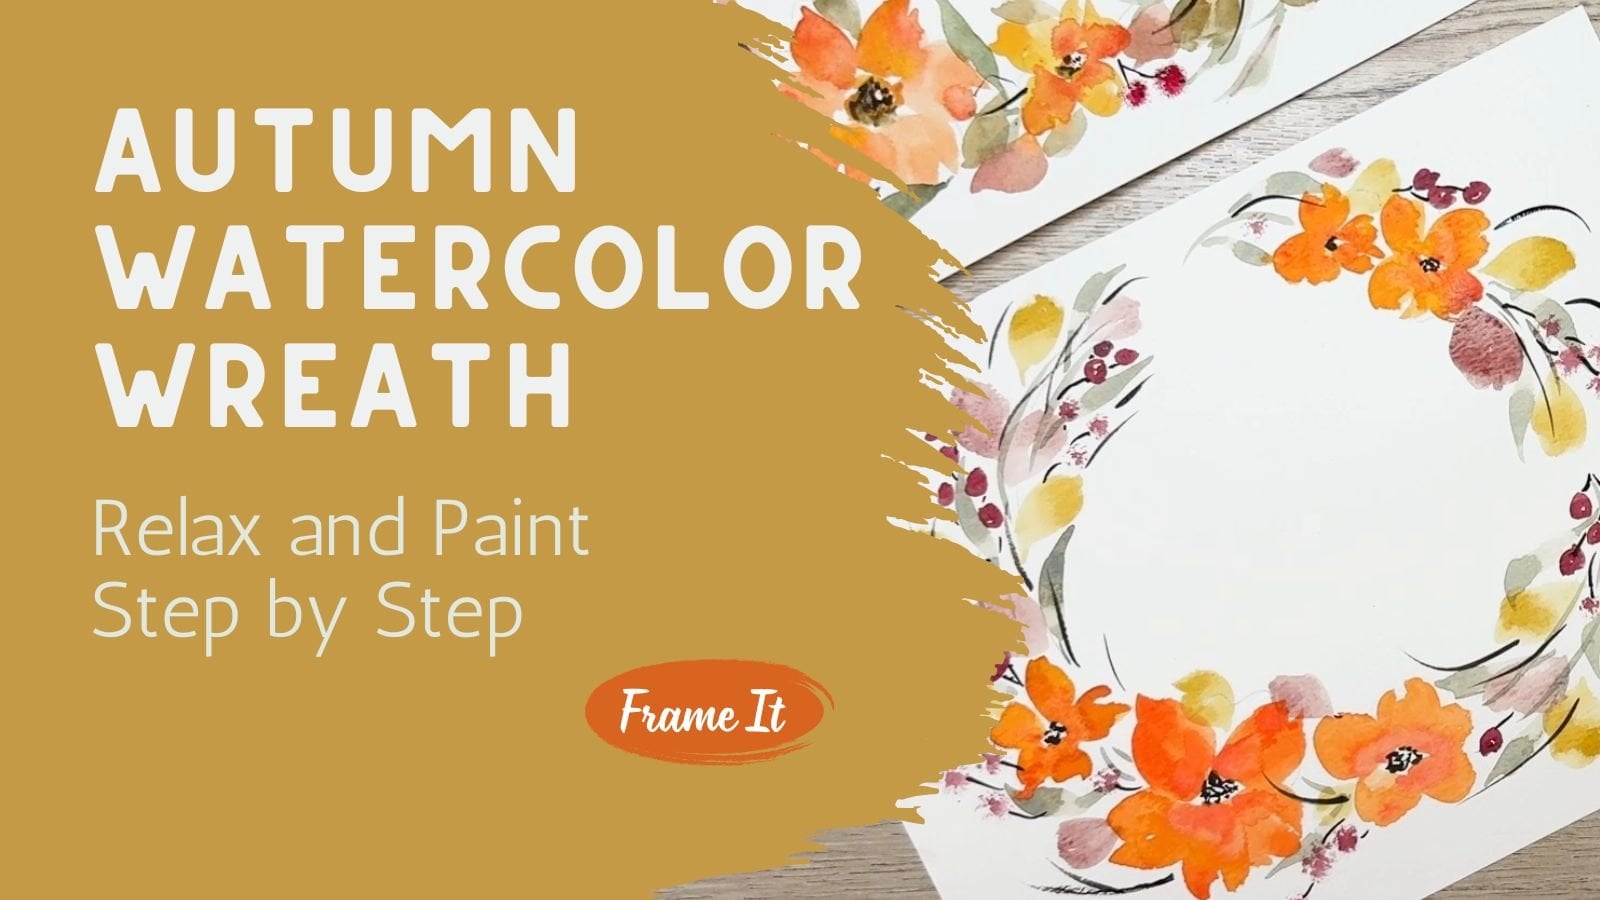
a couple pieces first. This one is my first attempt and the second one is another
version I painted right after. They're related, but not meant to match. That is important. Every piece you paint
along the process is going to look different and
that's actually the goal. What we're going to be
working on here in class is letting watercolor
do what it does best. We're blending colors,
finding soft shapes, letting edges blur and allowing some areas
to stay unfinished. We're not trying to paint the perfect flower and we're definitely not trying
to control every mark. This isn't about realism
or getting things right. It's about noticing how
water and pigment move together and knowing when to
stop when you are painting. In this class, we'll
paint a third piece together from start to
finish, step by step. I really recommend watching the class all the way through
once before you paint. Then on your second
time through, pause the video and
paint along with me. By the end, you'll have
your own version of this loose organic watercolor to share as your class project, and I can't wait to
see what you create. Join me in the next lesson.
2. Supplies: Keeping It Simple: Before we start painting, let's take a quick
look at the supplies. I want to keep
this really simple because this project is much more about how the paint
moves than what we're using. For brushes, you really
only need one main brush. The larger a soft brush
would really work best here because it's going to allow your paint
to flow easily. If you'd like to have a
second slightly smaller brush on hand, that's fine too. But let's not overthink it. When it comes to the paint, what you're going to be
using is what you enjoy. You don't need a specific brand or specific colors
for this class. I do suggest
limiting yourself to about four or five colors total and choosing ones that
play nicely together. Think about a mix
of warm and cool, maybe one or two softer colors and one or two darker
colors for contrast. Keep your palette simple. It's going to help everything
feel more cohesive. Clean water is key
for this project. I actually like to use two
containers of fresh water, one for rinsing my brush, and one that is always
going to be clean. And finally, the most
important supply for this class is
actually your mindset. Come into it with a good
attitude of self support. Give yourself
permission to play, to experiment, and to
let things be imperfect. There are no rules here and nothing needs to
look a certain way. We're just exploring
how watercolor behaves and enjoying that process. When you're ready,
we're going to move on and start
painting together. Join me in the next lesson.
3. Layer One: Creating a Soft Atmospheric Base: My goal for this next class is to paint something that I
can put into this frame. I have a black frame with this large mat and just a
small area for my painting. And I would like
to paint something that's going to be kind
of similar to that. So I need to plan out
my paper accordingly. So this paper is large enough. It's the same size of
what I just showed you, and it's large enough
to fit inside of here. Now, of course, it is rectangle, but I'm going to be able
to paint within there. I'm just going to make
some little dots in here so I know where
the edges should be. I'm going to be very,
very faint with a pencil just to make little tiny lines so that I know where
the corners are. Then when I put my tape down, I will stay keeping those lines available so that
I can paint to the edges. So because I am
going to be making this a fairly wet painting, I do want to tape this down. I have this artist's tape. It's similar to masking tape, but maybe it isn't
quite as sticky. And so I'm going to use this
to just tape my painting down to the work surface so that it doesn't
warp when it dries. My edges are very, very tight, so I'm just going to put it
right along the edge there. But then on these ends, I can go in a little bit deeper. I can really get
this to stay put. And then I know where
my corners are, so I will paint
within that area. Okay. So now that that is taped down and I know
where my goal is. We're going to get started
on the different layers. The first thing that we're
going to work on is the very, very lightest background color, and it is just so, so light. And the way you're
going to do that is by using more water and less paint. So I've created a
couple of these. These are my six colors
that I'm going to be using. I'll probably limit it down. I probably won't even
bother using that yellow. I have two greens. This one is actually
a brown blue. The blue that I was using was just a little too bold,
a little too bright. I actually added just
a touch of brown to it to calm it down a little bit. I'll probably use that in
a pink and a soft orange. What I did is I created all
of these so that you could see how liquid I want
this paint to be. This is not thick paint. This is very, very
liquid water paint. These almost transparent. You can see the bottom of the
bowl, these little dishes. These little dishes
that I have are just like little
soy sauce dishes, just little simple dishes
that I found in my cabinet. They actually work really
well for a project like this. If you don't have that,
I'm sure you have some other little tiny
containers that you could use. So the goal is to
keep this very soft, very almost abstract where you can tell that
they're flowers, but it's not we're not
looking for it to be precise or for it to be
somebody to look at it and say, Oh, that's a rose or oh, that's a daisy or whatever. So we're just painting
and having fun. The very first thing
we're going to do is put some clean water. I have all my clean water
here, two of them here, and we're going to put
a little bit of water down on our paper and then use some of this paint and create a little
bit of a background, but leaving lots of white space. But so using my size
ten round brush, I'm just going to put down some clean water just
in different areas. I'm not trying to fill the
whole thing with water, just putting down some
water in some areas. Then I'm going to
choose I think I might use some of this green. I mix that green with some blue. I'm just going to drop in bits
here and bits over there. Not in any particular way, just adding some color
to the background. Where all that wherever
the paint is already wet, I'm just adding a
little bit of color. I think I'm going to use a
little bit of my blue as well, and you can see that this
is very, very faint. I want this to dry
and that you can hardly even see it on the paper. You can just let
that dry naturally or you can use a hair dryer. I happen to have a heat gun, so I'm going to use that
to just dry that down. That's our first layer. This is maybe 80% dry. There's still some puddles in there that are
wet, and that's fine. I don't mind that there's
still some pieces that are wet because this is going to
be a wet on wet technique. I just didn't want to
leave large puddles there. Now what I'm going to
do is using this very, very liquidy water color, mostly water with just a hint
of pigment of paint in it. I'm going to be painting
some of my flowers. The first one, the one
that I know that I want to look like more of a flower
is this top one up here. I'm going to go
ahead and just paint a four or five petal flower that definitely
looks like a flower, but very, very loose as big
as you want to make it. If I want to rinse off my
brush and then come in, and I can even soften
those edges a little bit and make it a little
bit looser even, I might do something like that, just to give it a
little bit more of a a really abstract look. Okay. Then I definitely
want to add in some of this orange color because
I like that combination. Again, I'm just going to drop
in some of this pigment. It's again, very
light, mostly water. If I feel like I got too much, I can always rinse off my
brush and come back in and just move that paint
around a little bit. But just let it happen. Let the edges form. Let the blooms happen. Watercolor often
does some blooms. Now I'm not going to worry about whether it looks like
a flower or not yet. That's not the time. It's
way too wet to do anything. I'm going to add in some blue. I think I want to add in a
blue flower, but smaller. It's important to have
different shapes and different sizes of your
artwork, of your flowers. Again, I'm going to
just soften some of those edges and maybe add in a little bit of green
you can do it differently. You can choose whatever
colors you want to choose. You do need to work a
little bit quicker, which is why I'm
suggesting that you watch this first
and then come back and paint a second time just
because it is something that we're working wet
on wet so you need to paint a little quicker. I'm just going to add
in maybe another flower here, maybe another flower. It's not even a complete flower. I'm just putting some
sprays of a pigment down. That doesn't even look like a
flower yet and that's fine. Just going to add
in a little bit of blue just to carry
my eye across. I'll probably leave
this section up here a little bit lighter and without as much definite shapes. I'm just probably going
to leave that area up here simpler so that my
eye has a place to rest. Oh, let's see. We're gonna
add in a little bit of green. Stir that up and maybe
put a leaf here or there, even maybe right on top of this. Maybe put one over here. Soften that one up again. Maybe drop in some orange Okay. And while this is drying, I do want to make
a center there, so I'm going to come
over to where my pigment is right out of the container. This is my thicker paint
more concentrated paint. I'm just making up a
little purply blue. And using the same paintbrush, if you want to use your
smaller paintbrush, you can. I'm just going to
put in a little center here for that flour. Those little drops. You put
in a center over here too. I am not going to want to put in a center for every
single flower, but probably I'll make
the imagination that this is a center here too
and just keep it to three. I'm going to let that color
just bloom out and fade out a little bit while I go ahead and paint
the next layer. Let's see. I think I want to
add this is where you use your imagination
and you put in, I feel like I needed a
third color of blue over there and maybe
something over here. And then maybe a
little bit of green. There's not really a
lot of rhyme or reason. I don't really have a plan. I'm just adding in
colors as I see fit. This is where your intuition
needs to just take over. If you feel like you need a
little bit stronger color, you can always dip back into your paint that's
right out of out of the tin and drop in some
other darker paint. So now that I drop that in, I do want to soften
it a little bit. So this is just a clean brush. I cleaned it off with my rag, and then I'm just
going to go in and just soften those
edges a little bit. Because I don't want to have
something that's like, oh, that was a really bold area. I just want to have
some softer areas. Maybe you want to have
a little bit more pink. I'm going to go back over to the area that's
in the tin itself and just add in just a little bit more
pink here and there. Just have fun with it. The main reason we are doing this project is to get used to how paint moves around
when your paper is wet. So just a wet on wet technique
where we're just playing. Finding out what happens. How much water should
be on your paint brush? How much water should be
in your paper itself. How much paint should I be
using to create that effect? This all really comes from
experimenting and playing. I grab a little bit more
of that blue and purple. Add a little bit more
pigment in here. Maybe a little bit
more up in here. Just play. I have a
good time doing it. Let it dry a little bit, see where you need
to add something. You can stop and blow
dry this if you want to, and then add another layer. Build it up. I think what I actually want to do
is I feel like this orange got a little too
strong right here. I'm going to come in
with my clean water. I'm using this very, very
clean water with my brush. I'm just going to soften
that edge a little bit. Almost lifting it a little bit. I didn't care for how bold
that orange was there. Maybe even move some of that
green around a little bit. I really wanted this
area to be a little bit more open and not as defined. Because it's not dry yet, I can lift it.
There's no mistakes. You can always make a
change and you can say, that wasn't quite what I had
in mind and just adjust it. Add a little bit more blue. I think I like that better.
Add a little bit more pink. So without laying this down, I'm just going to lay this
on top lightly like this, just hover above so I can take a look so I can get some sense
of what I'm going towards. I'm gonna dry this and
then add another layer.
4. Layer Two: Finding Soft Shapes with Wet-on-Wet Color: Okay. Again, this is 85% dry, not quite completely dry, but I want to go ahead
and add in another color, add in just a touch more of
this blue, this pink color. Maybe actually make that
a little bit more opaque with just a touch more color just to draw out some
of the next layer. I like that because
that's what I did here. This little area
that once it dries, you can see it just
a little bit more. Soften those edges.
If you want to. If you don't want to, leave
them bold. Is your project. Go ahead and do the same
thing with this blue. Kind of want to have
a little bit more. There's another layer
here of this blue. It's often some of the edges. Definitely want to
do something down in here that gives this one a sense of being a flower because right now it doesn't really
feel like a flower. Just add another layer. Using that clean water. This is why it's really important to have
that clean water. I can soften these edges and let that blend
out a little bit. Since I'm not trying to make an exact I do like that
little edge softened. I want to add a little center It's nice and thick, putting in purple
and blues together. So it's nice and thick. Unlike these that are really, really liquidy, this is a
really thick paint over here. I'm doing that
because I want to be able to create these centers. Making little tiny dots. If you have a smaller paintbrush and you want to use that, go right ahead and use
a smaller paintbrush. This one has a nice
tip on the end, so I'm not even going to
go ahead and switch over, but you absolutely could. Just little tiny centers
leaving lots of white space, lots of space that doesn't
have the little dots. I think I'm going to just
do a little bit more green. I think I'm stunn. Something that's
really important and something that
you'll hear me talk about in all of my classes is that I'm
really working on editing, on learning when to stop, when to stop messing with it. Because sometimes I overwork it and I should have
stopped earlier. I watch back over my
videos and I go, Oh, that was so pretty right before you went and did
that last thing. I want to try to make sure
I don't overwork this. I can always come back in and after this is
completely dried, even after my class is over the next day or
next week from now, I could come in and add
in just a little bit more if I wanted to improve on
it just a little bit more. It's better to stop early
than to overwork it. I think I'm just
going to be done. She says as she keeps painting. But seriously, no, I think
I'm going to be done. Then go ahead and
let this dry out completely before you
remove this tape. It's really important that just dries so that it doesn't warp.
5. Outro: Class Project and Next Steps: Hopefully you've watched
the whole lesson through and you're now ready to go and get started on
your class project. I cannot wait to
see what you have accomplished and
what you've learned today in today's lesson. Go ahead and rewatch this
video if you want to. It's not very long,
so you get to rewatch it and pause
it along the way. Hopefully you watch the
whole thing and then go back and do the actual project. I want to mention that yours is going to look very
different from mine. Just like all three
of the projects that I worked on are all
very different, whether they're
similar in colors, but they're still
very, very different. This one has a lot more peaches and this is more in
the pinks and blues, and this is more defined and smaller flowers
and more of them. So whatever you decide to do is perfectly great and
I would love to see it. So go ahead and do your project. Upload a photo into the
class project so that we can all celebrate you regardless of the
level that you're in, whether you're a
brand new person to watercolor or you've
been painting for years, or you painted for years, but then you put it down
for a while and you're just picking it back
up to experiment. Whatever level you're at, we want to celebrate you and the work that
you've accomplished. Go ahead and upload that you can follow me
here in Skillshare, and then you get a notification every time that I
upload a new class. I went ahead and cut this down. I just have a paper cutter
and I just cut this down to size based on the mat that
I was going to be using, and you can see
if I lay it here. That's going to look
so nice matted. I even went ahead and
signed it's ready to go. If I wanted to, if I needed
to add another layer, now that it's completely dry, I could add in just little
touches of details. I think for night now, I'm
going to leave it as it is. You never know
next week sometime I might go ahead and add in just one more layer like we've been playing around with. I hope you had a great time. I hope you learned something. I hope that you experimented. Most importantly, I
hope that you trusted yourself to just have
fun with watercolor. It's so important to just
let go and let it be. If the first one
didn't work out, go ahead and do it
on another sheet. You can always flip
your paper over and do it on the backside if you're concerned about wasting paper. You could take one big
sheet and cut it down into smaller pieces
and play with it. You can use scrap paper
to play around with the concepts before you
begin your class project. It's just so important
that you practice and play without obligation of it being perfect because this is such
a freeing style of painting. It's just your heart
and soul being put out onto paper along
with some practice. I really hope you
had a fun time. Don't forget to give me a
review and I follow and upload that picture that you painted so that we
can celebrate with you. Can't wait to meet you
in the next class. I have something
really fun planned. I think we're going to be making a couple yellow flowers
getting ready for spring. I'll see you in the next
class. Have a wonderful day.
 Brenda Jones, Watercolor Artist & Teacher