Transcripts
1. Welcome and Class Overview: Hi, everyone, and
welcome back to class. In today's watercolor lesson, we're going to be
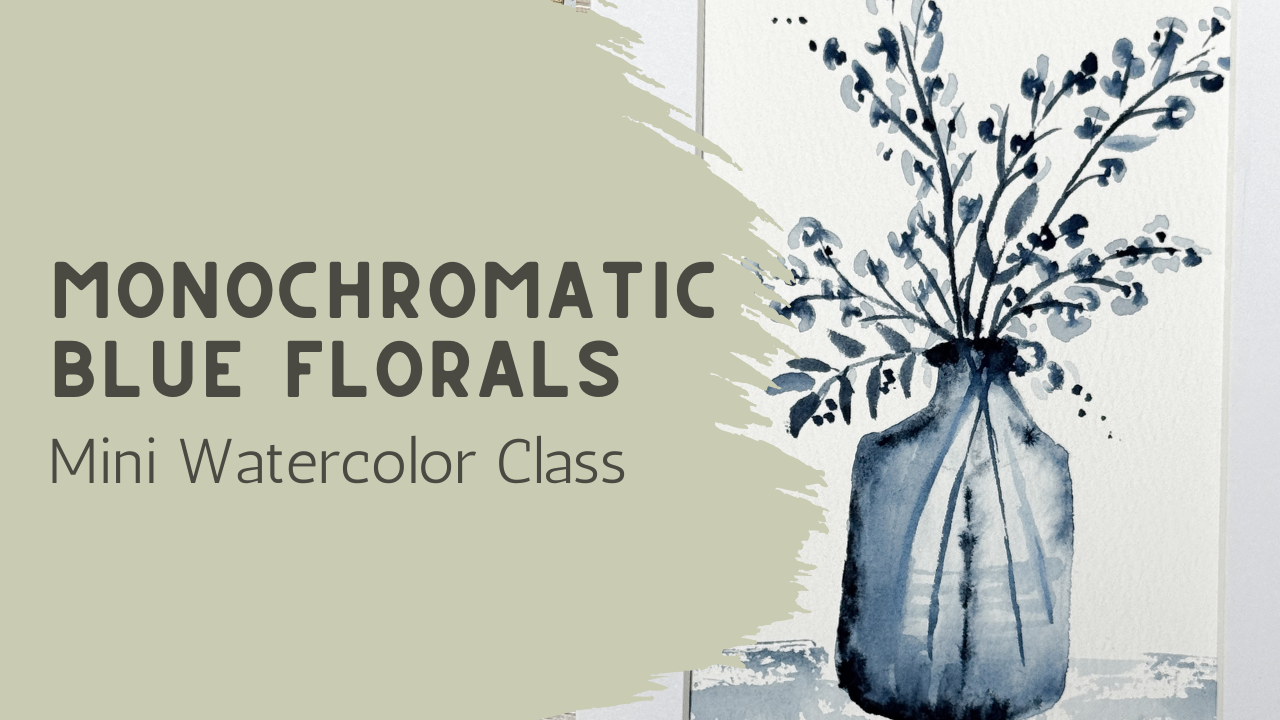
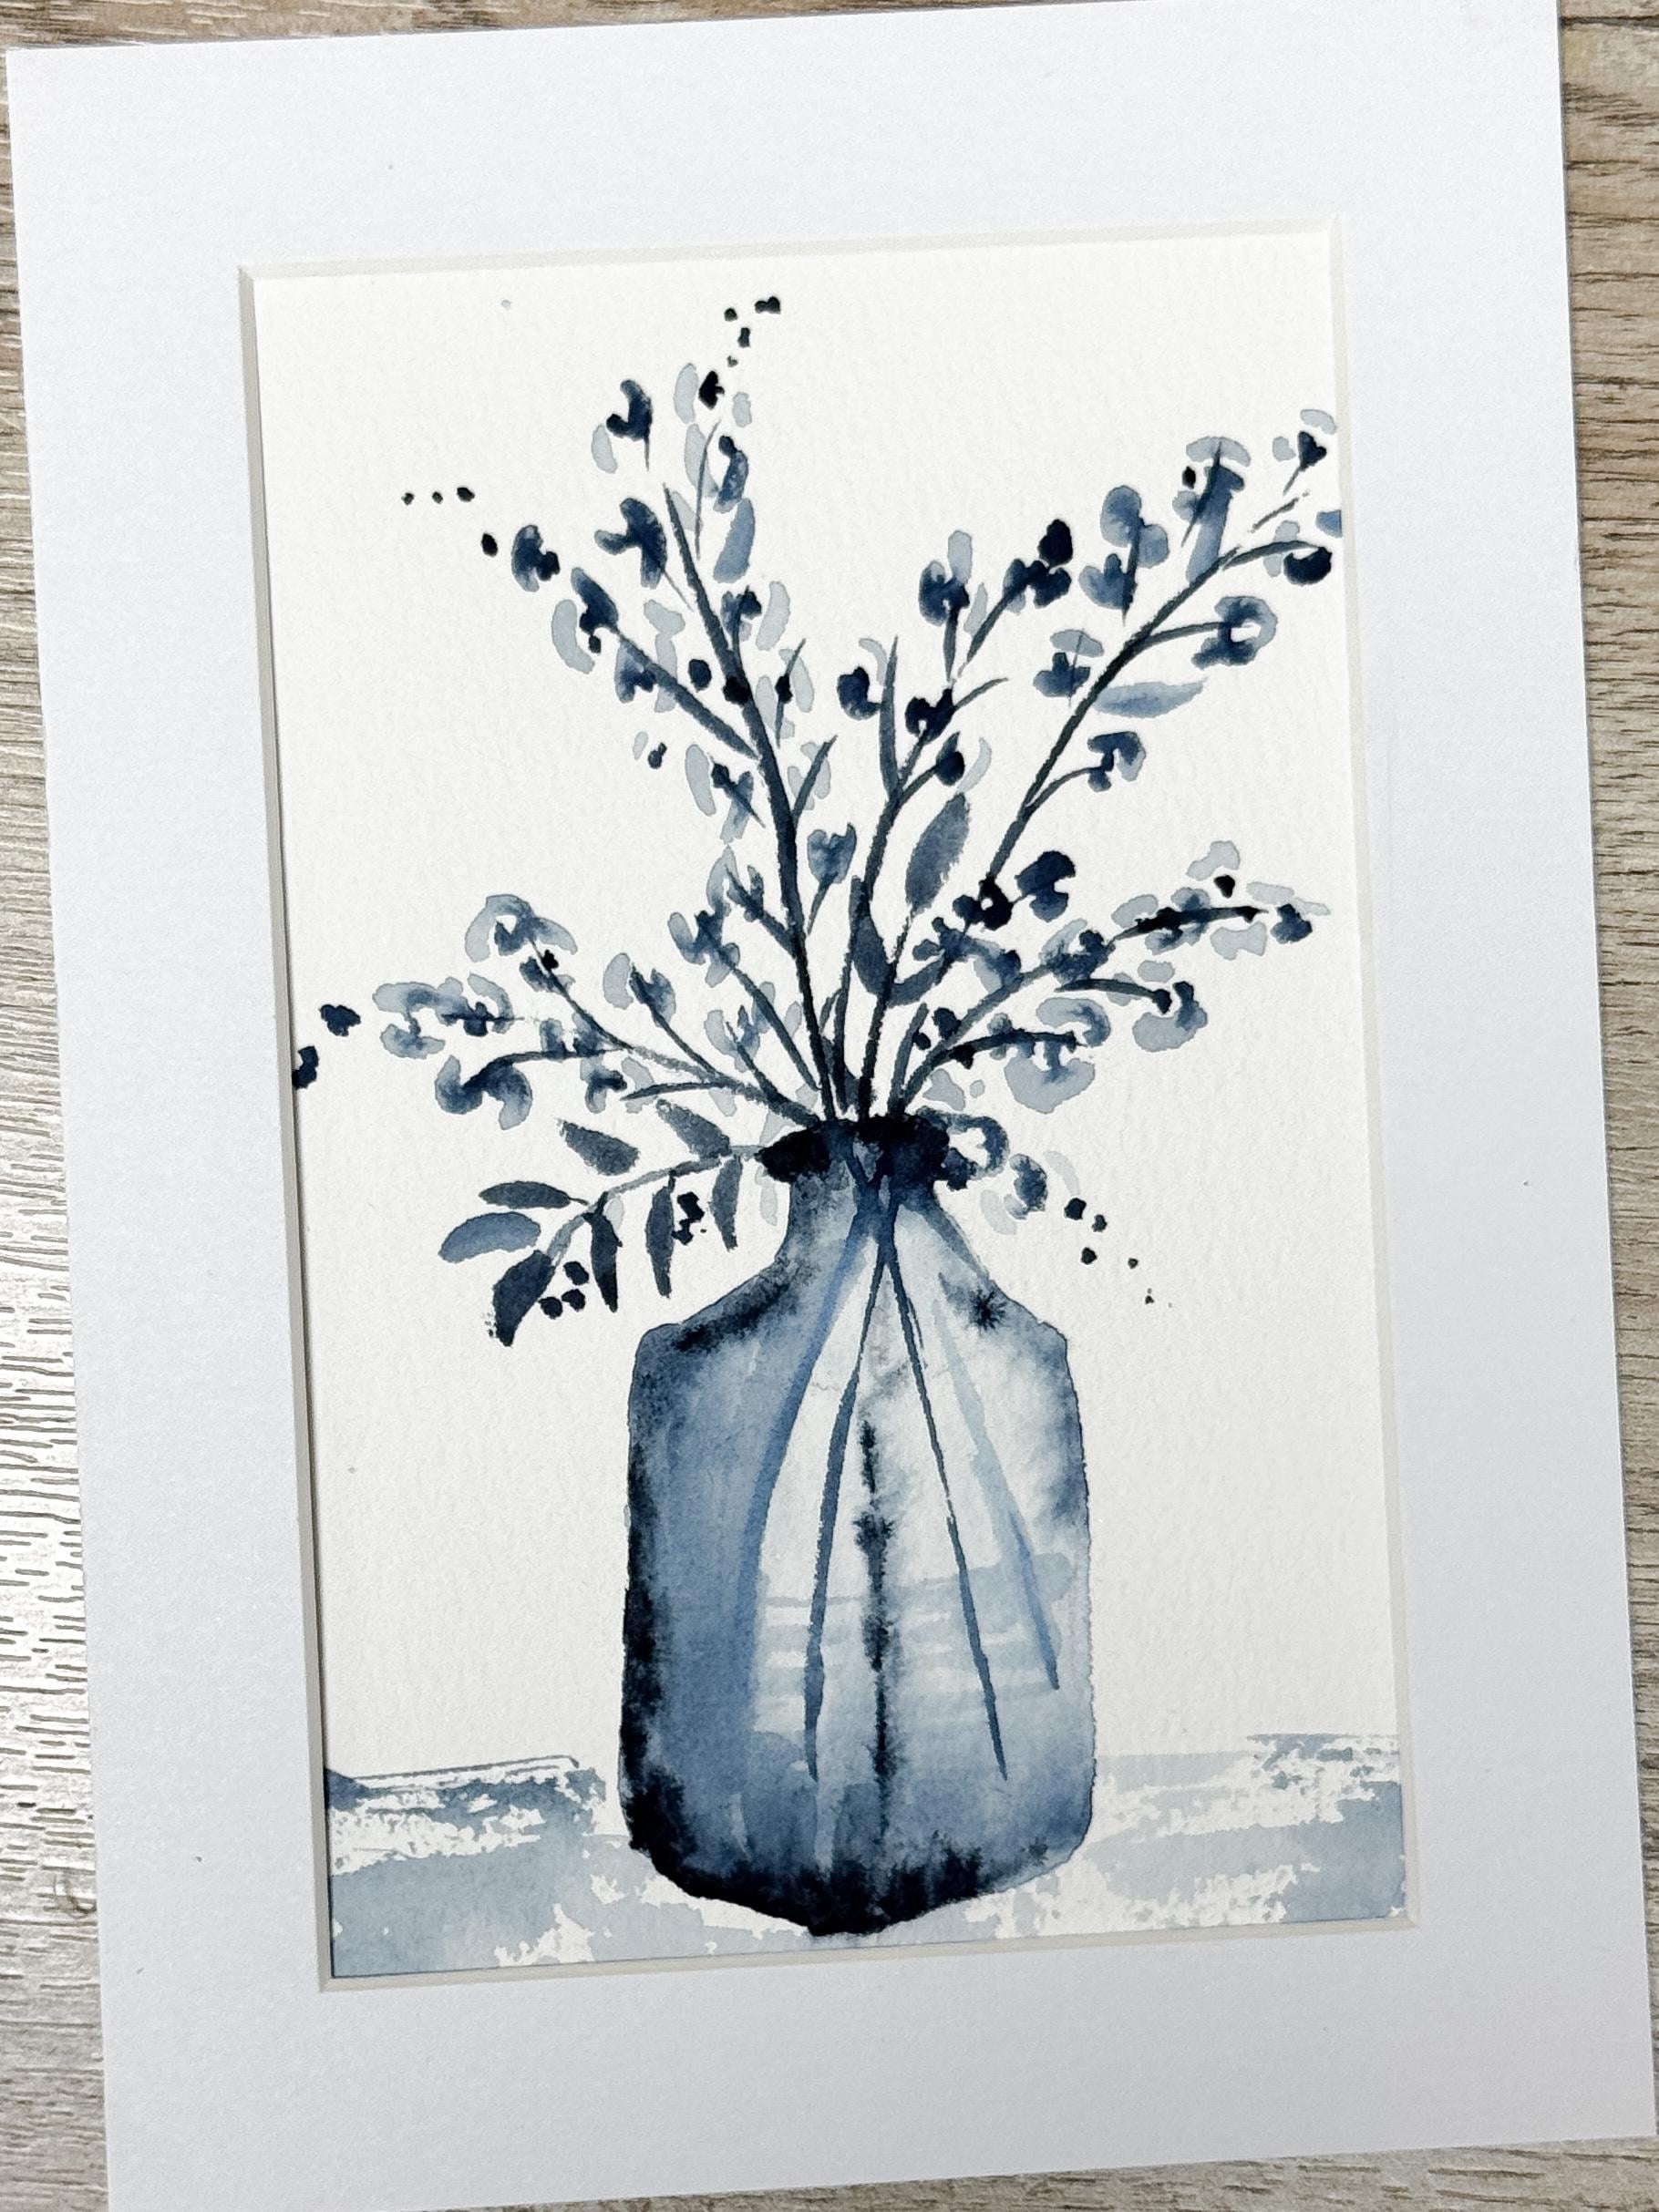
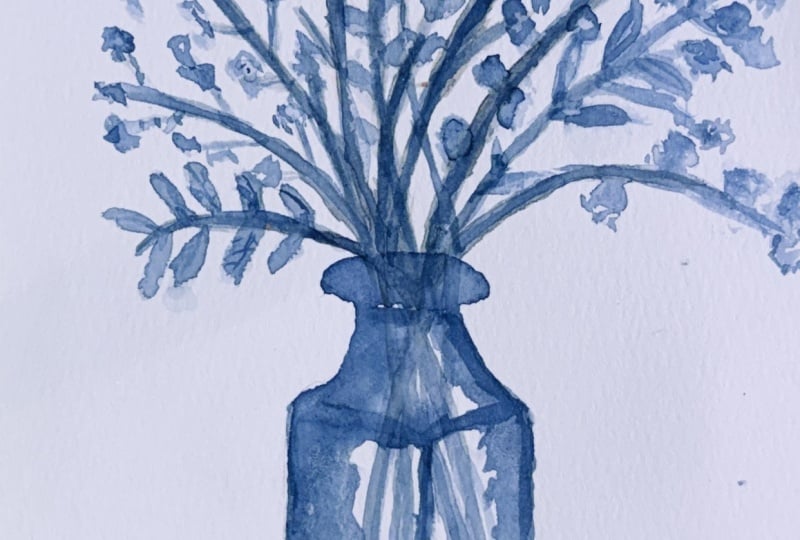
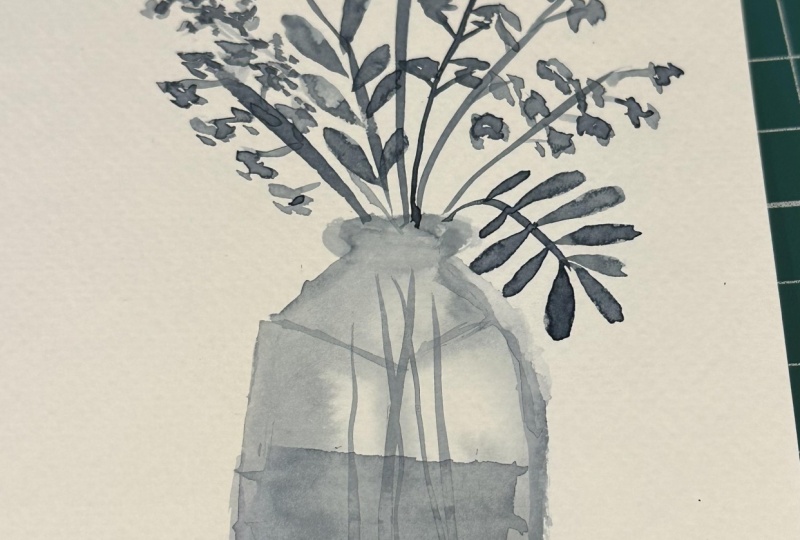
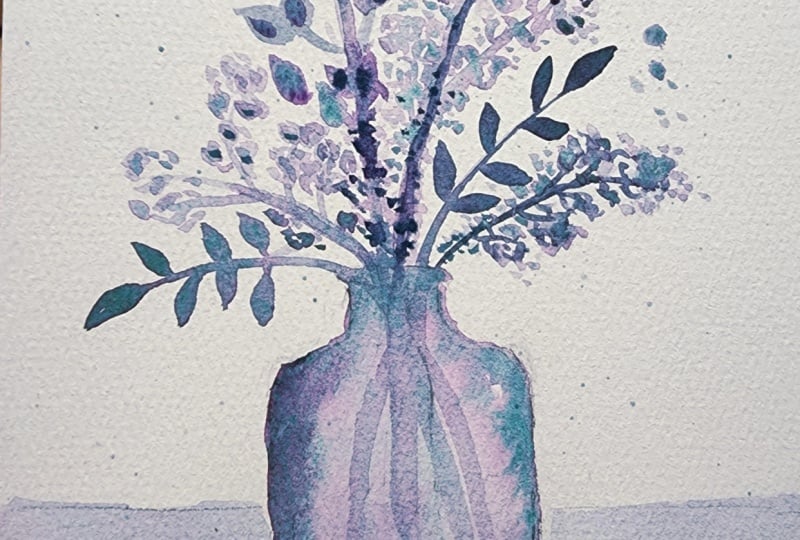
painting this loose monochromatic blue
floral arrangement in a soft glass vase using
expressive brushwork, flowing watercolor, and
a very relaxed approach. This class is part
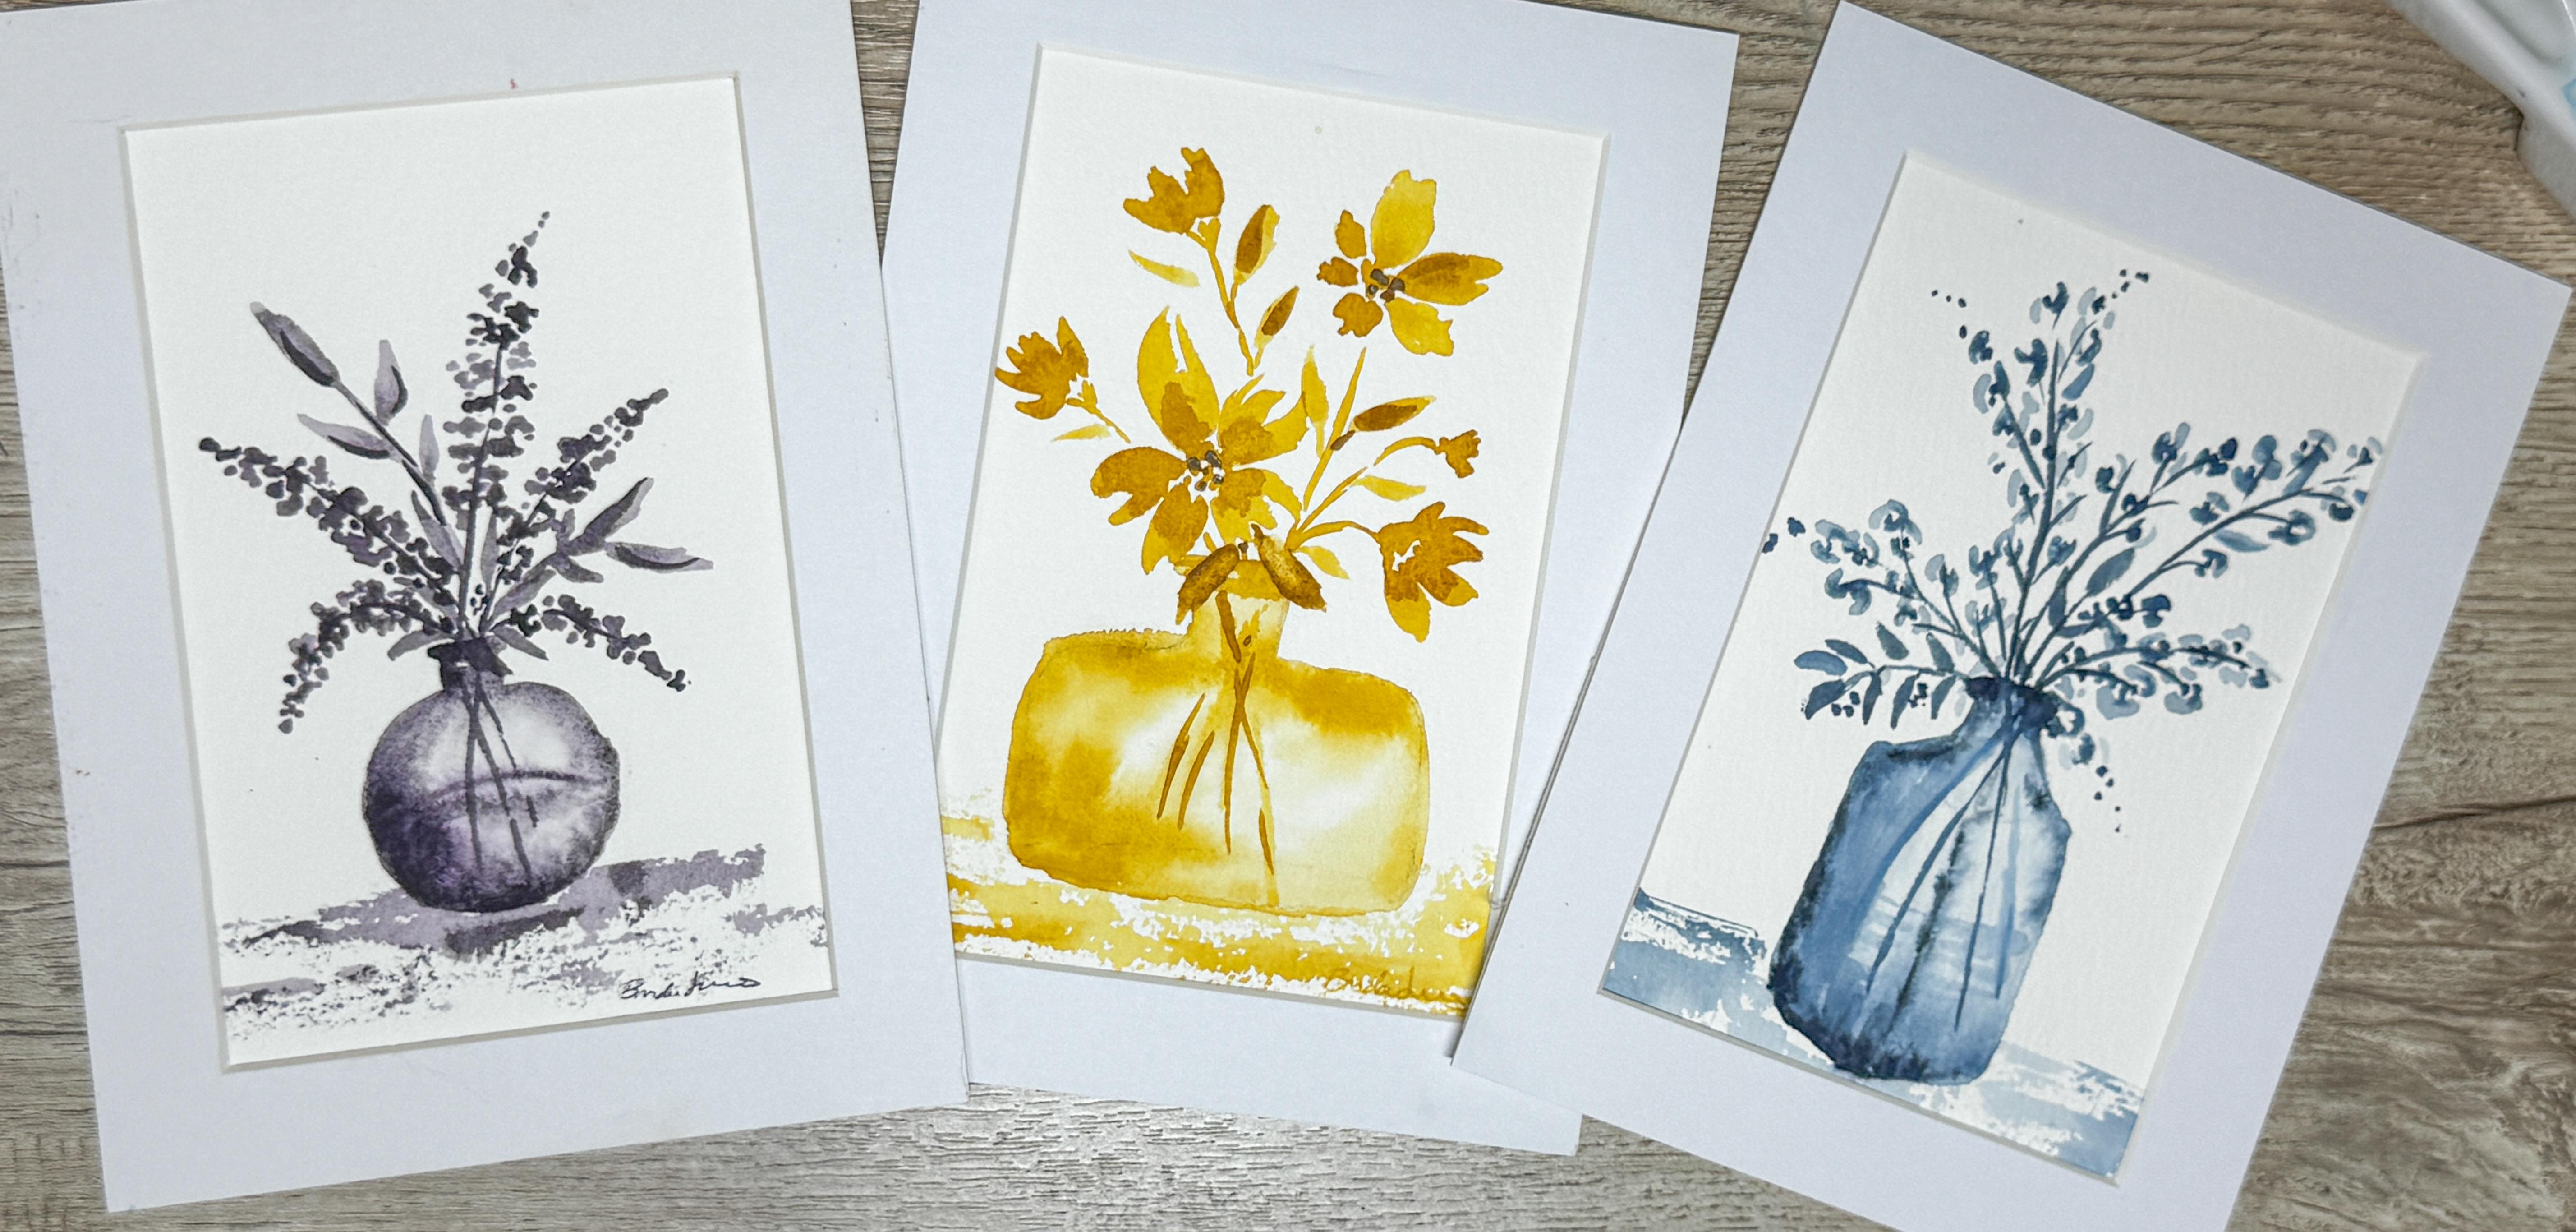
of my coordinating mini watercolor vase
collection series where we explore
different flowers, different vase shapes, and different
monochromatic palettes that work beautifully together when matched
as a set while still having each one with
their own personality. Blue is such a beautiful
color to explore in watercolor because it can create both softness and
depth very naturally. In this class, we're going to be using different strengths of the same blue to build
contrast, movement, and layering simply by adjusting water and pigment levels rather than constantly mixing
lots of different colors. This class is designed
to feel calm, approachable, and easy to
complete in one sitting. Many of my students
comment that they enjoy these shorter watercolor
classes because they provide a relaxing
creative break while still helping build confidence and
techniques over time. As we paint, try not to focus too much on perfection
or tiny details. Loose watercolor
florals become even more beautiful when
we allow soft edges, uneven shapes, and little
unexpected watercolor moments to stay part of the piece. You can absolutely follow
my blue palette or choose your own monochromatic
color family and make the project
all your own. This technique will
work beautifully in many different
shades and styles. By the end of the
class, you'll have a finish floral vase study
that feels soft, expressive, and elegant, all on its own, or displayed alongside other coordinating classes
in the collection. Once you've tried today's class, go ahead and find the other two. You'll also enjoy those. So gather your supplies, settle in, and let's
start painting together.
2. Creating a Soft Watercolor Glass Vase: Okay, so for the third
class in the series, we're going to be painting a blue monochromatic
vase and flower. So we've had so much fun
doing these other ones. But today, we're going
to be doing a third one, which is a blue one. And again, you're going to
find your a picture like, similar to this in
your class project, where you can print
this out and you can scale this to size. If you want to paint
something much larger, you can paint a full size. But if you want to make this
one smaller and just like the other ones that
we did where there was just a little
tiny vase down here, you would either have to print this out much smaller to be able to trace it and
just scale it to size, or you can freehand draw it, which is what I've been doing and that's what I'm
going to show you here is how we can draw
something like this very simply, very easily, very sketchy. So with something
like this, again, I just want it down
here at the bottom, in the bottom section, and
I'm going to see this angle. I'm going to create
something like that. Trying to figure out
where the middle is. This is about the middle of my paper, so that's about here. Then I'm just going to draw one up and then draw it this way. It's not perfect.
It's just an angle. Then see how it just
curves and comes up, then this does the same thing
it curves and comes up. So that's as far as I'm
going to go, just like that. Don't have to worry about
all the other lines. I can put a center line in. If you wanted to use a ruler, you could use a
straight edge ruler. This one's going to be
taller than some of my other vases, so
we're going to do that. Then we're going to
create another angle. See how this angle
goes here and here, it's the same angle of what
we just did down there. Here in the center,
we're just going to draw a little angle and draw
another little angle. And now we know that this curves around
curves around down, curves around down,
curves around down. And we just have to meet
those in the middle. See how that works? Just really easy to just connect those. Now my vas the center
part or the lip is going to be up here and it's an oval, something like that. And then we're just going
to kind of swoop it up and swoop it over. I need to just move my
hand a little bit. Whoop. H it's not perfect
and that's okay. It doesn't matter.
It's close enough. For what we're doing,
it's close enough. If you wanted to, you
could draw in the base, this backside because
it is a glass vase, but it really doesn't matter
because by the time we get watercolor onto this,
you're not going to see it. I'm going to go
ahead and erase this to erase as much of the lines as possible
so I can still see it, but that my watercolor
will cover over the lines. Okay. Good enough. I'm going to be using a blue. So this beautiful
blue, I have it here. It's nice and concentrated. And as we've been doing
in all the other classes, if you start with a
nice concentrated color with a lot of paint and
just a little bit of water, you're going to get
something nice and strong. And then the more water you add in the lighter your
color will get. So here I get a
little bit lighter. Just adding in water. I'm not putting it
back into paint. I'm just adding it to water and look at how much lighter
and lighter and lighter, but yet I still have pigment showing up because I still
have it in my paint brush. Then as you go, when you've done something like this
and you want to add just a little bit darker, you can always drop in a
little darker color into it. So now that I've done that, I'm going to go ahead
and wet down my vase. Now, my water is already a little bit blue from that last experiment, but that's okay. That's not going to
make any difference. This whole vase is
going to be blue. I'm going to be
careful to go around the edges kind of covering over any lines that are there because we want
to make sure that those lines get
covered by paint, but not going really
outside the lines. Because wherever your
watercolor is your paper is wet is where that watercolor
is going to bleed to. So you want to make
sure that this is the only time that I'm saying that you
have to be careful. The rest of watercolor
is, it happens. Just when you are
working wet on wet, make sure you only
are wetting down the spot that you
actually want paint to go because it will flow to
wherever the paper is wet. Okay. So I've put that all wet. You can see that it's shiny, but it's not dripping. It's wet, but it doesn't pull. Now I'm going to use
this beautiful blue, and I'm going to be adding
just a little bit of blue to the rim and to the
outside edges. I'm not going to put
it into the middle yet because we're
going to pull it into the middle with our
clean paintbrush. I'm just going to
put it down here at the bottom and ever so slightly
over here on this side, more on this side because
of the direction that the sun is shining
from this direction. So now I have it on here. You can see it's still
wet. It's still shiny. I'm going to rinse
off my paintbrush, dry it a little bit on my rag, and then I can pull this paint around
because it's all wet. And I can add in this softer blue wherever we want to add it,
I can put it here. I can leave in some
white spots so that I get some highlights from my jar. Then I can get even darker. I want to add a darker
base, darker edge. This is where you get
to just play around with it and create it. But see it didn't matter
that my vase wasn't perfect. It didn't need to be perfect
because we're just going to make something really
sketchy and light. So I'm just gonna
add in a little bit here and there. I do. You want to identify that
that's a line down the middle. But with my clean paintbrush, fairly dry paintbrush, I can just kind of move
that paint around now. That's the fun part
about white on wet. Okay. Good enough. We're gonna be putting vases
in stems into our vase.
3. Painting Loose Blue Florals: So that's gonna be good enough. So now I want to add a couple
stems coming out of here. And just kind of going
in different directions. Branching maybe they
even come come, you know, branch that direction. Maybe I want to have one
that comes up taller. Gonna have this one
shoot up there. Alright, then I think
I'm going to add in a couple little leaves. So it's just a little branch. Then a little press
down and pick up. A little branch, a little
press down and pick up. So we're just going to
make a little leaf. Little leaf branch right here. Oh, I do another one here. You don't want to
add too many leaves. It's very easy to
add too many leaves. I'm just going to add a
couple here and there. And then what I'm going to
do is we're going to create these little
offshoots like that. And on these little offshoots, we're going to add
little clusters. They could be berries, they could be leaves, they could be flowers, whatever you want to create, we're just going to create these little extra
little branches that come off of the long stem. I'm going to add a
little bit more water so that I'm a little bit more diluted and have a
little lighter color. More water, less paint. And I'm going to make
some little clusters of berries or little flowers. They're not an exact flower. They're just these
little clusters. So here. Almost like
little Cs or half ovals. Very, very light. Just some little sees going
this way and that way. See that? One, two, one, two, kind of like parentheses, I
guess I should call them. Like little parentheses that
go different directions. All we're doing is making
these little clusters at the ends and up
and down the stems. I'm using this
really diluted blue because then we can always come in with the darker blue and add in a darker blue
element into it. As this dries, we can
always add that in. Little parentheses
facing each other. Put them in the middle,
get them at the bottom. We even have some
coming off the edges. Leave me a nice amount
of white space. You don't have to
fill the whole thing. You can have lots
of white space. Okay, this is pretty wet still. I'm picking up some
of the extra water. Then we're going to be
adding in a darker. So I put my paintbrush
into the darker blue, less water, more paint. We're just going to drop it in kind of almost into the
center of the parentheses. And see how when they touches, it just bleeds into the lighter parentheses
that we had already done, those little Cs and adds such a nice little extra
layer of texture and color, even though we're working
with one color blue, it lets us have the illusion
of multiple colors of blue. And they don't all
have to have it. You don't have to make sure
that every single one of these little flowers
has that extra blue. You can just choose which
ones you want to add it to. Or maybe you want to add it
to other areas where it's not even so I can add it up in here. I can add more over here. It's not even attached. I'm gonna add some
over here. But darker. Almost like those
are the buds that haven't even started
to bloom yet. Let me put some down here
across the vase itself. I do want to add some stems, and this is still wet slightly. I'm just going to add a
couple stems into my vase. They can criss cross. They
can end at different spots. Give the illusion of a stem. It doesn't have to you don't
have to see the whole thing. I'm just going to soften
that one a little bit. And by softening it, I mean, I'm cleaning off my paint brush, making it fairly dry, and
then just kind of, like, going back over it
and softening it, making it look like
it's in water. I might even want to add, like, a little line in here
for the water level. Like a horizontal line. I'm going to move down
here to the base. Add more water. I want to put this
vase on a table. Now I have that really
light color blue on here, lots of water,
little bit of paint. I'm going to hold it like this and let the paint brush
just barely touch the paper and let it be all sketchy and etchy
as I drag it across. And if I want to add
in a little bit of the darker color to get that two tone effect,
I can add that in. Just be really careful with it. Okay. Yes. It's cool. I like it. Then you can fix it, change
it, do whatever you want to. Add a little bit more
color to the vase. Add more flowers,
add more leaves. Just be careful that you
don't add too many leaves. I kind of like this.
Really pretty. Okay, I'm going to dry this off, and then we're going to mat it.
4. Final Thoughts and Next Steps: Just finished the final piece in this coordinating monochromatic watercolor vase collection, and I hope that these
classes helped you feel a little bit more comfortable
exploring loose florals, softer watercolor techniques, and working within a
limited color palette. One of the things I love most about monochromatic painting is how it teaches us to slow down and notice
the small shifts. Water, value, layering,
the movement that creates depth without needing
a complicated setup or a large range of colors. Hopefully, these
classes also showed you that loose watercolor
does not need to feel intimidating or overly structured to create
something beautiful. Sometimes the
paintings that feel the softest and the most
expressive are the ones where we stop trying to
control every detail and simply allow the watercolor to move naturally
across the paper. If your paintings look
different from mine, that's completely okay
and honestly expected. Every artist naturally brings their own brush movement,
pressure, layering, and style to their piece, and that individuality
is part of what makes loose
watercolor so enjoyable. I would absolutely love to
see your finished piece, and especially your
full collection if you painted all
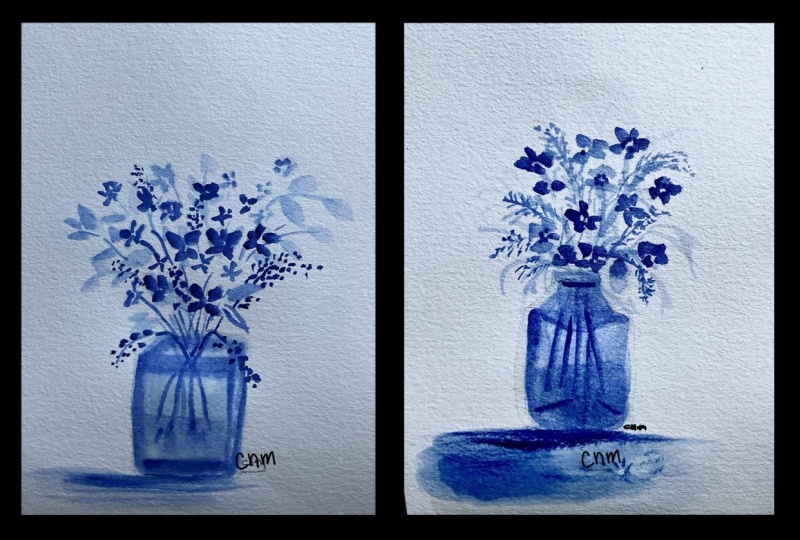
three classes together. Please upload your work
into the class gallery. Seeing your interpretations
of color choices is always one of my favorite parts of teaching here on Skillshare. If you enjoyed these classes, I'd be so grateful for
exceeds expectations review. Your support truly helps my classes reach more
students and allows me to continue creating these short approachable watercolor lessons and relaxing floral
collections for you. Also, don't forget to follow me here on Skillshare so that you're notified when the new watercolor classes are released. I'm always adding new florals, techniques and calming
watercolor projects that we can explore together. Thank you so much for spending this creative time with me. I hope these small
floral studies encouraged you to
relax a little, experiment more freely and continue building confidence
with loose watercolor, one painting at a time. I hope to paint with you again very soon in my next class.
 Brenda Jones, Watercolor Artist & Teacher