Transcripts
1. Intro to the Class: Hi, friends. Do you love
loose watercolor florals, but can't seem to loosen up
your watercolor paintings? I wonder if you find
yourself clutching the brush really hard and then ending up with a really tight painting, not that loose flowy painting
that you were looking for. So this class is
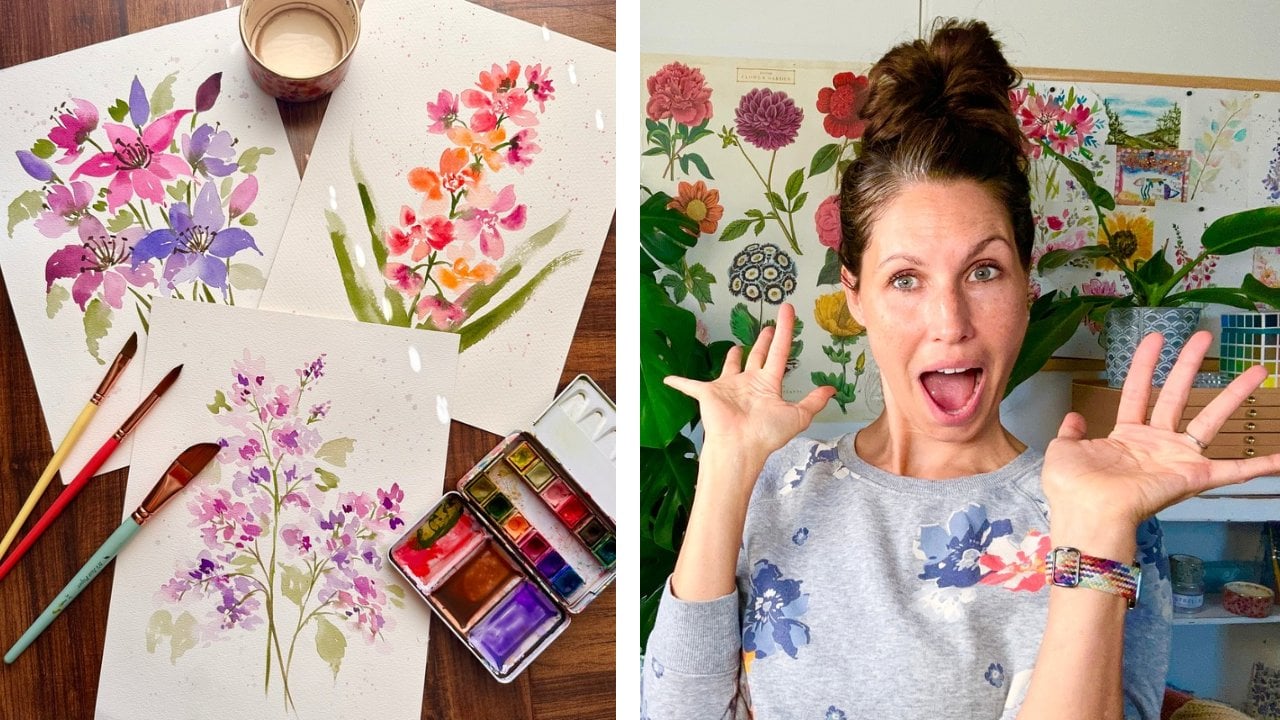
perfect for you. So I'm Tammy K, and
I'm an artist and a mental health therapist
working in the state of Kansas. And I love to paint loose watercolor florals
and landscapes, even do some sketching
and drawing as well. And I find I love to mix that self care element
with the watercolor that I teach so that you guys
can learn to let go of perfectionism in your art
and just enjoy your process. So I created this class today to be able to help you
loosen up your florals and also experience
some joy as we do these beautiful,
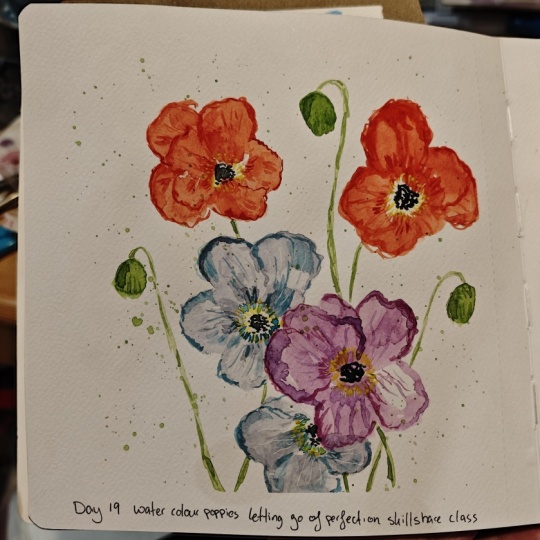
colorful slanic poppies. So here are the
things that you're going to learn today
in this class. First, we're going to learn
how to put that first layer down to create the placement where we want our flowers to go. And then, secondly,
we're going to do that second layer
where we're going to add in that shadow
and that depth then for the next part, we're going to add
in those details. And finally, the big
piece I want you guys to take away is that we're
learning to let go of perfect, what we think is perfect in our arts that we can just enjoy the process of painting
and not be stressed out. So in terms of who
this class is for, it's perfect for beginners
who are wanting to learn a new painting style
or learn new skills, but it's also for the more experienced
artists that wants to refine the skills they have
learning to loosen up, learning to let go of
perfectionism, as well. I'm so excited to get started with this class, so
let's get to it.
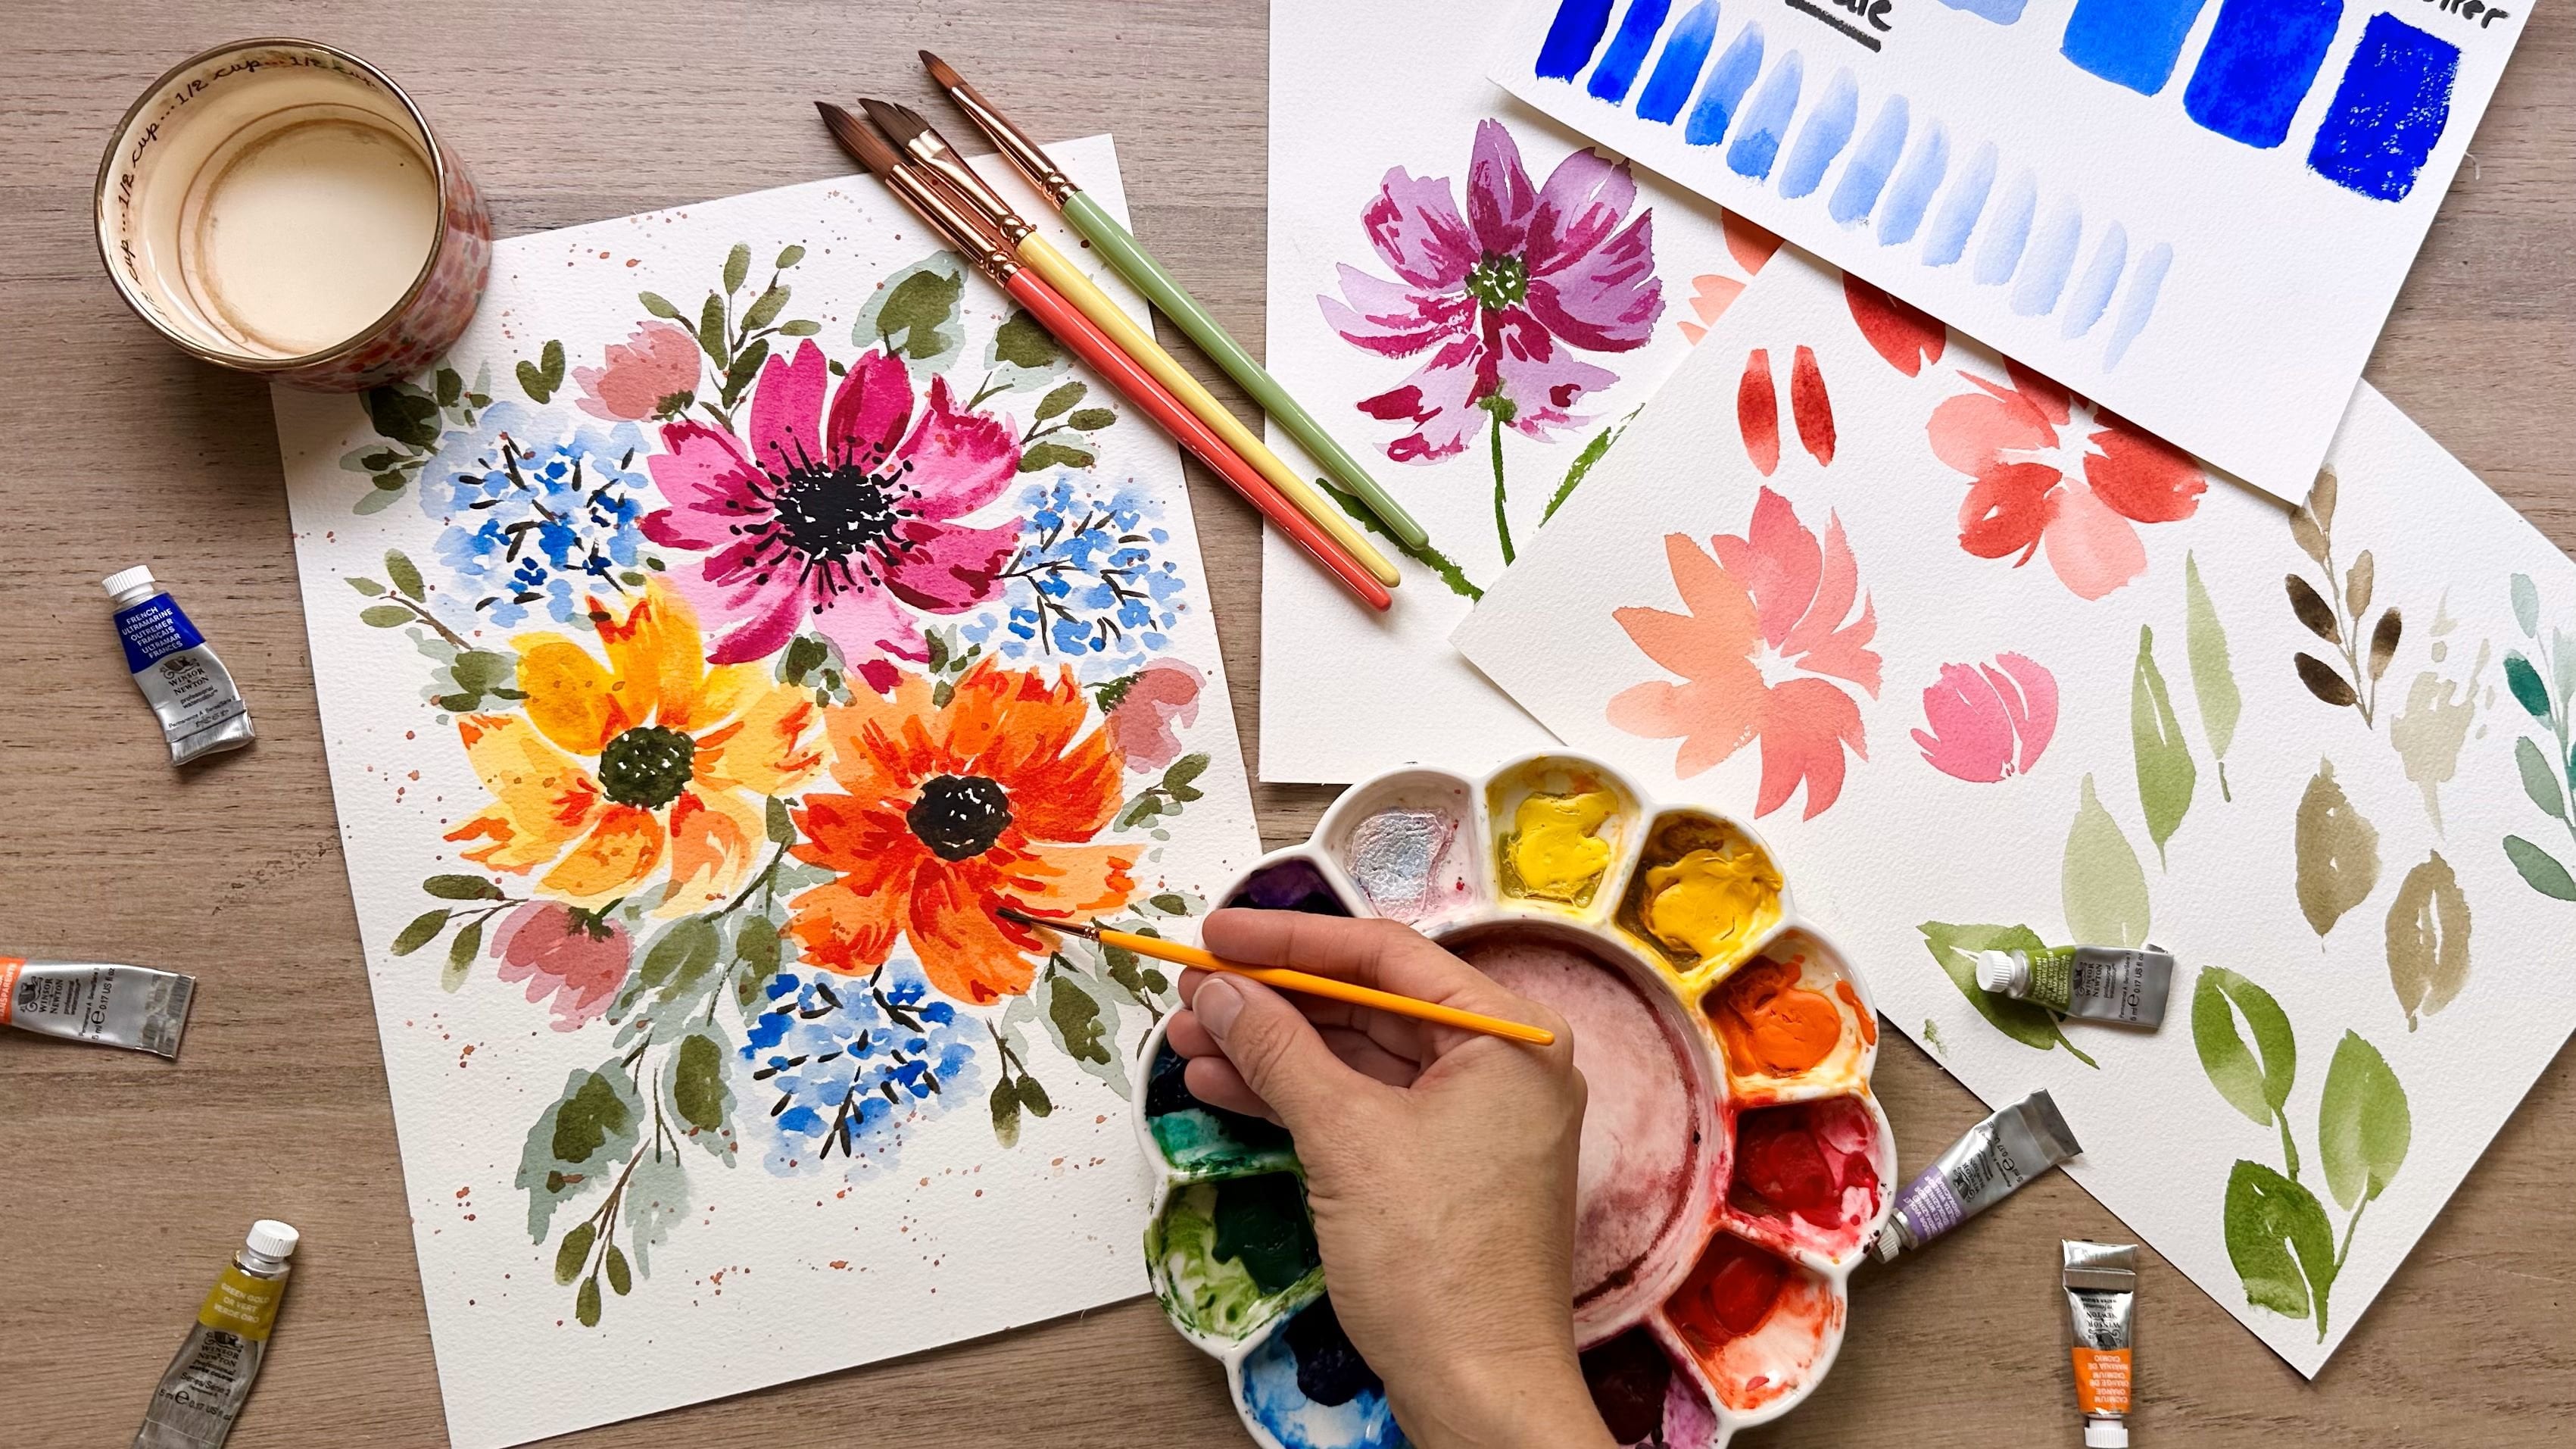
2. Supplies You Need: So when it comes to
the paper that you're going to use, use
whatever you have. For me, I've got this
block of watercolor paper. It is cotton. It's seven by ten. But you could use a
larger size if you wanted or use your
sketchbook, as well. Then, of course, some
type of watercolor palette so that you can, you know, paint with
your watercolors. And then when it
comes to the brushes, I like to do a smaller
medium and large brush. So you may not
need all of these. You might not need the
tiny detail brush, but I've got a number 12
and a number eight round, and those are my go to brushes, and I've got a number
two for details as well. Of course, you need your
jar with some water. And then a spray bottle as well so that you can
spray down your palette. I always like to have a paper
towel for dabbing my brush. Finally, I do have a roll
of very thin masking tape, and that's just going to give
us a really nice border. Of course, if you
don't want to do that, you can skip this part,
and it'll still work. Alright, let's get to painting.
3. 1st Flower Layer: Alright, so we're
going to start with taping down our paper. And I've got a really
thin tape masking tape, but you can use, you know, a thicker one if
that's what you have. I just like to have a
nice little border. Think it's cute.
So we'll go with that. There we are. And we'll be spraying down the palette very soon
so that we can get our paints activated and ready for the whole
process of painting here. Alright, so that is
all ready to go. And I've got my spray bottle,
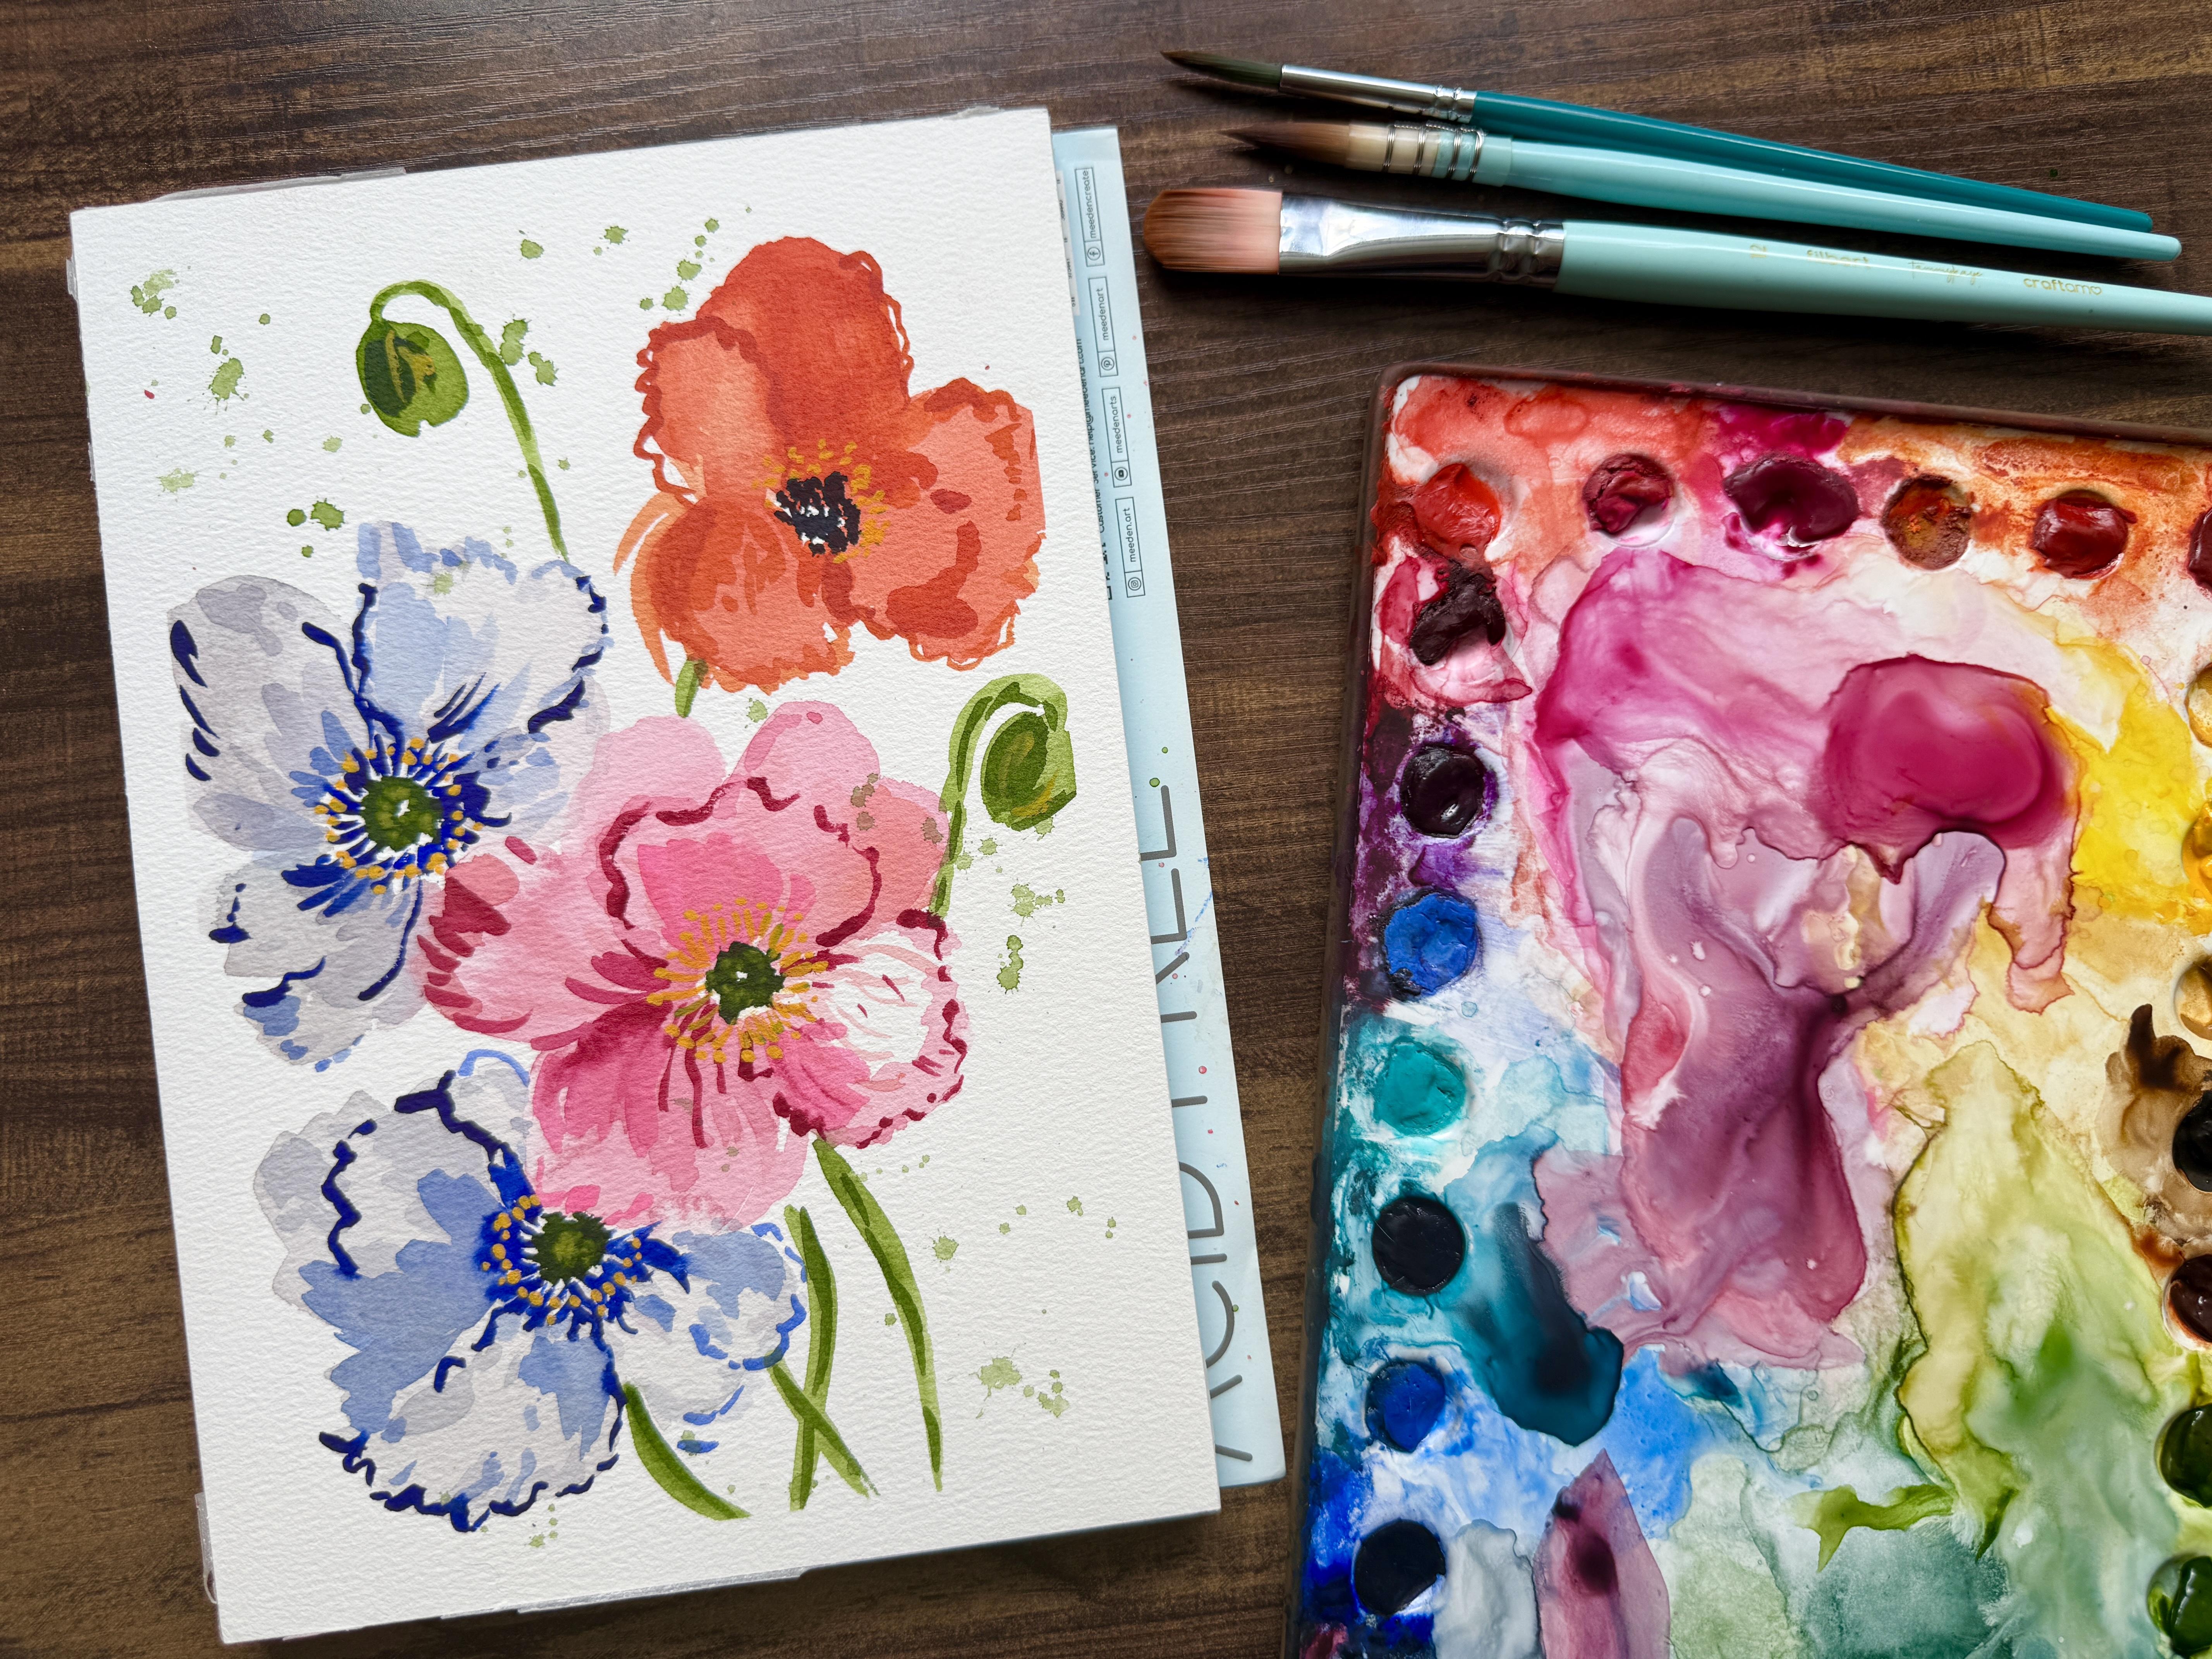
let's spray them down. So I wanted to show you
guys just real quick. This is what we're
kind of doing today. That's my general
reference for this. And I'm going to start
with my largest brush. So dipping in number 12 round. Se what you got,
though. We're going to start with a very ruddy mix. This puddle right here is
perfect of light light pink. So let's go ahead and start. I'm going to move
this a little bit. So I have more room. And I'm just going to start putting in this bloom just around here. So I like to go from
the outside in and just kind of swooping those
petals around just like this. It's not stick straight, but we are moving them. And, you know, this
is that first layer. So sometimes it gets really, I don't know, a little scary, to be honest, because
we start to think, Okay, well, I'm putting
the placement here. I don't know if I like
how this is turning out. Sometimes we start to
freak out because it's not looking like anything much yet. But you have to give
ourselves some time, right? Because you're
going to have some other layers that
you're gonna put on, and it's going to be lovely, but if you find
yourself, just, like, kind of stressing that process, remind yourself that we
still have a ways to go. So don't stress out
about that first layer. Just put on the paint. Just kind of roughly like this. I'm actually going to
leave that white space because I think it's
going to be kind of, like, an interesting
highlight area. So white one over here, we're not doing white
because watercolor, white, that just doesn't just
don't use white watercolor. It's too transparent. I'm
going to grab from here, just a dirty color, a grayish, and that's what we use
for white often instead. So let's go ahead and
just put in those marks. I'm going to go all
the way to the edge, and I'm just swooping
down towards the center right over here, too, and I can even just grab some more water to make this
lighter and swoop this down. And of course, if they
touch each other, that's good because there's
nothing wrong with that. The watercolor
spreads and flows, and it's a fun little
exchange of color sometime. All right, so let's do
another one down here, and this one is sort of
a side facing flower, she's just kind of
covered up from this one. So a little bit of gray
swooping them around. And remember, I'm always
wanting to remind you guys to let go of any perfectionism that creeps
in when you're painting. So if you're starting to see
that creep and recognize it, remind yourself,
there's no reason, no need to be
frustrated or worried, you're just learning a new painting skill if
this is new for you, and it's good to try new things. So this one I'm
actually going to make it very dark value. So grabbing this really
beautiful reddish orange color, and I'm going to go over here to a sort of like a
side facing one. Going to wiggle my brush, but it's kind of
crinkled in the picture. And it's got some
little waviness here. So allow your brush
to just really move. Naturally, I'm gonna
dip in the water, swipe off, take off some paint. And now I'm going to the edge, kind of coming around here. Iii filling that in. I want it to look as
natural as possible. So I'm just trying to
allow the brush to move, and I feel like when you allow the brush to just move and
do what it needs to do, just kind of
contributes to more of that natural look,
in my opinion. Okay. So we've got
those four blooms. If you want to add another
bloom, that's fine. Actually, I'm going
to leave it as that, and then I'm going
to take my green. I'm going to take my
brush with my green. Swirling it around.
You know what? I just changed my mind. We're gonna do another bloom. We're gonna do, like a little
bud, actually, instead. So still using the green
but a larger brush, and I'm going to, let's see, put in
just right here. They like to hang upside down. If you're not sure what I mean, I'll show you in a minute. So I'm gonna put
one out here, too. Alright. So we'll just leave
those here for now, cleaning the brush, going
back with the smaller. This is the number eight, and
just putting in some stems. So kind of arcing it around. It's gonna come out about
there, this one here. And I'd like to make
sure that they move. So this one would probably
come out about this part. Let them move and
just kind of ark. And instead of, you know, putting the stem here,
we put it right up here. And let it just come
around this way. And then this one, too, is
gonna have a cute little stem. Let it come through here.
Alright, so we'll dry this, and then we'll get
to our second layer.
4. 2nd Flower Layer: So now that everything
is dry to the touch, and if it is a little damp
or a little bit cool, then you know it's
not totally dry, but it needs to be
dry to the touch. We're gonna start putting
on those next layers, which is really fun. So I've got my
smaller brush again. And we're going to do slightly
more intense versions of the paint that
we've used already. So a little bit more color. Into the puddles, right?
Just a little bit more. It does not have to
be super intense. Can grab some orange,
grab some yellow. We're just wanting to start
putting in some lovely marks. So dabbing your brush
still in my way. So what I like to do is
just start, you know, putting in where I think some of those petals
should be defined. And so I know there's some petals over here
that are overlapping. So I'm just going to start
putting that in right now. I'm seeing a lot of lines
where things are just kind of layering with each other and some thinner and some
thicker ones as well. Sometimes I like to just put on kind of blob on
this paint like this, just a little bit of a
difference in those petals so that we have just some textures and things
that are really pretty. We're going to do our final
bits with some darker, just to outline
some of the petals. But first, we're going to
start with just, you know, making this a little bit darker here. Wherever you want to. Sometimes some lines
can be nice too. Poppies have a lot of
those little lines, those little curvatures as well. I'm actually going to put
some here in the white part. Just make sure that
you curve them around. So they look natural versus stick straight
because these petals curve, so you have to
curve the lines as well to make them
look more realistic. If there's anything that you
put in that you don't like, you can totally just use some water and
then blend it out. And a lot of things can be kind of changed if you need to, so it's good to know. All right. So let's keep going
with this one here. I've got the gray, which is kind of this gray
blue here as well. Kind of outlining some things. There we go. That's how I got lost
in thought there. Sometimes sometimes that happens, you know,
we're creating art, and we just get into
the flow state, which is super
important, you know, to help us to just, like, stop over thinking so much. And just start
enjoying, you know, the creation process of the beautiful flowers or landscapes or whatever it
is that you're making. So I'm just going to, you know, randomly
putting these around. This is a very
light color purpose just to start adding in some of those more of those
blobby shapes and then, you know, we'll go darker,
too, as we need to. But just being playful. And I think that's the biggest
thing to keep in mind, being playful in this process. So, this one is really dark and it's not going to
require as much, but I am going to go pretty dark on top of that
with some orange, some bright bright
bright orange. And, you know, just
kind of putting in some really
loose little marks. Remember, too,
that you are going to very soon put
in your centers. You centers are going to create a very beautiful floral
composition once it's all done. And so this is just to
add in some more color, a little bit of texture
and shadow. Beforehand. Okay, and I'm going to
darken up now with some darker green these
little moments here. So this is where we're
starting to put in a little bit more depth and
interest with her painting. Little dots and dashes are fine. I don't want to cover up the
original part, you know, because I want to just have some interest and have
those two shades of green. You can see how things are starting to really
pop off the page. I've just cleaned
and dabbed my brush, and then I'm going
to go ahead and just kind of smooth this out. What I'm actually going to
do is clean the brush now, dab it, and I'm going
to lift some paint. And so that's going to create a little bit of a difference between
the two shades there. The lightness and the
darkness of a color. And that creates a lot of
beautiful contrast by itself. Okay, we're gonna dry this, and we'll get to the next layer.
5. Details Layer: It now I want to start putting in with some smaller brush
strokes and darker paint, some more exaggerated
contrast with the painting. So I'm taking my
number eight still. I've got this beautiful blue, and I'm going to use that in just strategic places
for these guys here. So dabbing the brush, I'm going to just do like
a little bit of, you know, a little bit of marks here in smaller spaces than I already did so that we're going to start creating a little bit
more of the shadow. And let's see what's over here. If you're using a big brush
and it's not working for you, you can always use
a smaller brush, and it's going to get you
probably better results. I'm just doing this for now. And let's see. Over here, too, just a little bit. You can see I'm just
pressing down and creating some really
thick strokes, but then in other places, just like dashes and dabs and maybe some wiggling of the
brush or some little lines. The whole idea is that contrast, contrast in texture,
contrast in color. For the poppies. So
now I'm going to take my number two brush go a
little bit more intense blue. Yeah, we're just going
to go like this. And now you can
see that I can add in much darker marks here. I'm just getting some
bold bold looks. And over here, too, I
really love doing this. Almost it's like painting with acrylic because now it's
just really showing up, and I like to do these
little kind of curvy, curvy strokes over the top
of what I've done already. And allow your brush to
move and ebb and flow, too. Like, don't be afraid of it. I always hold the brush very loosely so that I
can get that effect. And you can see that I'm, you know, going pretty quickly. I don't want to overthink
this whole process. I'm actually going to create
a little petal right there. If I overthink it, then I just get really
stuck in my head. So my advice to you, also, just go faster than
you expect that you would. Um, I've decided
here I'm going to do these little what
looks like stamen. That wasn't my plan to make them blue because
they're usually yellow. But for this painting, I
think it's kind of pretty. Sometimes you just have
to make those, you know, those moment moment by moment moves as you are led by
the creative process. That's what I think anyway.
So now I'm just kind of curving around
just like that. Getting those beautiful petals
in there over here, too, just a little bit of
extra. There we go. Always be evaluating.
What do you like about your painting? I feel like this has
a lot of coverage, and this right here
needs a little bit. So just putting a little
bit more in there. What does your painting need? What do you need to
put in to feel more satisfied with your results?
You know, maybe it's fine. And you don't need
to do anything else. So, see what I mean? Like that first layer can feel a little bit scary,
like what am I doing? But then as you add
in more details, you're starting to understand, like, where you're
going with everything. And then, same with the orange. I just want to just
kind of go around. Let's see. Just a
little bit of this. I'm actually kind
of going outside of the painting itself. This orange one is sort
of my challenge today. And so I'm just
trying to see, Okay, how can I finish this painting
feeling like, you know, I've got some success here, and maybe, you know, when I leave this painting, I will figure out, Okay, what did I need to
do differently? What could have been
a better process? It's always re evaluating and evaluating and re
evaluating, right? What is your What's your
end goal? Your bottom line. Okay, for this, it's got a lot of
different pinks on there, so I'm just going to go bold and concentrated with
a smaller brush. And I'm going to
start, right here, adding in my really
intense pink. And I'm intentionally
skipping some parts, you know, just for the
artistic value of it. And let's see here. And then we're gonna put
some curved lines thicker and some thinner. And up here, too.
Darkening up those petals. So now you can see, Okay. We're really starting
to come together. It's making more sense. This is just a fun
process, right? Little by little,
you figure it out, you kind of get there slowly. I kind of want to add in
a little more pink here, so I'm just going to
use the bigger brush and actually go with
that fluorescent. I don't know, but just
a very runny version, dab and then just put in a little bit more pink.
Oh, yeah, that's nice. I like that. The
creative process, it takes a while
sometimes for things to start working. Okay. Okay. So there's that. I'm thinking those guys are
having a happy, good day. This one here is
just a weird angle. And so, you know, trying to make that
one come to life a little bit has
been a challenge, but I think that I'm pretty
happy with what's going on. It's adding a little bit more fluffy to the
outside of the petal and just kind of fluffing that a
little bit, as well. Okay, drawing it up, let's
get to those centers. So the centers such a fun time. I've got my number eight, and I'm going to grab
very concentrated green. And I'm going to make a little
circle and pop that in, and I'm telling you, you're gonna see you're gonna be surprised right
now just how much this comes together with that little dot of color
in the middle. Isn't that fun? Alright,
we've got that there. I'm actually gonna go with Hmm. Let's do green with this, too. I already has some
of those stamen, but we can even darken them up a little
bit if we want to. Just careful not to cover up all the white space that's there because that serves a purpose. It's pretty as well. Well, that's nice. A little bit more, a little bit bigger. All right. Then
for this one here, we're going to do dark. Okay, dark in the middle. Just kind of squishing
that brush around. Oh, that's pretty. I like that. Let it be wonky,
not completely red. All of a sudden, we're
seeing some poppies here. And then I'm going to
take the smaller brush, and we're going to put in some
yellow for this one here. So I like to swirl
around directly in the yellow there and go from the outside in to
just these really pretty, swoopy brush strokes. Like that. And like this. I never take a reference
photo and keep it the same. I always always change so much. And that's what I encourage
you guys to do little dots. Just figure out, you know, with your creative process, where is it taking you? How
can you change something? How can you make it your own? Because that's gonna increase your ability to feel confident. Let's put in these little dots here. That's a good contrast. Your confidence will pop up strongly as you start making creative
decisions with your art. So, you know, with this, you may have copied this today, but maybe you try it
again and you try it in your own
method, your own way. You change up the things that you think need
to be changed. Let's do some little lines. Actually, I don't know. Let's just do the
dots right now. We'll see where I go. You know, what do
you want to change? What do you want
to make different? You take charge of that
cause that's up to you. Kind of like it just
hovering in there. Alright, so take a
look at your painting. Is there anything that
you want to augment? I'm gonna put a few
of these little dots randomly so they're not so
perfectly evenly spread out. I'm gonna do a little.in
the middle. Just for fun. Do do do do. Oh, that's pretty. Change it up, try something new. Do something you didn't
expect that you would do. Surprise yourself. I mean, what have you got to lose? Alright, last little thing
here for the painting, we're gonna do some splatter. Gonna keep it green today. So very watery green. And then just tap your brush to create some
splatter on your page. So fun. Okay. So now all we got to do is
take off the tape. If your paper likes to stick to the tape or the tape
likes to stick to the paper, just take a heat gun and just go ahead and heat up your tape
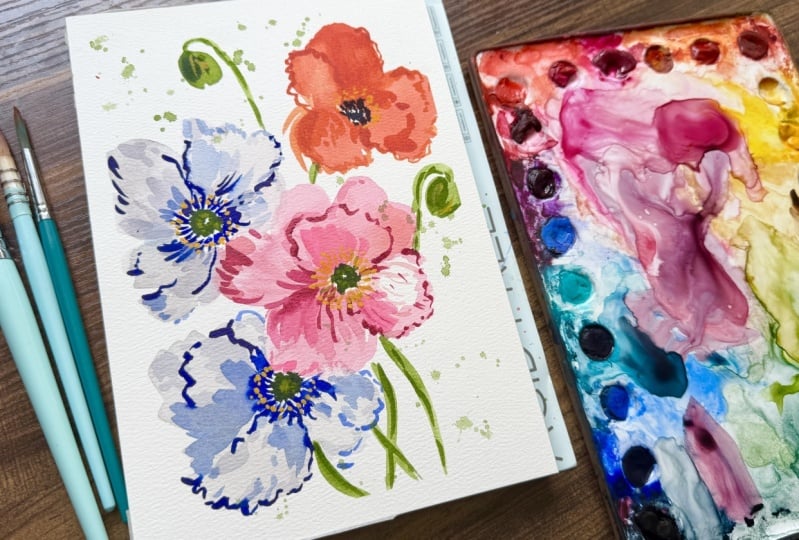
before you take it off, and you should have no problem. So, there it is, you guys. Our happy little poppy painting. I hope you had so much fun. You took a breath. You
relaxed and remind yourself about all
the fun things that you were able
to learn today.
6. Final Thoughts: So, my friends, we have
finished the tutorial. We've finished our painting, and I hope that you
had a lot of fun. And they were able
to relax and let go of that perfectionism.
It does creep in. It's a form of anxiety, and it really keeps
us from thriving and enjoying our painting experience because it's not
about the end result. I mean, it is, but not totally. We want to have a
beautiful painting. But in the end, we want to
learn not only to relax, but to be able to let go
of the expectations that keep us from enjoying the whole painting process
when we've sat down to have an intention
to create something. So I want to remind you guys that if you have
done your project, just like I have over here, make sure to upload it to my project gallery so that
I can offer you feedback. Other people can offer you
feedback and like the photo and give you ideas of what
they like about the painting. It's an important piece
to have that community to connect with each other and
enjoy being able to share. Thank you so much for
watching this class and for painting with me
and happy painting, happy mental health, and I'll
see you in the next class.
 Tammy Kaye, Artist and Mental Health Therapist