Transcripts
1. Introduction: Hi friends. Do you ever stress out about creating
the perfect painting? Only to leave a painting session disappointed and frustrated. Would you like to paint with S? Not worrying about
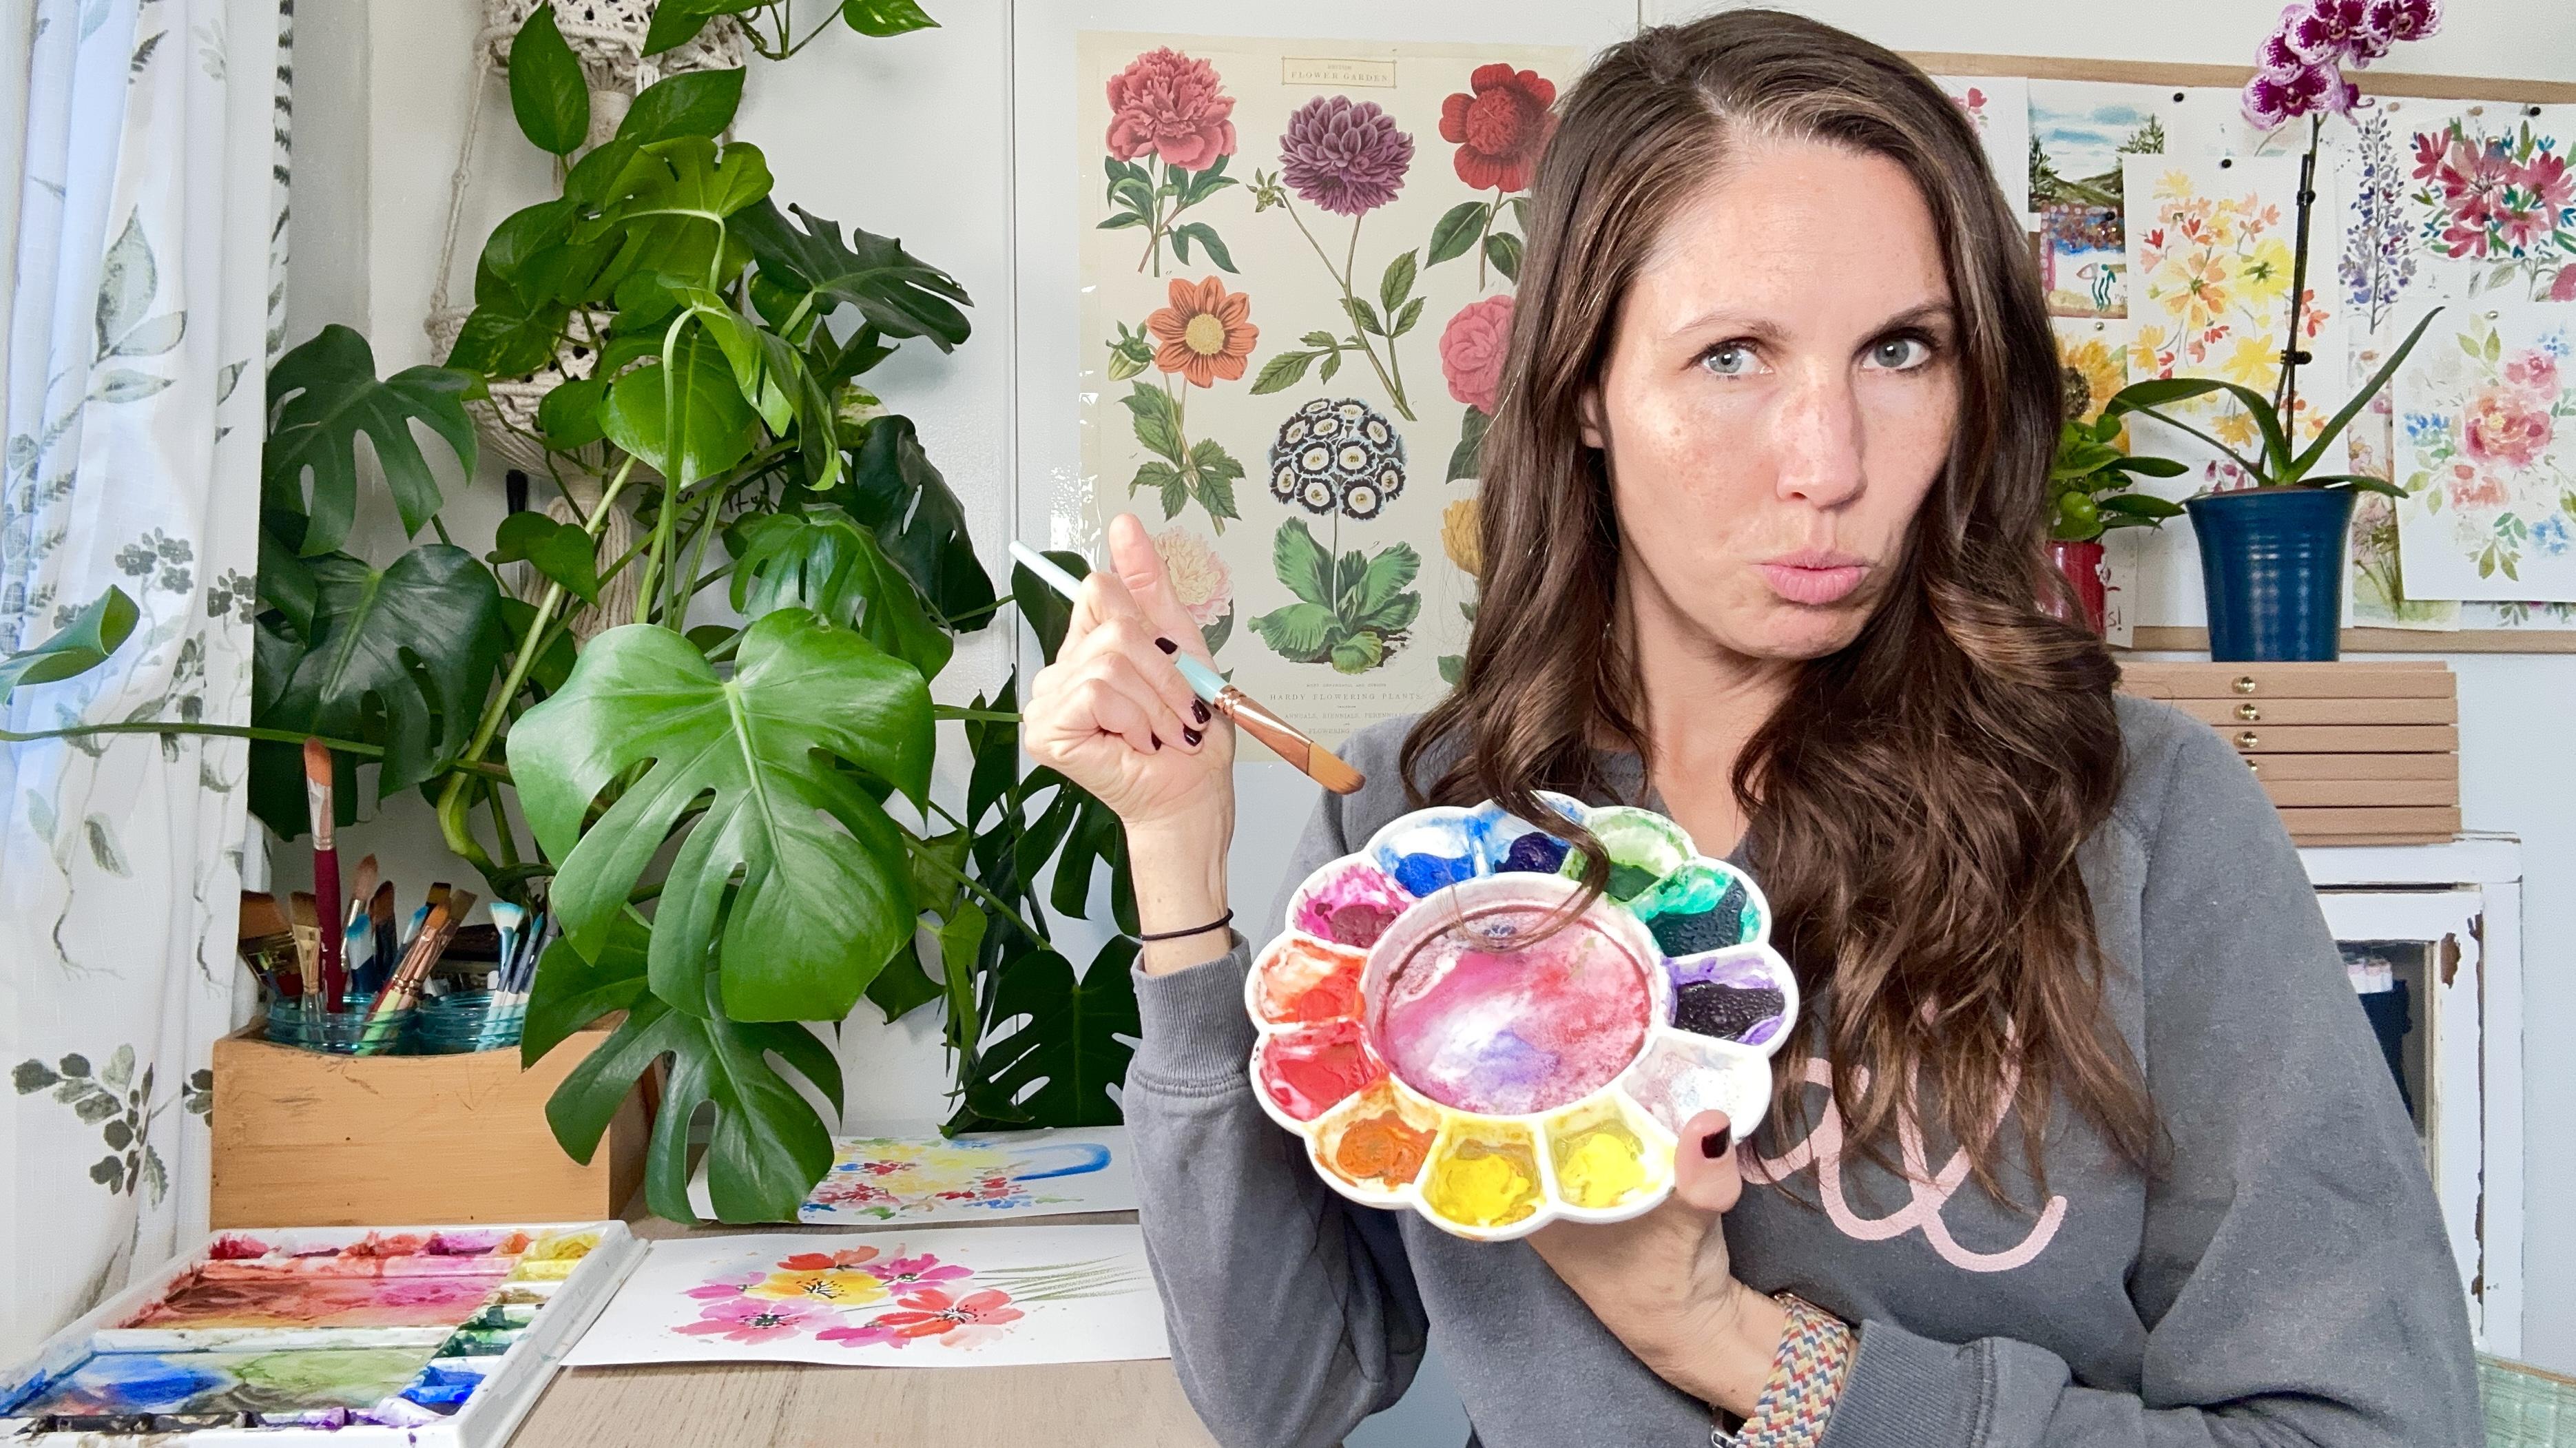
the end result. Then this class is for you. Hi, I'm Tammy K, I'm an artist. I'm an art teacher, and I'm also a mental health therapist
working in Arizona. One of my passions is
painting loose watercolor, florals, And because
I'm a therapist, I like to mix self care with watercolor to create a beautiful
and relaxing experience. Former students, I teach watercolor over a
variety of platforms, such as here on Skillshare, Patrion, Youtube,
across social media. You can even check out my recent Skillshare class on loose watercolor florals
linked in my profile. And one thing I'm hearing my
students say all the time is they are afraid of
that painting process, wasting supplies and overall
creating and ugly painting. I've created a combination of watercolor exercises to
help us be in the moment, as well as we're going to try
to recognize body tension, deep breathe to calm our
body down and challenge the negative thoughts that keep us from enjoying our
painting experience. So here is what you'll
learn, why we should relax and find joy
in the first place. How to practice various
watercolor basics such as glazing wet on
wet and went on dry. How to find joy by releasing
your body tension, changing the narrative, and enjoying the whole
painting process. And then finally, how to paint three different types
of loose florals. So this is perfect for beginners who might want to learn
the watercolor basics. But it's also for the
more experienced artist that is wanting to reconnect, find joy, relax, and love the whole
painting experience again. As you practice the exercises
and final projects, I hope that you do find relaxation and happiness in your painting experience again. So let's get to it.
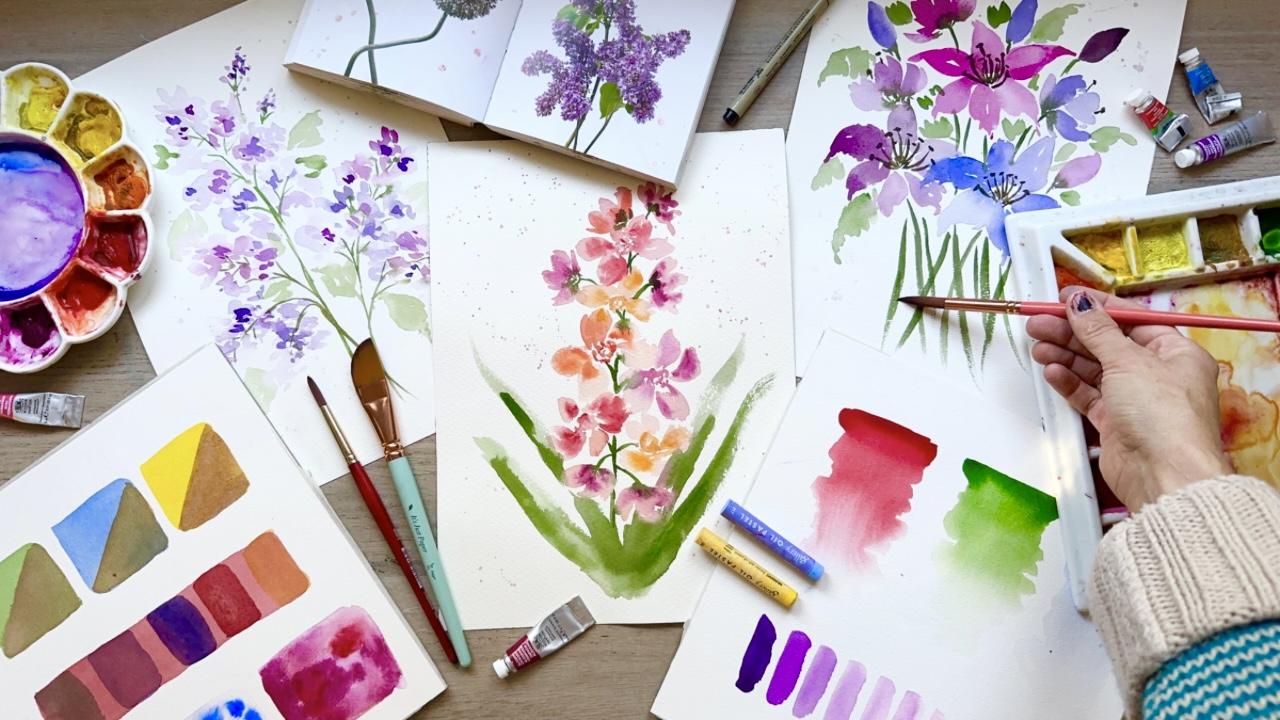
2. Your Projects: So your final
projects are going to consist of three
different floral pieces. We will first have our
practice exercise, and then we will create
the floral piece that goes along with practicing
that watercolor skill. The idea is to create these paintings in a
shorter amount of time, but still being able to
create something interesting. Because we're not
going to add in 234 layers to make
it interesting, but we're going to use some cool watercolor techniques
that will help to add interest and details and
shadow to the florals. With keeping these projects fairly simple and fairly short, for your final three
floral pieces, you'll be learning the
following watercolor skills. First of all, we're
going to be glazing basic shapes to see how color
layers react to each other. We're practicing
gradient washes to show the lightness and
the darkness of a color. We're playing also with
wet on wet techniques, poking in color into the liquid paint and to
see how that paint reacts. During this class,
you will also learn the following self
care techniques to help you along your
journey of finding joy. First, you're going to learn
how to relax your body while practicing lilacs and
the glazing technique, which is wet on dry. You're also going to challenge your negative narrative while painting lilies using
different color values. Finally, you'll learn how
to enjoy the whole process while practicing painting
orchids wet on wet. For your final
project, I'm going to be looking for the
following two things. First of all, completion
of your projects, I'm not looking to see if
you're painting perfectly. What I want to see is
how your experience changed you in some
way and how it helped you to find more
joy in your art process. So the second thing I'll be
looking for is your story. So when you submit your project, make sure to write a
little narrative if you'd like to share how the
experience was for you. That you were able to find
some joyful moments and not feel stressed and anxious
in your painting process. So when you are ready, you can upload your
final projects or even your practice exercises to the project gallery
on skill share. And that's going to help
the community to see what you have created to
give you feedback to share. If you do share on social media, make sure to tag me, Tammy K Art, so that I can see the pieces
that you've created. And other people can
find the class as well. And also if you enjoy the class, please consider
giving it a review so other people can read
about your experience. All right guys. So
let's get to it.
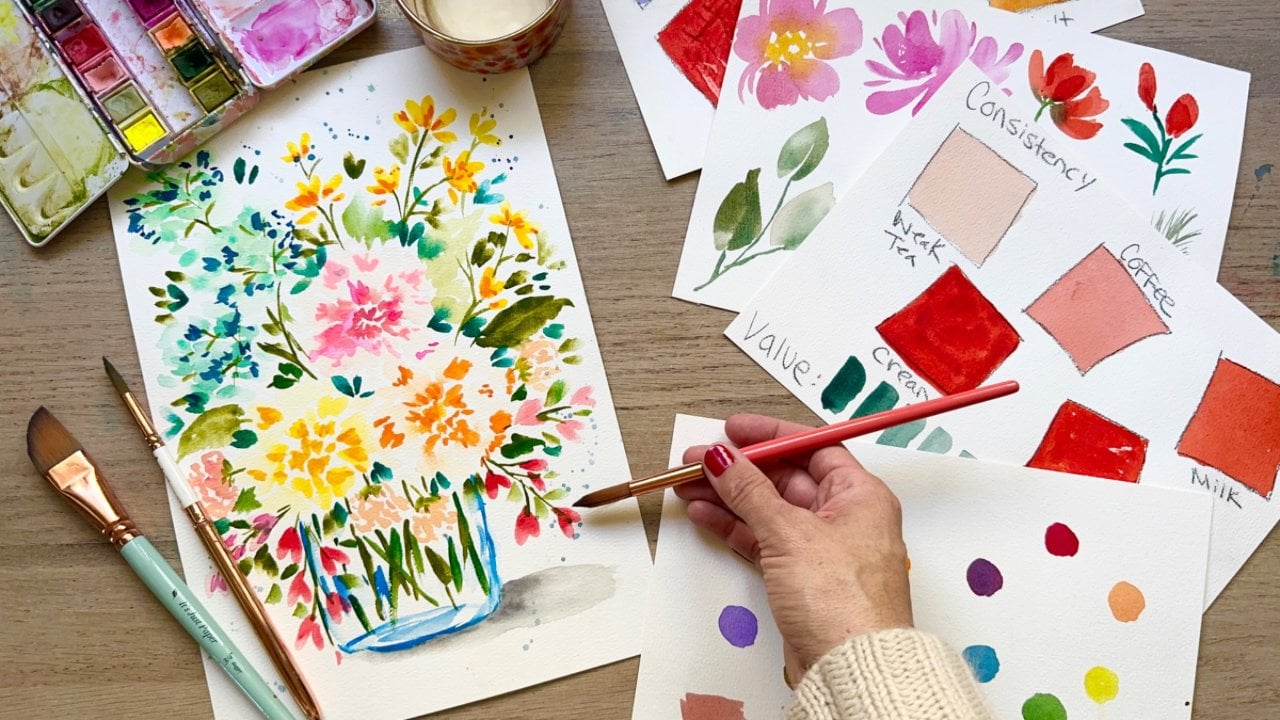
3. Supplies Needed: Okay, so let's talk supplies. So first of all,
the supplies that I'm listing out, they're
just suggestions. And my bottom line is
to use what you have. It's frustrating
when you don't have a budget and you feel like you have to spend all this money just to be able to
do a project for me. I want you to paint. I
just want you to paint. Okay? So if you have
certain things, you can incorporate
them into this project. You don't have to go out
and buy a bunch of things. I would say though, having inferior supplies can
sometimes be very frustrating. So it's kind of that balance. And if you can't afford a lot of supplies that maybe
have a higher quality, just get one thing at a time
and add to your collection. No worries, no stress,
the bottom line. Create art and
enjoy that process. So first of all,
watercolor paints, so you could do
something like this. A palette that already has these little pans in here and you don't
have to fill this. It's got a nice mixing space
for me. This is a great one. If you'd like to
buy tubes of paint, you can buy a palette and then
put the paint around here. Let it dry a day so that it
is ready for you to use, or else you'll end up using
too much on your brush. So when it comes to
watercolor paper, there's a lot of debate
on what you should use. But again, I want you to
create and not feel stressed. This is 100% cotton paper. It's professional, it's lovely. But it might cost
one to $2 a sheet. And if you're sitting there paralyzed not wanting
to waste supplies, it's better that you use a
cheaper paper that you're going to feel comfortable with than using something expensive. That being said, the colors
do tend to blend better, be more vibrant on
a cotton paper, They don't just sit on
the top and don't move, or sometimes they just soak
in with a really thin paper. The bottom line is
to use something that is specifically
for water color. It's going to hold
up to all that water if you want to do
a cheaper paper. This one here is
great because it has a bunch of sheets and the
price is quite affordable. The company is a nice one. You could also get
a small little sketchbook that is a pulp paper, maybe it's a cotton one,
depending on your budget. So for your water, I recommend having two jars. You could take two
jars like this. Of course, these are in pencils. Take out the pencils
first place. Or you could have something
like this that has two wells. How I like to paint
is of course, I have water in both. And then I like to have one
side for the cool colors. Green, blues, purples. And sometimes the browns, that kind of thing,
the neutral colors. And one side for
the warm colors. Reds, oranges, yellows. The idea is that when you
mix cool and warm together, certain ones will create mud. And you don't want
to muddy water because then your vibrant red, You dip that paint
brush in there, you grab some new water. But it's brown,
it's going to make your vibrant red more
of a brownish red. So when it comes to
watercolor brushes, I have three sizes
that I tend to use. I have a number 12 round, I have a number eight round, and I have a number two round. And the 12 I use for
those large thin washes, and then the eight is when I want a little bit
more saturated paint. A little bit more detail but not so much liquid liquid paint. And then I've got my
number two for details. But use what you have. And what's important
is that you're not feeling stressed
about the supplies. It's just nice to have
a medium or large brush and then a small one
for your details. So one thing I really
like to have around is simply a paper towel
or a rag for dabbing. So you can see
I've used this one a lot, It has paint on it. It's actually kind of
beautiful little piece of art. And it's for dabbing your brush if you have too much
liquid on your brush. So if you grab some water and
it's a little bit drippy, just dab it on your paper towel and then
you're good to go. And it just takes
off that little extra that might
cause some puddling. Sometimes you want a lot of
water, sometimes you don't. And if you don't want too much, a little dab and it's going
to create a more interesting, better painting
experience for you. And that's part of the
whole water control. A little paper towel. Who would have thought
the last thing you need, although not necessarily
in this course, would be a reference book. Normally, I would recommend
some type of floral book. Or if you're painting landscapes,
get a landscape book. Whatever it is that
you're wanting to create. We're having a reference
photo on your phone, on your laptop,
something you print off. Now this has such beautiful, beautiful florals in it. It's inspiring today
you can just follow along with me because I will
have this on the screen. So in the next video, we're going to learn about
why we should learn to relax and enjoy the
painting process.
4. Why Relax and Find Joy: One of the reasons why we want to try to relax
intentionally and find join our
painting is when we are tense and
frustrated and anxious, it tends to show up in
a very tense painting. And then if we have that
bad painting experience, we tend to not want
to paint again. So that's why we want
to intentionally look for what's going well in
the process step by step, so that we can encourage ourselves to continue
to practice. That's it. So in the next video, you will practice
relaxing your body while working on some practice
exercises on glazing.
5. First Exercise: Practicing Glazing: Deep breathing is
the fastest way to relax tension in your body, as well as if you're
noticing certain parts, maybe your shoulders,
your stomach, your neck, getting tension, observing it and trying to just
release it yourself. Today we're going
to be working on glazing techniques
with this exercise, And glazing is just wet on dry. So it's a different
name for that. I know it's technically
a second layer, but we're using so little of it. Just a nice light first layer, let it dry, and then just poke
in a little bit of color. And it's going to be
simple just to give some texture and some
shadow to our florals. Okay. So I have the three
brushes we talked about before. You can play around with
whatever you'd like to do. I have a spray bottle that I'm just going
to wet this all down. We have lots of paint
to work with here. We're going to play with glazing today before we do our
final floral project. Later after this exercise
to out my water, I'm just going to dip
my number 12 round. Use what you have,
really doesn't matter. So we're going to start with
doing some green today. I'm just going to pull up some green and mix it
on my palate here. And we're just going to
do a square of green. This, I want to be really light though a lot
of water and you can dab your brush on your paper if you
have too much here. I'm just going to go ahead
and make a nice square shape. This is not something
we're over thinking, it's just practice
basic exercise just to talk about layering and glazing and what that means if your square is not perfect
like mine. That's great. Today, I also want to introduce
the idea of breathing. Just go ahead and take a
deep breath right now, just release any
tension that you might have as I'm going to grab. Let's see, Let's go ahead and grab my, let's do some blue. I'm going to grab some
blue on my pellet. Another deep breath. All right. I've got these
squares and I'm just trying to make sure that I'm releasing body
tension as well. If you have any
tension anywhere, your neck, your shoulders, your stomach, that is going to keep you from
experiencing joy today. To try to release that, just think about relaxing
those parts that feel tense sometimes you hold it
in your neck, your head. We've got really nice, this is about a week consistency of paint that we've got here. Let's go ahead and
do a third one. We're going to do the opposite of the color on the color wheel. So for example, we're
going to do red over this, and then we're going to
do orange over this. And then we've got our
other two that we can do, either purple or yellow. I'm going to go
ahead with yellow. I'm going to grab that. Now hopefully we're painting in a relaxed way so that
we can be relaxed, feel relaxed, and our
painting experience will be relaxed as well. And then we can find joy sometime through
this experience. Look at that nice, vibrant
yellow, there we go. And then I'm just going to
do an additional color here. I'm going to grab
my red red there. If you had a notice, I'd
like to take the paint, put it on my palette,
then I add more water. We're just going to
do a strip of red here because I'm going to
do some glazing on this. But different colors,
not just the same one, we can just play around. It's good to learn the watercolor basics if
you already know them. It's good to practice them. It just helps your proficiency, helps your sense of competence. And maybe it helps remind you to use some of those
techniques more often. There's so many
options in water color and how to create a
different texture. And so we just want to
shadows, of course. We want to utilize what we can. All right. We're going to
go ahead and let this dry. Actually, I'm going
to make it dry. Personally, if you
have a heat gun that works or else just wait until it's dry and then
get back to it. Okay. So we are using
really light layers, weak tea or maybe a coffee. And we want to be able to see the different
colors as we layer. We're going to talk a little bit about the color wheel and how red and green are
opts in the color wheel. So we're going to glaze
over this part in some red and they look really beautiful next to
each other. Think Christmas. But when you go ahead and
you mix them together, when they're both wet,
they're going to create mud. So now we're not going to
necessarily create mud, but we're going to create
a very interesting look to this when we start
to add this together. So let's go ahead and paint
over and see what happens. Because our red is really, really vibrant and
our green is too. But when we glaze, this is also called wet on dry, which is what you're
doing when you're adding just your wet
paint to your dry paper. But if you're adding your wet paint to
your dry paint layer, this is that same
effect. So you can see. There's some brown
happening here. We don't have that vibrant
red or vibrant green anymore. And this could be great
if you're trying to do shadows and start
building up your layers. And you might want
to do shadow right on the underside there. And then kind of build up your color instead of
using black or navy. So let's grab some orange. That will be the opposite
on the color wheel from our blue. Why
are we doing this? You can see with water color, if you're painting in
really transparent layers, you're able to see how one color that's put
down and dry is now affecting the color below the color that you're
putting on next, and they're affecting
each other. I could even take a clean, damp brush and
just take off some of this paint a little bit, but you're seeing there's
a muddiness happening. We're not necessarily
always wanting to glaze opposite on the
color wheel colors because they do make mud. But you could build up some
colors like a light blue, then a medium blue, and then let it dry, then a dark blue. And just play with some of your color abilities, the
mixing that you can do. You just want to do it if you just want to do wet and dry. All right, we're
heading in that purple, a little bit dark here, so you're seeing a very
similar experience, right? So remember to keep relaxing
as you're doing this. This is supposed to be
a fun practice exercise or maybe a refresher
for you very dark. So let's go ahead and do
the red next on here, I am going to go
back to a green. I'm going to do that kind of teal green color,
turquoise, green. And we'll just add
some of that on there. Then let's see, we'll
take some purple, leave a strip of red in between. Let's go ahead and do some blue. I'm leaving these light
colors, light consistencies. You can really see what's happening and how these
colors are interacting. You can start to think how you might want to use
this in the future. Let's go ahead and do some
red over the top as well. Adding more red. We're just going to be darkening up
what we already put down. And so if you're doing
an apple for example, you might do the light for the top where maybe a
high light or where there's more light and then a medium shade,
then a darker one. Our value at the bottom, where the shadows are, let's just do some yellow, yellowy orange just for fun. So now that we've done our practice exercise with glazing, we're going to be
using this technique to paint some lilacs.
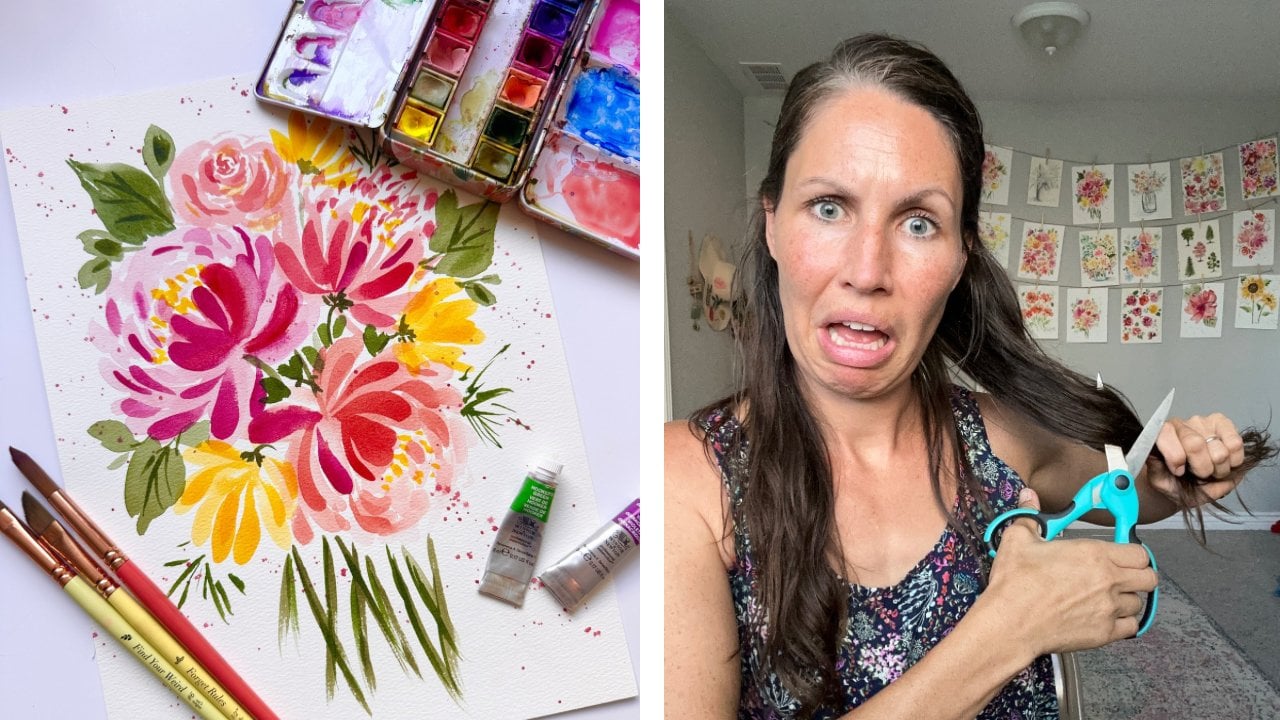
6. First Project: Lilacs and Glazing: So we're simply going
to paint these loose watercolor lilacs
with one base layer. And then when it's dry, just put in a little bit of extra, more saturated color
here and there. Just a little, I'm technically going to
say this is one layer. And we're going to go with that because we're not using a lot. It's going to be
more concentrated, more saturated as well. What we're going to do is I've got a number 12 round brush. I'm going to start
grabbing some purple. So I've got this really
beautiful blue purple here. And then there's
this pinkish color, which I love, but
it's not purple. So we're going to add
in some purple to it. Reddish purple color. More of a bluish purple. We can even put
some blue on here. Just mix and match and
see what looks good. But we're going to work
with really light layer, what we would call weak tea. So it's just got a lot of
water, very little paint. I'm just roughly falling
this dab your brush if you feel like you
have on your brush, too much liquid and I'm just going to make these
little marks, okay? Leaving a lot of white space. Now, this is supposed to be, or interchanging
different colors too. This is just the idea
of this painting. I am not going to make
it exactly the same, but I want to have
a really light, loose first layer
with various purples, bluish purples on here. Now, if any of this
makes you feel just a little bit frustrated
or worried, just take a deep breath. We've been practicing reminding
yourself what this is. Practice. Okay, We're
just having fun today. We're going to, I know I said it's one layer
and all that stuff, but we're doing such a little
amount of glazing that I feel like we can cheat
and it's going to be okay. We're going to do another layer, going off this side,
just right there. And I'm just doing these
little tapping motions. Why do I work so fast? Might be a question, you might
have it's second nature. To me, I write really fast, but also it just takes away the brain's ability to start analyzing and judging and
just getting frustrated, taking clean, damp brush, and I'm just spreading
out some of that color. I want to have a variation here, but we don't need
to worry too much of the variation of
color because of course, we're doing glazing later. I want that to be a
little bit more pointed. Okay, So you can stand, I'm working with a really
very watery paint here. Just little dab marks, just being dainty about it. All right, We've got
another bunch over here, heading downwards and
grabbing some of my bluish and then clean damp
brush to spread it out. I think that's one of my
favorite parts of this look, just adding those pieces in the water to spread
things out here, we've got some little buds. I'm just going to add
in some little dots, tiny little buds that
haven't yet opened. There's a few right here too. So I do love using my reference because it just gives me a
little bit more confidence. I know where I'm going
and all that stuff. I'm going to take my
number six round brush now to grab some green. This green I feel needs some red because
it tones it down, right? We've practiced
that. I don't want that really intense red or
the green that I had there. Now, I'm just going to
start dab my brush, start adding in those stems. We're just connecting them
where it makes sense. Just really thin, quick
little lines are going to get you the I don't know, effect. I think the look
that you probably want or at least if you're
copying what I'm doing. I'm just connecting where
I think things would. Of course in between some of these blossoms,
you'll see the green. And if it spreads
around, no worries. I actually think it looks quite lovely. Don't worry about that. It's water color, it's
supposed to spread. And it's expected, I'm going to now take some water on my brush. And I'm just going to add
in a leaf right here. Just scrubbing. Moving the brush along here, maybe a little bit more of
a darker leaf over here. You don't have to put leaves
if you don't want to. I thought it'd be
a fun little look. So now we're going to go ahead and we're going to
connect these over here, just tiny little stems. So these are meant to be very easy florals to do that are not going
to stress you out. Hopefully, I'm just making
these sketchy lines, guys. I'm not even, you know, worrying too much about, about anything I'm trying
to emulate not worrying. So this is supposed to be fun. Always try to dab, you don't have too much liquid
on your brush. That really does help, at least for me when I'm
creating these florals. And let's see, just a
few little stems here. You don't even have
to put too many in, just a few just to
emulate that as good. I'm going to now take a
lot of water on my brush, grab some paint and just do a few little
leaves over here. I just wanted to
balance out how there's a lot of weight on this side
and not so much over here. Let us just put one in here
too, as I'm doing that. And maybe a little
bit of a leaf, you know, poking out right
there is good as well. And sometimes you just
do a few little like, little marks with your brush. And, you know, sometimes
you don't worry too much about the shape of the leaf
just adding in that greenery. So I'm going to do
a little bit of splatter because
it's my favorite. Before we do, we let this dry
and then we do our glazing. So just tapping your
brush with really loose, watery paint and let this dry and then
we'll come back to it. So I've gone ahead and
I've mixed up a bit more of these lovely colors. And we're just going
to take our brush dab, and just poke in a
little bit of color. And this is called glazing. We're adding in some
texture and shadows. And it's just for me, I like to do it very random. It's not like I'm really
thinking about this a lot. You can press down with
the belly and create some thicker marks
or you can just do little dots if you want to
like pressing down today. We're going to do
that. We're going to leave most of the original
first wash there. But I just love showing this
such a beautiful loose look. You could leave it without this. But I feel like it enhances everything that you've
created so far. Just you know, the
lights of the dark, even the mid tones
to create more of a depth three D look
for your painting. So in the next video,
you're going to be challenging your
negative thoughts as you do a practice
exercise on color value.
7. Second Exercise: Playing with Color Value: So the reason why we
want to challenge our negative thoughts is because when something
bad happens, we have this automatic
negative thought about it, which affects what we
feel and what we do. So if we feel like we've
messed up in our painting, we think that thought, then we're going to have a
disappointing experience. And next time we're going to be less likely to want to
pick up our paint brush, sit down and paint. So for our practice
exercise today, we're going to be playing
around with color value. We're going to be marking
some dark marks on the paper, then taking fresh water and
slowly making this gradation, which is going to
help us to see from the dark value going to the mid tones to
the lighter value. And since we don't use
white and water color, we use water instead. To lighten, you're
going to see how you can do the darks
and the lights, and the tones in between. So this is a really thick amount of paint, I would call this. It moves on the palette
here, but it's really thick. So I'd call this about a cream. And I'm going to put this
on my paper just like this. And then what I'm going to
do is I'm going to clean my brush really good. And then I'm going to take
some fresh clean water, dab it so it's not too juicy, and I'm going to start
moving this paint downwards. Okay, Cleaning my brush again, dabbing it and moving
that downward, and you're going to start to see all the value changes here
until we get to really, really light,
almost transparent, so you can see the darkest of the lightest things
are spreading around. Let's do that again. It's a
really great exercise just to play around when
you're trying to figure out the color value. You just want to take
the darkest amount of paint that you possibly can, the thickest amount that
will spread on your paper. And you're just going
to create a line like this because we're going to use some really dark values as
well as lighter values, as well as midtones, medium values when we're doing our next painting and we want to just practice what
that looks like, fresh, clean water, starting
to bring that color down. And it's starting to lighten
up pretty quickly here. And then we clean
our brush, dab it, and you're seeing that beautiful green spread down
to almost nothing. Okay, so let's do that one
more time with our blue. Grabbing really dark,
concentrated paint, making the color right there. All right. Cleaning our
brush as well as we can. And then dabbing it. And then we're just going to spread that, bring that down. Now if you have darker
colors, you're going to see, of course, a bigger progression
from dark to light. I can even take a little
more concentrated paint. Let's just grab that and
see if we can darken the up just a tad and then
clean my brush. Right, because we
need clean water. Dab it, it's not too juicy and not too much of a puddle
bringing that down. And you can see I have a lot
of water here on my paper. Okay. There's one other
exercise that we can do. This is another quick exercise. I'm just going to
grab again as much of a concentrated
purple color as I can. And I'm just going
to make a mark on my paper, just like that. Okay. Doesn't have to be
perfect eyes at this point too, we're supposed to be
challenging our narrative. So I just want you
to think about that. How is your narrative right now? Is your narrative positive? Is it a little bit frustrated as you're
thinking about that? I'm going to tell
you what to do next. So you're going to take that brush that was
dirty with paint, you're going to dip
it in the water, squeeze it off the side. You're going to
make a second mark. And you can see how it's
getting really light already. Now we're going to dip it, wipe it off the side, and
make another mark. Sometimes at this point
as we continue with this, we're starting to feel anxious,
worried, and frustrated. But as we're getting into our next painting composition
with our florals, I want you to remember
to remind yourself, this is supposed to be fun. This is practice. With every brush took,
I'm getting better. And you can see your values are changing, getting
lighter and lighter. We're not going
to get completely transparent because we do
have some purple water, But we're getting light
enough for this exercise. And you just keep
doing this until you have lightened it up
as much as possible. We wouldn't want it lighter than that when we're painting anyway. But this is how you can
do your value scale. So you can see
when we add water, we get a lot lighter,
we don't add white. And you can see here also just bringing down that thick
color with a clean, damp brush to create those light and dark
and midtone values. So next, we're going to practice our color values by
painting some loose lilies.
8. Second Project: Lilies and Color Value: So as we are using color
value that we've just practiced to create
our loose lilies, it's important to
note that although we're just doing the one layer, because we are adding in
light medium and dark tones, it's going to create a
more interesting painting because we have the variation. I'm just following
this very loosely. All right, so we're
just going to do a nice little petal
coming out this way, kind of round here, and then getting a little
bit point and thinner, right Then we're going to
squeeze you off the side. As we have learned to practice our different
color values as well. We're going to do this top one, which you can only see a
little bit of it right here, curves down below, behind. Then we'll grab a more
saturated version for this little petal here. Maybe a little bit lighter
on this side here as well. Then another one
coming over here. We're being very
loose about this. We are just not concerning ourselves too much all of this. If you want to take
some of the paint off, clean your brush, dab it, and then you can even
lift off some more of that color to
create a little bit more of a variation in the values since that's what
we're working on today. So I can do that
here with this one. A lift off some color. I've got this really
light color here. We're going to do the next one. Just a little triangle shape. As you're painting this,
I want you to keep in mind this idea of
challenging your narrative. If your narrative, I'm
mixing up some purple here. If your narrative is really on that negative side and you're worried to mess
up your painting, you're not going to
have a good time. We're trying to
figure out what are the ways that we can
encourage ourselves, okay, if your narrative is
starting to get nasty, I'm going to squeeze you off some of that paint just
to remind yourself, this is fun, this is
supposed to be fun, this is supposed to be relaxing. Being aware of those
negative thoughts though, really help encourage
us to let them go. All right, we are going to do
a bit of a thicker one now. I've got some really
thick purple, adding in some more blue. And we're going to
do one more here, so I really like
that wider petal. And then we're just going to get thinner and thinner and a
little bit pointy as well. All right, so you can see here, there's a big variation
in the colors, in the values of these colors. We're leaving some of that
white space here too, so that we can put in
that nice middle later. So I'm just grabbing
a little bit of black from another
palette off camera and adding that in just
to make more of that kind smoky
purple color here. We'll do a third
bloom over here. All right, So what I'd like to do now is add in some buds, and I'm going to add
a bud right here. So it's kind of an oval shape, but it has a point at the top, two of these little seeker
shapes coming together. And then you have
your little bud. I do want to do some side
facing ones as well. And we're just going to add in a few little
petals like that. Take off some paint
just like this. And then just really
loose, really easy, grab some of this as well and
we'll do the same type of thing and then take off some
paint just right there. If you ever want to
remove some paint, you can just clean your brush, dab it, and start removing lifting that color
like we were doing before. Once I've done that enough, I can actually go back in. Let's go in with
my bluish purple. I can use that to change up the color and so that I can add in something else a little different than what
I had put down, and now we have a bit
more of a balance. I like that. Okay, so now I'm switching to my
number six round brush. We're going to start
playing with the green. So I've got green
on my palette here. And I'm just going to grab
some of that lovely paint, adding in some black just
to darken up my green. This is where
you're just kind of experimenting and seeing what's going to work and make sense. If I put too much black, just add more green,
add more water, and you'll get a good mix. We're going to start
adding in those stems. I'm just starting
from the middle, creating these really
little sketchy lines that are going to intersect
and if there's some pretty. Dry brushing happening. I just love that we've got this nice bunch
of florals here, and I'm going to just
connect some of this with the green so that there's
some anchor happening. And if some of these
things are still wet, you're going to get
spreading. That's okay. Celebrate the
spreading. That's what water color is all about
and what it's good at. Now we're going to switch to my number 12 round brush green. It's a little bit of purple
on there, that's fine. And some nice watery paint. We're just going to
start drawing out some of our, our leaves. Just dabbing really
loose shapes. See how, you know, I'm not worried too much about where I'm doing this
or how I'm doing this. I do want to have
a nice balance. So I'm just looking at the spaces where
there's some emptiness. Do I want to add a flower? Do I want to add in a leaf? But we do want to keep these
nice and loose, if possible. So this is the time
where you survey and look to see what
you've created. And if you want to add
anything at this point, I'm going to add in more of that black to my pink to create
that nice burgundy color. I'm going to add
one more bud right here with a different value. And I think that's going to help balance out this painting. Just little oval shape, which means I'm
going to grab some green and add this guy
into the family as well, Another little stem coming out. All right, let's do a
little bit of splatter. Let's add a little
bit of this one. We're simply going to take
our paint brush and tap it. You can use two
hands if you want, just add some splatter
around that creates a nice, extra fancy loose look
to your loose florals. And we're going to start
doing the stamen for these, we're going to make some
nice little little lines that curve up and over. If you need more concentrated
paint, you can grab that. I'm grabbing some of the camera off screen because I've got all of my
darks in a different palette. And I'm just going to
make these little marks now for the stamen. Need a little kind of those
oval shapes just like that. And then let's go ahead and
do that a few more times. In the next video, we're going to find joy in
the painting process by practicing wet on wet
techniques for basic shapes.
9. Third Exercise: Practicing Wet on Wet Shapes: So we've just talked about challenging that
negative narrative. So basically having
more positive thoughts about your painting experience. And when you have the
positive thoughts, you're more likely to have a
joyful experience as well. So I want to encourage you to look for the things that you like about your painting
process as you're going along, not just in your final
piece for exercise, we're going to be looking at how the water and the paint
move and interact together as we drop
in various bits of color in the shapes that we're going to
be practicing today. For this last exercise, we are going to grab
some clean water, dab our brush, and
we're going to start painting some shapes.
I've got a circle. You can see there's a
little bit of pink here. And you can even do
a circle like this, making these little
swirls I love to do that, need a little bit more water. You don't want to puddle,
but you also don't want it to be missing some water. So you can see my
circle a little bit. What I'm going to do is
start poking in colors. I'm going to grab this red. This is called wet on wet. I'm just scrubbing my
brush around because I want a very concentrated
amount of color. And we're just going
to start poking that in and just moving it around and seeing how that
color is moving and reacting. And you can see these little bursts that are happening here. This is, it's really fun because the paint is only going to go
where there is water. I'm going to clean my brush and we're going to try this
again with another color. But first of all, let's get that shape wet on what is a wonderful technique when you have painted your florals, you will start before they
dry poking in some color. You're going to get
really soft bleeds and edges versus getting hard edges if you just painted onto a dry surface like dry
paint or just dry paper. Now we're going to take
some concentrated blue, just scrubbing
around, getting that blue and popping in that color. And you can see the
lovely spreads. And it can be fun to
practice and just play around with what happens with this color if it's
more concentrated. Because once it dries, it's going to be about
one shade lighter. It's nice to go a
little bit darker just so that you can get
the look that you want. As we do one more
shape and you are thinking about this
whole process as we're prepping for painting
our next floral composition. I want you guys to think
about finding joy. And maybe right now when
we're doing the exercises, there's not so much
to think about. Like, what do you love
about your painting, but when we paint our florals, what do you enjoy
about the process? What do you like about how your composition is
coming together? Think about those things. That's what's going
to give you joy. Also, encouraging yourself too, saying you know
what, I'm proud of myself or look at
that little spread. Proud of myself or trying
something new I'm learning. Every brush stroke gets
me more proficiency. Just be very encouraging
and positive to yourself. And it's going to encourage
you to keep going, keep moving, keep learning. Look at those spreads.
It's really pretty. I can even just take a cleanish, damp brush and
start playing with this color, moving it around. You can even add some different color to it and just see how it
reacts together. If you want to, things
are getting really dry. You can even add in some water. I'm just see how
that reacts as well. But it's just a fun
little exercise to prep you for our
next composition. All right, in our next video, we will be practicing
the one on one technique as we paint together
some nice loose orchids.
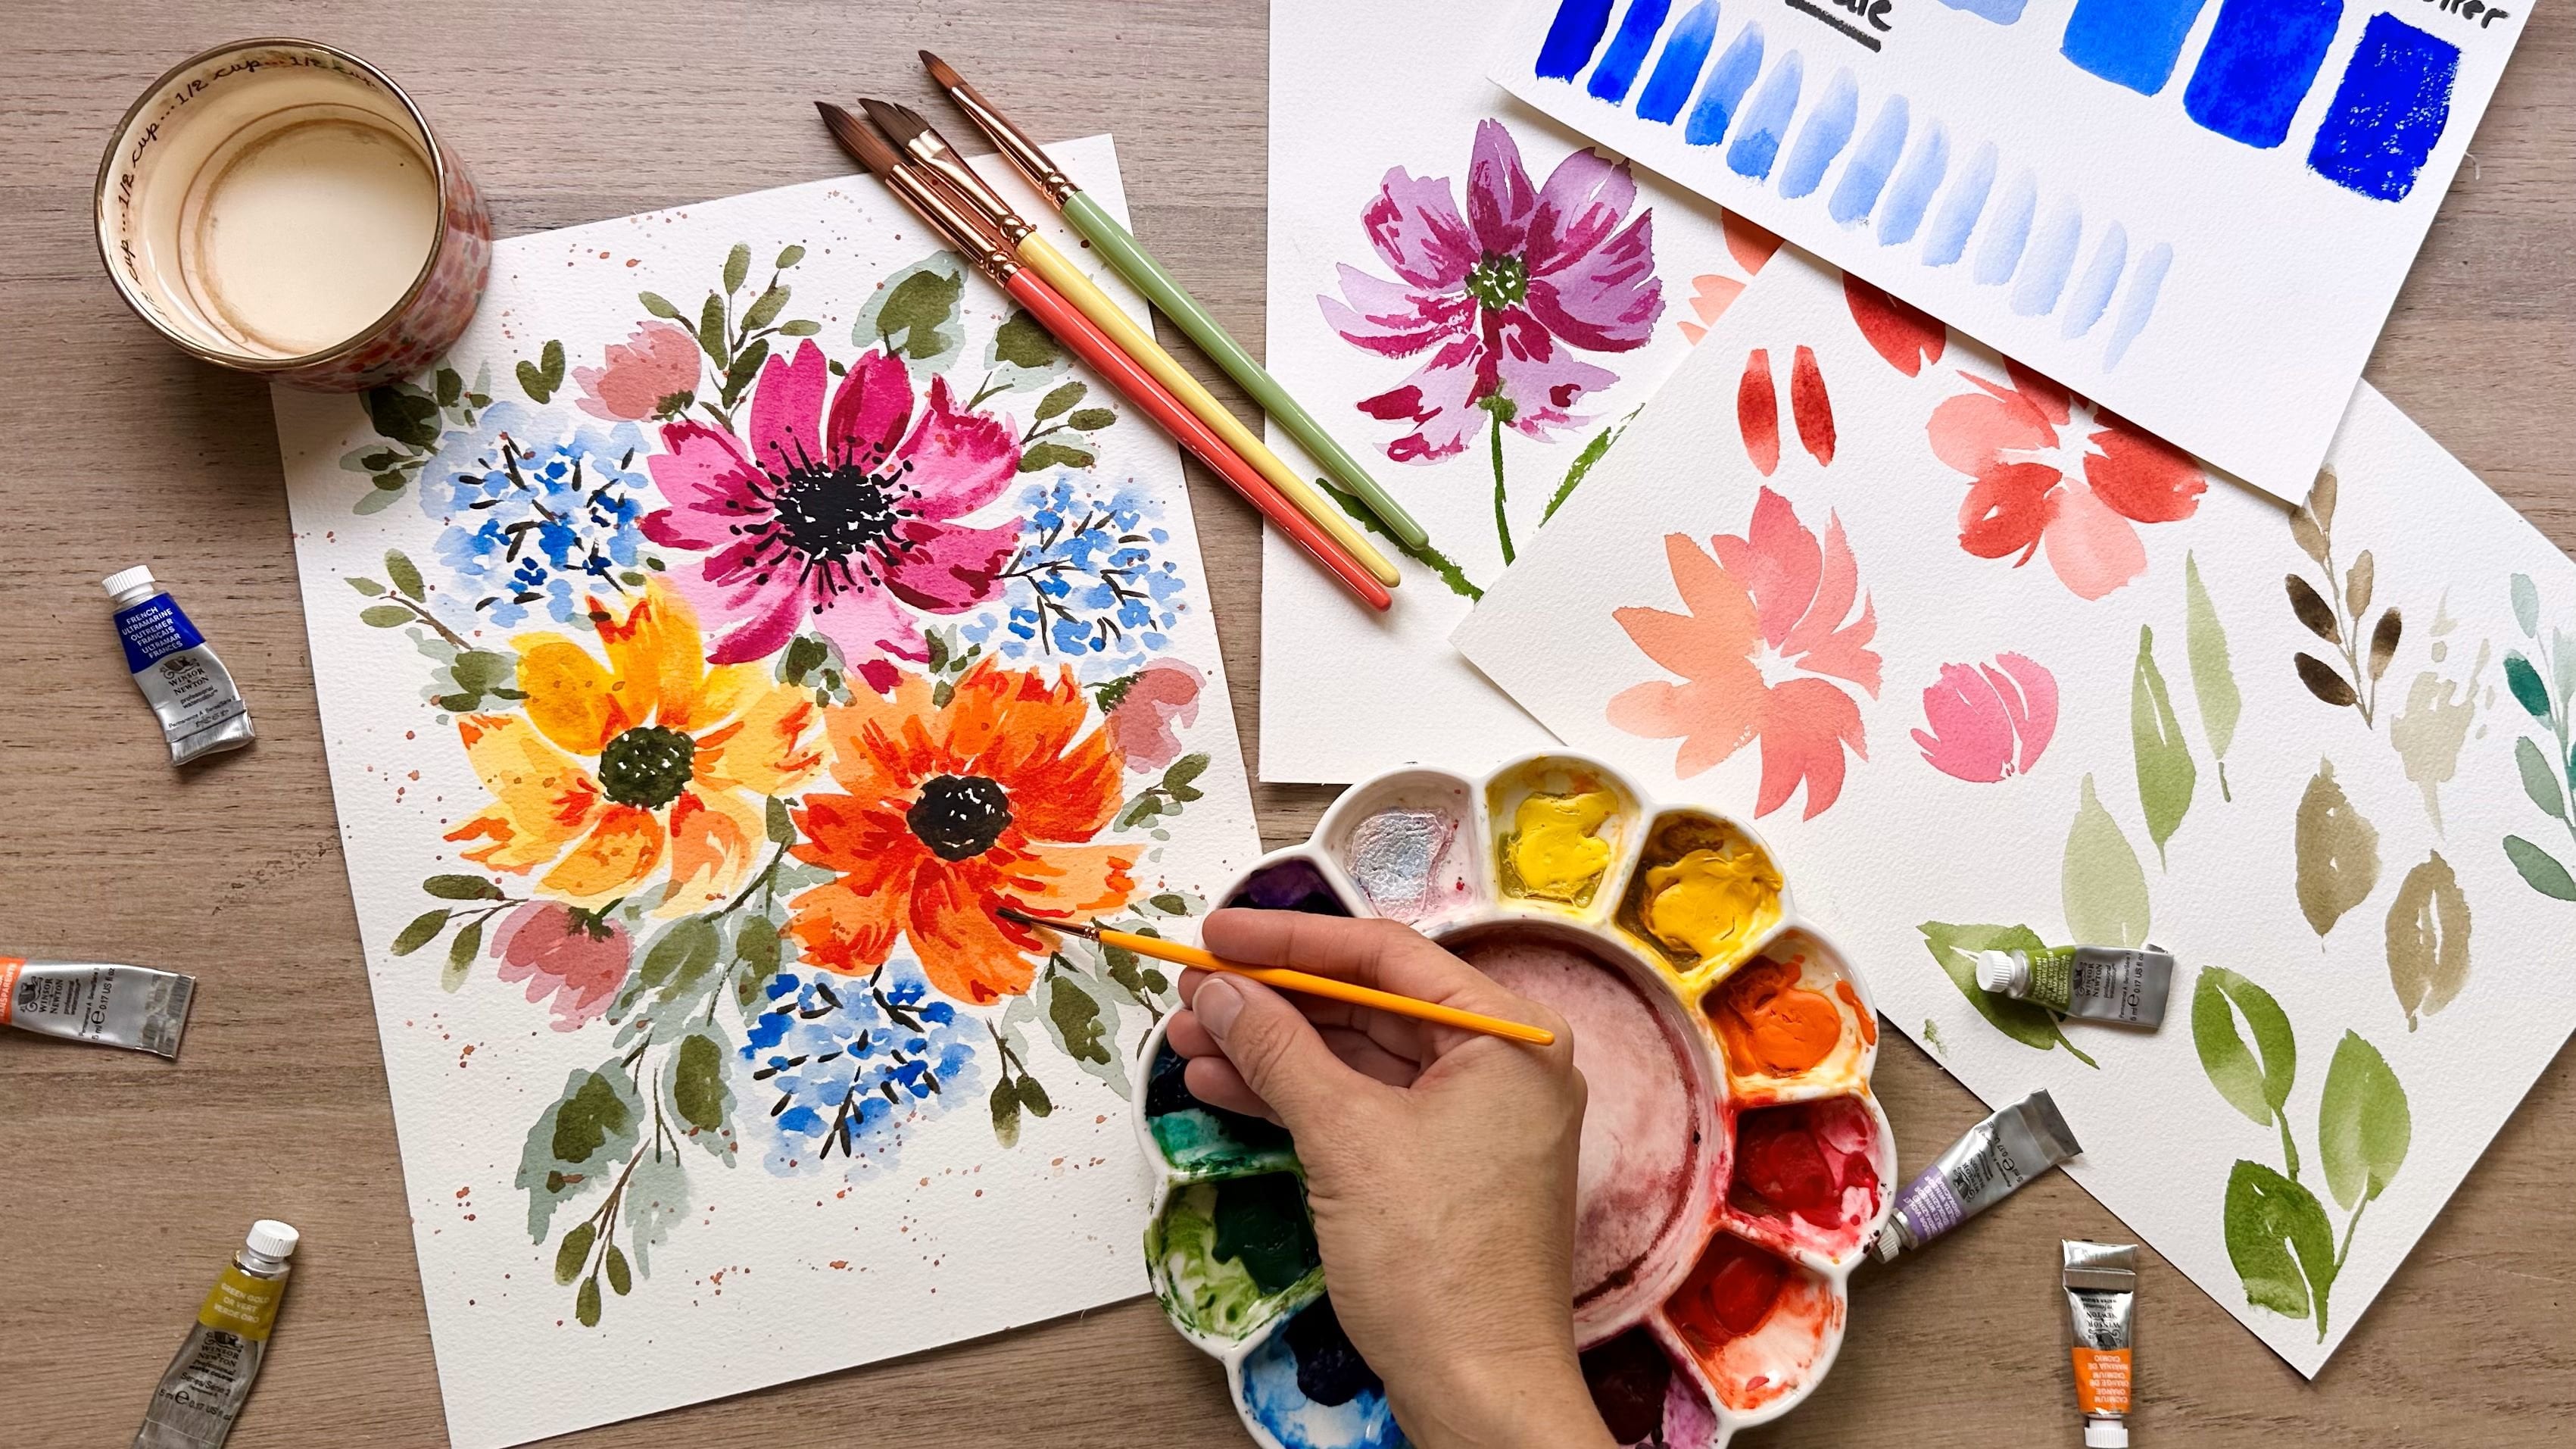
10. Third Project: Orchids and Wet On Wet: Painting orchids can feel
quite complicated because of the layers of petals that they have and that weird
little center bit. But don't worry, I don't
want you to stress about it. We're just going for a
very loose watercolor look with this
floor composition. And then when we're
done with painting that first base layer before it dries while
it's still wet. Practicing wet on wet, poking in some more
saturated color just to get some
really pretty blends. All right, we're starting
by spraying down our palette here to get
everything nice and liquidy. So we have some nice
watery paint here. I'm going to grab some red, I'm going to grab some pink. And we're going to work
with the lightest, pretty much the
lightest versions of these colors as we can. I'm going to grab
some lemon yellow, a little bit of a peachy look, and we're just
going to have fun. We're going to paint with these light colors
and then start adding in some other color
like we were talking about. So we're going to start around
here and I'm going to do this little side facing floral. Now, keeping in mind, I am not, you know,
trying to copy this, but I'm just trying to create my own loose version
of this floral. So, you know, I encourage
you to do the same. Just kind of add in what
you think makes sense, And we'll add in some nice
concentrated pink here. And let that just spread around. And do it slow thing, okay? Now we're going to do a side
facing floral over here. And then we need a second petal, and then one over here to just being really loose
with these loose florals, grabbing some orange and letting that just drop
in and spread around. So now we're going to
do a forward facing, like this guy right here. It doesn't really matter
that first color, but you know, it's
kind of fun to choose. We're going to go
over here and just do this little scrubby middle, kind like this, leaving
a lot of white space. And that way we don't have to worry too much
about the details. If we do a little
scrubby white space, we're emulating the look. And then we're going
to do two petals on this side and then two more
on this side really loose, getting a little bit
thinner as they get towards the middle
of the flower. The idea here is we are
simply creating that, the idea of these florals. We'll grab some red and just pop that in
around that center. It's very concentrated
paint that we're using, so just be aware of that. That's going to give you
some of those nice values, lightness and darkness as well. I'm just going to paint a
little bit more and there. All right, let's go ahead and do a little side
facing on this side, side facing to me is
the easiest ones. Just a little petal here,
a little petal here. Just squiggle, Move your brush
around and then we'll add some green later to really make it come together
at the base. I'm touching here, just
dropping in a little bit of color and letting that
just meld together. We've got some orange here. We're going to do
another forward facing, so I'm going to do
a little scriggly, scriggily in the middle. And I also do another
pink one here. You know, just providing
a way where you can see, you know, the colors that you like or the marks that
you're putting down. This one has just kind
of some wonky petals. I'm sort of looking
at this guy here, so I can only see four. Maybe like the brush
jokes you've created or the fact that you're just
painting with me today. Maybe this is a set of goals that you've decided
on for the New Year. Or if we're in the
middle of the year, that's something that
you've decided to try. Just sitting down and creating something can be
motivating enough, as long as you've got
the right mindset. But look for the things. Maybe the colors are coming together in the way
that makes you happy. Think about the good things to motivate yourself
to keep painting. And keep trying next time, because that's the only reason that you're going to
do this long term. All right? Adding in some
paint here and there. Now, let's go ahead and
do another one over here. It's a little scrubby middle, just like that. Very simple. Some of these may not end
up looking like orchids, but when you put
them all together, you're going to see them
as one orchid group. And that's the fun thing
about loose florals. One floral is
informing the others, just think loose and think joy. Joy is the bottom
line here today. See another one right here. We're getting towards the end of this whole part of
putting in the florals, and then we can start
putting in our stem and our leaves and
really start to pull this together color wise. I'm just going to go
with orange again. That nice bright orange. I really liked that color.
Now I've got my green here. I'm going to grab a
little bit of black. Going to dab my brush, on my paper towel, Still using that same one. And we're just going
to start connecting, connecting things
to the main stem. I'm going to say my main
stem is coming off this way. If some of your green starts to bleed into your
flowers, it's okay. It's water color.
That's what it does. We're going to
connect these guys. We're going to
paint in our leaves now We're going to start at the base around here
and we're just going to press down on the side of
the belly of the brush. We're going to go bypass
beyond those guys. Just all the way up, just like that
with a nice little dry brush effect happening here. Just connecting that all to the
11. How To Keep Going: We have learned so much. So how do you keep going,
which is the question. I want to encourage you guys to remember the things
that we have learned. Because when we get stuck in
perfect or anxiety world, we forget about
how the process of creating art is healing for
our body, for our brains. And it's such a
pleasurable experience when we're in the right mindset, remember these three
things that we went over. First of all, make sure
that you relax your body. Deep breathe, and if
there's any muscle tension, just imagine releasing
it, letting it go. Remember to challenge
your negative narrative. When those negative thoughts start creeping in
about your art, just remind yourself, you know, this is supposed to be
fun. I'm enjoying this. And that leads me
to the next thing, to try to observe several things that you like about
your painting. What you enjoy about the
colors or the shapes, or that maybe you're
relatively relaxed. That process is going to
be enjoyable if we can remember to think about the good things that are
happening in that moment. In the final video, I'm going to be sharing with you some of my final thoughts.
12. Final Thoughts: You've done it, you've
finished this whole class. And I'm proud of you for going through the practice exercises, for doing the final pieces, and just hopefully
learning how to find enjoyment in your entire
painting experience. So here is a summary of the things that we
have gone over. First of all, we talked about trying to relax your body
through deep breathing, muscle tension, just
releasing that. We've talked about challenging
the narrative so that you can have more positive
thoughts on your experience. We've also talked about
observing things to find joy in your
painting process. And of course, we've learned three different
watercolor exercises, as well as techniques
for helping to create more dynamic florals
even with just one layer. So what I hope for you is that you will leave this
experience lighter, happier, and really enjoy creating art versus
being stressed about it. And I hope that every time
you sit down to paint, you will remember the things
you learn and the ways that you can appreciate
each step by step process, knowing that you can leave your painting
experience just more energized and excited
about life and just having that little break
for your mental health. So remember to upload your
projects and or your painting exercises up on the
project gallery so that we can cheer you on and leave
you feedback as well. And if you enjoy this class, could you please leave a
review so that other people can read it and understand
what your experience was like? And I'm also excited to let
you know that I'm hosting an art retreat in Italy
this fall, October 2024, where you can paint
Live with me on location, we can go swimming, do excursions, and overall learn to let go of
perfectionism in our art. So you can click on the video promo in my profile
for more information. If you're watching
this past that time, there's probably another
retreat that I'm advertising. Check it out if
you're interested. Thank you so much for being here with me. I appreciate it. Happy painting,
happy mental health. And I'll see you guys
soon in the next class.
13. Bloopers: So for your final project, you're actually
going to be doing three different floral
pieces based on, and we're using
just one layer so that we can simply paint. No. Oh, it's going
to cut off my head. Mm. Okay. Uh. Oh, that's too much, It's
cutting off my head. Uh. Oh, so with the practice, with these practice exercise, it's so hard to get a good and the sound levels
are off the charts because of the
planes coming by and all the things at one
time. And I don't like it.
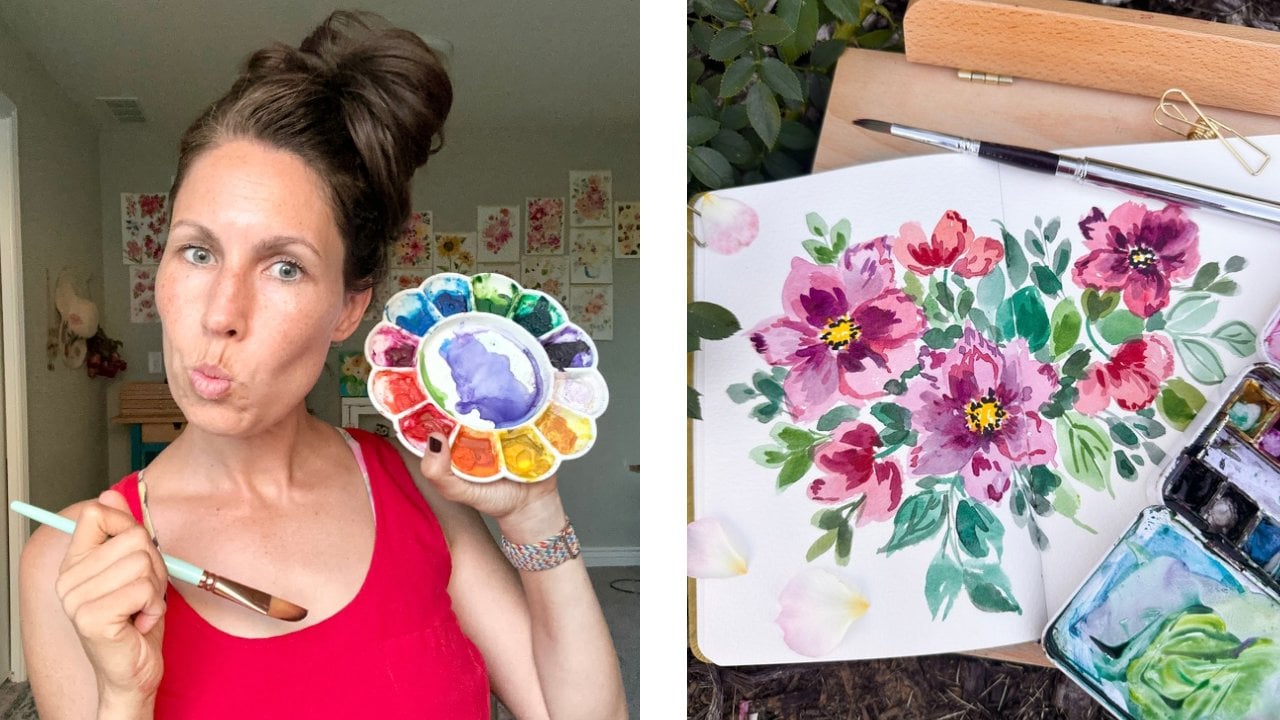
 Tammy Kaye, Artist and Mental Health Therapist