Let’s Make Art with Acrylic Brush Markers | Elaine Vitikainen | Skillshare

Playback Speed


1.0x


  • 0.5x
  • 0.75x
  • 1x (Normal)
  • 1.25x
  • 1.5x
  • 1.75x
  • 2x

Let’s Make Art with Acrylic Brush Markers

teacher avatar Elaine Vitikainen, Illustrator from Helsinki

Watch this class and thousands more

Get unlimited access to every class
Taught by industry leaders & working professionals
Topics include illustration, design, photography, and more

Watch this class and thousands more

Get unlimited access to every class
Taught by industry leaders & working professionals
Topics include illustration, design, photography, and more

Lessons in This Class

    • 1.

      Introduction

      1:35

    • 2.

      Class Project and Materials

      1:04

    • 3.

      Preparing the Background

      2:40

    • 4.

      Painting the Flowers

      9:55

    • 5.

      Finishing Touches

      3:38

    • 6.

      Thank You

      0:39

  • --
  • Beginner level
  • Intermediate level
  • Advanced level
  • All levels

Community Generated

The level is determined by a majority opinion of students who have reviewed this class. The teacher's recommendation is shown until at least 5 student responses are collected.

21

Students

6

Projects

About This Class

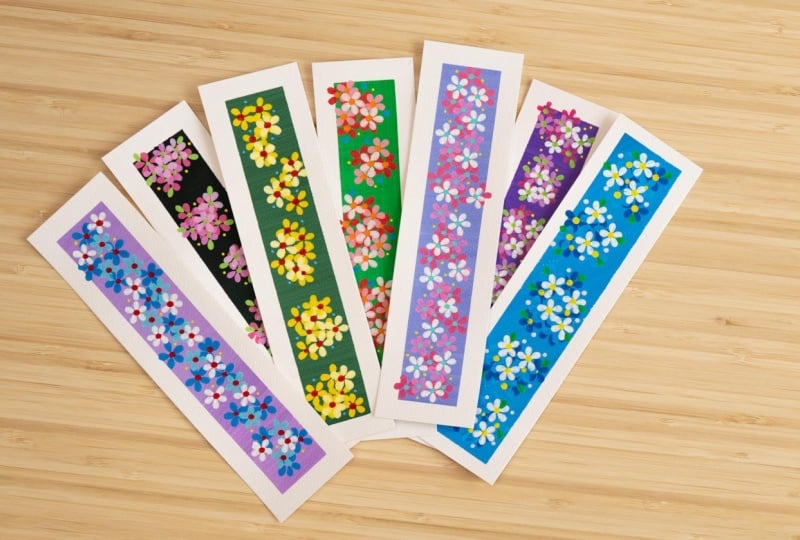
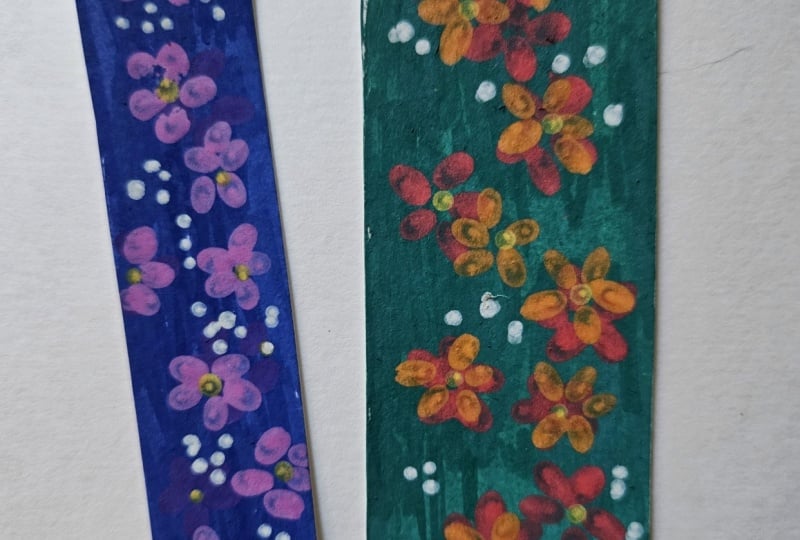
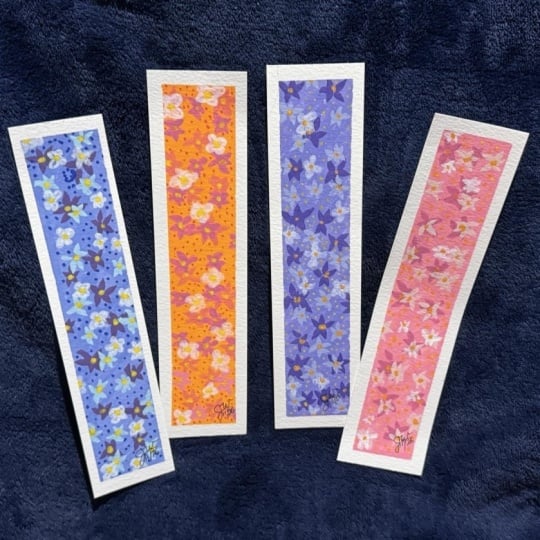
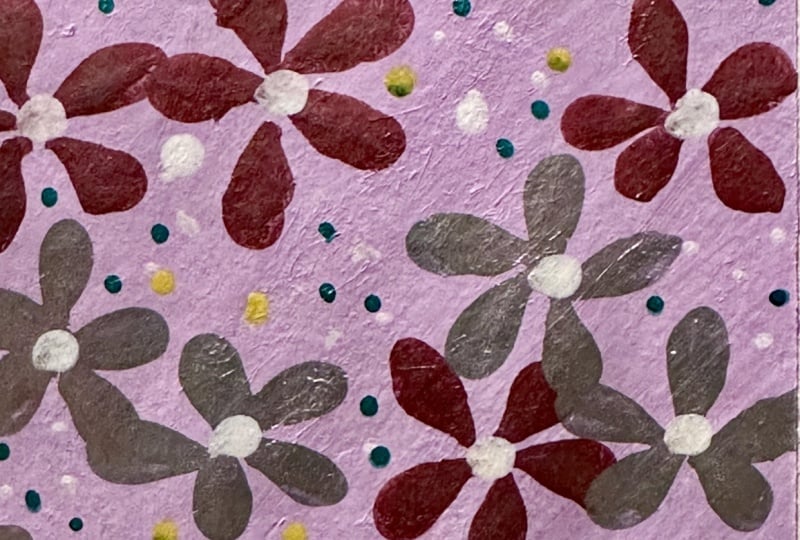
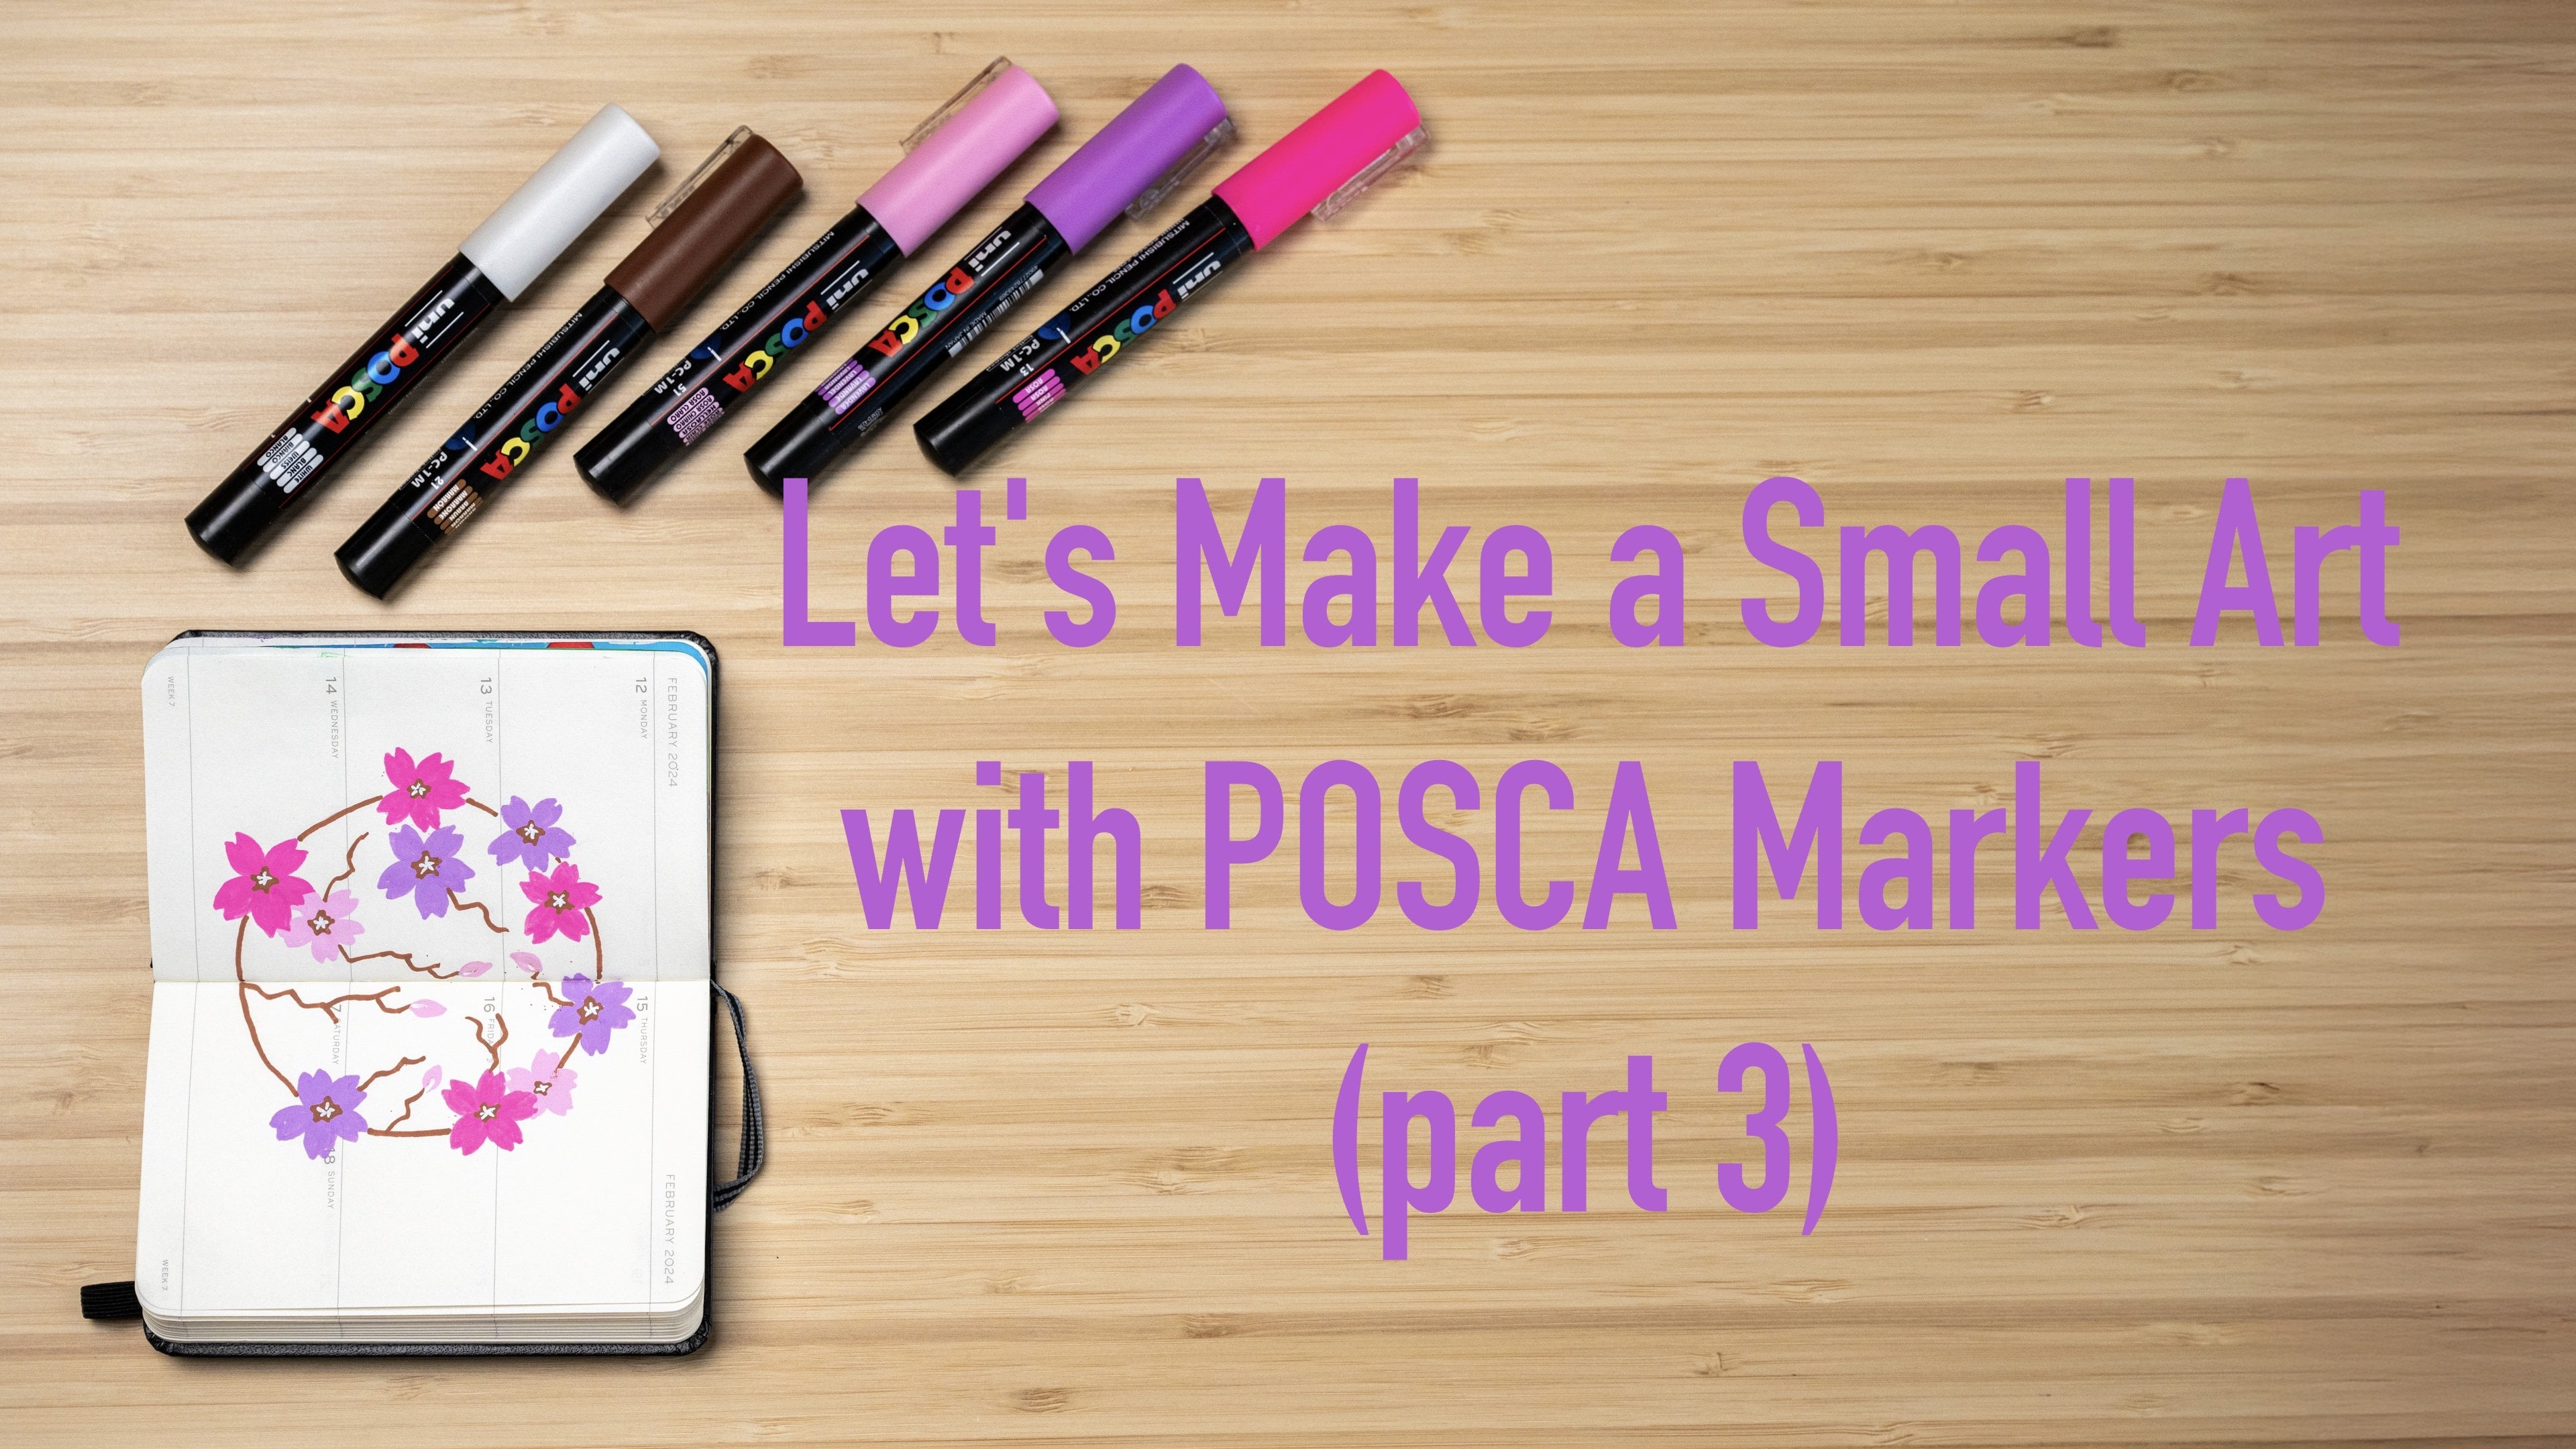
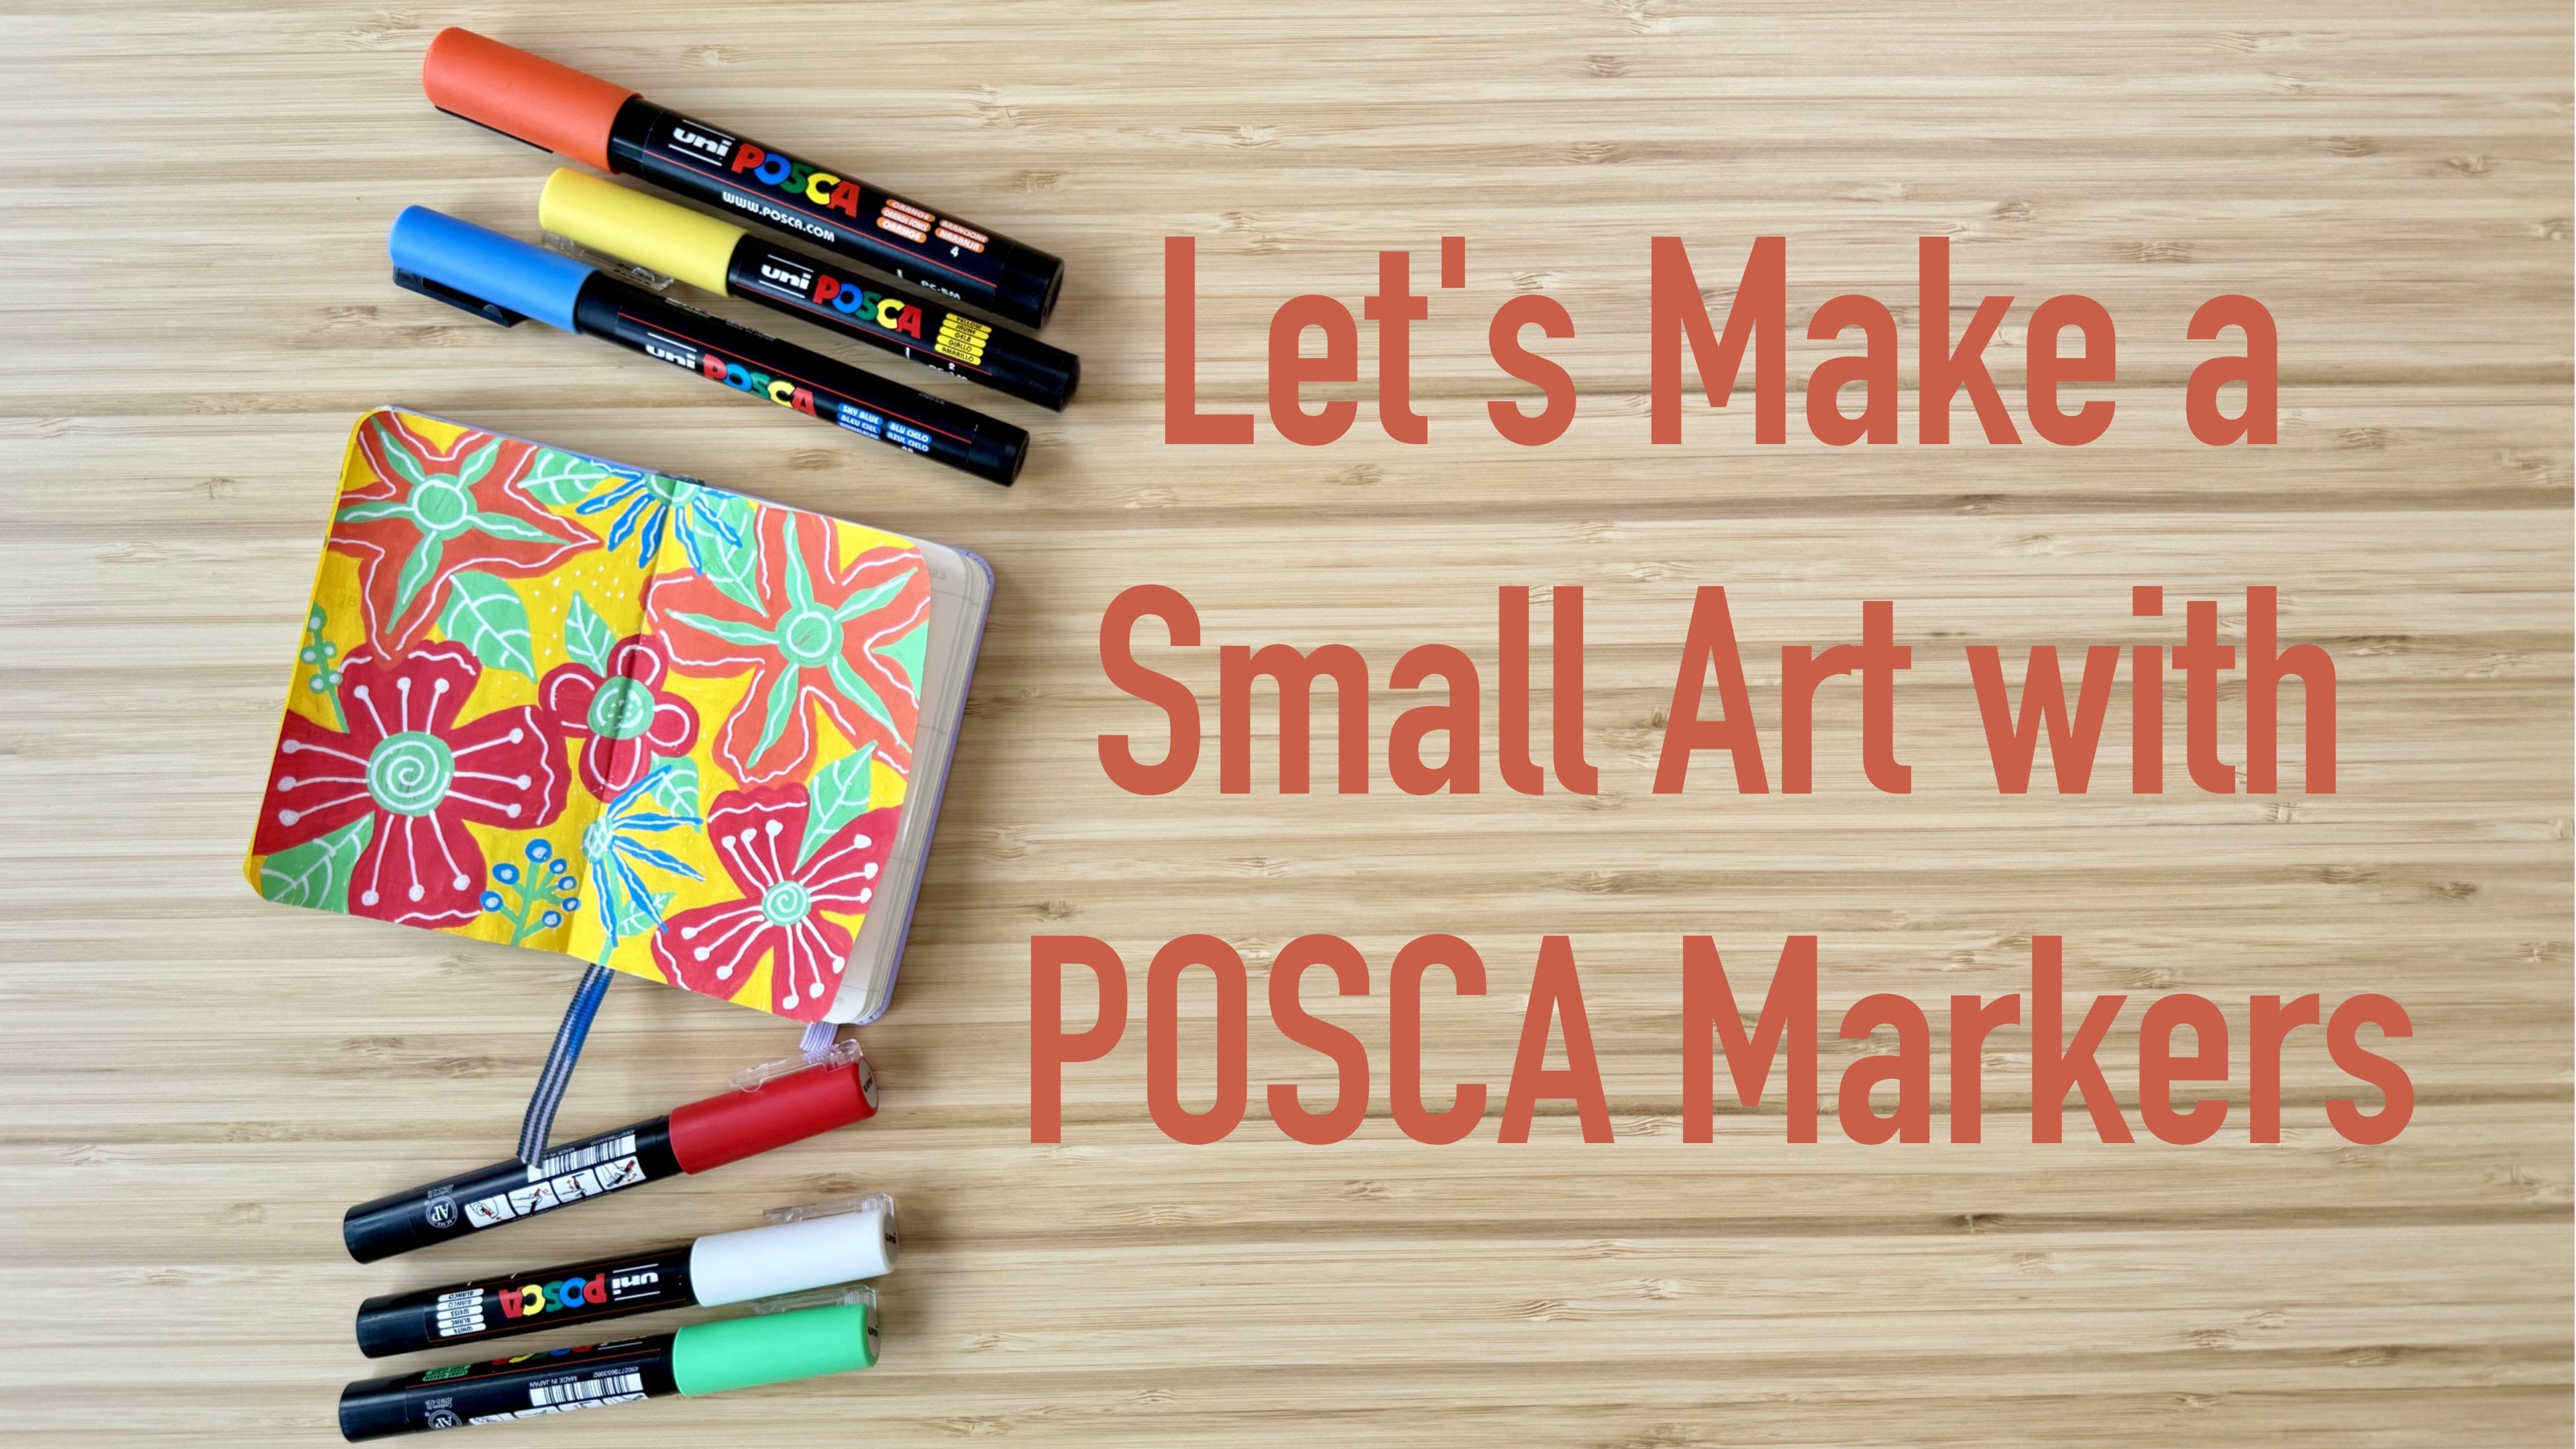
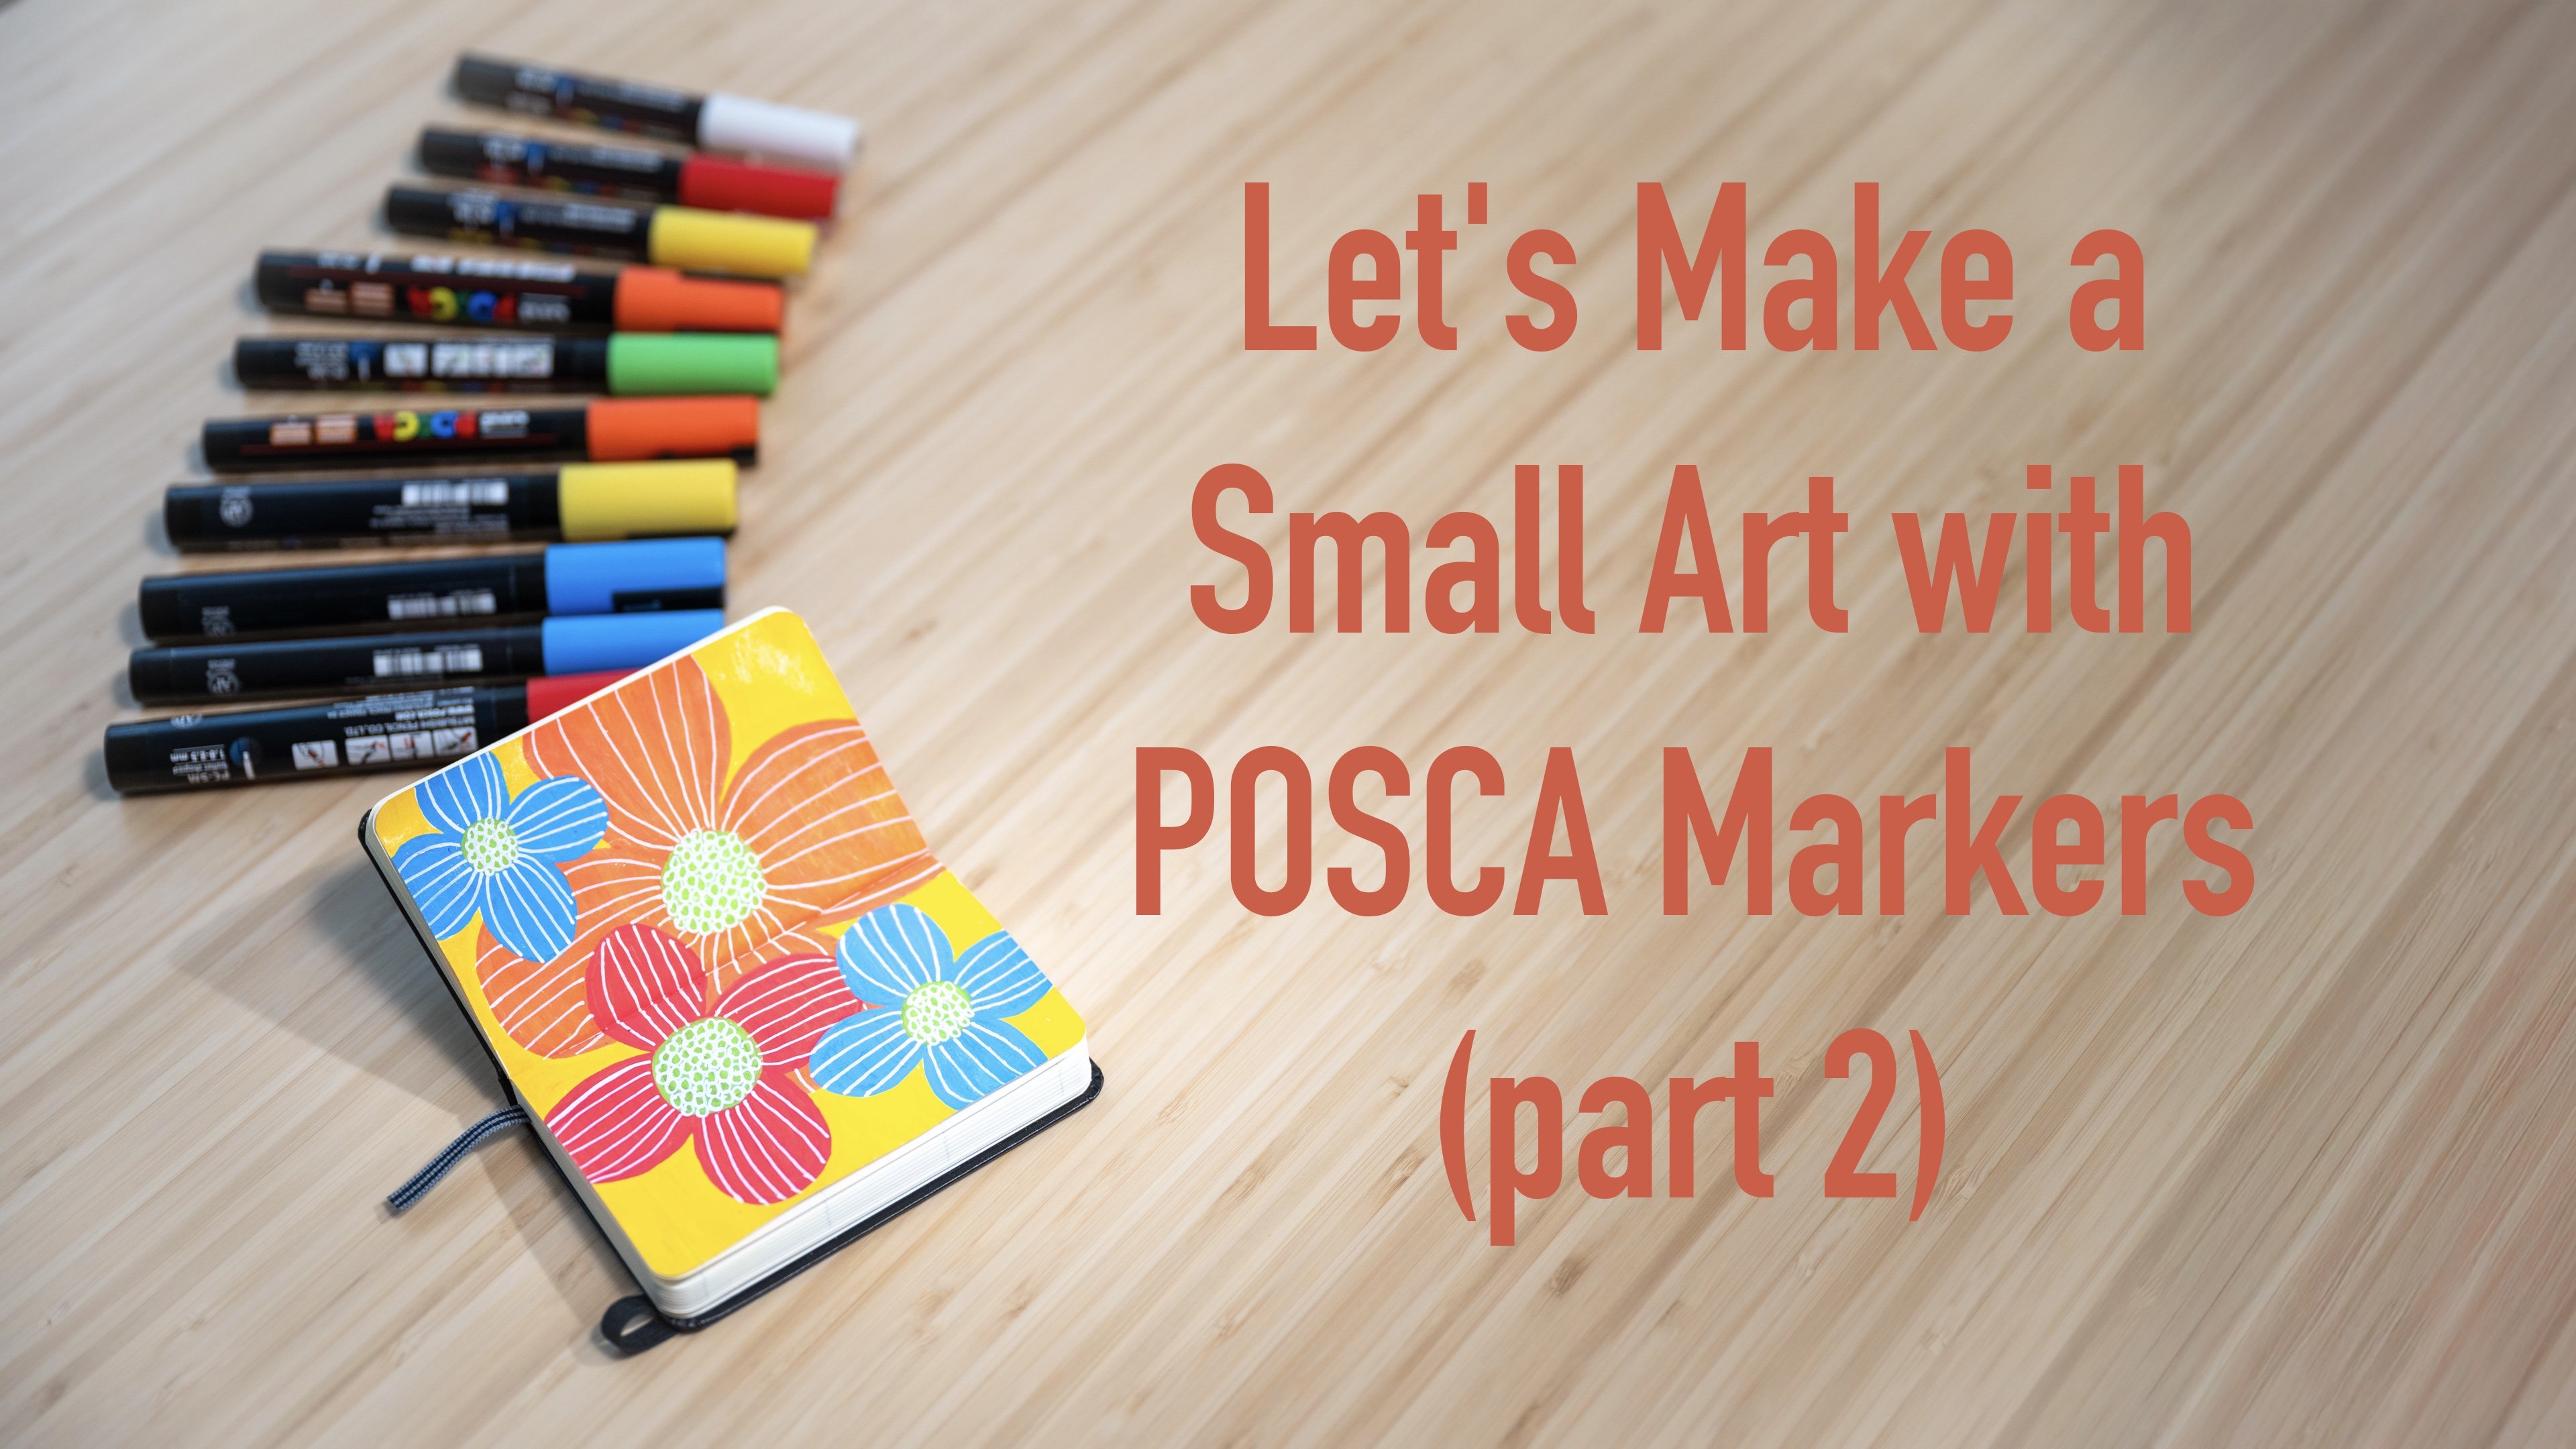
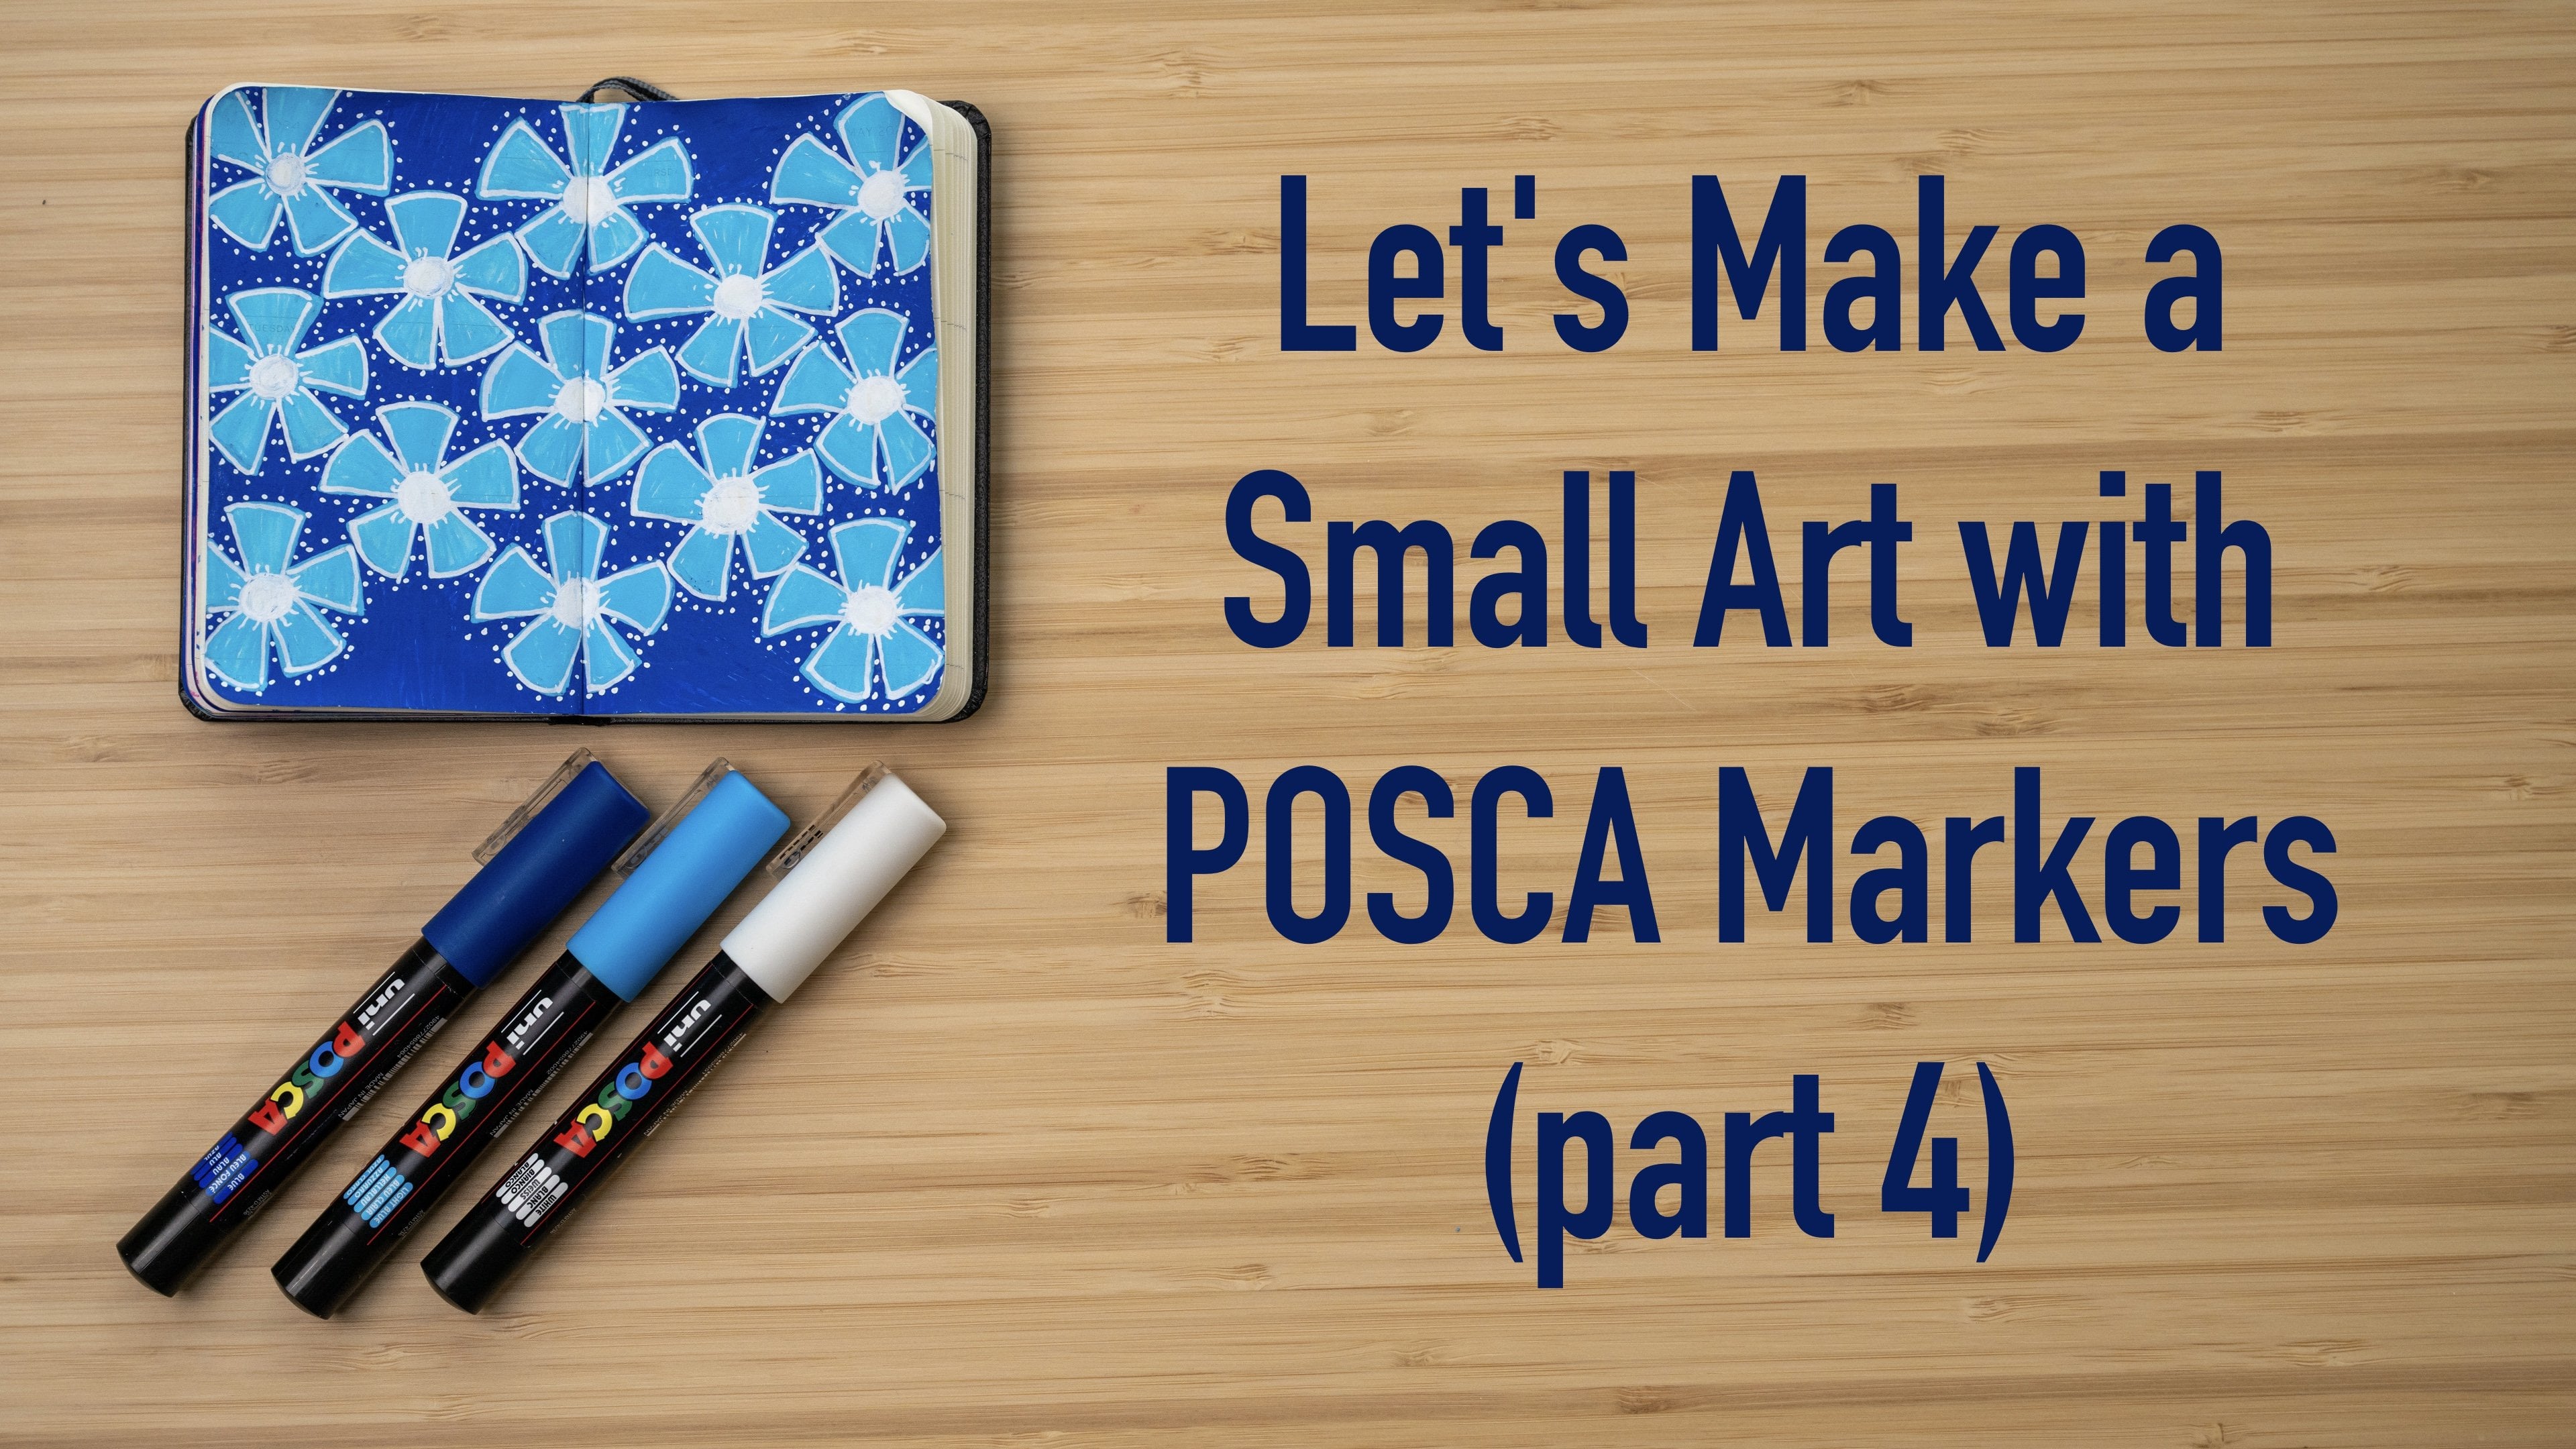
In this class, we will create a small peaceful flower art using acrylic brush markers. We will fill a paper with gentle flowers in a relaxed, no pressure atmosphere. I hope that you will find the process calming and meditative as you allow yourself to be present while you create your art. I’ll be painting flowers on a bookmark size watercolour paper with a very limited colour palette but feel free to make your art in any size and colours.

By the end of this class, you have created a small beautiful art that hopefully will inspire you to create more art using acrylic brush markers.

Meet Your Teacher
Teacher Profile Image

Elaine Vitikainen

Illustrator from Helsinki

Teacher

You can find me at http://ev-visuals.com and at http://elainevitikainen.com for my travel adventures.

Let's connect on Instagram at https://www.instagram.com/sweetpugnacity.

See full profile

Level: All Levels

Class Ratings

Expectations Met?
    Exceeded!
  • 0%
  • Yes
  • 0%
  • Somewhat
  • 0%
  • Not really
  • 0%

Why Join Skillshare?

Take award-winning Skillshare Original Classes

Each class has short lessons, hands-on projects

Your membership supports Skillshare teachers

Learn From Anywhere

Take classes on the go with the Skillshare app. Stream or download to watch on the plane, the subway, or wherever you learn best.

Transcripts

1. Introduction: Hi. I'm Elaine Vitikainen. I'm an illustrator and an entrepreneur from Helsinki. Welcome to my acrylic brush marker class. I'm so happy to have you here. If you have joined my other previous classes, you know that I love making small art with acrylic markers. Acrylic markers are my go to art tools. I love their vibrant colors and their ability to dry quickly. And what I really love about acrylic markers is how easy and convenient to use them. I don't need a lot of things to start painting. I also don't need to put a lot of time and energy. With just a paper and a few markers, I can create an art that satisfies my creative self. In this class, we'll create a small, peaceful flower art. We'll fill a paper with gentle flowers in a relaxed, no pressure atmosphere. I hope that you will find the process calming and meditative as you allow yourself to be present while you create your art. I'll be painting flowers on a bookmark size watercolor paper with a very limited color palette, but feel free to make your art in any size and colors. By the end of this class, you have created a small, beautiful art that hopefully will inspire you to create more art using acrylic brush markers. I really can't wait to see you in class. 2. Class Project and Materials: For the materials, we need a paper to paint on and a few acrylic brush markers. I'll be painting on a 2 x 7.5 inches watercolor paper to create a bookmark, but feel free to make your art in any size. For the brush markers, I'll be using six colors. I'll be using three similar colors for the flowers and the background. That will be dark blue, middle blue, which means not dark, not light, then a light blue. I will also use white to add white flowers and yellow for the center of the flowers. Then green for the leaves, but feel free to use any colors that you like. When you are done with your projects, please upload them to the project gallery section if you like. Place a cover to let your project stand out. Add a description, then submit. I can't wait to see what you create. So let's start. 3. Preparing the Background: In this lesson, we'll start make our project by painting the background. I'll be painting on a 2 x 7.5 inches watercolor paper, but you can make your project in any size. For the background, I will use medium blue, but feel free to use whatever color that you prefer. I will tape this paper down with a washi tape to create the border. In the next lesson, we'll paint the flowers. 4. Painting the Flowers: In this lesson, we're going to paint the flowers. The flowers that we will paint are tiny flowers with five petals. They're very easy and simple to paint. Just press the brush five times in a circle to create these gentle flowers, leaving a space in the middle. The harder you press the brush, the bigger the petal. And it doesn't really matter if the petals are in different sizes. This makes the flowers more organic and alive. First, I will start with the dark blue. I will paint the flowers in groups. It would be good if I can tell you exactly how I decide where to place the flowers. But I don't really have any hard rule. I just go with the flow placing them where I think they should be. But it's important that they are evenly distributed with breathing spaces. So instead of painting flowers in every empty space, I will mostly group them. Then I will paint the light blue flowers. Don't be afraid to overlap them. I think they look fun that way. Then I will paint white flowers. So basically from the darkest color to the lightest color. Also, I don't really put much thought when I draw these flowers because I know that nothing will really go wrong. So just enjoy the process. In the next lesson, we will add the finishing touches. 5. Finishing Touches: Now, let's add the finishing touches. First, I will colour the center of the flowers with yellow. I will use a bullet tip marker. But of course, you can use the brush marker too. Then I will add some leaves with a green color by pressing the brush. Then placing some small white dots here and there using a white bullet tip marker. And here is the final art. 6. Thank You : Many thanks for joining me in this class. I hope you've enjoyed creating a small flower art using acrylic brush markers. Please don't forget to snap a photo of your art and share it in the project gallery section if you like. I really can't wait to see what you've created. And I would really appreciate a class review to help me with my next class and for other students to find this class. If you haven't checked out my other acrylic classes, please do so. And please look forward to my next class. Bye for now and see you again soon.