Let’s Make A Small Art with POSCA Markers (Part 3)
 Elaine Vitikainen, Illustrator from Helsinki
Watch this class and thousands more
Watch this class and thousands more
Lessons in This Class
-
-
1.
Introduction
1:26
-
2.
Class Project and Materials
1:08
-
3.
Juice Paint
3:26
-
4.
Drawing the Flowers
6:31
-
5.
Adding the Branches
2:49
-
6.
Finishing Touches
0:44
-
7.
Bonus
6:34
-
8.
Thank You
0:46
-
-
- --
- Beginner level
- Intermediate level
- Advanced level
- All levels
Community Generated
The level is determined by a majority opinion of students who have reviewed this class. The teacher's recommendation is shown until at least 5 student responses are collected.
19
Students
8
Projects
About This Class
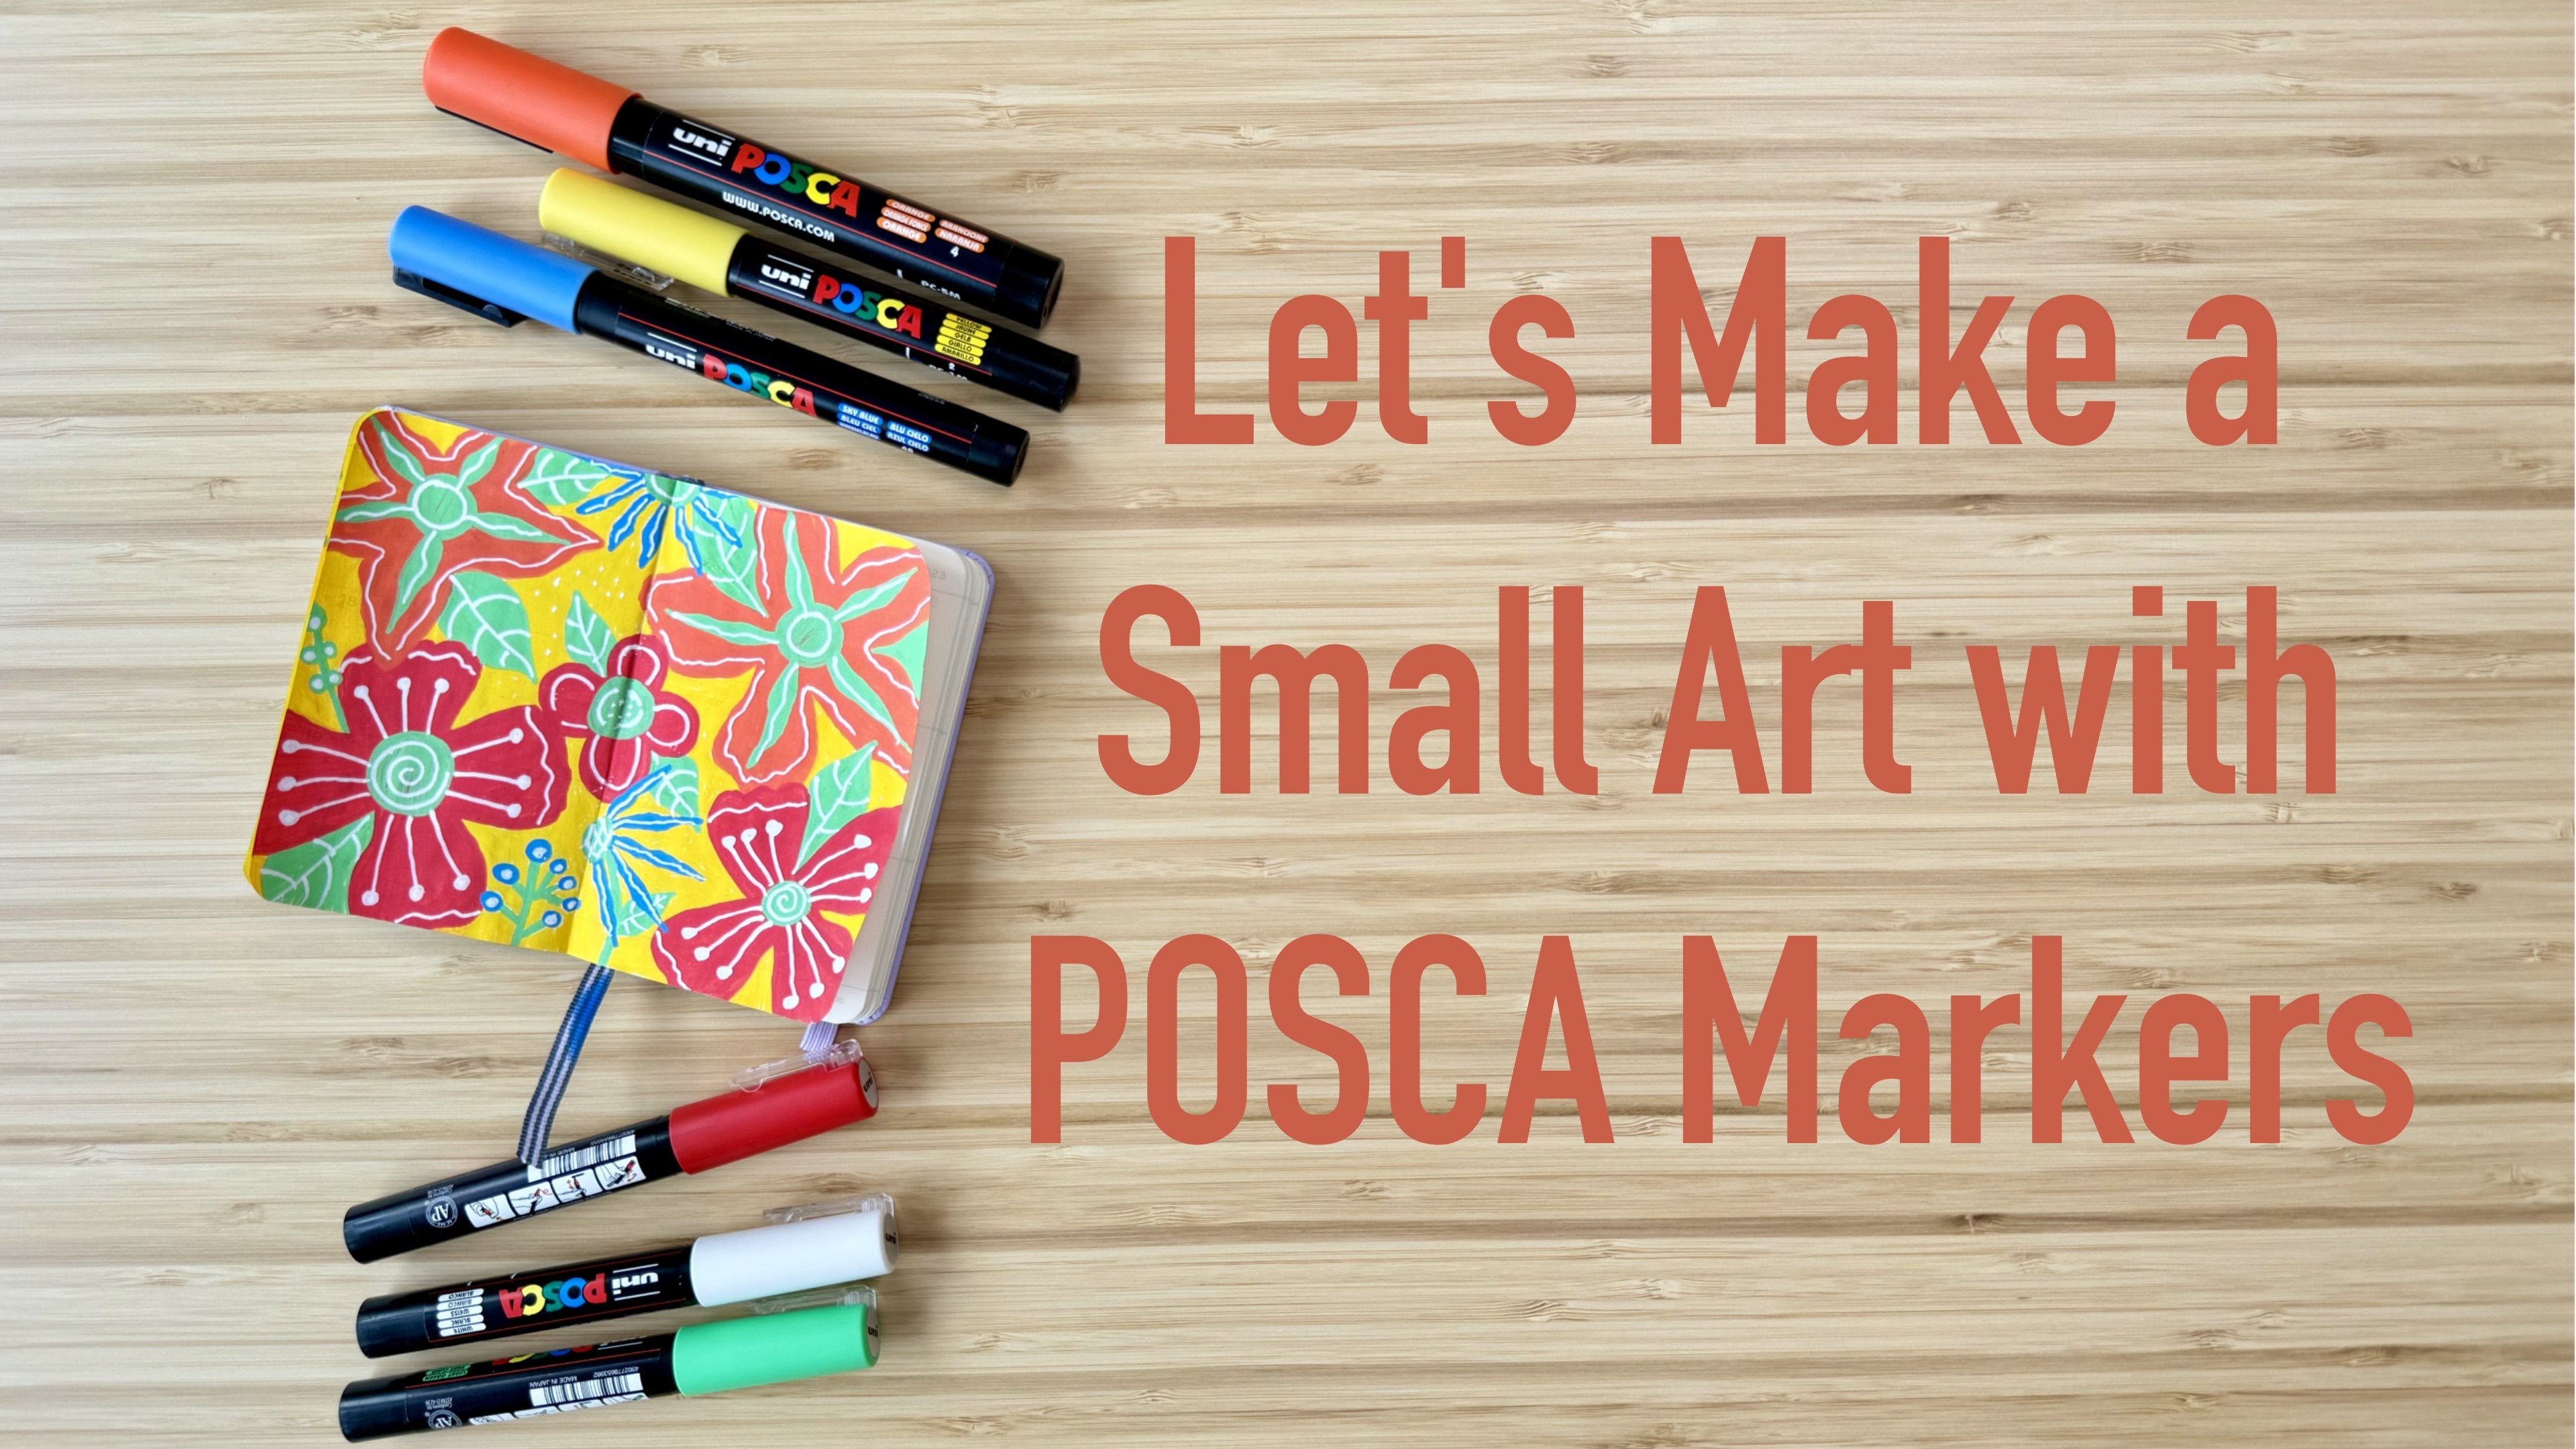
Welcome to part 3 of making a small art using POSCA markers. If you have joined my first two POSCA classes, you know that I love making small art using POSCA markers. I love the rich and vibrant colours of POSCA Markers. They make my art really bright and fun. And what I love about POSCA markers is how easy to use them. I can just use them as they are. They dry really fast and I can paint quickly to make something fun and relaxing and I don’t need to put a lot of time and energy. With just my tiny sketchbook and a few POSCA markers, I can create an art to satisfy my creative self.
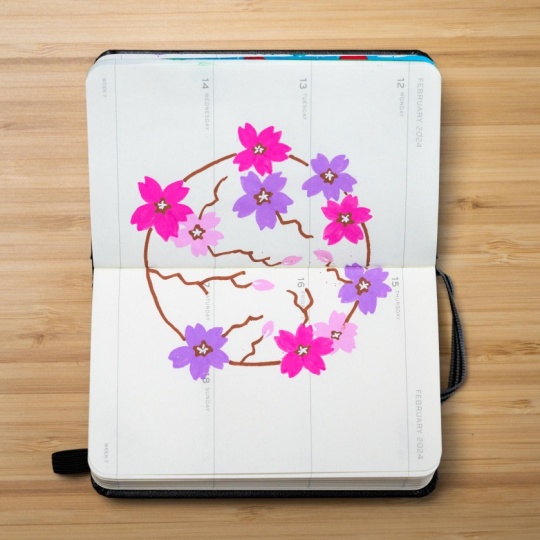
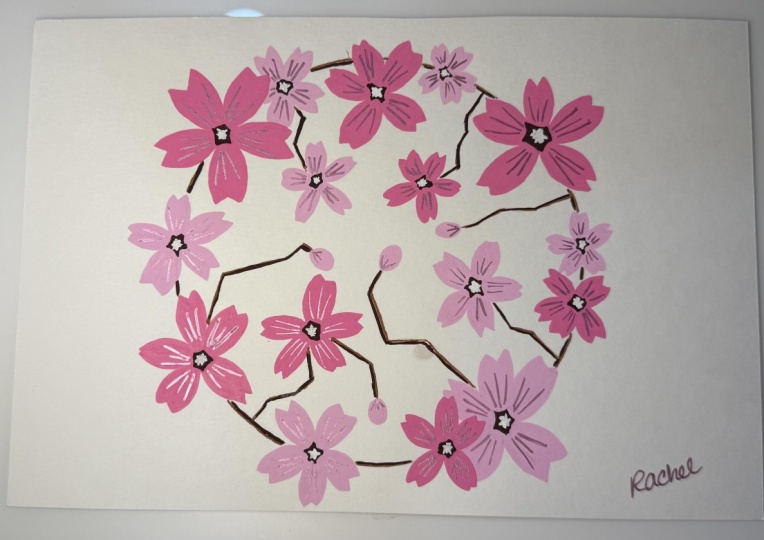
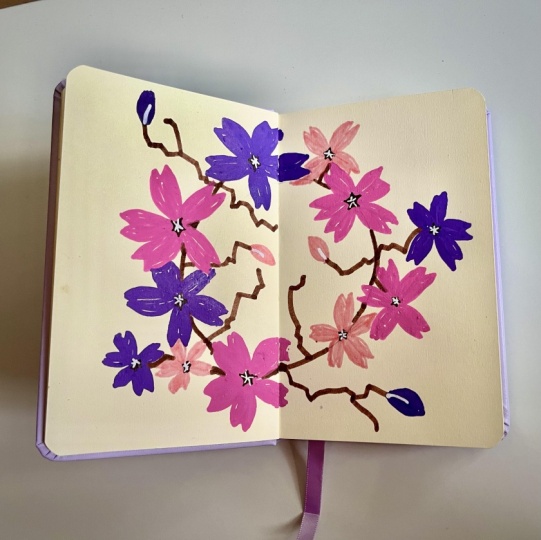
In this class, we will create another small art using POSCA markers on our Sketchbook or on any paper. The theme for this class is Spring and Cherry Blossom. We only need a piece of paper and some few POSCA markers to make our art.
By the end of this class, you have created a small beautiful art that hopefully will inspire you to start or continue your journey of creating more art using POSCA markers.
Meet Your Teacher

You can find me at http://ev-visuals.com and at http://elainevitikainen.com for my travel adventures.
Let's connect on Instagram at https://www.instagram.com/ev_visuals/
and https://www.instagram.com/sweetpugnacity.
See full profileHands-on Class Project
For the class project, we will be creating a small flower art. We will create something fun and relaxing without any pressure. This could be a start or a continuation of your journey of creating more POSCA art.
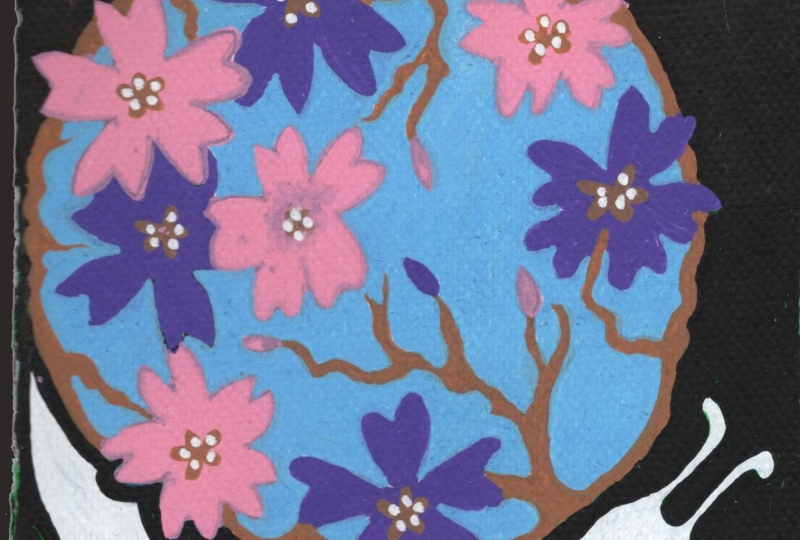
For the materials, we only need a paper to draw on and a few POSCA markers. The theme for this class is Spring and Cherry Blossom but with a bit of colour variation for interest. For the POSCA markers, we need 5 colours - pink, light pink, lavender, brown and white. This time, I will be using the 1M size nib which is a small size nib. But for you, the size of your nibs will depend on the size of your art.
We will also arrange our flowers in a circular form so we would need something to make the circle and also a pencil.
Class Ratings
Why Join Skillshare?
Take award-winning Skillshare Original Classes
Each class has short lessons, hands-on projects
Your membership supports Skillshare teachers
Learn From Anywhere
Take classes on the go with the Skillshare app. Stream or download to watch on the plane, the subway, or wherever you learn best.