Transcripts
1. Introduction: Thank you for
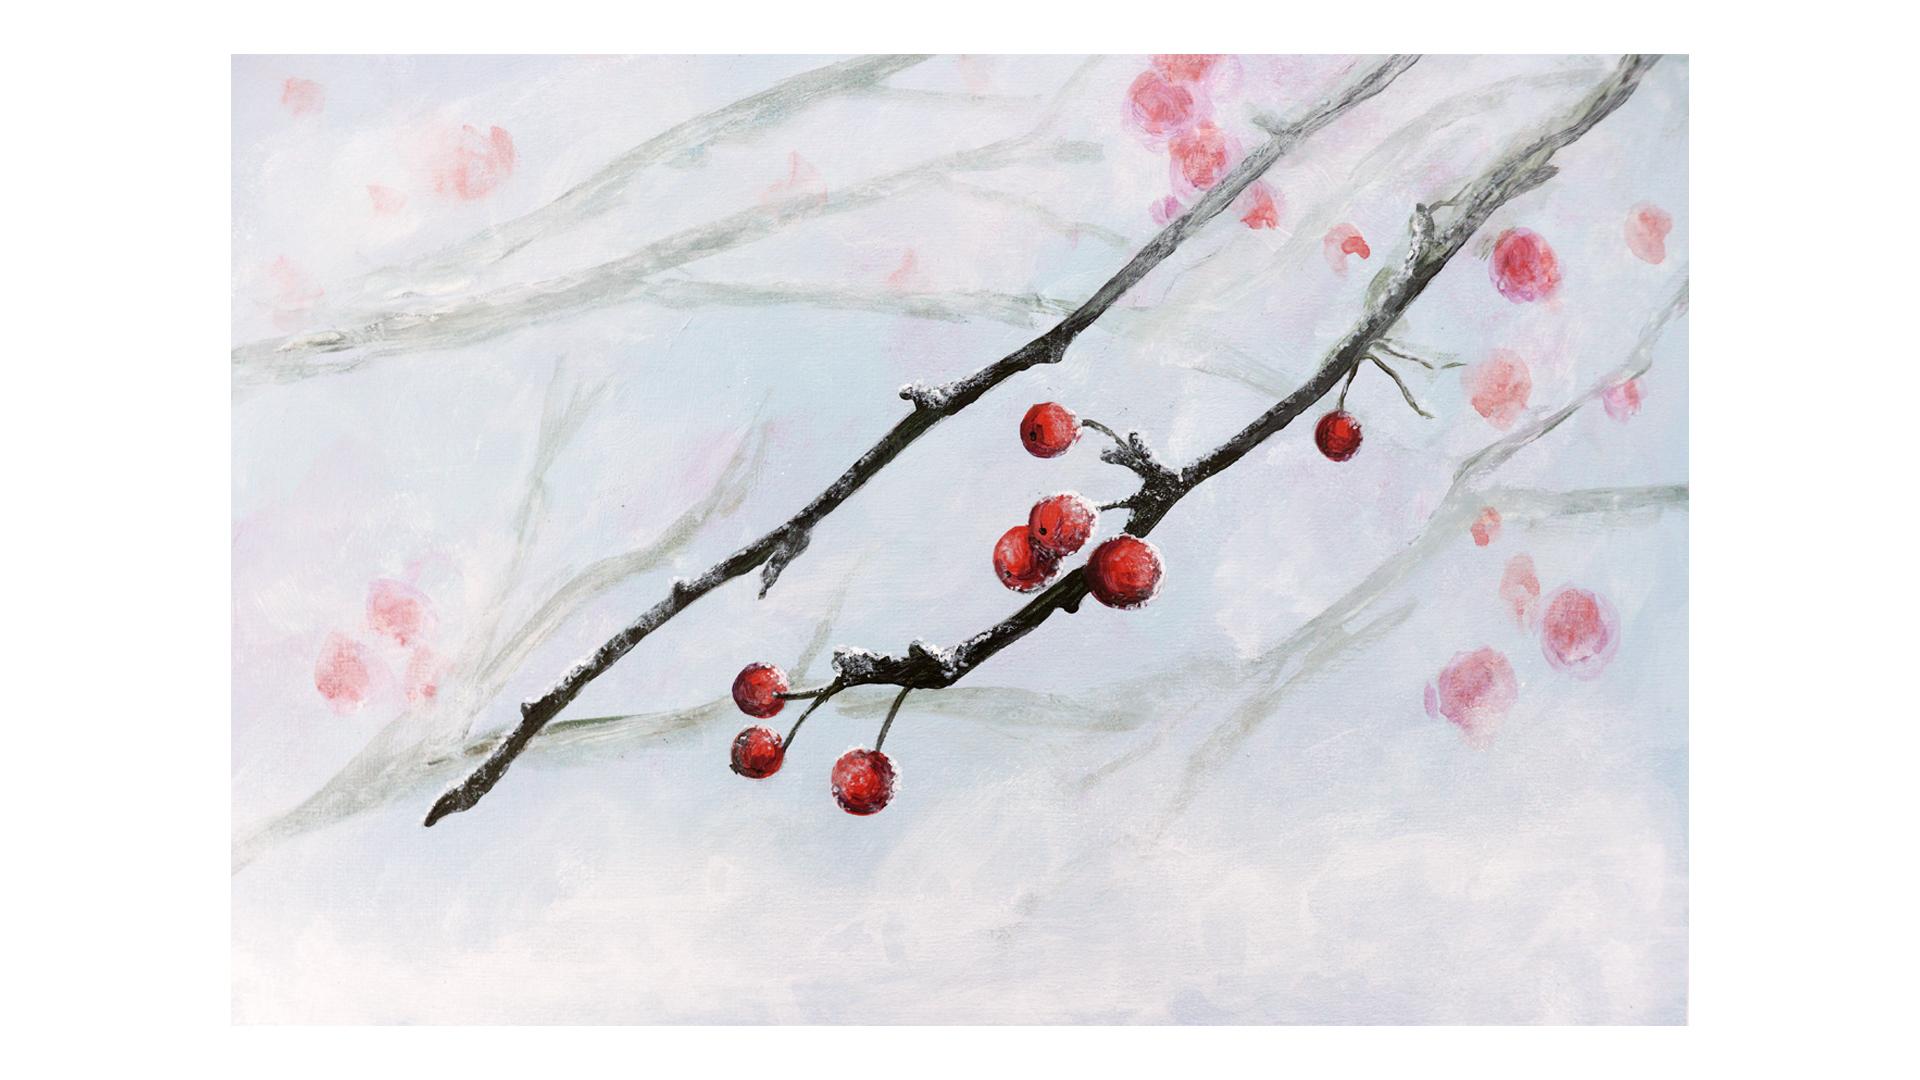
joining me to paint these beautiful winter berries. I love this painting because
it reminds me of getting outdoors and walking in nature
on a crisp winter's day, which is just one of my
favorite things to do. There's a little bit of
everything in this class with a loose background and
then smaller details. You'll need your
paints in white, blue, red, yellow, and a brown. A sponge or some tissue to
create a soft background, and then various
sizes of round brush. So you have one large, one medium, and one
for small details. I used a size 12, a size four, and a size zero. When you're all
set up, we'll get started by painting
your background.
2. Painting Your Background: Let's start by mixing
up our colors. I'm going to use white, blue, red, and some burnt
umber for my brown. First, you want to
try and mix a pale, kind of bluish gray as a
base for your background. I'm taking a little bit of all of my colors into this mix, and I'm just going to
test the quantities in a small corner first before
I mix the fall amount. Apply your background color all over your painting surface. Apply it relatively thickly
because we're going to blend into this so we don't
want it to dry out too fast. As you can see, I'm not being particularly
neat with this, so you can be quite quick and loose at this
stage of the painting. Now we have a base. We want to introduce some
other colors to give the impression of this sort
of out of focus background. I'm going to start very loosely with some water down white, just dabbing it on very, very quickly and loosely onto
that background surface. Oh do the same thing with
some watered down red. This is going to give
the sense of there being some berries
in the background, but these won't be defined. It's really just kind
of soft areas of color. Now, it all looks like a bit
of a mess at the moment, but to blend these
areas of color, I'm going to take a sponge and just lightly dab the surface. This will really help to
soften up the background. So we have just that very
subtle impression of colors. Twist and rotate the
sponge as you press down, and this will help blend
those colors together. Next, let's add some
out of focus berries. I'm going to add some brown to my red to create a
more natural color, and I'll water this
down a little too, so the color isn't too
intense at this stage. Using a medium
sized round brush, lightly add in
some berry shapes. You can use the
reference photograph as a guide if you like, but these don't
need to be exact. To make these feel
more out of focus, you can just blend and soften out the edges
with some water. In a similar way, we now want to add some out of
focus branches. I'm not using black because
I feel it will be too harsh. Instead, I'm going to
mix some blue into my brown to get this kind
of dark greenish gray. Again, water this down to dilute the color and help it
flow better from your brush. Then just sweep some branch
shapes into your background. As before, this can
be really loose, but you can follow the reference photograph
to give you a guide. You can work back
over your marks with some water to blend the edges
if you need to soften them. You can keep reworking
this as much as you like until you have a nice
out of focus background, which will act as a great base for your main branch of berries.
3. Adding Branches And Berries: I've loosely sketched out the shape of my main
branches of berries. So the next step is
to block these in. I'm adding some
blue into the brown again to create the right
color for the branches. I'm still using my
medium round brush, which has a nice point to it, so I'll be able to
control the line well. Gently, fill in
your branch shapes. Take your time. Don't rush it. Just fill in that
shape bit by bit. I'm going to switch to a smaller size zero round brush in order to paint the finer
lines of those branches. Now, that's the
branches blocked in. But I also want to
create a sense of them fading out towards
the background. To do this, I'm going
to water down some of my background color and just
brush this over the ends. This is going to help lighten the ends of those
branches up a little, and it will help with
a sense of depth. Just blend those lighter
areas down the branch, and you can also build up the color using a couple
of layers if you need to. Now, let's block in our berries. First of all, mix a
small amount of yellow and some white into your red just to
brighten it up a little. Using the tip of your brush, fill in the shapes
for your berries. While we have this brighter
color on our brush, let's add a touch of it also to those background berries
we painted earlier. You can do this very loosely, just adding a touch of that brighter color to
unify the painting. I'm really just playing around
with the background here. Now that the main
branches are blocked in, we can see the balance between
background and foreground. So just take a minute here to check you're
happy with that. You might decide
you'd like to add in some extra berries or you might want to lighten or
darken the background. Now we need to give our
berries some dimension, and we'll do this
by adding shadow. Again, I'm not using black
to mix my shadow color. I'm using blue instead, because it will fit better with the rest of the colors
in the painting. Make sure you're using
your small brush for this part because you'll
want the extra control. Load it up with
your shadow color and then add those
shadows to your berries. Try to look at each
one individually and observe where the
shadow falls on the shape. These berries are
already starting to feel more three dimensional now
that we've added that shadow. Next, I'm just going
to take a bit of brown to add the small dots on the
underside of the berries, a little detail which will help them to feel more lifelike. You can also use
the brown just to strengthen the shadows
in some areas like where this berry
overlaps the other and casts a stronger shadow
onto the one behind. Where there are shadows, there are always highlights. So I'm going to just add mine using some of the same
pale background color, using a little water
to thin it down. I'm applying this
just on the areas of the berries where I see the
light is hitting that shape. These aren't strong highlights, so make sure your paint is thin enough that you're adding
just a very subtle tint. Now, your painting is really
starting to come together. We just need to add the details of the frost to finish it off.
4. Frost And Final Details: In this final part
of the painting, it's time to add the light frost to give that crisp winter feel. I'm using my smallest brush, and I've just
watered down more of that pale background color
for the initial layer. I'm using just the very
tip of the brush to add the frost along the edges of the branches and the
sides of the berries. I'm using a dotting motion with my brush because we want a
little bit of texture here. We don't want smooth lines. Using your reference
photograph as a guide, likely dab in those
areas of frost. You can even use
your finger just dab over your brush marks to
create added texture. I found this worked
quite well to help soften and
disperse the paint. This part is going to take a bit of patience,
but just keep going, following the same
technique until all of your branches have that
initial layer of frost. Now we have the first layer, and this piece is already
feeling more wintry. But we do need to
have a few areas of brighter white to
really bring it out. So take some pure
white this time, and we're going to use this just to pick out the brightest areas. It's exactly the same technique, another layer on top
to add that depth. So now we have that
lovely covering of frost over the berries, well done for
persevering with yours. The painting is pretty
much finished now. I just want to brighten up the bottom of my
background a little more. So I'm taking some white, and I'm just using
my sponge to add a little bit of texture towards
the bottom of the piece. You can follow along and
do this step with me, too, but you might be happy with
your painting as it is, so don't feel like you
have to add any extra. I just wanted to have
a bit of fun and experiment with tweaking
the background at the end.
 Kate Broadhurst, Artist / Painter / Educator