Transcripts
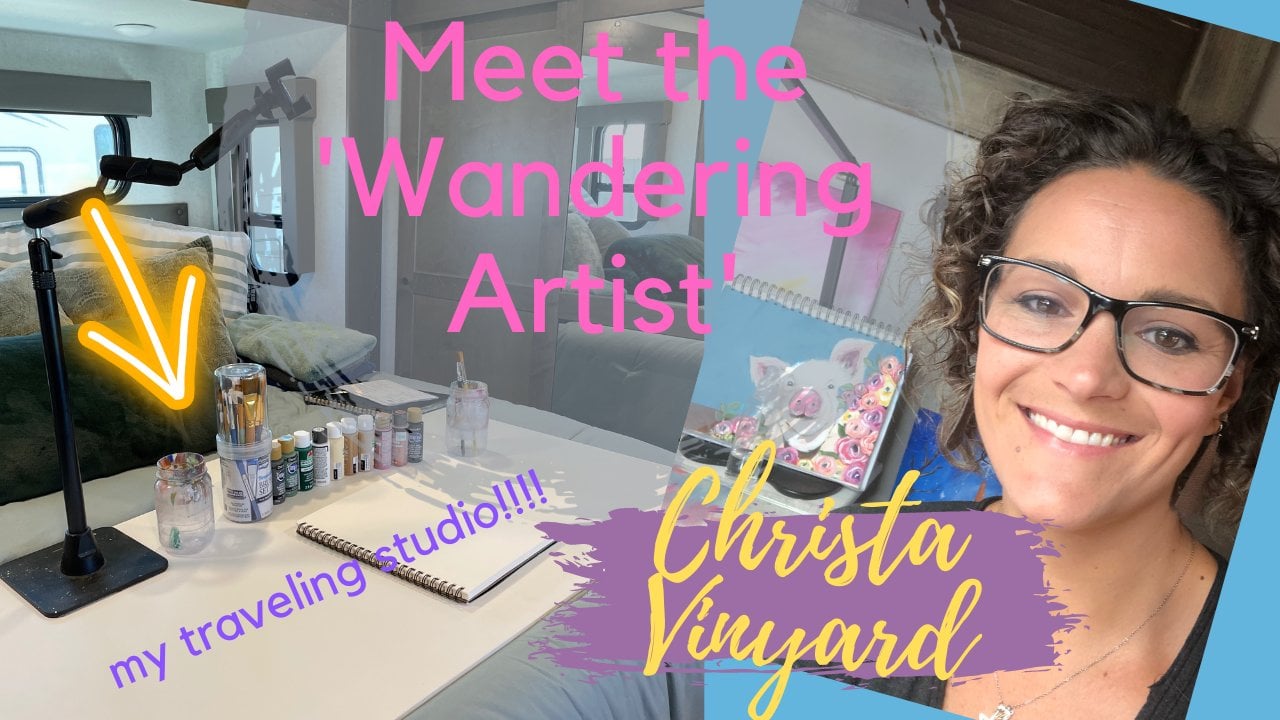
1. Starfish Introduction: Hi everyone. I'm Krista. I have been teaching hundreds of people how to paint and my in-person painting events
like paint instant parties, birthday parties, mom's night
outs, and church events. Well, I have taken my family on the road to explore the
country and our RV. I call myself a wandering
artists. I guess. I couldn't leave my love for teaching people how
to paint behind. So I set up a mobile
studio to offer you my easy step-by-step
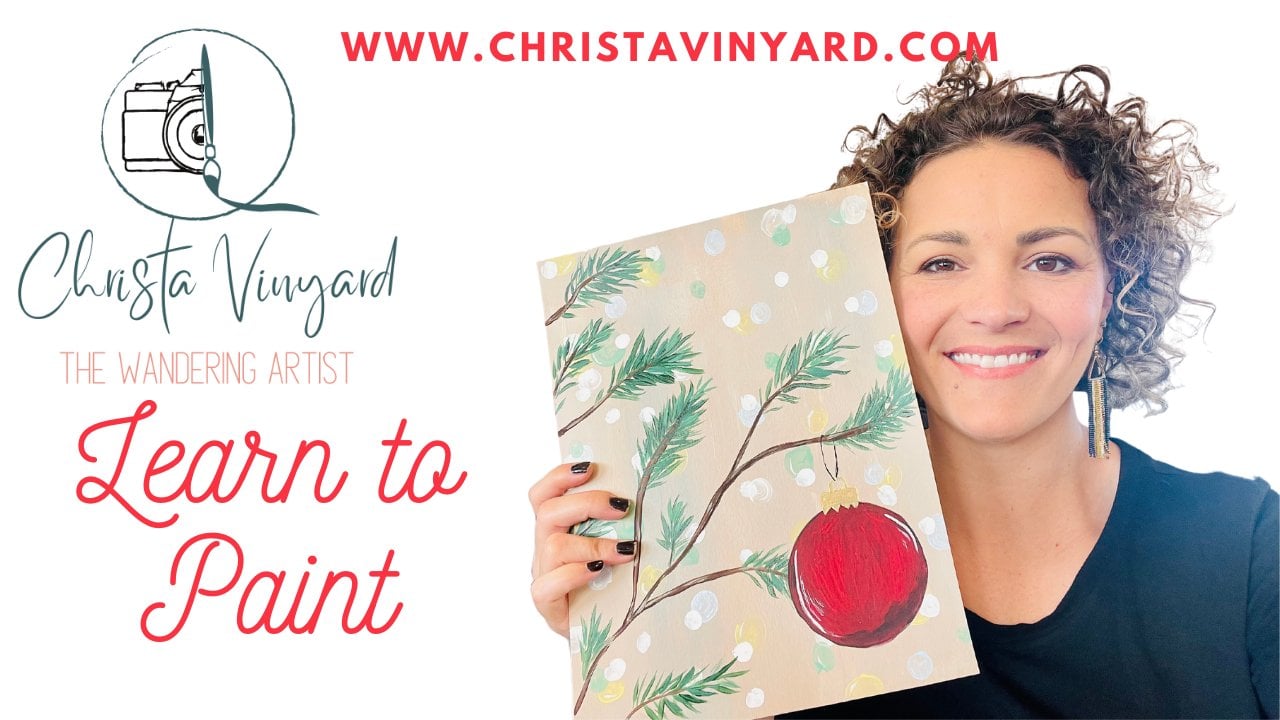
painting instructions online. I will provide you with current
to trend artwork lessons, holiday lessons,
abstract lessons, and even some lessons
for the kiddos to my instructions will have a full list of all the
supplies you will need, where to find them, how to use them in detailed instructions. On each stage of the painting, I have a unique style and easy approach and
I know you will be proud to hang your artwork on the walls and not
hide it in a closet. So grab your brushes and follow
along and let's go paint.
2. Part 1 Painting Background: All right, Today I'm
going to show you how to paint this abstract. Said sunflower,
star fish painting. We're going to use a
combination of brushes. We're going to use
this big flat brush for our background. A smaller flat brush for different part
of the background. A fan brush for our
splatters are angled brush for our Starfish and this round brush
for the highlights. So that is a number eight
round brush, a fan brush. Number. Elizabeth
doesn't have a number, a medium-size flat brush, a half inch angle brush, and a one-inch flat brush. And the color is,
we're going to use our this midnight blue
antique parchment. Cameo pink, pink
blush, navy blue. Alright, let's get started
from this slide is one over push paper here. Okay. Take your flat brush and dip
it into the midnight blue. You're going to start here in the corner and work your way in. You can see that we're just focusing on
this outer area. I'm going to add a
little water to my brush to make it a little more
transparent as I get. That changed, it makes it
really transparent, thinner. Now, these first layers
are going to be, you know, you're gonna be
like what are we doing? Just looks terrible. Um, you just have to keep
going and just trust it. Add more water to my brush. Now I want to start thinking
about my Shoreline. I wanted to kinda just
naturally happen. What I don't want to do is go make it all nice and perfect. Shores are never perfect or the beach line is never perfect. So I want some areas of some areas of water and some areas
of the deep blue, some areas of the
dark blue summaries of the light blue, which
we're about to add. Oh, I forgot the light blue. Here it is. Cabana stripe. I'm not even going
to clean my brush. I'm just gonna go right in and start applying the balloon. And I kinda want them
to mix and melt. Okay. You want to keep the
lighter color in this area and you want the
darker to be over here, but you can still blend them. You just don't want to
overplan does what I'm saying. I dipped my brush back into my dark because I want to
keep that corner dark. I do need it to be a
little more mixed. Can also add a little bit of water to your
brush that would help them to get your
canvas too wet though, because then it'll take forever
to dry for the next step. So what I don't like to see on this particular background
is this strokes. I don't. For this background, I want it to be
relatively smooth. So I'm just gonna go over
it in one direction. And just do that.
For this next part. What I'm gonna do is I'm not
even going to use a brush. I'm actually going to dip
my fingers into this green, the Cabana stripe,
this light green. And I'm just going
to come around here and follow this edge. I'm just going to
model it a little bit, just dabbing,
smashing it around. I'm bringing some
right up to the edge of this blue line that I
created with my brush. You can bring some
back in here too. You don't want to do separate little fingerprints of course, but just smoosh it around. I like to say the word smooshed. If you get too much
paint on your finger, you can just dip it in
paint and then just like dip it on a rag real quick. Hello friend. Sorry about that. Drag that back. I have just a tiny bit of
paint on my fingers. Okay. I'm going to let that
dry for a minute.
3. Part 2 Painting Background: We're going to move
on to the sand. So I'm gonna get my smaller
flat brush and dip it into the caramel color. My gosh, this right
here, classic caramel. Got to tell you that one too. Okay. Now we're just going
to put on some paint. Now, put some water
on your brush so it extends the life
of your paint a bit. And you're going to just
come up to the blue, but not all the way
up to the blue. We're just gonna
go almost there. Sure that you guys can see. Now, I love to paint abstract paintings because it can be sloppy, it can be messy. It does not have to be perfect. I don't do anything perfect. Anymore. Paint. When you're working with paint and you're putting
some on your palette. I just have this paper plate. Super cheap, doesn't
have to be fancy. When I had my studio,
I actually had this big slab of
glass which I loved. And I can't wait to get back
there and use it again. But for this purpose, this paper plates, since I'm traveling, I can throw it away. It's lightweight
because weight is a problem and I don't have
to worry about it anymore. Worried about breaking or I can just when it gets dirty,
I can just replace it. Also when you're
working with painters, the whole reason why we started talking about paint,
I got distracted. I got distracted. Don't use globs and
globs of paint. Like just that's
the size of a dime. That's all I used and I'm
going to have leftovers. So you can always
add more paint, but you can't take it away. And paint is expensive and we don't want to
waste our stuff. It's always better
just to not do that. So see that white line. That's gonna be our shoreline. When we're, when we're done, we're going to come back and put in with our fingers again, a smudgy layer of
that white paint. Or it's actually going to be
the the antique parchment, which I'm going to go
ahead and do right now. Am I know should I
go into that now? Okay. So I'm gonna make
sure that I have no brown on my fingers
and I don t, We're good. We're just going to
the image are C Now, I feel like that's
too much paint, so I'm going to dab
it on my little rag here and then go in. And I'm just going to
follow this white line. I can go over it. Into the blue, into the brown. We're just following him. That's way too much
pink, but that's okay. I'm just work with it. You don't want to make any kind of pattern because then it'll
just look to Maggi. Maggi. I'm wiping off my finger because I got into
that blue paint that was still wet
and it's turning my phone turning my waves of
foam color, which is good. They sometimes our phone colors and didn't want
that. That's okay. Don't stress. We're
just let it dry. The key that happens,
that's, that's the key. It's something
like that happens. You just let it dry and then
you can go over it again. You cannot go over
it and fix it with wet paint that just makes
a hot and muddy mess. Wet paint just moves wet paint. It doesn't. You'll just end up mixing it and getting all
frustrated. Did I do it again? No, I didn't. Okay.
And so just let it dry or you can sometimes use a baby wipe to actually
wipe off paint. It was a fun fact for, you know. Baby wipes can
sometimes do that. So if that happens, you can try to use a
baby wipe. I don't know. It just depends
on the situation. If you're comfortable
using baby wipes in that fashion or not, then that might be
something you could do, but I typically just let
it dry because honestly, I don't have babies anymore. I'm done. Now. I know you're
thinking, well, that just looks like a hot
mess and it kinda does. But when we add our final
touches, you'll see again, I'm just kinda coming
on this backline and just smudging it into that bluish areas so that
it doesn't look so spotted, I guess is the word
I'm trying to be used. Okay. So I have my angled brush here and I don't
know if you can see, but it's kind of fuzzy, which because I smush a lot with it and that's
what we're gonna do now. I'm going to add a little bit
of this cream paint to my brown and see how it's marbled. We're just going to smash
that paint into my brush. And we're going to put some
texture into our sand. Now, what I'm gonna do
is I'm going to come up to this shoreline, but I don't want to
come all the way up to it because it will
create a shadow. And I'll show you on this
painting if you can see it. Um, do you see that right
there, that shadow line? So that's what we're gonna
do. We're gonna come up close to that area, but we're not gonna go into it. This is weird. It's like a canvas papers the first
time I've ever used it. I don't know if I
like it or not. I think for certain
things I like it, but I don't maybe if
I'm going to frame something in a firm frame
to keep it its shape. I would use it, but I like these £180 paper better I
think anyway, squirrel. Okay. So we're going
to start down here and we're just going
to work our way up. If you feel like your
sand is too light, just add more brown and fix it. Again. I'm not using
any special technique. I'm literally just going
smashing my paint down because I want the sand to kinda have a little
bit of texture. But I don't want it to
be all smooth, cl close. I'm getting to
that line and it's okay if you do
touch, that's fine. Sometimes my hands passes
out. You know what? I'm going to rinse my
brush because I'm seeing pink paint from my other
painting and dig a second ago. I don't want pink,
Stan. Is that a thing? Thank. Sandy beaches and others. Black sand and white sand. I think there's
red sand in Maui, but pink. Something interesting. Okay. Alright, so I'm just
going to follow this wavy line. It is a wave. So what I did there. Okay. As I get closer to this corner, I'm gonna be adding more
brown because I want it to be shaded over here. Like shade here and shade
here just gives the painting kind of a movement
in a dimension. Smushed mush, mush. Sorry, I get bored. A little earlier it was storming and my dog
is afraid of storms. So I had to literally
the storm to go away because he's
whining was so loud. I couldn't record anything. I'm probably moving
the table. I'm sorry. I didn't think about
that until just now. You're getting dizzy yet? I normally would use my
GoPro because I love it. It's actually quite amazing
I've just discovered in, but it's passing out right now. I'm a little frustrated
with my GoPro. They're expensive and
it's not working. And I feel like if I'm
going to spend that money on stuff, I want it to work. I feel like my sand is a
little too white right here, so I'm just adding some more brown to get that list
creamy, look out of there. Okay, see how it looks
more like a wave. It has a little bit of
a shadow underneath it. So the fun part is coming over
here with your fan brush, dip it in some water. And you're going to dip it into this foamy green color. Right? Now. This is where we get
really messy and funds. So make sure you are
in an area where like your surfaces are covered. We're just going to flick
it onto the watered area. Then we're going to do the
same thing in the white. And you don't even have
to rinse your brush. And we're going to click it
right around the foamy area. And it's okay if some
gets on your sand. You can do this as much
or as little as you want. You'll find that is alright, so next step is the most
boring step of all. We got to let it dry. We're
going to let this dry. And then we'll do the starfish.
4. Painting the Starfish: Okay, one thing you're going to learn about me is I'm super impatient and I hate
to let things dry. It's just the way I am, but
I think that's dry enough. Okay, so what we're gonna do
now is work on our Starfish. So we're gonna get
this pink blush color. Put a little bit on your
palate about a dime sized. Get your let's see. I use my angle brush earlier, but I feel like it was
just a little too big. So maybe we'll use this
guy first this time. So this is your six round brush. I struggled with that.
On my other painting, I feel like my
starfish was too fat. Okay, anyway. So now what you
need to decide is where you're going to
put your starfish. I like to have things
hanging off the page, especially when you're
doing an abstract, I just feel like it creates movement and interest
in your picture, in your painting, but
you don't have to. You can make a little
star fish right here. I'm going to make a bigger
starfish with the center being about right here
and an arm coming here, maybe an arm going there, an arm there and an arm going
out and an arm going off. That's just the way
I like to do things. So I'll give you an example. I'll show you the
example I should say. So see how he just kinda
went off the page. I like to do things
like that, but again, you don't have to and you can
make them a little smaller. You can do this whole
shape of a starfish, or you can do the
long round starfish. The one with a longer arms. That's completely up to you
to do whatever you want. It's your painting, right? I'm going to do, let's see. Maybe I will show you. I think I'm gonna do
the long arm starfish. I haven't done that. I've always done the big fat armed one, so we'll do the long
arm, see how it goes. And if I don't like it, we can always paint
over it, right? Alright, so I'm
going to start here. Now you'll notice it's a
little opaque and that's okay. This is just our first
layer. It'll get better. Let's see. They don't all have
to be perfectly rounded or straight
line, I should say. Probably looks better if it's
a little organic looking. I think I will do
that on this one too. Just make him a little
less perfect. There we go. I'm going to turn my page. There'll be afraid
of doing that. Let's see. I want this guy do I
want him to come down here or go out this way? I think I'll come down here where he's almost off the page. Okay, now, these guys are going to want him to go
straight up and down. Let's think. This guy, this arm first, pretend we're going
out, will come back in. My browser, made
him way too big. So I'm just putting
in another layer of the same pink over
what has already dried so that he's not so a
pagan. We don't see that. Ocean underneath them. There are some colors that
are really transparent. Yellow is one, oranges another. Sometimes pink. I guess. That's happens when you use cheap
paint like I do, right? I'm gonna make this guy a
little better right there. We go. Starting to thunder again and the distance. He's going
to freak out again. I don't like this arm. Do I let me look at
it without the glare. Know what, it's fine. Okay. So now we're gonna
go into our candy. Hey, cameo pink, sorry. And put some highlights on him. He doesn't have to be dry. So this is the cameo pink. So we're just going to kind
of outline him a little, give them a little
highlights on his arms. You don't want to carry the
stripes into the center. Because then he
starts to look weird. If you do that accidentally,
you can always go back with that dark
paint and fix it. I made that one a
little brighter because I want your eye to go down. Okay, so for this
big old fat guy, what I think I'm gonna
do is just bring the highlight in a tad and
let's see if that helps. And also take some paint off. That's better. So what you can do is just take your same
paint and go into the Antique White and just
give him some dots everywhere, like some random little dots. Not you don't have to
do his entire body. Just make it real. Dog is growing in his sleep. Now, take that same parchment white and you're gonna give
him even more highlights. A little light, a
light hand this time. Just kinda around the edges. You don't want to
do too much in the middle since your
dots are there. Okay? Now what I like to do is come
here and put the darker. I'm not going to rinse my brush. And I'm just going to make him have some
texture on his back. I'm going to pick up a
little bit of the white. I moved my risk because
everything was sideways. So I'm just going
to pick it up, pick my brush up and just dab. You can carry it
down into the arms. Just to give him a
little bit of texture. I'm gonna go back into
my dark pink and just do another layer of that just in the center because I want
the center to be darker. And remember, your paint
will dry darker it as well. Alright, so I'm happy
with the starfish. What I am going to do is get my fan brush again
and go back into the Antique White paint with my wet fan brush and put more
splatters on the starfish. Have splatters. Okay. Ready? That was probably a
little a little much. But you know what? There you go. In like what, ten minutes we had a painting rather
than dry time. Alright, so I hope
you guys enjoyed it.
 Christa Davis, I can teach you that ANYone can paint!