Transcripts
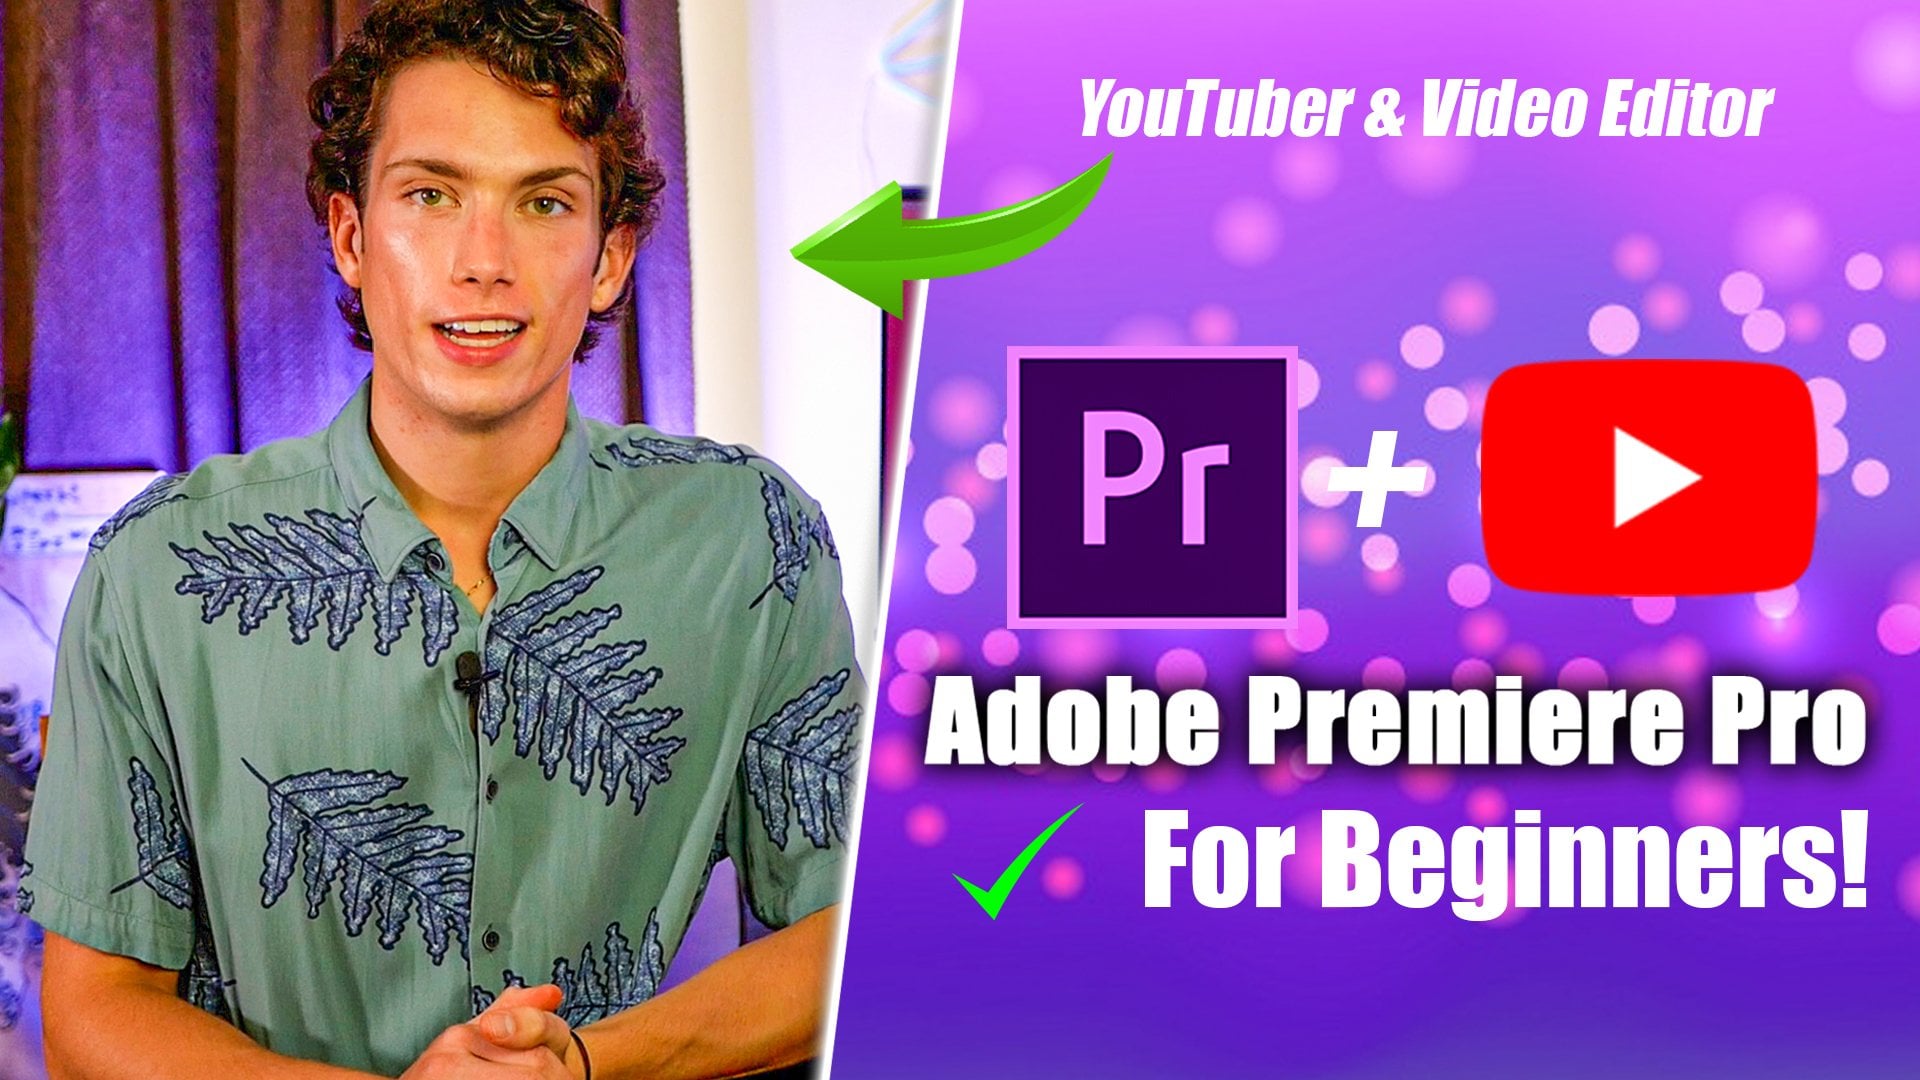
1. A Premiere Pro Masterclass - Welcome: people think that editing in Premiere Pro is hard and complex on Honestly, when I first look a whole edited video in Premiere Pro, it really does seem that way. But the reality is it's not anything in Premiere Pro. If you follow a workflow and know what you're doing is very simple and very efficient. Anybody could learn to added in Premiere Pro, and I literally mean anybody, even if you have zero experience of editing before and in today's class, I'm going to teach you all of the fundamental tools you will need to start editing in Premiere Pro. Now, I'm gonna teach you how to be efficient in your editing process. So we're gonna look in my workflow. I'm gonna teach you all about color grading, boosting volume, reducing it. I'm gonna teach you how to add motion graphics, All of this really cool stuff. I'm gonna teach you very simply on very easily in today's class. Hey, guys, I'm Dylan. I'm a YouTuber with 42,000 subscribers on din the last month alone, I've got over 100,000 views on about six or seven videos. I really do think the key to my success on YouTube has been my editing process, and I think the key in general to creating good, engaging videos is all about your editing process and how you edit Andi in today's class. I'm gonna teach you all of my secret tips, all of my tricks to do with Premiere Pro on Show you how I edit videos from initially from getting the video up on the screen to the final product. So if you are interested in learning about Premiere Pro how to edit videos or how to add a YouTube videos in general, then you've come to the right place and be sure to check out the class project where, when you guys that it the same video that I had in this class, and then we can kind of compare what you did, what I did, and we'll see who's better by the end of it. On. Without further ado, let's jump in to Class one
2. The First Cut: now, Episode one is all about the first cut of your video that you're gonna be making. So I'm gonna dive straight into it. Once you've opened Adobe Premiere Pro, you should get a screen that looks exactly like this. Now what you want to do is drag and drop. The file is you want to edit your video essentially onto the timeline, Which is this this bottom rectangle by here. So I'm gonna head over to my finder. I'm gonna go to my folders and I'm gonna look for the files that I want to drag and drop Andi Start editing and you can see that right here. Their names, some random name, most likely from your camera on gonna drag and drop them like that straight onto the timeline. And then we're going to get on with the very first car of the video that we're gonna be making, so you can see right here as soon as we kind of open up the files. We've got this box over here. This for effects we've got there an assembly editing area down here in the bottom left, which shows you all of your files that you've input into this timeline on the timeline is this Bottom thing here now, I could take you through everything right now, but I feel the best in the most efficient way for you to learn of me. To teach you is to just start editing this video, and I'm gonna tell you exactly what I'm doing throughout the process of editing this video . Now, the very first thing you want to do is through a basic first cut off this video. So essentially, what this means is I'm going to go through every single bit of this video and trim out the bits that a dead silence from out the best. I've made a speaking aero on so straight away. When I look at this, I can see there's a big gap here on that. I don't want that. My videos that is gonna be like trimmed instantly. Another set is trimmed it. I'm gonna show you how I trim that and how I do it using the short cut. So I wanna go back there and we're gonna start from scratch. So let's get it going. So, first up, I've got this dead space here at the start of video. Andi to get rid of this dead space. I'm gonna basically this there's the like, a little raise it all. It's called on its this one right here on the screen called Raise It All On that can either be obtained by clicking this button. Or you can use a short cut, see if you're a Mac or something else. If you're on windows on, you click it and then you click where you want to split the video clip. So this tool is essentially a splitter. So I want to split and get rid of this first dead space from where I've recorded myself literally having a drink and then going to the camera, getting ready to start the video. So I want to go to this s I'm gonna get the raise it all by pressing here, and I'm gonna click just before I start speaking because in the adobe Premiere Pro, the top layer on the top bit is the video. And then the bottom bit is the audio files from your speaking. So I've trimmed this bit by selecting the rays at all and cutting it on. Then I'm gonna press, delete or backspace on. It disappears Now there are some short cuts which speed up the editing process massively on . This is if I want to undo this, I go at it, undo, or you can see the short cut pop up here. So if I was suppressed que it automatically trims the clip. Basically. So I would go up to the point where I want to trim the clip on press Q, and it trims it. Now, this is different short car, Mac, but you can find it the same way. Different short time window. Sorry. You can find it the same way. So now pretty much. I'm gonna go through my whole video using this. Raise it all. Andi, The leading best. I don't want training bits on even if I want, Didn't know, haven't know how to use the short cut. I could trim by splitting the clip, then zooming in, going back to the arrow tool, which is this one here. The selection tool. By pressing V and then drag and drop it like that, some people prefer to drag and drop. Some people prefer to you short cuts. So I'm gonna go through my whole video and edit out all of the dead spaces and all of the mess ups. So let's see if I can find any probably right here. Three years? Yep. So I are meant to say, three years to obtain, So I clearly mess it up again. I messed up my life. So what I'm gonna do, I'm gonna trim it by pressing C York selecting the rays. It'll just before the good sentence where I got it. Right. So this is the start of the good sentence where I got it. Right? This bit here on all of this. This and this line here, this last section here is all dead space. That's all bad. So I'm gonna either post w toe automatically trim the end of the clip. You can see it brings the next clip forward, or I can drag and drop like this on Move the back that way. So to get back to the dragon drop trimming phase. I went back to the arrow tall on. Then you can see here. We've got this dead space here. Now I know in this dead space, I don't this blank thing. So if you use the short cuts, you automatically does this for you and and sort it out. But what you can do is either Dragon drop like this. But then you have the same problem is your next clip is gonna have a massive gap as well. Dragon, drop it again. It takes a bit long. But what you can do is, um, actually do a thing called Ripple Delete. So you go into the middle of this black bar double click, and it will automatically say in Premiere Pro Ripple deletes on what this does. Ripple delete Big brings. Obviously this clip forward and it also brings the next clip to the right forward as well. So we don't end up with this gap on the next clip like we did last time. So I'm going to go through that right now. Do the whole video, trim it down to the real estate. 10 minutes of content that I actually want to be in the video, and I'm gonna make sure that there's not too many gaps with gaps in terms of silences between each cliff. And if there's a bit of a gap here, I might even trim this one, etcetera, etcetera, some to go through. Do that. Andi, I will see you in class to now. The first car, as you see, is a very important is set out the whole structure of the video and really to be most efficient. You want to be doing this first cut first. That's why it's called a the first cut.
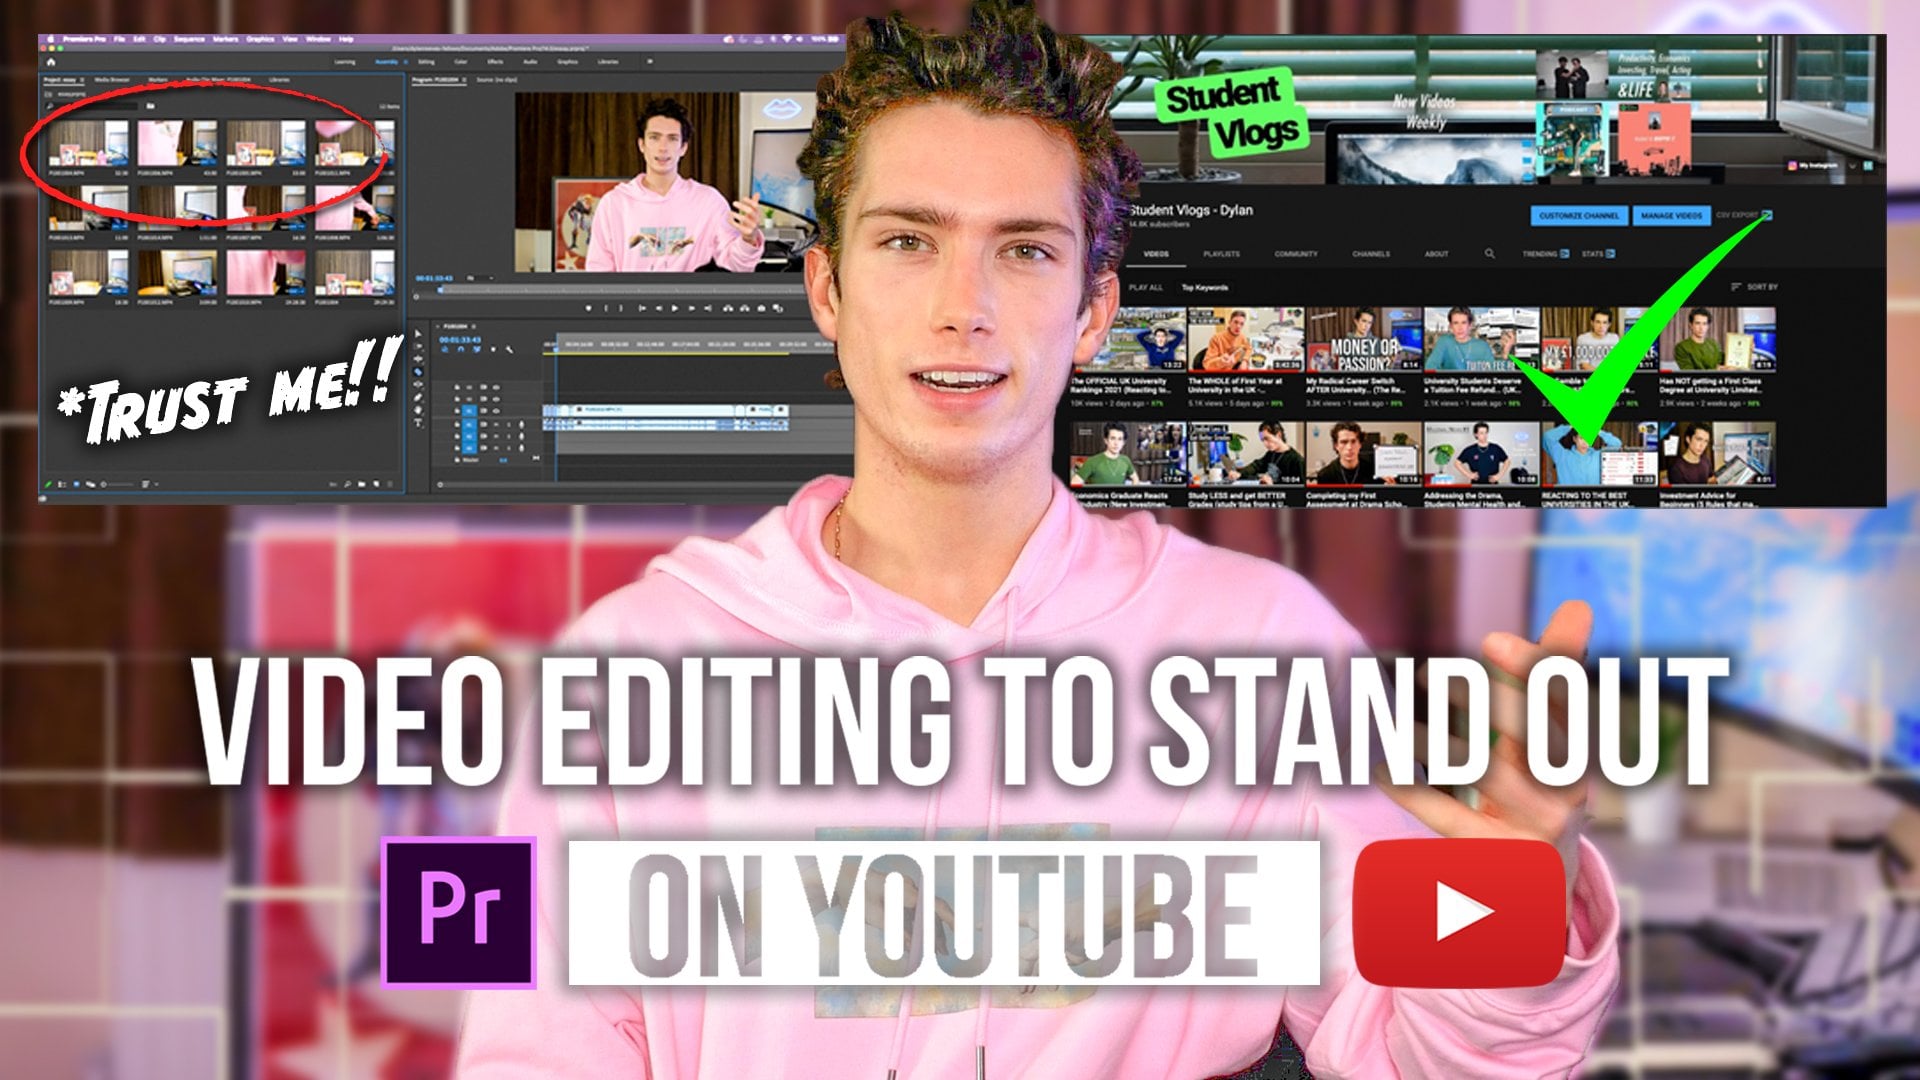
3. How to Add and Style Text : Welcome back to lesson to now in this class, we're gonna be looking at adding text to our video. So last time I instructed you to go through your video clips or whatever on actually chop them down into a format where the video kind of flows, how you'd want it to. I showed you how to do that. And you can see I've done this on my timeline right now. Loss of chops. There was originally two clips, but now it looks like there's loads of different clips because I've split them up. Andi essentially made it so the video flows from nicely. See, there's no big pauses. There's like a second where I say something collective my thoughts that we want to my next sentence on that is essentially where you have to go through and do first off Now to spice up the video. What you can do many things. But I think the thing that beginners like to do and I like to do my YouTube video is really helpful for grabbing people's attention is adding text. Now toe add text. There is on the same menu bar here. You can see this many boys really key for all of the tours we need. Let's say I wanted to put a welcome thing on my video. Then I would head over to this tea for text, or I could press the short cut tea on day. Then, once this is highlighted, I would click anywhere on the screen. It's a bit easier if you click where you want to type the text. So let's say the space at the top left. Here I type click it and you can see a menu but pops up. A graphic pops up on. Now we can type in the text. We wanna types. Let's say I hope let's say I hope you like this like this yet right? So I put my text in, and then if it's not in the right position, what you can do, you can drag and drop it. So I've gone back to this arrow tour or pressed the the short cut and I've dragged and dropped my text into the top left corner. And then, by using the arrows or the pointers here, I can drag in and drag out to resize the text. Now, further customization. Let's say we didn't like the text, you can just click off the court where you can do you can highlight this text so you go back onto the text all your dragon. Highlight this. You're highlighting the text. Then at the very top, you should see if panels learning assembly editing, color effects, audio graphics, libraries. Now the way I like to do is head over to the graphics panel. Now you can see these graphics here will come to them later on. Really cool for adding that spiced your YouTube videos. But you want to head over to edit on menu click Edit. You'll see this menu pops up on the right hand side. You scroll down a bit or see on the right hand side middle middle page. There's this menu bar full of funds, Philip sized customization tools, everything like that. And then you can click on the toolbox. Select a a kind of fund. You can make it bigger. You can make it bold. Make italic on you can even have a shadows. If I take the shadow box, I'll choose the A pastie here, which is basically how bold would you on the shadow on the text to be offset said. It's 100% of this. There's no opacity in that shadow, which means it's fully. It's fully sealable. Change the color to black. Here you can see all the colors and then I might, you know, can change the angle of it. Changed the angle of the shadow by dragging and dropping can change the distance of the shadow. You can see the distance is moving. I'll have a bit mawr just for purposes. Then you can see this one makes the shadow bigger on this final one kind of makes it a bit more blurry. So you can see now that I've added this piece of text and I've really made it stand out, I can drag and drop it. Andi Yeah, that's how you add text now to make it shorter or to make it longer. Where you can do is just as we did before. Head over to this menu bar, which has now moved up to the top on DA Click the selection tool. Andi essentially just drag and drop toe where you want it Now. It's so much easier to add text after you've gone through your first car because let's say I added a text here. And then I realized that I needed to cut this bit of the video. I would have to do this. But then, you know, sometimes unless you report the lead is fine by the times, it might know. And it just becomes a bit of a nightmare because you can't you short cuts. So you really want to add text after you've done your first cup? Now some people might see animations on text. How do you get animations on the text? Very good question. Now, with any graphics to get animations where you do, you head over to the editing panel at the very top of the screen, then you want to come down to effects in the bottom left hand corner. You might have to select it. You might not be able to see its kick this arrow, then click effects on. We want to select the one video transitions because this whole sort of pushing the text in is a transition, or we can dissolve it or anything like that. But for purposes here today, I'm going to go slide and then push on. You essentially just click the folder drag and drop it on now. You can see that when I play the clip, the text lighten Easy is that now if I wanted to make it slower or faster in relation to the the push, you can drag and drop the kind of inside effect we decided on it slowly comes in about now and then. It's very nice and slow. Gotta love it. Say if we want to the text to be mawr, see through some people like it. See through we'd go to our selection tool, click on the text, and then we can see a pass. Ity is here now is currently on 100% which means it's not see through it all. But if we changes to 25% very see through, you know, you get the idea of things. If we wanted to, you know, scale the text or anything like that. Now this is a bit more advanced, but you can actually just click on the start of the text. Make sure it's highlighted. Click the two time or icons on position in scale. Wave the text to come in. Now it's in. Pause it. Then a double click on the text go back to the selection tool Dragon, Drop the text, then go back to this little dot on our position and scale tool. Select that dot And now, if we played the clip, the textures slide in, then it should move for even more. I've moved it to this side of the screen now, so and that's really how you could even make it bigger. For example, I can make this could move these along here, make it, makes it slide across a bit earlier, and then I can make it huge text and gradually get bigger. Um, yes, I want it here. I may have messes up, but hopefully no. So now I should hope you have the text a lot bigger when I slide it in. So you know, I mean, it's all about changing the position in scale. That's a few different ways to do it by. In essence, that is essentially how you create text. How you customize text you can add lays it Sometimes if you want to add to laser different text, it might be wise to add a bit afterwards, let's say and then drag and drop it on top of the other piece of text you have on the screen because now about this coming and now I've got another one popping up. Whereas if I didn't if I tried to do on top of this one my just press text in my start adding it in. So you see I mean, if I do it just after this previous, this first piece of text graphic is finished, it means it will come in separately. I can then drag and drop it and customized the entry point of it a lot easier on bond. Realistically, as a successful YouTube a float my own boat, this is all of the text I've really use. It's great. I can change the color of ASM that I show you that we go back to graphics. Go to edit again, scroll down, um, are selected. Actually. Select the text click on the text here. I could change the fill to let's say green on, then press. OK, now the text is green so that they're really the main things that I do is a youtuber. When I'm using text in a video on that is you know, that's what you need to know. I think it's been a bit of a tough one, this class, but I'm sure I'm sure you're doing while you get through it on. Let's move on to another class. We're getting through this. This is speed learning. I'm telling you now, efficient speed learning.
4. Adding Logos and Images to your Video: Now we've looked, adding text. We've looked at doing our first cut now in class three. I think the next thing to do is add logo's at core like you know, images to our videos on This is probably one of the most simplest things to do in Premiere Pro. So let's say in our finder or in our files we have two logos here. Save. We've got my face on. We've got the chrome symbol. Now we can literally highlight these to drag and drop these two onto our timeline. Onda boom! They appear now, obviously, as we previously discussed to change the position of this we go on to, we'll go back to the editing editing panel at the top because we started with that. But to change the position off this chrome logo waken get the arrow tall up by pressing V the selection tool Double click on it, then drag it to wherever we want it. Now, if we want, we can resize it like this on. Remember, if we did wanna push it in with do the same push effect as we previously did this, we're adding this nice called push effect into it. There we go on to delete this effect, as you know, highlighted Backspace. Onda. Let's say that I wanted to slowly make this logo bigger because for some reason during this video, I am talking about this logo so I would double click on it, collect the position, the scale like one. Then I would wait for the video to move on a bit. The graphic still in the screen, then I would just looks wrong. 10 I've actually on. Then I would go back to the Cronin thing on Did make it bigger. Enlarge it. And you can see that when I in large IP and move it down a bit to mawr dots pop up on the timeline for position in scale. Then if I replay this cliff, it starts off small, and then it gradually gets bigger as you go along. Now, if you want to change the speed at which this gets bigger, you could drag and drop these two dots here. I just drank the box over them and highlighted them and drag him here. Now they're gonna get bigger rapidly like that, or to make them slowly do vice versa. And, um, pretty much that and I got my face here. I could do the same thing. Let's say make it almost one. I want to see my face even more. The comedic value just do the same thing. Very nice. I don't wanna look at how much longer, but you can see my face is getting so big off. And it's really that simple. Dragon drop double click to resize Samos text. We could, you know, move them around like this. Move the end of the clips like this. Andi. Yeah, pretty much. Do it like that. Change the timing of them. We can head over to our raise it all split the clip down the middle. Then we could have the chrome logo. Come on, disappear. Come on. Thinking about it as a youtuber. That is the main main source I really use for for editing my videos when it comes adding logos, adding pictures, etcetera, etcetera. So another quick class. Take it all on board use all the previous skills is the same. You got it the same way you edit text the same ways right at these logos and images in your videos, you can see they're both very much the same sort of boxes on the timeline. Good job. Good job
5. (KEY!!) How to add SLICK Motion Graphics: now so far as they begin in, your timeline should probably look something like mine right here. It's getting pretty busy. We've got some video playing. We've got a nice effect strolling, and we got some more text. Then we've got some logo's about to pop up very soon. Then they're gonna disappear, then come back. And I've told you all about how to do this on. I wanted to critic over this clip here I've zoomed into my face. The way you actually zoom into a clip is by separating it on. Then it's highlighted to you separated by using the razor tor spit up. Click on that clip. Onda. Remember how we edited and made the logo Bigger and last class? It's the same principle, except make sure you have the video clip highlighted on Not the whole on, not the graphic. So if I tried to do it like this and I had the graphic highlighted, it wouldn't work. You have to make sure that there's nothing kind of really above you. Basically, make sure you've got this graphic highlighted. The video graphic highlighted you click position flick scale, Move on a bit. Double click on the video, enlarge the video. This icon here pops up, and then my face is really big. So that same principle is that we learned before. But in this class, I did actually want to talk to you about a very cool thing that can really make a video seem so much higher quality, especially on YouTube in in any sort of regards, really. And it's adding call motion graphics to a video. Now the way to get more funds, more growth motion graphics, everything like that in Premiere Pro is really to go online and just download a free pack. I'll cover that in a later episode, but you do get some built in ones. So let's see. Here we can see I've got this. I clicked on the top here, the very top panel. I collected graphics and then browse on the premiere. Pro Should and does come with some transition. So my 2nd 1 down is an angel bar wipe transition. So I'm gonna dragon drop this onto my timeline anywhere. For now. Let's see what it does So you can see here that oh, it's like a transition for a change of clip. Now a point I want to get my face off screen, but I would want to drag and drop this to a point where, let's say, as youtuber, I may be changing the subject. I may be going from indoors to outdoors. I don't have it in this video or that's what thing, but that's the kind of idea behind it. So let's say here I want to, you know, I've changed subjects between these two clips. Here, you can see this blip play head indicating two different clips. So I place it on here now. That transition to me seems very fast, so I might just want to make it that tiny bit slower. So I'm just gonna drag and drop this out quite nicely on. And now it should be a lot more of a slower transition that has kind of wiped across the screen. It signifies that I'm moving on to something new now. It doesn't quite work with what I'm doing in this video, because it's all sat down inside this room talking to the camera. But if you're really kind of inside than outside, but you have no transition in your video, adding a cool effect like a wipe makes a huge difference. Other call a graphics you might want to add a maybe a title graphic You can see here. Happy Thanksgiving. So I may want to drag this on to my timeline on duh. Once it loads up kind of the funds needed and everything like that, you can actually just have this on your screen. Andi will pop up exactly like it says, but you can customize. The title was customized, but it pops up onscreen with Happy Thanksgiving. You could pause it, click on it, click editing score on so I click graphics on. Do you can see that if you click text controls, you conflict, text and then change it. Teoh like this, please, or leave a discussion, whatever on. Then, when you refresh, it will go back to what you're after. Now I'm gonna get rid of this because it's really lacking out my computer. But let me move on to Let's say you get a coming up next graphic at the start of the video . Um, I'll put it here and you can see a soon as I drag it in flits on the screen very nicely. It kind of gets you excited. Great future videos. Let me go to transition and get into the video so you can see really how it does make a huge difference to about the sort of graphics, and that is how you do it. You can, obviously, is the same principles before customized these as much as you want. Double click on them on day. Obviously, the motion graphic covers of four screen I can make it a lot bigger. I've made a dragged off the screen, hopefully comes back now, and you can see here it is coming back. So I literally to strike the edges out, then dragged it back on the screen. Um, and obviously I wouldn't leave it like this. But that's the general principle behind how you add motion graphics and these cool effects to your videos on in this class. I'm teaching it the tools you need to get become a good editor, like getting good at this stuff comes with practice. I can teach you that I can teach you how to use the tools efficiently, how to add them to your timeline, but it's all about you and how you create your video. Andi toe. What really makes you stand out. So another class in the bag, we get them done. You're gonna be a pro primary protesting before years to learn. It's gonna take you an hour. Next class, that's
6. How to Add Music: now in class five. I wanted to look adding music to our video. Now, adding music is key to a YouTube video. Any video it all. But really, you only want to be adding music to your video once you've done everything else and you've sorted out the rest of your video. Because once you add the music, you you actually have to like. You know, it's harder to trim videos because you've got so many different layers now on top of the base video and below it when we have music. The trimming the original video is a lot harder. So you really want to follow this order at the music last and then slightly adjust the videos to maybe hit the beat of Of of the Song. So a good way to get a non copyrighted music freeze using YouTube videos is to kete over to YouTube Audio Library. Essentially, just click audio library music for content creators. Click videos on, then just choose one of the video music pieces that suit your needs. Go to the description downloaded credit the artist in the description. They have all the instructions on how you do it and then go back over to your premiere Pro . Open up the file that you want to use his music for your video on Dragon. Drop it onto the bottom half of the timeline. You can't drag and drop onto the top half onto the bottom half to add the music video Onda And then we can destroy Get up to below our video audio and we can see here straight We got the music on our video now on its very loud the music and this is very allowed to turn it down We're gonna double click on it We're gonna go audio again. I'm gonna go minus I don't know less depending how loud is off minus 20 And I work so hard to get rid of this knowledge And now it's much more of a background music while I'm speaking, that's a bit of flow to the video. And it's exactly like when you're a high school on, do you start to enjoy the video of it more? It's very good toured, So it's really a simpler going audio library downloading it, dragging and dropping it, changing the volume, turning it down. Maybe Whitmore, even on if you want to turn up. Same goes for the video audio. If you turn up, go audio again. Plus five, it becomes louder. Gonna change the speed of it. Then you will see just select speed or gain on, then to trip the trim it to stop it. You know, just same is how we added to the video clips. And really, the good thing about Premiere Pro is is very symmetrical to the way we added to the actual audio for our video clip on. Yeah, you cannot call effects to the audio and stuff right now, but as a beginner is a YouTube, you don't really mess around with the only feeling really pro movies. You mess around with a lot of this stuff. Um, but I think when I'm making videos, I might add a course sound the fact I might going out of bubble pop aura or a clap or a little boom on simply. Just download that from the Internet from YouTube assumes you get the audio file it really a simple one to get the audio file, scour YouTube. It is a great tool on, and you might even add depending infusing a montage video. So listen for the beat sounds to be in the song you might even add like new clip New clip New clip. So you added, like Every time the beat hiss, you've got a new montage clip. Andi, that's a very good editing trick, but really to do with music. This is how you do it. Simple is that let's go.
7. How to Color Grade your Video (Make it Professional): now in this beginner's class where I'm teaching you four years of knowledge from a successful you should be no from a but about obeah premiere Pro. The last thing I wanted to teach you was about adjustment layers and color grading. Now, obviously, I'm giving you a very brief rundowns you can jump straight into and get on, get on working on it. So to add a adjustment layer to a video, you simply head over to the assembly panel. You want to click this kind of page pill icon, then click adjustment layer select. Okay, This then scrolls down Teoh in your assembly file on what you can do. You can drag and drop this adjustment layer on your timeline. Stretch it out and currently you can see our time on there. It's just that does nothing. It's a transparent layer. The magic is now. We go over to click on the adjustment layer, head over to the graphics are the color panel, and we brought this basic correction mental menu. This creative menu on Do you compress or tell you can mess around with this on. You can see there five to increase the brightness. Now my whole video and every clips brighter. I don't want that. That's not really good color correction, but you have to play around with kind of, you know what it looks like. So here I might, you know, let me off that at a bit of an orange tend to it, May myself, but more tanned. I'm I increase. The Brian is a tiny bit. I'm a bit white, so I might reduce the highlights. Tiny bit. My increase, the shadow, the tiniest bit reduced. The I'll leave the white about the same on, then made the blacks of it darker. Then I'll go over to the creative. I might add a preset play around the preset. See what when you like. Maybe for the sake of it, I just made myself blue. Now I look at the orange. I might reduce the saturation because that's how we let you know orangey your reduce that to about I kind of one. This vintage looks on my increase, the faded film Look on, then all of a sudden, my increased the vibrance a bit. Number one. All of a sudden I've gone from looking very like if I press the icon, I can get rid of that layer. Just temporarily mask it. This is what it was before. Now I've calibrated it. Tap it again. It comes back or looks very nice and blue. Very nice and vintage. Andi, You know, I'm gonna keep down to drag it across my whole video boom. In that very quick motion, I've just added a, you know, color grading to my video now, color grading, you can get pre session into a source of stuff. You can even add a Vigen. Yet you know, you can make it very like dramatic. Here. There's so much you can do, but as a youtuber color grading adding a Vigen yet they're the main things that I do to my videos.
8. Exporting Your Video: now in the final episode of this class, I wanted to show you how to export the file. So let's just say for the sake of that, I've only made this tiny file or delete, or they'll eclipse by highlighting them and then pressing backspace. I've made a 45 2nd video, that adjustment layer text transitions, chopped up music. I would go to file export media. Then I would change the format to hate to 64 Leave the preset match source. I'd use the maximum render quality ticks that box. Make sure it's the format you want in 1920 by 10 80 p s. The HD format frames per second. You know that whatever you want, rename, it's a skill share example, and then click the magic export button a few minutes and it's exported. It's gonna be on the hard drive Dragon drop it uploaded to YouTube. Boom done
9. Thank you!: Well, thank you very much for tuning into my editing in premiere Pro Class. I hope you learned a lot. Now, this is all of the tours I uses a youtuber Ted in my videos. My blog's to make Montargis. Now my camera died, but there are some war bonds tricks do you use. We'll be bringing out premiere pro class for intermediates, you know, a bit more advanced very soon. So if you didn't drive this one, please do Lever of your honesty does help me out. PC likes Describe, you know. Follow me. Take it easy. See you soon.
10. BONUS (Trust Me): now, before we even jump into the editing process. The thing that really makes editing efficient is the order in which you decide to edit things. Editing can take absolutely ages on. If you're trying to churn out quite a few videos a week, for whatever reasons, it's your job or you're trying to use you for time. Then you need to really be efficient with your editing process. Now the order is key because, let's say if I overlay of music first every time I wanted to trim a clip or at other bits, I would also have to adjust the music or the color overlay I put in the video. Now this sounds pretty complex, but what I'm saying is followed the exact steps and the order. I do this class in when you're editing a video. Now it will become clearer later when when you kind of go through all the different elements, we're gonna add to a video. But just trust me, follow the edit exactly as it lays out in this class, because it is the most efficient way
 Dylan Reeves-Fellows ⭐️, YouTuber, AI & Professional Editor