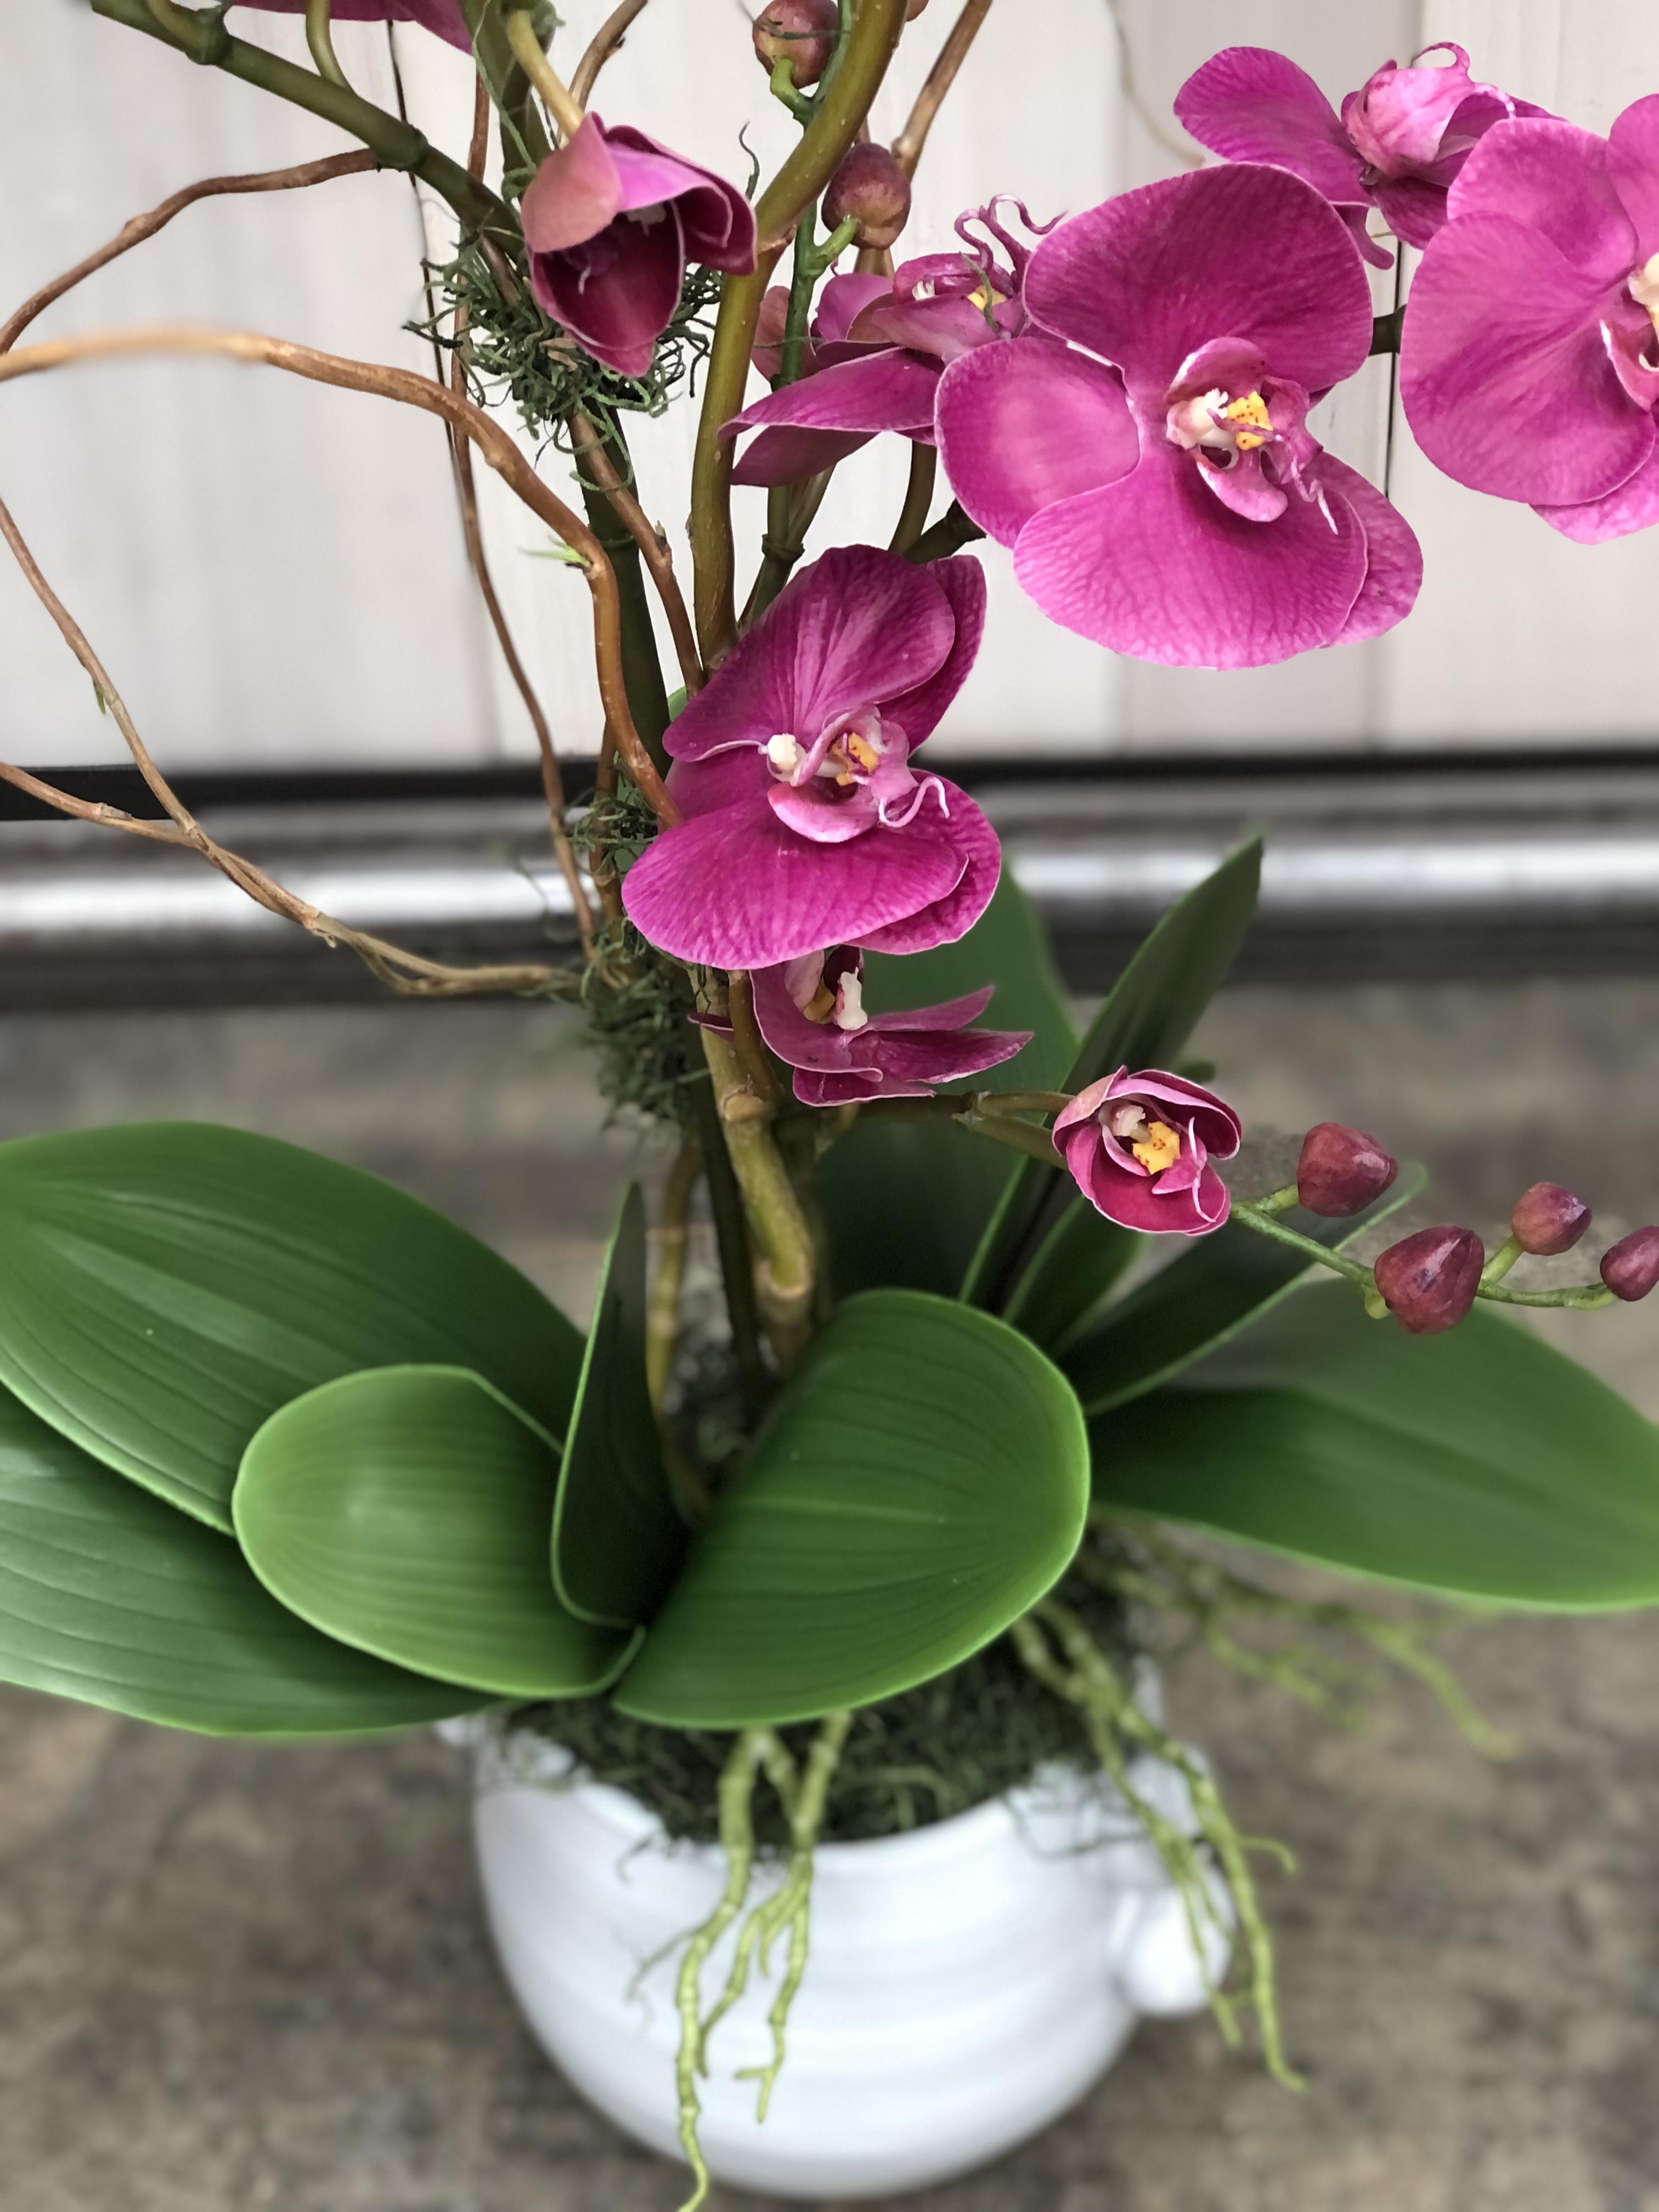
Learn how to design a Permanent Botanical (artificial) Orchid Arrangement
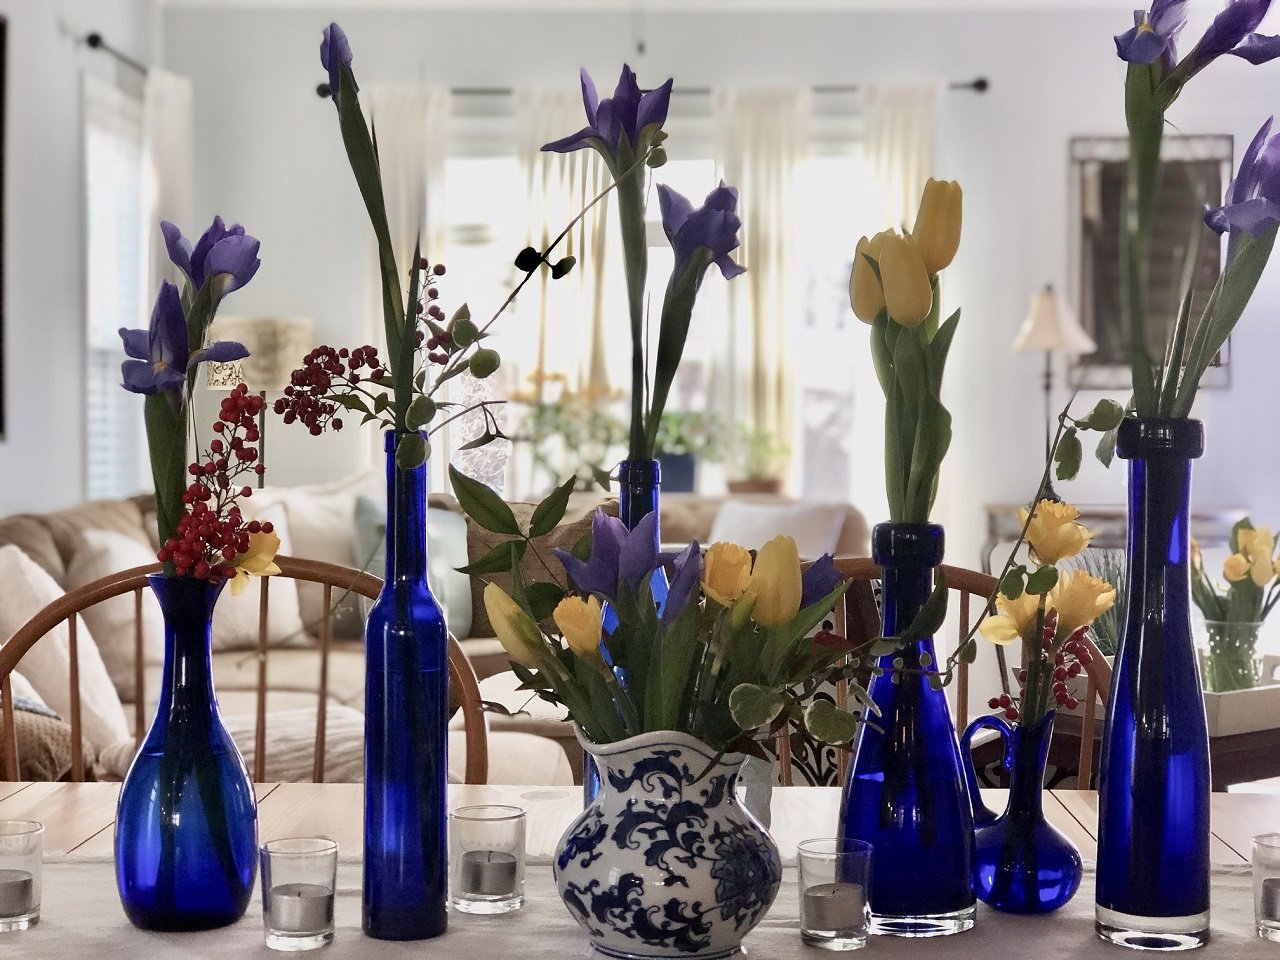
 Elisa Gabrielli, "Create easy to do Art & Floral Designs"
Watch this class and thousands more
Watch this class and thousands more
Lessons in This Class
-
-
1.
Introduction 4 (1)
0:54
-
2.
How to design a Permanent Botanical Orchid arrangement
6:33
-
-
- --
- Beginner level
- Intermediate level
- Advanced level
- All levels
Community Generated
The level is determined by a majority opinion of students who have reviewed this class. The teacher's recommendation is shown until at least 5 student responses are collected.
356
Students
--
Projects
About This Class
In this class you will learn how to design a Permanent Botanical Orchid arrangement using some real and dried elements that make the whole arrangement look real. The best part is this plant will never need water!
You can source your orchids and supplies at your local florist or Michaels Stores even on amazon if you choose. All the supplies needed will be available to you at any of the places mentioned or maybe you already have a favorite store you like to shop in that carries silk orchids.
Have fun creating!

Meet Your Teacher

I consider myself not just an artist or a florist, but a floral artist--each arrangement/design I create is thoughtfully designed to reflect a story, a mood, or a moment. My artistry is self-taught, ins... See full profile
Hands-on Class Project
For this class project you are going to create your own Permanent botanical orchid arrangement. Apply the techniques that you learned from watching this tutorial.
Share your progress and final result in the Project Gallery in this class. Below is the steps you will take to complete your design.
- Set up your workspace and gather all the materials.
- Choose what color orchids you would like to use and find a container you like.
- Follow the step by step instruction to build your orchid arrangement.
- You can use any sticks you like to support the orchid like birch or curly willow.
Materials needed:
- 6 or 8 inch pot
- Dry Sahara foam
- Preserved moss
- Curly Willow/sticks
- wire cutters
- thin wire for securing orchids to sticks
- artificial greenery or plants
You can find silk orchids and dried sticks at your local Michael's Arts and craft store or Hobby Lobby, Walmart or online at amazon as well. I choose curly willow for my sticks but use can use birch sticks or any kind that you desire. I like Winward brand silk orchids because they look so realistic!
The best part about this silk orchid arrangement is that you never have to water it!
Please share your orchid arrangements in the class so we can see the colors you have chosen for your design, I love to see what you can do and answer any questions you may have.
Have fun designing!
Class Ratings
Why Join Skillshare?
Take award-winning Skillshare Original Classes
Each class has short lessons, hands-on projects
Your membership supports Skillshare teachers
Learn From Anywhere
Take classes on the go with the Skillshare app. Stream or download to watch on the plane, the subway, or wherever you learn best.