Transcripts
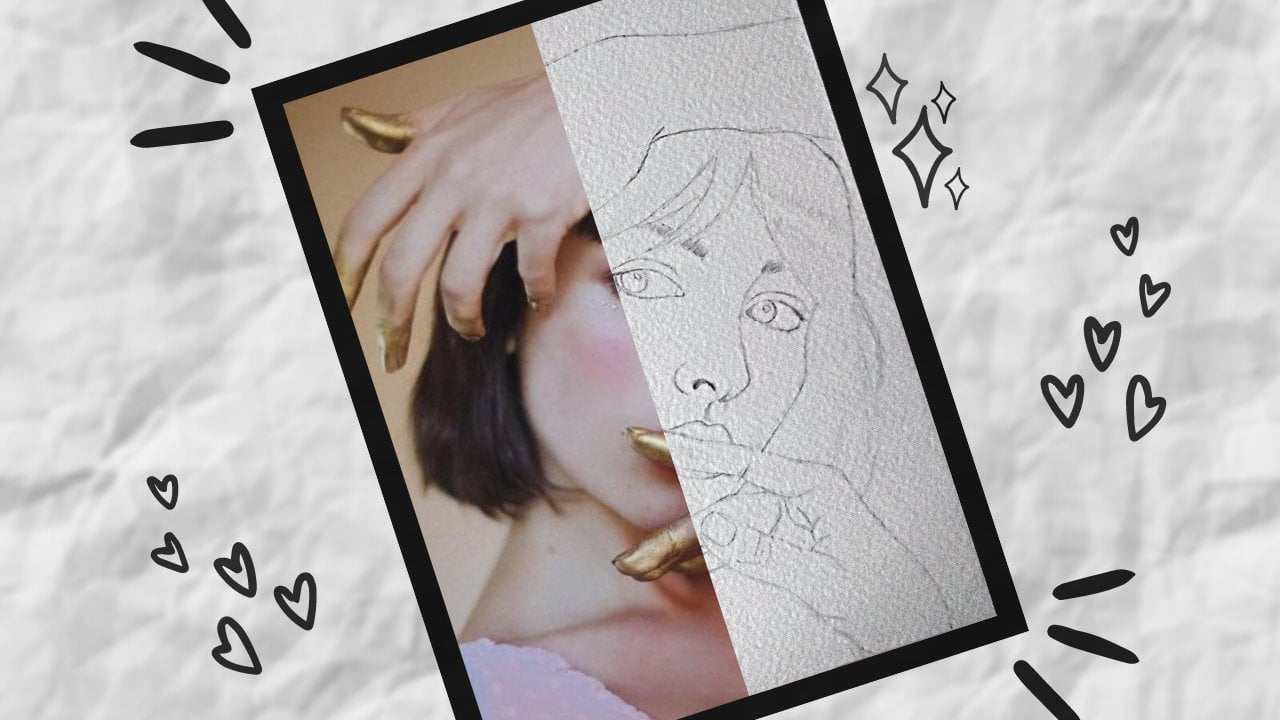
1. Session 1 DOT Mandala Painting: Hello. Plus, my name is Meena, and let's begin with Session one. That painting is a style off aboriginal art that makes extensive use off dots off colors. This art form has several variations, such as pointillism, stippling on a more recent version, Dr Liz Um when used for therapy, meditation or even relaxation, the painting is believed to bring joy to people's life through vibrant colors and designs. These designs transmit emotions on, provide comfort to the viewer. On completion of the scores you can. You start painting techniques to create mandalas, landscapes, floral blooms and even portraits on Let's move ahead. Now the first thing that you will need for making a dark mandala painting is the scandalous . You can use it in white paint or painted with your choice. The campus right here has been painted black. Black color usually gives a good contrast to the painting on. If you want your painting on white canvas, you can do that. But my suggestion is to go with black and nowadays ready made black canvases are also available in the market, and now the third painting medium, which is easily available, is a card, stock or chart paper and also craft people. Next up is color palette with a lot of compartments. Since we're going to use several shades, keeping a dropper handy is very advisable. You will see that I keep adding water in between to maintain color consistency. Now let's take a look at the tools we will be using for our mandala painting. These are nearly up boating tools that I have from a manicure said, and you can use any stylist with metal balls at both ends, either sides here. I also have an embossing tool that is easily available in any crop store. Um, so you can dip this in color and put her gently on paper to get dots. Now here I have the cap off, very glue or Fabi stick. This is used to make big dots on canvas. If you take a look at this picture in the center, the dot is made using that cap. You can also use crayons for painting and tipping the surface. It has two ends, one small one for big dog. I'm. This is a very common tool, which is available at your whom This is a pencil with robbery at one end. I have colluded with fairly glue are a very hard blue rubber glue so that it remains in shape. When I am, he goes, I'm going to put boots on my canvas. This right here is the end off a pending brush on, and I can use this as well. This is a pin which gives me slightly bigger boats on. You. Don't see me using it in the following the deals. Yeah, and very important to shoebox toe. Wipe away all the color that you have loaded on your stylist. Finally, let's talk about the colors that we use for about Mandala paintings. It must always be acrylic poster or oil or water does not have the same effect. You can buy a credit colors off any brand and use it for your projects. You must also keep water on your working surface, just in case the color start to dry, especially if you're working on larger or bigger projects. So that's all we have for the session. Hope you enjoy the learning, and until the next session, it's a lot for my side. By
2. Session 2 DOT Mandala Painting: welcome to Dusty. In this section, we will take you through some interesting techniques that are used in the painting. The purpose of this tunnel. I am using this artist notebook and 1/2 blue lipstick cap he owns and bossing dudes. Now, these are the colors that I will be using for our demo. I've already added water to these things. And we would stop with the flat terms first to hear what I have. This plastic cap. This is my flat tool. And I'm going to make daughter with this too. I will dip it in color. Andi. I will give it a rule so that the color is evenly loaded on my tool. Now place it gently on your working surface. Once done, I'm doing another door. So these are the big dots that you can get from plastic cap and I have crayons here. I will show you the difference in the dots using different flat tools. This is much smaller. And this also gives me very good round circular dots. No extra color that I have on this crayon. I will wipe it using the tissue paper. Now I'm using another flat tool. This is the pencil with it is a adage back again. Using the pencil, I will softly, gently pull down on the working surface so that it gives me crop around circles. You see that there is a slight difference in the dots that I'm getting with this paper pencil. You can go over the same that again, just in case you don't get the proper shape. Now I'm going to use the other end of crayons to make smaller dots. So I will finally close this project with round tool. This is the stylist on I. I'm again going back to crayons to get the proper receding size off my circles or dots and finally finishing it again with the round stylists, you will be happy to learn that dark paintings can be created by using household items or daily use. If you see here were using earbuds to create perfectly round dots by using earbuds, you need to play with your pressure. Now the same earbuds will give you lots of two sides. If you look at the ping dots, they're smaller than the fight starts because creating by dots, we are applying more pressure on the bottle so that we get big down box. My Let's talk about the concept of walking the dots here. I've taken four colors. This is a couple. Do you see how beautiful it looks when the same stylist can give you dots off different size and Yes, please don't forget to notice that I'm using Stebbins as my surface of covering. Also, I have usedto all colors just to show you how beautiful it looks on any surface by using that painting. Okay, So what happens when extra color drips on your painting surface? Now, the mistake here was that I loaded my stylist with a lot of color. Now, to clean it up, I'm going to use this brush and take off all the extra color. Please be very careful. I usually use a zero or a one size brush for this. Now, once the color is dry, take black color black acrylic color and paint over the surface. Now, the beauty of using the black canvas is you can always and always rectify your letters. That is why all the big numbers I highly recommend using black canvas or black background as your paintings of bedrock. And once the black sources or the black color that I have applied dries up. I will continue adding dogs with the previous colors that I had Children. Okay. No, this is I would actually finally turned up on. If you see, you cannot make up the mistake. Some researchers or even with a closer look, these lines don't worry about them. Because we will take care off it in the next session so that that would close the session today. And I hope you really enjoy the learning and even toe understand the tips and tricks off top painting until the next session. But I
3. Session 3 DOT Mandala Painting: Okay, so here we are in the final session, and I hope you're equally excited and anxious to get started. I got hot a white canvas on. I'm going to paint it black. Using actually color, all four sides need to cover it properly on. We need to chalk out the center of this campus on for the same. I am using my skill to get right measurements. This right here is the send off the canvas. I'm going to draw diagnosed, which will run across the center on the other side as well. So now I have actually eight lines that will help me and guide me when I'm doing dots. This right here is what I have taken as a reference I have. I'm going to use four tools because I will be using these first size dots in my actual painting. So I have created a sort of guide toe. Help me understand what will give me what size. So now I have decided what four tools I'm going to use to make this project. My God is really die tear. Okay, so with the size to I'm going to put a send up in right under the size one. I'm going to make purple Gods for the first circle. You see, I'm putting the dots on the spokes that we created. So there are eight lines on. We're going to put dot on each one of them For the next circle. I'm going to take light purple color. So, actually, I have just added right toe the purple color, and this has given me light open. Okay, so let's move to the next floor. Here. I have taken light blue color on the dot sizes too. Again, I'm going to put eight dots now. I will go back on filter space in between light poker dots, so I'm using style blue color at the same time, the color that I had previously used. This is just to fill spaces between purple dogs. This is dot size to again on a poeple drew, So you have to keep expanding the circle. Now I'm taking a size trees and I am again putting the door right behind the previous dot in the line. I have not changed the color. It is still sky blue Now, since the pope in color has dried up, So I am going back on adding dimension to the first circle, using the white actually color. And it is important that when we do these kind of dot pain things, we keep adding layer to our existing dots. So this creates a kind of optical illusion. Otherwise the paintings become very flat. Look at now to see I am goingto work the dots around the circle. That wasn't vocal gala. So I have to do it for all eight open dots again. This process is also used for highlighting your dog or for creating the impact off nearing in your painting. Yeah. No, I'm just experimenting to see if I use Purple Connor over this blue. I also have this option most light blue, but but I think it's a lot of purple there. So probably I'll continue with light Booth and I will cover on the eight dots would like. So this is how you can keep playing with colors. This is all acrylic, so you can always work on top of every lead you're in. The last one it was all very purple, but now it has become blue because I applied another layer off light. Move it so you can always keep rectifying your mistakes. And there is nothing right or wrong in the color selection that you do. Be creative on the open and let the colors from northern in going to the campus. Now again, I'm going to send the blank spaces between two dots. This will complete my picture. I've come back to using size one so you can actually use a toothpick to create this dog off size one. - Oh , - right . - With this, we come to the end of our workshop. I hope you really had a very enjoyable moment and had a happy learning. But by
 Yellow Frames By Minal Sinha, Artist, Art Therapist