Transcripts
1. Class Introduction : You ever feel stuck
or felt like you need fancy art supplies to begin your creative journey,
trust me on this. You don't need
fancy art supplies. All you need is a pen, maybe color pencil or a
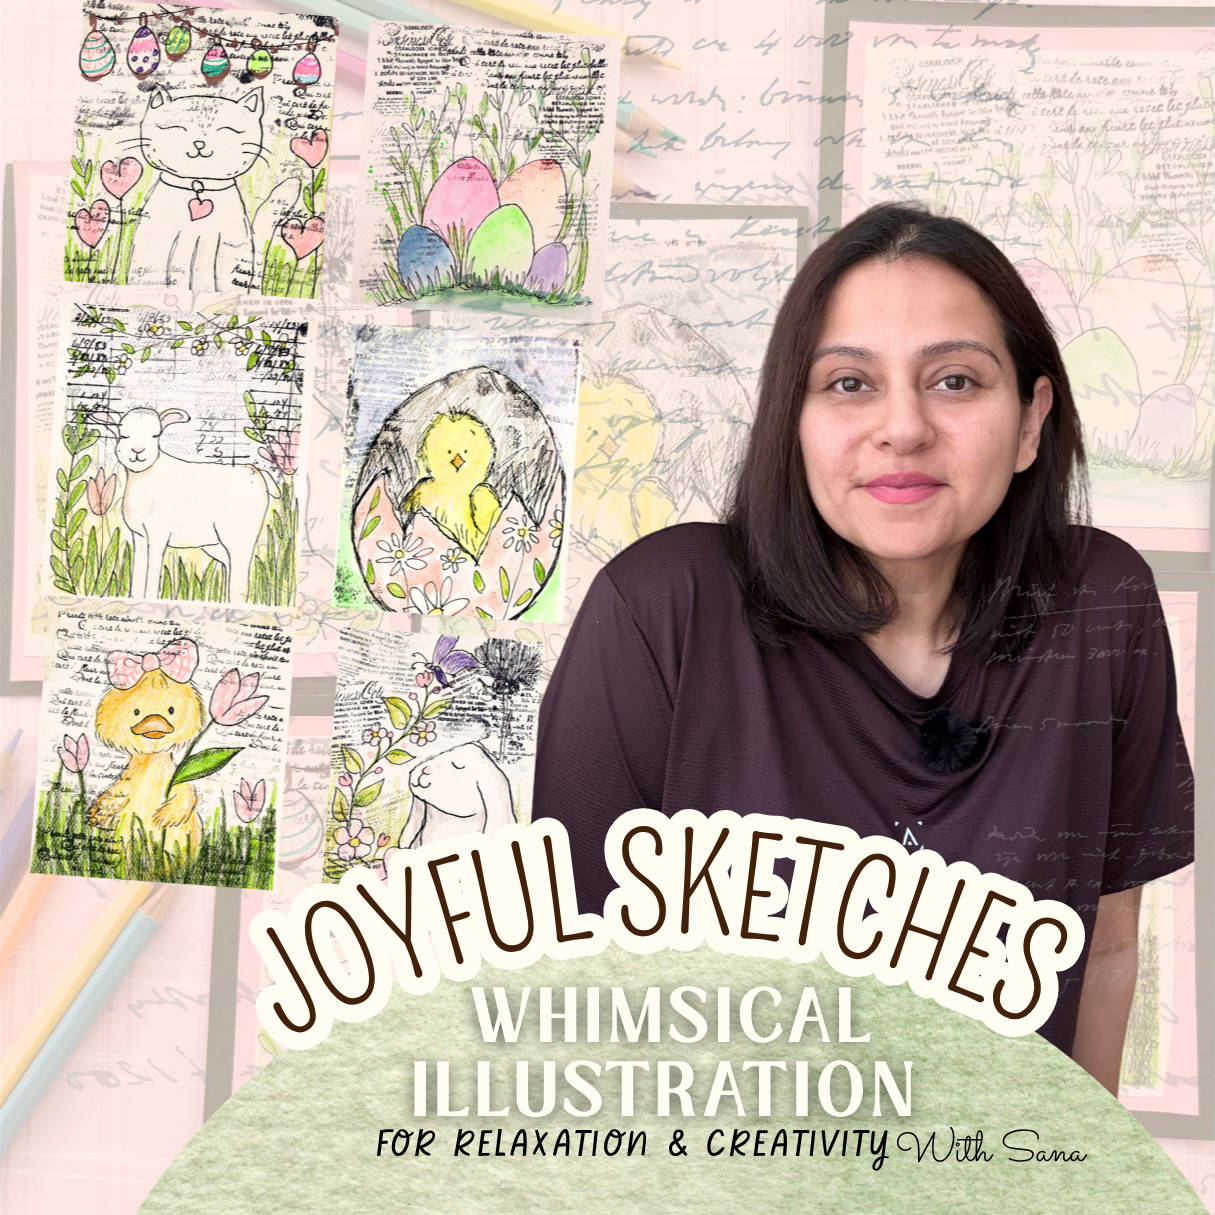
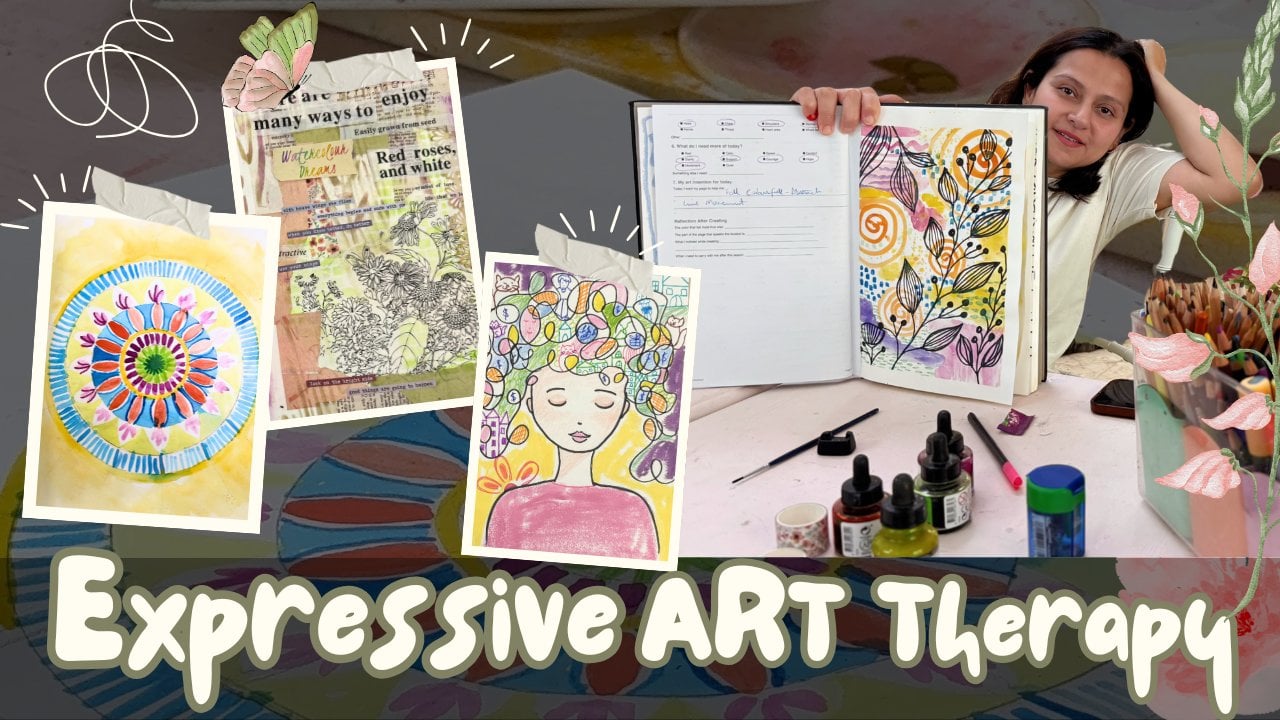
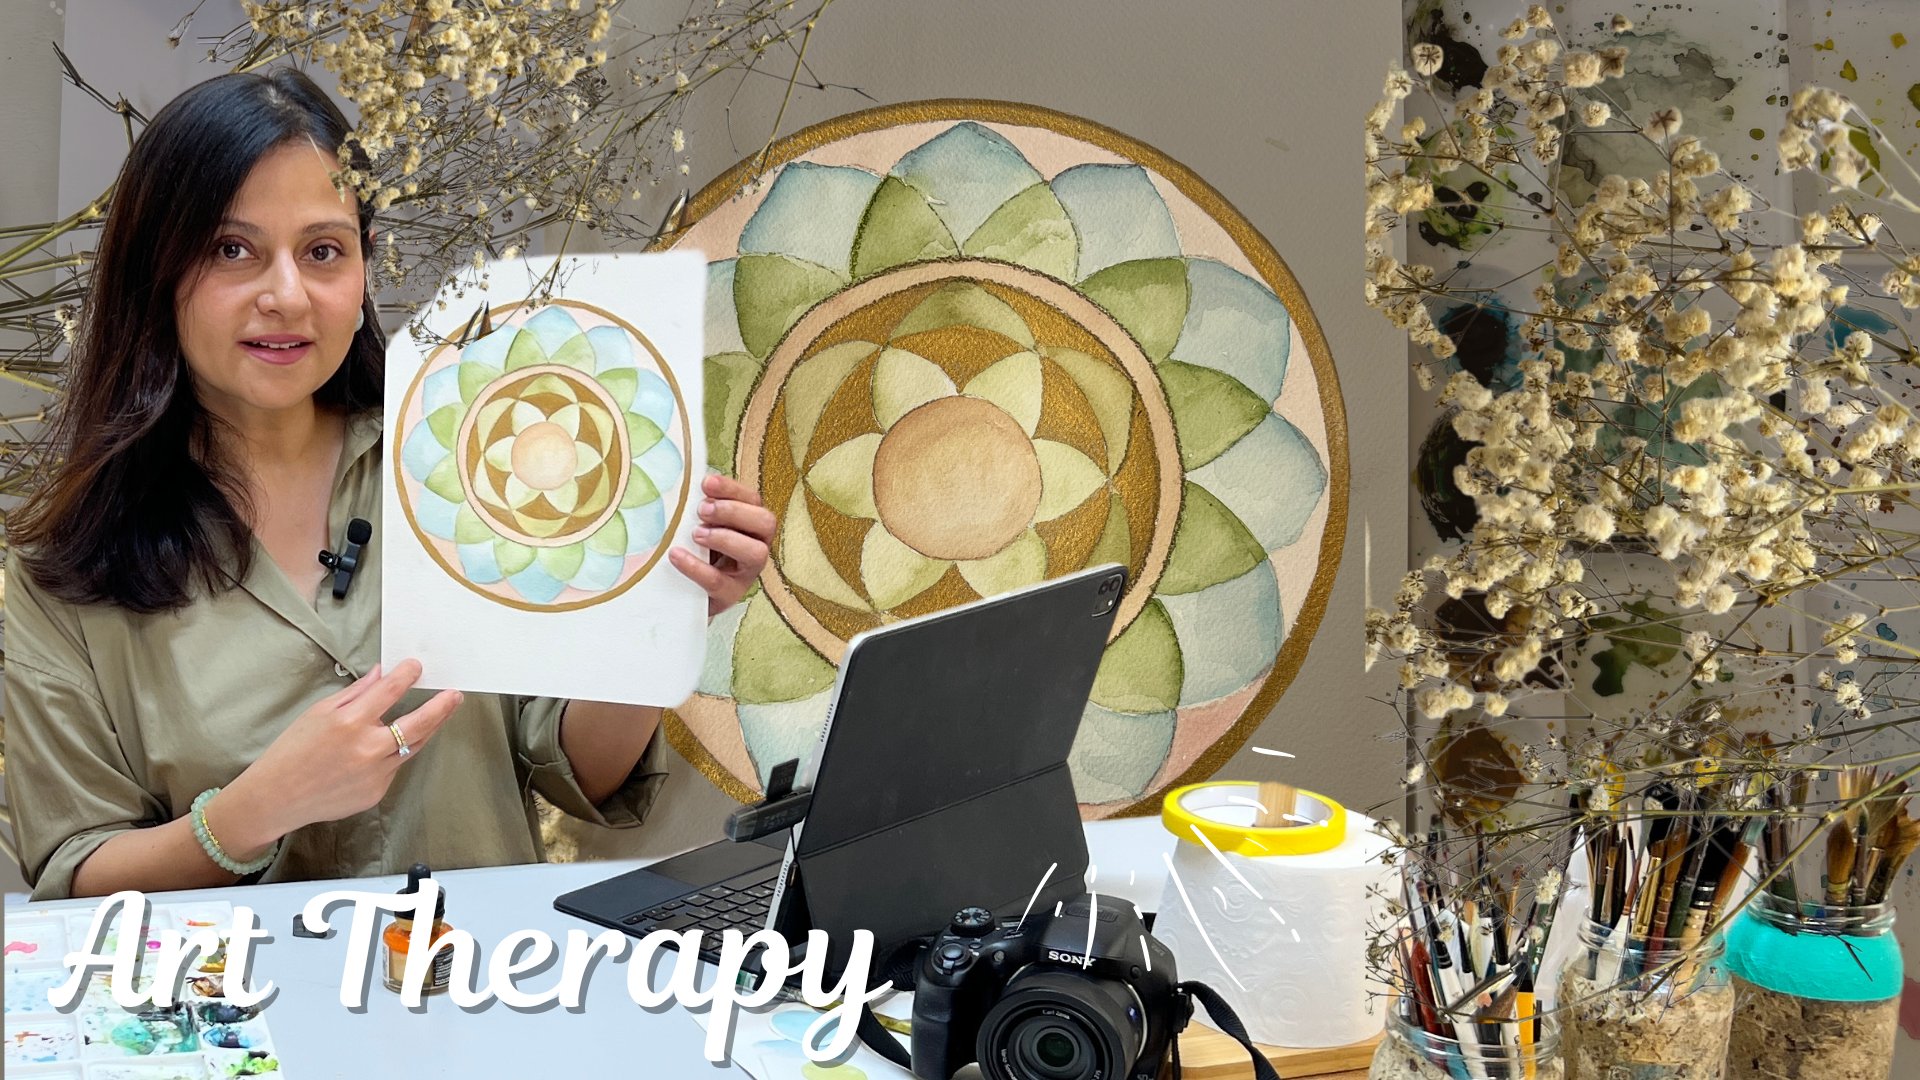
watercolor. Hey, everyone. I'm San Asad, founder of Wild About Art Studio
based in Bahrain. I'm a mixed media
artist, art educator, and a certified holistic
art therapy practitioner. I've been teaching
art and design for the past 15 years to children, teenagers, as well as adults. In this class, I'll
guide you through six whimsical spring inspired art project using
simple material. We'll start with basic shapes, add playful doodles and slowly build drawing that feels light, expressive and completely
doable for any level. This is not about perfection. It's about starting, enjoying and reconnecting
with your creativity. If you've been waiting for the right time or
the right tools, this is your sign to begin. I'll also be sharing simple
pen sketching techniques, how to create loose flowy
lines using arm movements, how to avoid stiff drawing, and how to bring more life and freedom into your sketches. Let's begin together.
See you in the class.
2. Material Guide: For this class, you
really don't need much. All you need is pen, some paper or your journal, and any tool you already
have for coloring. If you just have a pencil, pen and paper, you are
absolutely good to start. I have these color pencils. You don't need any fancy art
supplies for this class. The only slightly fancy
material I'm using is a stamp with a vintage writing style that creates a soft
newspaper effect. But this is completely optional. You can always skip it, use a piece of newspaper
or any paper collage, or even just scribble
lightly with a fine pen to create
a similar texture. Use what you have
and let's begin.
3. Class project: For your class project, all you need to do is follow along and complete these
six illustrations. Once you are done, I'd
love for you to share at least one of your artwork in the project gallery
on Skillshare. You can also download the handout from the
resources section. It will guide you further and
give you idea to explore. You will also find out
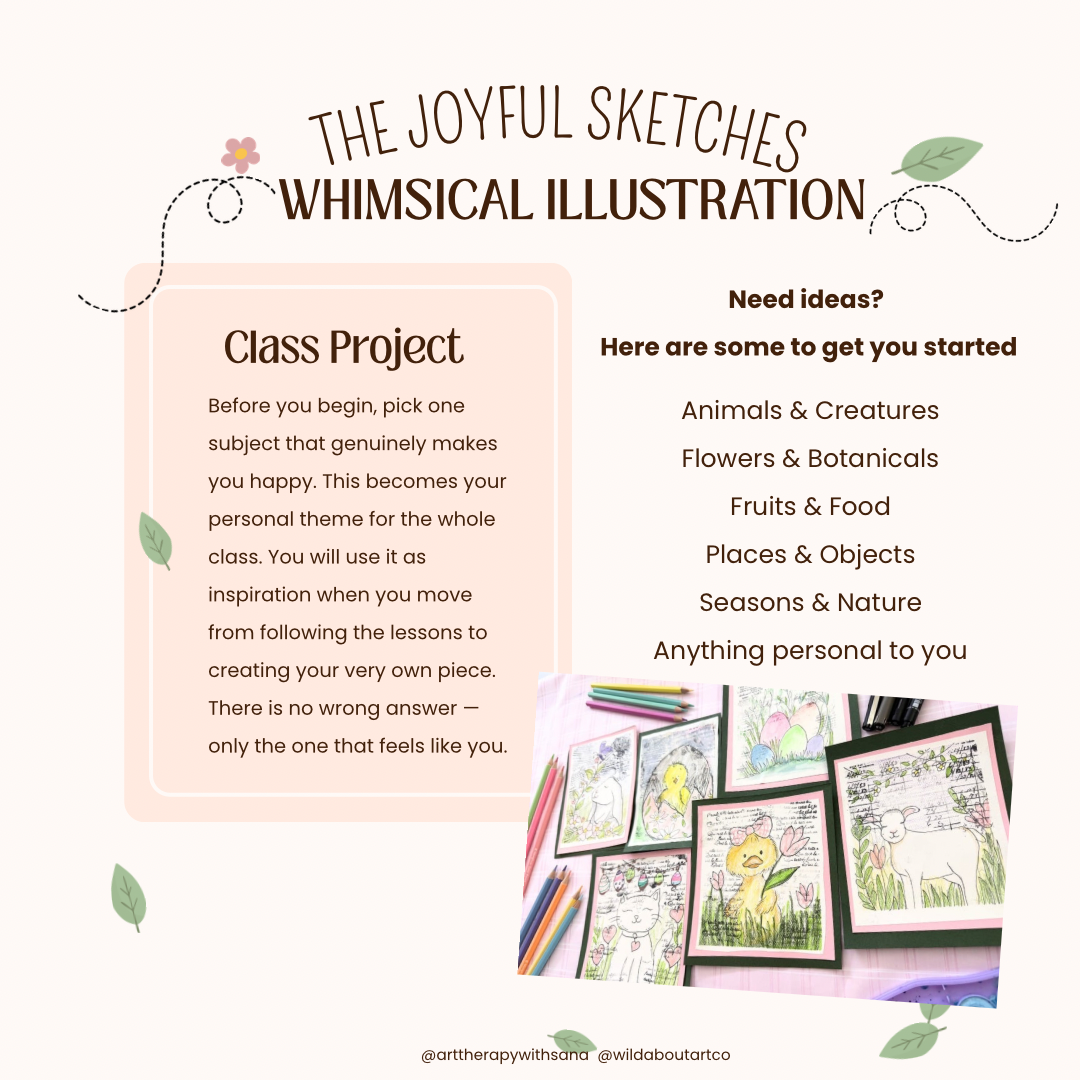
the templates there. As an additional and
more reflective project, I invite you to choose
your own theme, something that makes
you feel happy or calm. This can become your personal
theme for the class. Use the idea from the handout
if you need inspiration, create your own
illustration based on that theme and share your
artwork in the gallery. If you have any question, feel free to ask in the
discussion section. I'll be there to guide you. I can't wait to see
what you create.
4. Lesson 1 — Decorative Eggs: Hey, everyone. Lesson
one is all about starting simple and
letting go of pressure. We are not trying to create
anything perfect here. We are simply warming
up our hands, eyes, and our mind through basic shapes
and gentle movement. Here I'm taking a
three size paper, washy tape, and going
to make six boxes. This lesson is called
decorative eggs, or you can call it Easter
eggs or simply simple forms. The title is not important. What truly matter is the shape and the
movement we are creating. To begin with, grab your pen, different sizes or just
one size at a pencil. We will begin with
a pencil sketch, and then we will
outline with our pen. In this lesson, we are
focusing on the oval shape. As you move your hand in a
soft curved oval motion, you begin to build
control in your drawing. Start by drawing one egg shape. Then slowly add another. Let them overlap. So in front, some
slightly behind. This is how we
begin to understand layering and depth in
a very simple way. Don't worry about perfection. Let your lines be light,
loose, and flowy. This will bring a fresh
feeling into your artwork, something calm,
something growing, something full of life. You can keep your
shape simple or you can start decorating
each egg with pattern. Line dots, curves. Once you're happy
with your sketch, start with outlining
with your black pen. If you just have one single pen, try not to press too hard and
if you have multiple sizes, begin with 0.5 or 0.6. Now I will begin
adding watercolor. This step is
completely optional. If you enjoy watercolor, you can go with watercolor, or you can use color pencil, acrylic paint, or markers, whatever you feel
comfortable with. The idea here is not to copy
exactly what I'm doing, but to enjoy the process. This lesson I design is more
like a design practice, a general way to add something layer by layer
without overthinking. Here I'm using mix
of different colors which make me feel
happy, joyful. You can sit with
this exercise for just ten to 15 minutes and allow it to become
a small ritual of calm. When we work with small
simple object like these, our mind does not
feel overwhelmed. It feels safe, focused, and slowly begin to settle. Keep adding a little color, a few details, soft layers. Let it be imperfect. Let it yours. In the end, we will add the final
touch. So splatters. Once the splatter and watercolor is
completely dry for me, then I'm going to
use the stamps. But if you don't have fun, you can always create
your own texture. You can doodle add light
scribbles with pen, or even use a piece
of a newspaper to create prints and patterns. It doesn't have to be fancy. I just need to feel
playful and expressive. We are almost about
to end this lesson. I would like to ask
you a few questions. Which part of this process made you feel the most calm today? Did you notice your mind slowing down while
creating this? What small details did you
enjoy adding the most? How did this 10 minutes
of drawing make you feel? Till next time, keep creating
and take care of yourself.
5. Bunny: In this lesson, I am getting
inspired by a bunny, a simple, gentle character. If you like, you can change
the character completely. You can change the position of the bunny instead
of the side view. You can also try the front view. Keep it personal. You can
follow along with me and then later explore your
own creative ideas to make it truly yours. I begin with very
simple shape and then slowly make them a
little more organic, soft close eyes, tiny nose. I will create a
long relaxed ears. And once I'm happy
with the nose, which I am not right now, I just want to create
that softness in her in the face of the bunny. So the laugh line needs
to be more curve. If drawing makes you
feel overwhelmed, you can always trace the template available
in your handbook. Now I'll start adding a
small wine on the side of the bunny with flowers and leaves to bring in that
whimsical spring feeling. Keep your doodles loose. Loose flowy lines,
small flowers, tiny details. Nothing
too controlled. Let it feel light and playful. And as you draw, I want you to pause for a moment and think
about your childhood. Do you remember how you used
to draw flowers back then? Not thinking about realism, not worrying about
perfection, drawing freely. Some petals were uneven. So flowers had four
petals, some five. So leave had so many lines, and some had none at all. Yet it was beautiful. So why not allow yourself
to feel that again? Through this lesson,
I want you to enjoy the process more than
worrying about the outcome. As mentioned before, you can always trace from the template, and there is no pressure here. You can trace and then
slowly add your own details, your own mood, your own story. This is your space. You pace, your way. Once you are done
with your sketch, you can begin adding colors. Choose any medium you like, whatever feels good and
comfortable to you. For this one, I am
planning to use colour pencils because
the details are small and I want to keep it
everything loose and light. I purposely did not show
you the step of coloring inside the leaves and flowers because the
moment we see something, our brain immediately
start copying it. Instead of enjoying our own
ideas, we begin to think, This looks nice,
so I should do the same to make mine look prettier. Making things prettier
is not wrong. But sometimes it takes us
away from our own voice. This exercise is not
about perfection. It's about slowly coming
out of that inner critics. When we don't have
a fixed reference, we begin to trust
ourselves more, let your hand more freely, let your intuition guide you. Allow the colors to choose you instead of you
overthinking every choice. Just make something like this, simple Imperfect
and truly yours. Last, to create the artwork
looks more whimsical, I am adding the stamps. As mentioned before,
you can skip this part or you can just simply use the fine pen and just add
the doodles and scribbles. Now it's time for the
closing reflection. Did you notice yourself trusting your own choices
a little more here? Till next time, keep creating
and take care of yourself.
6. Lesson 3 — Little Lamb: Hey, everyone. In this lesson, let's draw our little lamb. Do you remember
the nursery rhyme? Mary had a little lamb. That is the inspiration
for today's drawing. Spring is often connected with lambs because they
remind us of softness, new beginning, gentleness,
and fresh life all around us. Lambs are such
sweet, soft animals, and that makes them a lovely subject to draw
in spring lessons. You can always use a template to trace if that feels easier, or you can follow along and
draw it step by step with me. For the face, begin
with an oval. If you carefully
observe the shape, you will notice that this little lamb is made
with very simple form. One oval for the face, one rectangle for the body, and four long rectangle
for the legs. Take your time as you
follow the steps. It is absolutely okay
to erase and try again. Just remember not to press the pencil too
hard on the paper. Keep your lines nice
and light because that will make it easier to erase without leaving
strong marks behind. And, you know, this reminds me of something from my childhood. When I was little,
my dad once brought a real lamb home for me, a baby. I still remember how soft its fur was like
touching a cloud. I couldn't stop petting it. One day, we even got a
chance to shave its wool, and I was so surprised the
fur filled up two big bags. I couldn't believe all that come from one tiny
gentle animal. It made me see how special and magical these
little creatures are. As you draw your lamb today, think about that softness, that warmth, and maybe even imagine how it would
feel to gently hold one. Try to feel that
into your lines. Here, my lamb is not
very fluffy because I'm imagining that this is a lamb
after it has been shaved. So it looks a little
smoother and lighter. Now, once I'm happy
with my sketch, I'm going to start adding
beautiful spring garden. I'll add some tulips
and fresh green grass around it to bring that spring
feeling into my drawing. You can create your
own background, too. Maybe choose your
favorite flower or add anything that
reminds you of spring. And did you notice the garland? It adds a more whimsical, playful feeling to my artwork. Pause for a moment and
look at your drawing. What feeling does
your lamb give you? Does it feel calm, playful, shy, or full of joy? If your lamb could tell a
story, what would it say? Now for the final touch, I am adding some stamps. This time, I'm using different stem just to bring a little
texture and interest. If you don't have the stamp, you can simply use pen
to scribble, doodle, or add tiny details on top, or you can just leave it
like this the way it is. Sometimes simple is
the most beautiful. Until next time, keep creating
and take care of yourself.
7. Lesson 4 — Hatching Chick: This lesson is all about
new beginning and new life. Think about an egg hatching
and a tiny chick coming out. It's such a beautiful
visual of how life can begin from
something so simple. Let's start by drawing
oval shape for the egg. Once you're happy
with your oval, then add a little crack using zigzag line to show its opening. Now, this part is
completely optional. You can draw a cute
little chick peeking out or you can keep it
as just an egg. After drawing your egg, I want you to keep your
lines nice and sketchy. Don't try to make them perfect. Let them feel loose and natural. Now, a small technique tip here. Try not lock your wrist. When I say lock your wrist, that means do not touch
your wrist on the paper. Instead, allow the
movement to come from your shoulder
and your whole arm. When you draw this way, your lines become more flowy, more confident and less stiff. It also help you create those beautiful rounded
shapes much more easily. Once your pencil
sketch is ready, you can go over with black pen. Again, keep it sketchy. Don't trace like you are
outlining perfectly. Let your pen move freely
just like your pencil did. Now let's add a little texture. You can use something
called hetching. Hetching is simply a group of lines going in one direction. This could be diagonal, vertical or horizontal
to create shading. If you add another layer of line crossing over those, that's
called crosshatching. This helps to build more depth and make your drawing feel
a little more dimensional. You don't need to overthink it. Just play with your lines, enjoy the process and let
your drawing come to life. Here I'm adding a little bit of cross hatching
behind the check. To create some shadow and
depth, it's very light, very gentle, just enough to give that form a
little dimension. Now I am moving
into some doodles, just simple lazy daisy flowers. I'm not thinking about
perfect shapes or sizes. Just letting my hand move
in a soft natural flow. You can follow along
with the flower or you can create
your own pattern. Maybe circles, lines, zigzag. Whatever feels right
to you in this moment. Pause for a second and
look at your page. What kind of feeling is your drawing giving
you right now? Is it calm, playful, soft or something else? Here I'm going to
use my gold pencil. It's from Prisma colors. It doesn't have a
metallic touch, but it just a gold brown color. Here I want to add
something really important. I want to share, sometimes you might feel like you
have made some mistake. In fact, you'll even notice towards the end of this
video, I made one too. But someone once told me, an artist is the only person who knows where the mistake is. Trust me, no one else
see it that way. To them, it's just art. In art, there are no mistakes, only happy accident. Keep going. Keep adding your colors, your lines, your little details. Let it be imperfect, let it be yours and
just enjoy the process. I Now my hand grabs some watercolor. Although this paper
is not suitable for watercolor, but I
still want to do it. Here I'm adding some
watercolor just in the background of my flower, if you want, you can
use color pencil. Just make it yours. However, whatever
color you want, you can always change the
flowers to any other pattern. Might be zigzag,
might be doodles or circles or hearts, anything. Now, after adding all these
soft whimsical colours from my watercolor palette, it's time for me to add
a final touch the stem. As you've seen in other artwork, the stamp usually create a
very gentle soft effect, not too bold, just
a subtle finish. But here's something real
I want to share with you when we are in rush. Things can easily
go a little off, and that's exactly
what happened here. I didn't pause, I didn't
give time to dry. It just went ahead and I stamped it and the
ink started bleeding. Yes. In this moment,
I'll be honest. I don't really like how
it turned out right now. But that's also the
part of the process. Take a breath with
me for a second. How often do we rush through
things without pausing? What would happen if we just
slow down even for a moment? Instead of reacting immediately, I'm going to give
this some time. I'll come back later and
see if I want to fix it, or maybe I'll just
accept it as it is. Because sometimes in
creativity and in life, not everything needs to be
perfect to be meaningful. And here I am after completing
the rest of the boxes, I am using a little white
gosh to cover that area. Then we'll add stamp again. This is how I fix it, and this is what
happens when you pause. There is always a way to adjust to improve, to begin again. Till next time, take
care of yourself and keep creating. And
8. Lesson 5 — Duckling in Tulips: This lesson is inspired
by ugly duckling. You may remember this story, a gentle mother swan, and among all the white swans, there was one little yellow
duck who felt different. It's such a beautiful story
about belonging and becoming. This was one of my
favorite childhood memory. Reading this book
with my mother always brought me so much
comfort and joy, and that's what inspired
today's drawing. I thought, Let me sketch a sweet little duck
holding a beautiful tip, something soft, gentle,
and full of story. This drawing is made using very simple
shape as you can see, an oval for the head and
another oval for the body. Once your pencil
sketch is ready, go over it with a pen. I'm sure by now you are starting to see how
every character, object or inspiration around
you can be broken down into simple shapes and that's make the whole drawing process
much easier to understand. You'll be able to follow the
steps more confidently now. You can always use the
template to trace if you need a little support or simply follow along with me
and draw it freehand. Both ways are absolutely okay. Just choose what feel
comfortable to you. I Here I'm adding a final touches to my duck
before moving to the pen. When you start using your pen, remember to keep your
lines loose and sketchy. Instead of one continuous line, try using small short
strokes, almost like itching. I am following the same
direction with these strokes, and you can see how it start to create a soft hair like
texture on the duck. H. Now it's time to create your own background. By now, I'm sure
your creative ideas are already starting to flow. Something very
interesting happen when we engage in a creative routine. Our brain actually start working in a more
imaginative way. The more you create,
the more ideas begin to come naturally. That's why even a
small regular practice can make such a big difference. If we are taking a long break, that creative flow can
slow down a little. But the good news is it always come back when
you begin again. Trust your ideas,
even the small one. Just start. Add
something on the left, something on the right,
let it grow naturally. You can use color
pencil, watercolor, markers, whatever
feel natural to you. In the end, I'm going
to add some stamp. Again, this is optional. You can do some doodles, you can stick some collage, or you can let it
be just like this. Till next time, keep
creating and take care of yourself. And
9. Lesson 6 — Spring Cat: This lesson is all
about drawing a cat, a super easy one using simple
shapes and triangle ears. For this last box, you can choose to draw
anything you like, maybe another
animal, a character, or even an object. It's completely up to you. But if you love cats, you can follow along with me and here's something to think about. Have you ever noticed
how children draw, they create small simple
character without worrying if it looks perfect or if anyone
will like it or not. When was the last time
you created something just for yourself
without judgment. These little drawings
are a reminder that art doesn't have to be
big or complicated. Sometimes the smallest sketches carry most joy because
they are free, honest, and truly yours. Here I'm adding the
garland with eggs on it. These eggs will turn
into the pattern and instead of
flowers, I add hearts. Once you're happy
with your sketch, take your pen and
begin outlining. This time, it's completely up to you what style you want
to give more loose, more sketchy, or
slightly defined. Just remember from
our previous lesson, if you want those
soft flowy lines, try not to lock your wrist. Let the movement
come from your arms. Once your pen outlining is done, gently erase all
the pencil marks. We do this so the
drawing looks clean and fresh without any extra
lines showing through. It also helps your colors
stand out more clearly. After that, you can
move on to coloring. Here I'm using gel
pens and add patterns, colors, but you can choose
any medium you enjoy. And here we are almost at the end of this
course, from lesson one, where we begin with simple
shape and small steps to now, where you are creating
with more confidence, more flow, and your
own creative voice. You've come a long
way. You showed up, you practiced, you explode. And most importantly, you allowed yourself to
create without judgment. Now it's your turn. It's time for you to take
everything you've learned from these lessons and create your own artwork as part
of the class project. Don't worry about
making it perfect. Focus on making it yours.
What will you create? What story will
your drawing tell? I would love to see your work, your ideas, your process. So don't forget to
share your projects. Till then take care of yourself, keep observing, keep creating, and keep trusting
your creativity.
10. Final thought: Thank you so much
for joining me in this whimsical spring
inspired Illustration class. I truly hope you
enjoy the process as much as I did
creating it for you. I can't wait to see your
projects and hear your feedback, how this class made you feel and what you
created from it. The main idea behind this class was to keep everything
simple, easy, and approachable for any level, something that doesn't
feel overwhelming. Doesn't require a lot of
supplies and something you can do even if you have just ten
to 15 minutes in your day. Before we end, I want to leave
you with a small thought. Art is not just about
making something beautiful. It's about giving yourself
a moment to pause, to breathe, and to
connect with yourself. Keep creating, keep exploring and trust your creative voice. Thank you once again
for being here with me and I'll see you in
the next class very soon.
 Sana Asad, Inspiring Self-Discovery Through Art