Transcripts
1. Introduction : Maybe you are holding a lot for a long time, caring for others, managing responsibilities,
caring thoughts, feelings, emotions that
never fully get processed. And somewhere in
between all of this, you may have lost the touch
of your own inner voice. This class is a gentle place where you can come
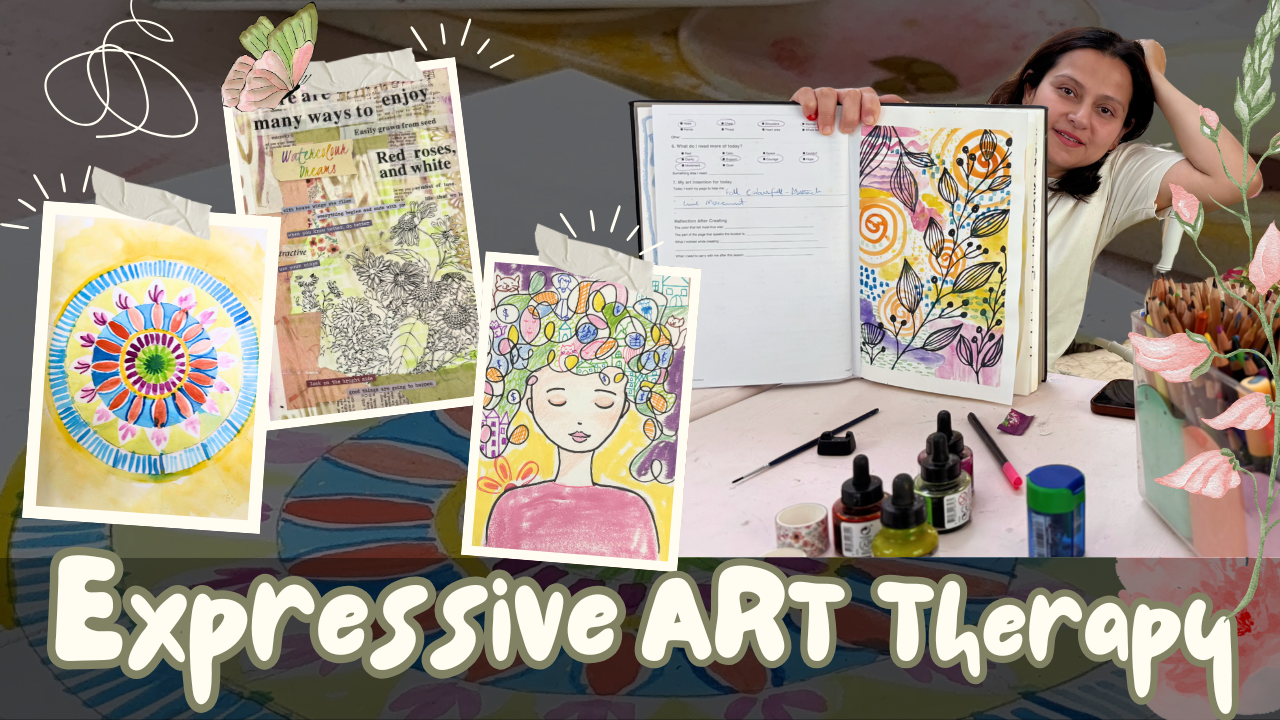
back to yourself. Hey, everyone. I'm Sana Asad. I'm a certified holistic
art therapy practitioner, Mixed Media artist,
and founder of Wildbout Art Studio
based in Bahrain. And in this class, I
will guide you with four expressive art therapy inspired lessons designed
to help you slow down, reflect, and reconnect
through art. Together, you'll
explore doodling to release mental clutter, collage, to uncover
inner messages. Color to express emotions and Mandala making to
invite calm and focus. This is not about
making a perfect art. This is all about making space
for yourself once again. Also, you don't need
any fancy art supplies. Only need a page, few
simple materials, and willingness to start. One lesson, one page, one quiet moment at a time. This class is designed to
offer you four gentle lessons each month to support your personal journey
through expressive art, reflection, and self connection. This class was created
with you in mind and give you a soft
supportive space each month, where you can pause, create, and reconnect with
your inner self.
2. Material you need: For this class, the
materials are simple, whatever you already have. Color pencils, markers. The most important
is your art journal. If you don't have one,
you can buy or you can use any watercolor
or mixed media paper. So you can gather glutick
markers, color pencils, crayons, oil pastel, watercolor, and few collage pieces. It can be a magazine or any
sticker or scrapbook papers. For the resources,
you can download the E book and hand out
for your class project.
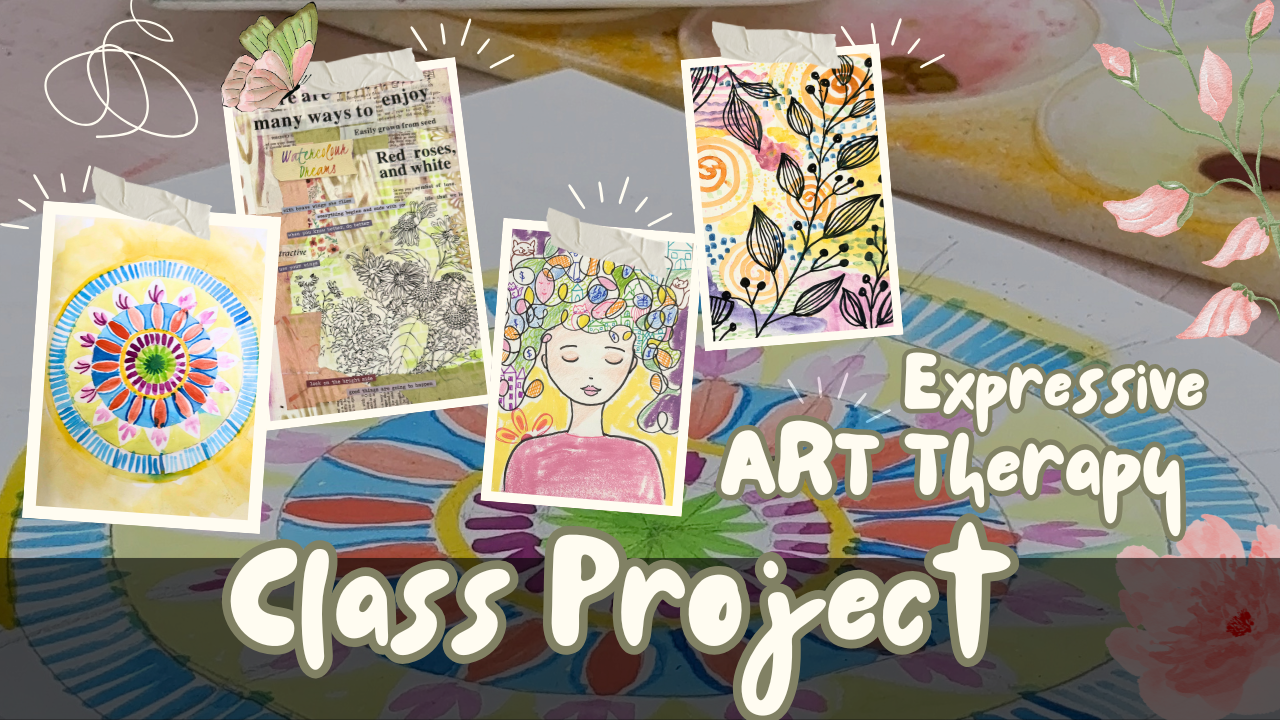
3. Class Project : For your class project,
all you need is to create four expressive pages, one from each lesson, and by the end of the month, reflect on what your
page revealed to you. The four project lessons, Lesson one, map
your brain doodles. Lesson two words you
live by collage. Lesson three, color
your feelings, and Lesson four,
meditate with Mandala. The goal of these projects is
not to make a perfect art. But to gently explore your thoughts, feelings,
inner messages, and sense of calm through four
simple creative practices, I would suggest you one thing. Once you complete watching
introduction, class project, and material guide, gather all the supplies and make
one day for this practice. Same time, same day every week. After completing the project, take a picture and upload.
I would love to see. And if you like, you can also share your story
behind the page. I can't wait to see what you
will create, so let's begin.
4. Learn to Map your Brain: Hey, everyone. Welcome to lesson one of this expressive
art therapy journey. Today we are starting
very gently, and I feel this is
a perfect way to start before we gently heal, reflect, or create or
create with intention. We need to see what exactly
taking up space inside us. Sometimes our mind feel crowded, too many worries, too
many unfinished emotions. And when all this happen, it feels hard to explain it. So in today's lesson,
we are not trying to make anything perfect
or beautiful. We are simply giving
ourself a space to land. Today's exercise is
called map your brain. This is a toodle based
reflective exercise where we create a
visual map of what is happening inside our mind right now through simple marks, shapes, symbols and words. If this is your first time creating like this, don't worry. You don't need any
prior experience or you don't have
to be good in art. You also don't need
perfect handwriting or having lots of
fancy art supplies. All you need is a page, a pen, and a
willingness to notice. Think of this page as a gentle
check in with yourself. Purpose of this
lesson is to help you slow down and become
aware of your thoughts, visually express mental clutter, worries, hopes and
repeating patterns. Also begin using art
as a self regulation. Sometimes when thoughts stay in the mind, they feel bigger. But when we place
them on the paper, even a simple doodle, they begin to feel more visible and more manageable.
So let's begin. For this exercise, all
you need is your journal, or if you want, you can
just use a plain paper. You can find your template
in the resources. I have just prepared a
few templates for you, but you can draw
any shape you want. I do have these stencils, so if you want, you can also
use stencils if you have. But here, we are not
going for perfectionism. We are just creating
an outline of a face, and then we will begin
with the doodles. Grab your color pencils. You can have your color
pencils, markers, pencil, watercolor paints, whatever medium you feel you want to use it
for today's exercise. Just to show you,
I will begin with a free hand sketch without any reference or
without any template. Begin with drawing a letter U. This can represent your face. A neck and shoulder. That's enough. You don't
need to go for more details. But if you like, you can
definitely go later on. It's completely up to you, would you like to use make
a close eye or an open eye. Here I'm going to go
for the close one. And here I am almost ready
just to create the years. I might come back
again on the face, but first, let's begin
with your doodle. Do not think too much about
what it should look like. Instead, begin with
flowing lines. Let your pen move
softly across the page. You can start from
the forehead area, the center of the face, the top of the head, or
anywhere what feels natural. Just let one line
lead to another. These do not have
to be perfect line. They can curve, loops, twist, cross over each other, or move
slowly like a quiet path. Think of the first stage as the kind of
visual meditation. You are not drawing an object. You are allowing your hand
to move in the same way. Thoughts move through the mind. If your mind feels busy, let the line become busier. If your mind feels tangled, let the line overlap
and not together. Notice, and as you doodle, I want you to gently
ask yourself, what is always on my mind? What thought keeps returning? What have I been
carrying slightly? Would they feel sharp, crowded, messy, broken,
heavy, or restless? Maybe your worries
look like spirals. Maybe it becomes little boxed, repeated patterns,
stormy scribbles. If you want, add a little color to a
part that stands out. You can always add doodles
in your scribbles. Here I have the worksheet, which you can find it
in your resources, and I like to maintain
like a portfolio, even my art therapy exercises. So I'm going to place this
in front of my artwork, and this will help
me to come back to this exercise whenever
I see it needed. Take the time to
observe your artwork. We'll see you in
the next lesson. O
5. Collage : Welcome back to
lesson number two. In our first lesson, we explore
the mind through doodles, symbols, and visual thoughts. We allow the page
to become a map of what was already
living inside. Today we move into
something different. Sometimes we cannot
easily say what we feel. Sometimes the right word do
not come when we need them. Sometimes emotions sit
quietly inside us, not fully formed,
not fully spoken, but still asking
to be expressed. So in today's lesson, we are going to use collage to listen what we can't express. Through intuitive
collage, images, fragments of text, and
simple arrangement, we are going to explore
the words, beliefs, emotions, and inner messages that may already be shaping us. You don't need to plan
too much for this lesson. Also, you don't need to
make sense out of it. You don't need to know exactly
what you will be doing. This is one of those exercises
where the page often reveals something to you
while you are creating. So trust what catches your eyes. Trust what you feel drawn to. Trust the words that
seems to choose you. The purpose of this lesson is to help explore your
emotions through collage. Notice what words and messages are sitting
inside your heart. Express your feeling
without drawing them. Become more aware of the language shaping
your inner world. Words have power.
The words we hear, the words we repeat, the words we hide from, or the words we deeply need can all shape the way
we move through life. And collage can help us gather all those feelings surprises
and be honest with ourself. Before you start cutting, just pause for a moment, take a breath in and
slowly breathe out. Now ask yourself, what messages have been
surrounding me lately? What words have I been carrying? What do I keep
hearing in my mind? What do I wish someone
would say to me? Now begin flipping through your magazines or papers slowly. Find out the books, find out the wrapping paper. If you have affirmation pages, try to find out whatever
you have around you, magazines, newspapers
are the perfect source. This is one of the flower, I think bout wrapper, I just saved it because it
looks like a newspaper. But in the whole page, there is all about flowers, roses, chamomile, a lot
of different things. I might be using this as well
as with other resources. Do not search too hard. Just notice what
stands out a word, a phrase, a face, a color, an image, even a tiny fragment
of a sentence. If something makes you
pause, cut it out. If something feel
familiar, cut it out. If something feels comforting, painful, hopeful or
important, keep it. This is an intuitive process. You do not need to understand
why you choose it. Why? No why, do it. As you go through your
materials, let yourself wander. What words reflect how
I have been feeling? Maybe you are drawn to
words like strong. Hold on. Breathe. Enough. Too
much, beautiful, hidden, healing, rest,
becoming lost, free. There is no wrong choice. You may notice that some
of the words you collect, feel kind, some
may feel painful. That's okay. This
page can hold both. Once you gather all your pieces, place them on your page or do some random collage by
sticking decorative paper, stickers, what I'm
doing right now. You can arrange the collage
in any way you like. You might cluster
the heavy words together or go with
the colors first. You might divide the page into what I carry and what I need. Or you might create one intuitive composition
and let it remain open. As you glue and arrange,
ask yourself gently. Which of these words feel old? Which one feels familiar
in an uncomfortable way? Which one feels healing? Which word reflect how
I have been treated? Which word reflect how
I speak to myself? What language do I want to keep? What language am I
ready to release? Sometimes we
discover that we are carrying messages that
were never truly ours. And sometimes we realize that the page is asking
for a new message, a kind one, a truer
one, a softer one. You can add handwritten
words of your own if needed. You don't need to just collage. Let the collage become a conversation
between the words you have lived with and the words
you want to live by now. When your collage feel complete, stop and look at it quietly. Do not rush past this time. Notice what stands out first. Is there a word that feels
louder than the rest? Is there a part of the
page that feel tense? Is there an image
that surprises you? Does the page feel crowded, open, conflicted,
hopeful, or tender? If you feel comfortable, share your page
in the community. You do not need to
explain every detail. You can simply share one
word that stood out. One message you notice. One word you want to reclaim or how the
process felt for you. This kind of collage can be
surprisingly powerful because it shows us that words
are never just words. They shape energy,
they shape memory, they shape identity,
and through art, we can begin noticing
them more clearly. I'm gonna leave you here. Thank you so much for creating
this page with me today. Lesson two is all about listening
to the language within, not just the language
of the world around us. We'll see you in
Lesson number three.
6. Color your Emotions: Welcome to Lesson
three. In Lesson one, we explore the mind through
doodles and flowing lines. In Lesson two, we explore and listen to the words and
messages we carry inside. And today we move into
something even more intuitive because not every
feeling becomes a sentence. Not every emotion can
be explained clearly. Sometimes what we feel arrives
as pressure, as heaviness, as a wave, as a tightness, as restlessness,
or maybe softness. So today's lesson is called
color your feelings. This is a gentle
expressive exercise where we allow colors, marks, shapes, and movement to speak for what we may
not yet have words for. You can download
this worksheet from your resources and before
you begin creating, take a moment to pause and
check in with yourself. This worksheet is here to help you notice what you
are feeling first. So your art can come from a more honest and
intuitive place. Sometimes we sit down to create and we do not
know where to start. These check ins help you gently understand what emotion
is most present. What color feels connected
to that emotion? What kind of shape or
movement it carries? Where you may be feeling
it in your body? Start by reading through
each section slowly. Circle, tick, or
write a word that feels true for you in this
moment. You can also color. I like to associate my
feelings with colors. Choose what feels natural. Even if it does not
fully make sense yet. For example, if you
notice you feel anxious, you may choose
color, gray or red. Shape might be zigzag or spiral. Movement might look
like fast or tight. If you feel heavy or tired, you may choose color blue, brown or dark tones. Shapes might be a block, cloud, or drooping lines, slow
movements stuck or sinking. Once you complete the worksheet, look at your answers as a guide. And then begin your
intuitive art by asking, how can I let these
feeling show on the page through colors,
shape, and movement? You do not need to draw
anything realistic. Instead, let your worksheet
inspire your marks. If your feeling is swirling, make swirly lines, spirals. If it feels heavy, press deeper or use dark colors. If it feels soft, use gentle
curves or light blending. If it feels messy, let the page be
layered or loose. This is not about
making a perfect art. It is about letting the page
reflect your inner state. As you create, stay connected to what you discovered
in the worksheet. You can return to these
questions while working. Does this color
still feels true? Has the feeling changed? Is another emotion
appear underneath? What do I need more
of as I create? At the end, reflect on
whether anything shifted. Maybe the feeling
become lighter, maybe it become clearer. Maybe you simply felt seen. That is enough. Begin with
watercolor mark making. Using colors and shapes that connects to how
you are feeling today. Let the marks move freely across the page without trying
to control them too much. Follow the emotions through your colors,
movement and rhythm. At the end, you can add
doodles on top if you want, or simply let the
page stay as it is. Sometime that is enough. This exercise help you notice
what your mark making is expressing and what
your inner world may be trying to show you. After my mark making, here, I'm just trying to create a tissue paper with
marks painted, which I can use in any
future art project. And it's time for you or if you just want to leave
it like this, let it be. I want to add a little bit of black as one of my
feeling was black, but I did not use watercolor. So I am using a black marker to add some
extra marks on my paper. As that feeling is
very important, I don't want to overlook that. Once you are done, spend your time a little more
with your artwork. Stick your worksheet
in front of your page. I'm even going to attach my
feeling check in worksheet, so I can always come back to
this page whenever I want. So I hope you enjoy the session. And if you would like to share your artwork,
don't hesitate. We'll see you in
the next lesson.
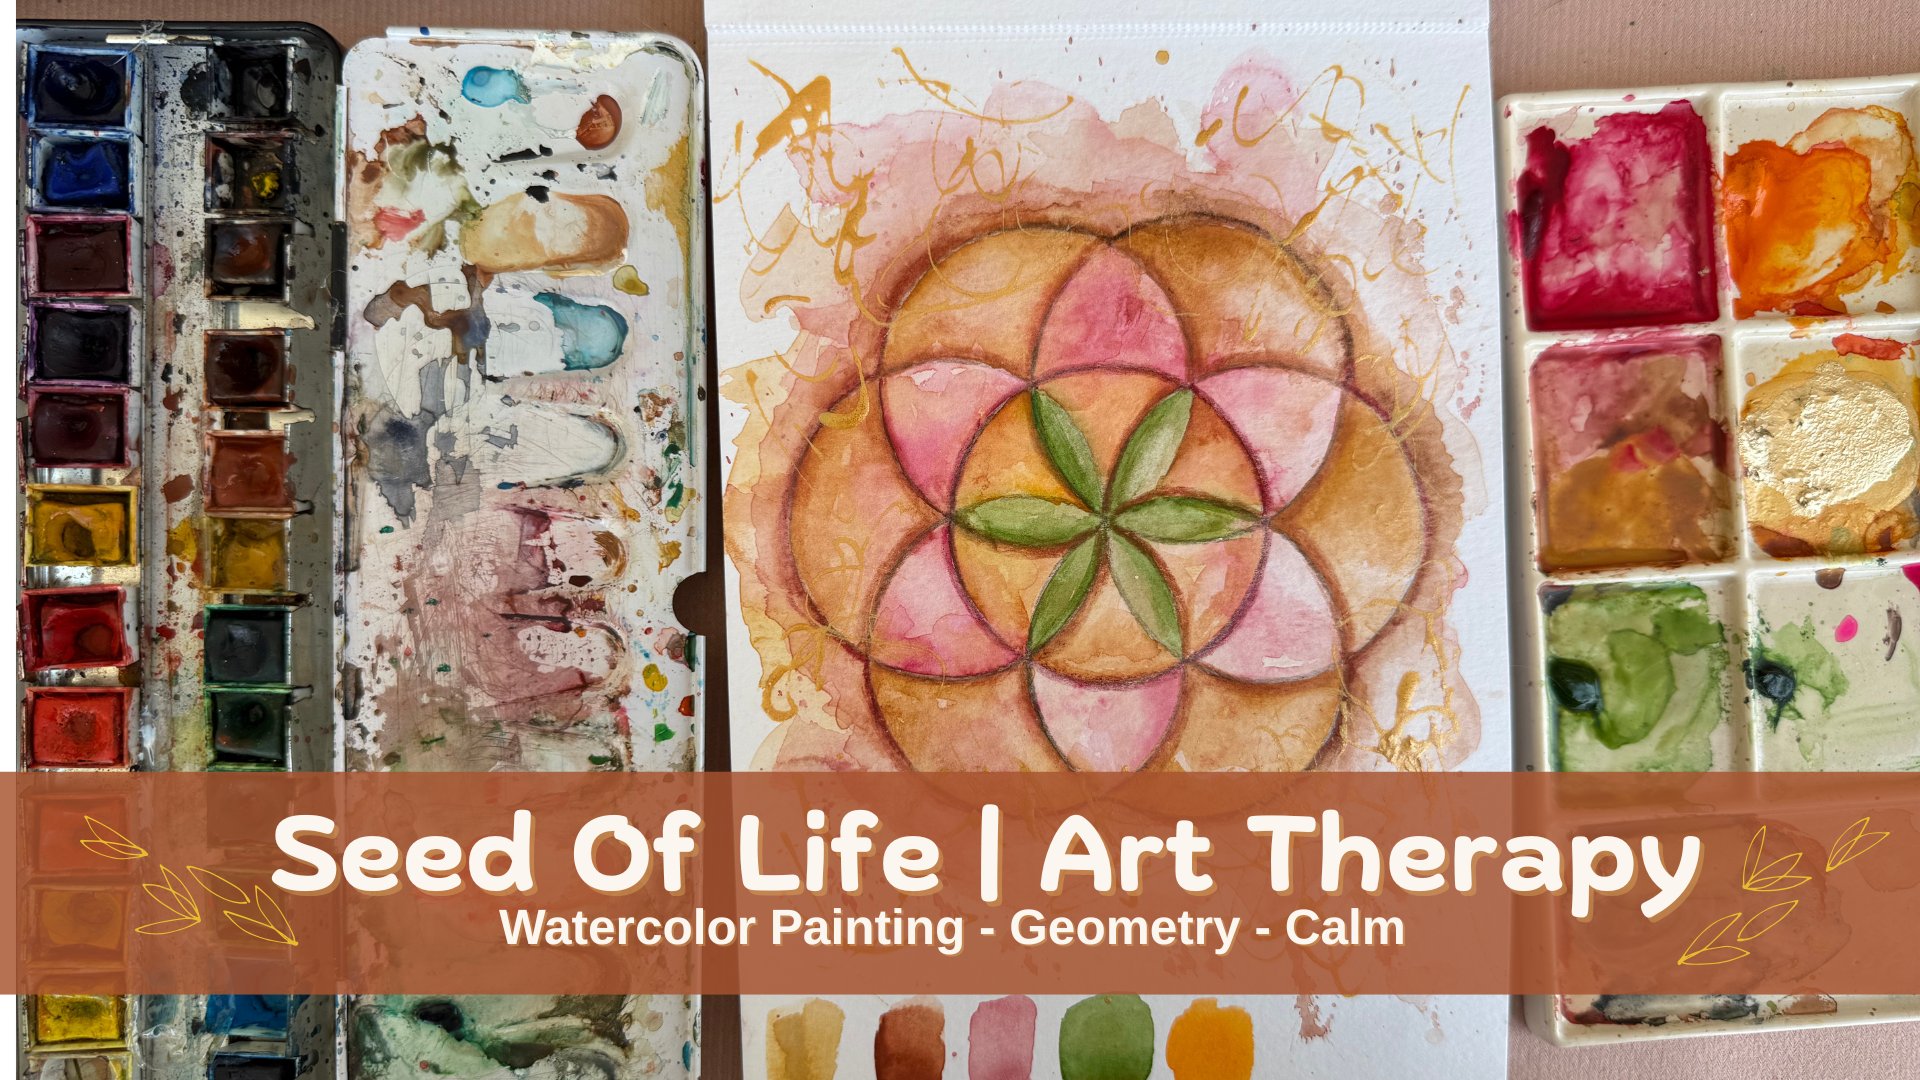
7. Meditate with Mandala : Hey, everyone, and welcome back. This is the last lesson of the four Expressive Art
Therapy inspired lessons, and today we are going
to meditate with Mandala in a very
simple and gentle way. This is a beautiful
way to create a Mandala without
any fancy tools. I'm not going to ask you
to use compass protector, special rulers
scale or stencils. Here, I simply want to show
you how you can create your own Mandala using a pencil and a few circular object
already around you. Like a cup, lid or small plate. So let's begin very simple. And once you have your circles lightly
divided with one vertical line and
one horizontal line, almost like a plus sign. Then if you want, keep adding more lines to divide
the circle into eight, 12, or even 16 sections. This gives you a simple guide
to help build your Mandala. You can also add
more circles inside or around the first one
if you want more layers. And that's it. Keep
your pencil marks light and soft because these are
only gentle guidelines. Meditate with Mandala is really about beginning
from the center. The center can feel like you. It can feel like your breath. It can feel like a quiet
point you return to. From there, you slowly
build outwards. Here I'm using watercolor paints and these are from ecoline. I have these I feel that their pigments
are really bright, but I will also use the
regular watercolor palette. You can use watercolor, color pencils or marker. As I mentioned, I will use watercolor and I will
only use basic shapes. Marks like brush
strokes, lines, dots, petals, arches, little
repeated patterns. You do not need
anything complicated. Simple shapes repeated slowly can become something very
calming and beautiful. As you begin, allow
yourself to slow down. This kind of exercise
help us pause. It helps us come out
of overthinking for a little while and return to something more
steady and present. Especially for women,
I feel these kind of creative exercises are so important because
we hold so much. Think so much and
move through so much. Sometimes we need
small gentle ways to bring calm back into ourself. So as you work, you can even play soft music
in the background. Let the process feel soothing. Choose the color you
feel drawn to today. You remember lesson
number three? You can connect that
with this lesson. You can also connect your Mandala to your
emotions and feelings. You might begin by
asking yourself, what am I feeling today? If this feeling had a
color, what would be? If this feeling had a shape,
what would it look like? You can even let the center of your Mandala
represent one feeling. Maybe there's a feeling that feels very small and quieter. You can begin with
that in the center. Then as you move outward, you can show how
that feeling grows, changes, soften, expand,
or become more visible. Or perhaps your feelings
feel bigger and bigger, and you want to show that
through larger brush strokes, stronger colors, or repeated
patterns growing outward. Your feeling can become
a brush stroke, a dot, a line, a shape, a pattern, a size, a rhythm. There is no right or wrong here. This exercise is simple, but it can be very powerful because when
we repeat shape slowly, when we work from
the center outward, when we give feeling
a color and a form, something begins to settle. Not because
everything is solved, but because we have made space
for ourself. Begin gently. Mandalas have been
used for centuries in Hindu and Buddhist tradition as symbolic diagrams and
as tool for meditation. In Western psychology,
Carl Yong also wrote about Mandala imagery as
a way of bringing order, centering and relationships to a calm inner point when a psyche feels
scattered or confused. This is one reason many people are drawn
to Mandala based art. The circular form,
the repeated shape, and the movement from
the center outward can feel containing,
steady, and calming. Researchers and
practitioners have noticed that repetitive
art activities, including Mandala
drawing or coloring can help some people feel calm or more focused, and
less overwhelmed. But in this lesson, I
want to focus less on the science and more
on the experience, how the circle can feel
like a safe container, how repeated marks
can quiet the mind, and how color and
pattern can help us pause and reconnect
with ourself. Now as a final step, I am adding a few
short vertical lines. They are very simple, but they help bring the
whole page together. You'll notice the color
begin repeating and the pattern continue
to build intuitively. Everything that happened
on this page is led gently one mark after another. When you allow
yourself to pause, you begin to see more. You begin to notice more. At the end, I am adding a
light watercolor wash over parts of the page just to let the color flow softly and
bring everything together. This part is
completely optional. Please create in a way
that connects with you. If you would like
to add outlining, markers, color pencil,
you are free to do that. Let this become your own
Mandala in your own way. And if you like, give
your Mandala a name. Thank you so much for joining
me for this practice. In the end, I am just removing, erasing a few pencil marks
because I want to keep this without any mark lines
with pencil or marker. I'm so glad you
took this time for yourself and moved through
all four lessons with me. I can't wait to see your work. Mm.
8. Thank you: Thank you so much for joining
me for the first month of our four expressive art
therapy inspired lessons. I hope these four sessions
give you a space to pause, reconnect with
yourself through art. Whether your page felt simple, unfinished or deeply meaningful, I hope you allow
them to be enough. Once again, thank you
for creating with me. Till next time, keep creating
and take care of yourself.
 Sana Asad, Inspiring Self-Discovery Through Art