Transcripts
1. Introduction: Hey, I'm Isaiah Cardona, and I'm a multi hyphen
creative who loves using my iPad to add hand drawn animations to
all kinds of projects. Animating is one of my
favorite things to do, and I'm all about making it easy and fun for
everyone to jump in. If you've seen my
animation tutorials on YouTube or taken one
of my online classes, you probably already know
I am passionate about helping non animators get
started and have fun with it. In this class,
we're going to make a simple fun holiday
animation and Procreate. I'll show you some
quick and easy tricks to bring your holiday
illustrations to life. Through this class, we will
plan out your animation, set up your file and Procreate, animate a holiday greeting, make those cozy glowing lights, and add a gentle snowfall to
add a little extra magic. Lastly, I will show
you how to export your animation so you
can share it anywhere. Honestly, adding animation to your art is way easier
than you might think. No experience is necessary
to take this class. I've designed this
for anyone who loves drawing and wants to add a
little motion to their work. All you need is an iPad, Apple Pencil, and
the Procreate App. If you're ready to
take your art to the next level and have
some fun with animation, then let's get started.
2. Class Overview: Hey, welcome to my class. I'm really excited you're here, and I can't wait to
see what you create. For your class project, I want you to pick a
holiday illustration. It can be anything you like. Maybe a simple holiday greeting
or a fun little scene. It's totally up to you. The main thing is to just have fun and let your
creativity flow. Throughout this course, I'll guide you through how to plan your animation so
it's clear and easy to bring to life through
quick and simple techniques, animating a festive, greeting, creating a glowing light
effect, and making snowfall. In the final lesson, I will show you how to
export your animation as a video or gift so you can
share it with everyone. My goal is for you to walk away with a good
understanding of these techniques
and how you can use them in any animation
project you want. The possibilities are endless. And if you ever get stuck
or have any questions, don't hesitate to ask in the discussion section
of this class. I'm here to help.
For this class, you just need an iPad, the Procreate app,
and an Apple Pencil. You'll also find a
helpful animation guide and other resources in the resources section
of the class. Once you've gone
through the lessons, I'd love for you to
share your project so we can all see the awesome
animation you made. I'm really looking forward
to seeing what you create. So let's get started
with planning your animation and
the next lesson.
3. Planning Your Animation: In this lesson, I
will walk you through how I go about
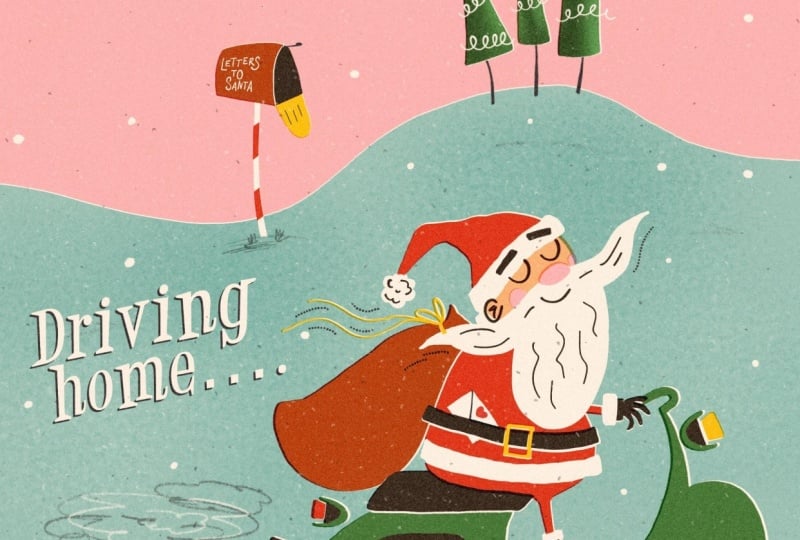
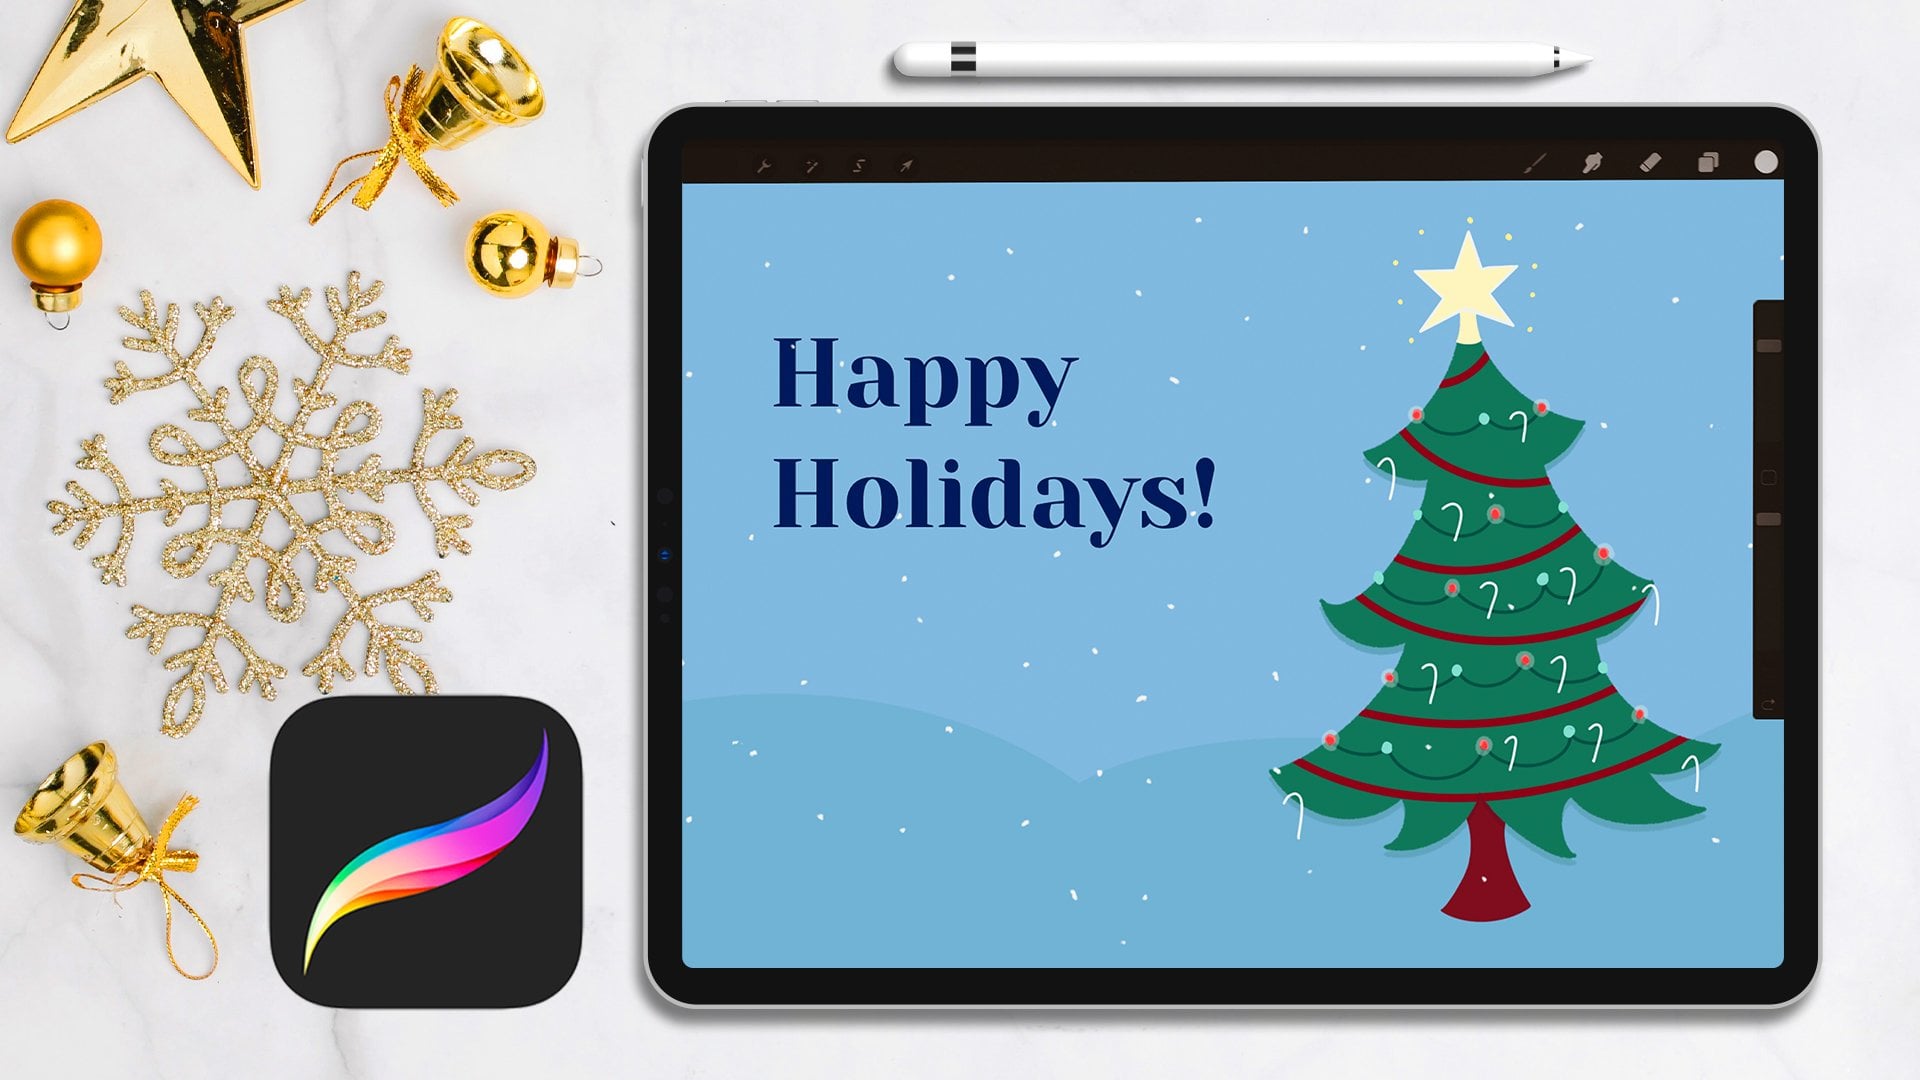
planning my animation. To make things easier to follow, I picked an illustration
I recently made inspired by Judah's
Mid-Century Illustration Fun, Make it Jolly class. If you love that retro style and want to learn how to
craft a holiday scene, I definitely recommend
checking out her class. She also shares some
amazing brushes and resources that you
might find helpful. Once I have my illustration, I like to take a moment to
break down the animation. I ask myself, What parts of this scene do I
want to animate? This step is super important
because it helps me figure out how to set up
my file in the best way. For this project, I want to
animate a few key elements. First, I'll animate the text and some decorative flourishes with a wiggle effect to create a fun, eye catching movement that draws viewers attention to
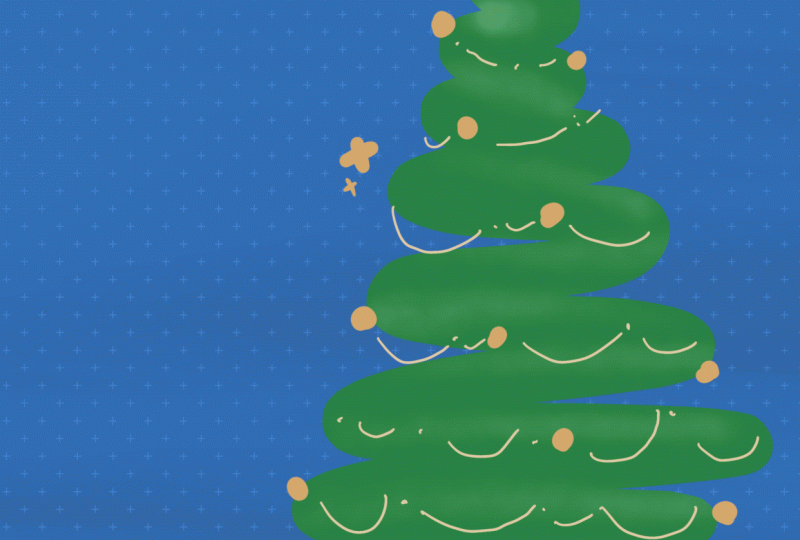
the holiday greeting. Then I want to add some life to the Christmas tree by
making the lights glow, giving it that
cozy festive vibe. Lastly, I'll add
a gentle snowfall to add a little extra magic. With my plan in place, I will start thinking
about my setup. Since most of the
illustration will stay still, I'll keep it as a static
background layer. The other static part will
be the lights on the tree. I'll make that layer
the foreground, and I do it this way so I can
make the glow effect more subtle by animating the glow underneath that
foreground layer. Of course, if you
want the lights to feel brighter and
more prominent, you can definitely animate the glow directly
over the bulbs. It's totally up to you. Lastly, it's important
to think about the order of elements
that will be animating. For instance, I know that I don't want the snow to
cover up the greeting. So when I'm setting up the layers within
the frame groups, I'll make sure that the greeting
is above the snow layer. This planning step is so useful
because it helps you make those decisions early on so you don't end up rearranging
the layers later. Take your time to think about what parts of your illustration
you want to animate. Remember, this is your project. So you have full
freedom to focus on one element or multiple, whatever feels right for you. Once you've got your plan
and setup figured out, we'll be ready to
jump into Procreate and start animating
in the next lesson.
4. Animating Greeting: In this lesson, we're going to walk through animating
the greeting, and I'll show you how to
add that fun wiggle effect. But before we jump
into the technique, let's talk about how it works. To get that wiggle effect, I'll be redrawing the
text at least two times. The slight differences between each frame creates the
illusion of movement. This method is super versatile. You can make the wiggle
really subtle or more exaggerate by adding more
variation with each redrawing. Now let's take a quick
look at the file setup. As you can see in
my layers panel, I have set up my illustration, so all the elements
that I want to be above the
animation is on top. And then I've created three
groups for my text animation with blank frames that I will use to create the
redrawn frames. And then if we go down to the
bottom of the Layers panel, you will see I have a group with all my background elements. This group contains all
the static elements that will appear
underneath my animation. This is why planning out your animation first
is so helpful. Knowing what you want to
animate and what needs to be static allows you to set
up your file efficiently. Next, I'll show you how to
turn on Animation Assist. Just tap the wrench
icon at the top, then go to Canvas, then go down and toggle
on Animation Assist. This will bring up the timeline at the bottom of your screen. When you swipe
through the frames, you'll see that they match
the order of your layers. The background and foreground
elements are showing up as separate frames instead
of being in every frame. To fix that, I'll tap on the first frame to bring
up the frame options. Here I'll toggle on the background option for
the static background group. If you don't see this option, double check that your
background group or layer is on the very bottom layer
in your layers panel. Once that's set,
your background will stay put across all frames. Now let's do the same
for the foreground. I'll go to the last frame, tap it, and toggle
on foreground. Now both your background and foreground stay static
as your animation plays. The last thing to adjust
is the timeline settings. You can choose to have
your animation play once, loop infinitely or play
forward then backwards. For my animation, I will keep it on loop so it's a
looping animation. You can also set the speed
of your animation here. I'm going to go with
about six frames per second for a simple
gift style motion. Play around with the speed
until it feels right for you. To make redrawing easier, I'll turn up the onion skins to see the previous
frames more clearly. You can also increase
the number of onion skins and their opacity if you're working
with more frames. Now let's start the fun
part, animating the wiggle. First, pick your
color and brush. Then you can zoom in on the
text and make sure you're on the right layer and then start tracing over
the original text. I want my wiggle
to be noticeable, so I'm going to try and match the original drawing but
add some slight variations. Once you finish redrawing
the text on one frame, move to the next blank
frame and do it again, redrawing the text with those
little wiggle variations. After that, I will do the same for the sparkles
around the text, switching my color to white and tracing over the
shapes on each frame. This shows how you can use the same technique for
more than just text, like sparkles, stars or whatever else you
want to animate. And then I'll repeat the process again
for the third frame. And that's it. Now we can tap the play button to see
the animation in action. Tip is a good idea to review your animation after
each step so you can catch anything
you want to tweak before moving on to
more complex parts. To recap, I just showed
you how to create a wiggle animation by redrawing your element
at least twice. This is a super easy way to quickly bring motion
to your drawings. In the next lesson,
I will show you how to animate a glow effect.
5. Animating Glow Effect: This lesson, I will
walk you through how I animate a cozy,
glowing light effect. First thing I'm going
to want to do is create a new layer within
that first animation group. I like to keep the animations on separate layers to
make it easier to adjust or move
specific animations or elements later as needed. I definitely recommend
using different layers if you plan to have
multiple animated elements. Next, I'm going to reduce the opacity level to around 50%. Next, I'm going to draw an
outline around the star. Next, I'm going to draw around
the yellow light bulbs. And then I'm going to
change the color white, and then I'll draw around each
of the white light bulbs. And now I'm going to
change the color to green, and then I will draw around each of the green light bulbs. I and last, I will change the color red and draw around the
remaining light bulbs. Once done, I will
tap on the wand icon up here to bring up
the adjustments menu, and I will go down here
and tap on Gaussian blur. Now, to adjust the
amount of blur, I will tap on the
screen and drag my pencil to the right until
I get my preferred result. And so I ended up at 3%. But it's important to note
that your blur amount may vary depending on your
size of your element, so it's really just going to be on your personal preference. Now I'm going to tap and slide
the layer to the left and tap on duplicate to create a duplicate version
of my glowing light. I will move this new copy up
to the second frame group. And then I will make another duplicate and move it into
the third frame group. Now I'm going to go to the glow layer in
the frame two group, and I'll tap on the
end to bring up the opacity slider
and I will lower it. This will create a
subtle glowing effect as the light briefly
dims a little. I've set up my effect
to be really subtle, but you can adjust the opacity so it's more dramatic or have each layer have a
different opacity to create more of a
blinking light effect. Feel free to play around with the different options and see which one works
best for you. To recap, I just showed you my process for creating
a glowing light effect. This technique can also be used for candle lights
and Jacko lanterns, so feel free to customize
for your project. And the next lesson, I will walk you through creating
a snow effect.
6. Animating Snow Effect: In this lesson, I
want to share how I add a snow effect
to an illustration. It's a simple step that can really bring your scene to life. First, I'll open up
my layers panel and add a new layer in the
first frame group. Then I'll switch up my color to white and grab
the stipples brush. I love this brush because it gives the perfect
textured look for snow. Next, I'll just go
over the scene with my brush and fill it
up with snow texture. And that's looking good. Now I'll go back to my
layers panel and add a new layer in the second
animation frame group, and I'll repeat the same process adding the snow
throughout the scene. Then I'll do it one more
time for the third group, creating a new layer and
painting in the snow again. And after I've added snow to
all three animation frames, I'll hit the play button to see how it all flows,
and that's it. To recap, I just showed
you how to create a quick snow effect by drawing the snow
texture three times. It's a simple trick that adds movement and a cozy
feel to your scene. And the next lesson, I will
walk you through how I export your animation so you
can share it with everyone.
7. Exporting Animation: In this lesson, I will
walk you through how to export your animation
as a gift in a video. First, you'll want to tap
the wrench icon up here. This will bring up
the Actions menu. Once it opens, look for the Share icon right
in the middle. Tap that, and it'll bring
up all your export options. Next, I'll go down to the
bottom and tap on animated GIF. This opens up the
GIF Export interface where you'll see a preview
of your animation. Here you can use frames per second slider to adjust how
fast your animation plays. Feel free to play around with it until it
feels just right. You can also have options
to add dithering. Choose a per frame color palette and set a transparent
background if you want. Speaking of dithering, since gifts have a limited
color palette, things can sometimes
look a little funky, and dithering helps
mimic more colors, making your animation look
smoother and more natural. I definitely recommend
toggling this on. And once you're happy
with all your settings, tap the blue check mark in the top right corner
to start exporting. Just a quick heads up, older versions of Procreate, this used to be a
yellow export button. So if you don't see the blue
one, just look for that. Once it's done exporting, a pop up will appear with options to save
or share your gift. Now let's talk about exporting
your animation as a video. It's pretty much
the same process, except this time we'll
tap on Anime MP four. This brings up the
video Export screen where you can preview your animation and
adjust settings like resolution and
frames per second. Once everything looks good, tap the blue checkmark again, and it'll begin
exporting your video. Then in the pop up
tap Save video, and you're all set.
And that's it. I just showed you how to expert your animation as
a gift in a video. Videos are great for sharing your holiday animations
on social media, and gifts are an easy way to share your class
project on Skillshare. And now that we've gone
through the full process, it's your turn to animate an illustration and
share it with the class. And then join me in the next lesson where
we'll wrap up this class.
8. Final Thoughts: Congratulations on
finishing the class. I really hope you're proud of the holiday animation
that you created. I bet it's awesome, and I can't wait for you to share
it with the world. My hope is that this
class has shown you just how fun approachable
animation can be. I want you to feel inspired
to keep practicing and applying these skills
to your future projects. There's so much you can do. I'd love to see what you made, so be sure post your project
in the project section. Sharing your work with the Skillshare community
is a great way to inspire others and keep
your creative momentum going. If you're hungry for
more animation classes, just follow me here
on Skillshare. I've got some other classes
that I think you'll love. And if you enjoyed this
class and found it helpful, please take a moment
to leave a review. Positive reviews
like yours helps others discover this class
and get inspired, too. Thanks so much for joining me on this creative
holiday journey. I really hope to see you in a future class until
then happy Creating.
 Isaiah Creates, Art Director & Motion Designer