Transcripts
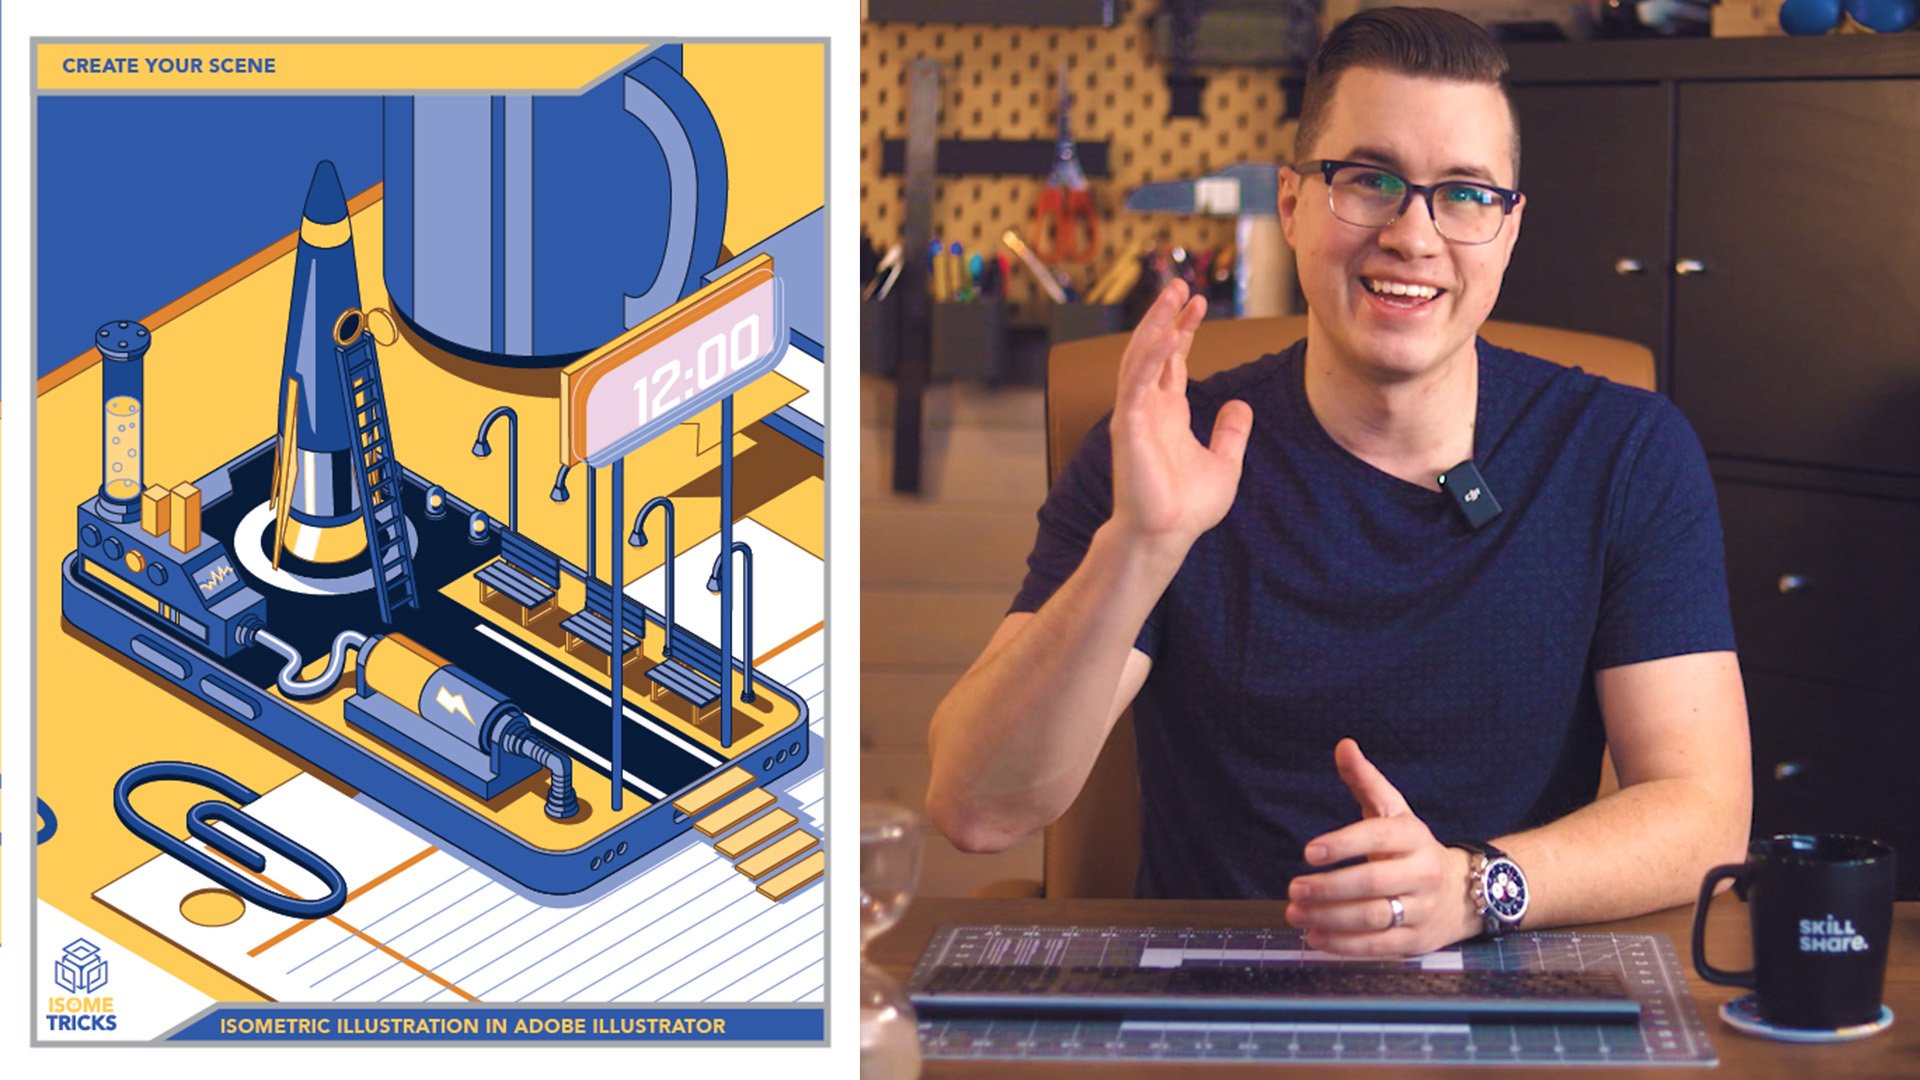
1. Class Intro: Hey, guys, my name is Parson. I'm a graphic
designer, Illustrator and top teacher
here on Skillshare. In this Isometric
Moves mini class, we will animate a cool
transformation machine using Adobe After Effects. You'll have access to a customizable Adobe
Illustrator file so you can get
animating right away. Your first job is to
select the objects that you will animate using
the Illustrator file, or you can illustrate your own. The animation you'll make has many moving parts that you
will animate in various ways. So there's lots to learn from creating your
class project. By the end of this
short mini class, you'll learn how
to use track mats, parent layers, adjust the position and
opacity properties, as well as use simple effects. By the end of this
class, you'll also learn how to set up your
animation for loops. This class is perfect
for those who have taken my isometric moves anyone can animate in Adobe
After Effects class, where you get the
foundational knowledge to understand Adobe After Effects to complete your class projects. By using the skills learned in that class and the ones you
will learn in this class, you can complete your
class project today so that you can add to your
motion graphic portfolio. By the end of this
class, you'll have your very own animation to share on Skillshare or with the
world. I'll see you in class.
2. Setting Up Illustrator File for Animation: Welcome to the first
class where we will go over how to set up your
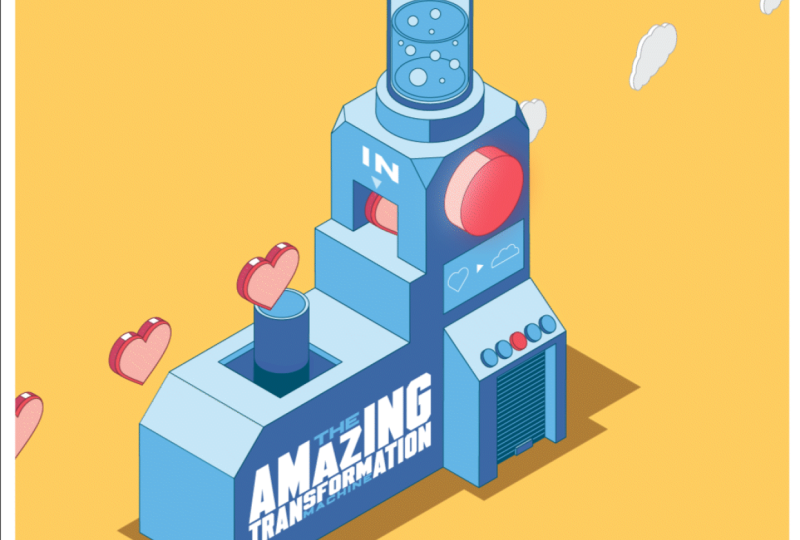
Illustrator file for animation. So I opened up the
transformation machine.ai file, and here you can see
that there's a variety of layers that we will
use in our animation, and we have one artboard. Just note that anything
that is within your artboard will be transferred
over to After Effects, and you can use
that for animation. So let's look at the
layers individually. So first, we have a frame
layer that just to show where you could frame
off your animation. And then we have a reference blend reference where we will position our end objects in our blend so that they
keep a consistent spacing. We have a blinking object
that we can animate. We have our in objects. We have our in mask
that we will mask our objects that will
travel into the machine, and then we have our out objects down here that will travel
out of the machine, and you can see a variety there. We have bubbles
for the top part. We have the screen icons down here that you
can interchange, and we have the out
mask and the shadow, the background, and of
course, the machine itself. All right. So the things that
we're going to change in this illustration are the in
objects and the out objects, and we can also change the screen icon. So
how can we do that? So I have a sad face
and a happy face, but maybe I want to
change those things. So all I'm going to do
is I'm going to unlock my in object layer and I'm
going to select something. Maybe I want the noodles. I'm going to copy the noodles. I'm going to go over
to my in object. As you can see, it's
selected there. I'll just move this over
so we can see everything. I'm going to double
click into this blend. Now, I have the blend open here, and you can see in my layers
that it is the blend. I'm going to delete
the two objects that are actually in there. So I'll select the
object itself. Don't select the blend line, and I'm going to paste in my new objects. So I
have a noodle bowl. I'm place the first one within the circle or
the reference point, and then I'm going to
paste a second one. And as you can see, it takes
over that original blend, and I'll place it within the reference point
of number two. And then I'll double click out, and you can see that I have the noodles traveling from
one side to the other, and they will go directly
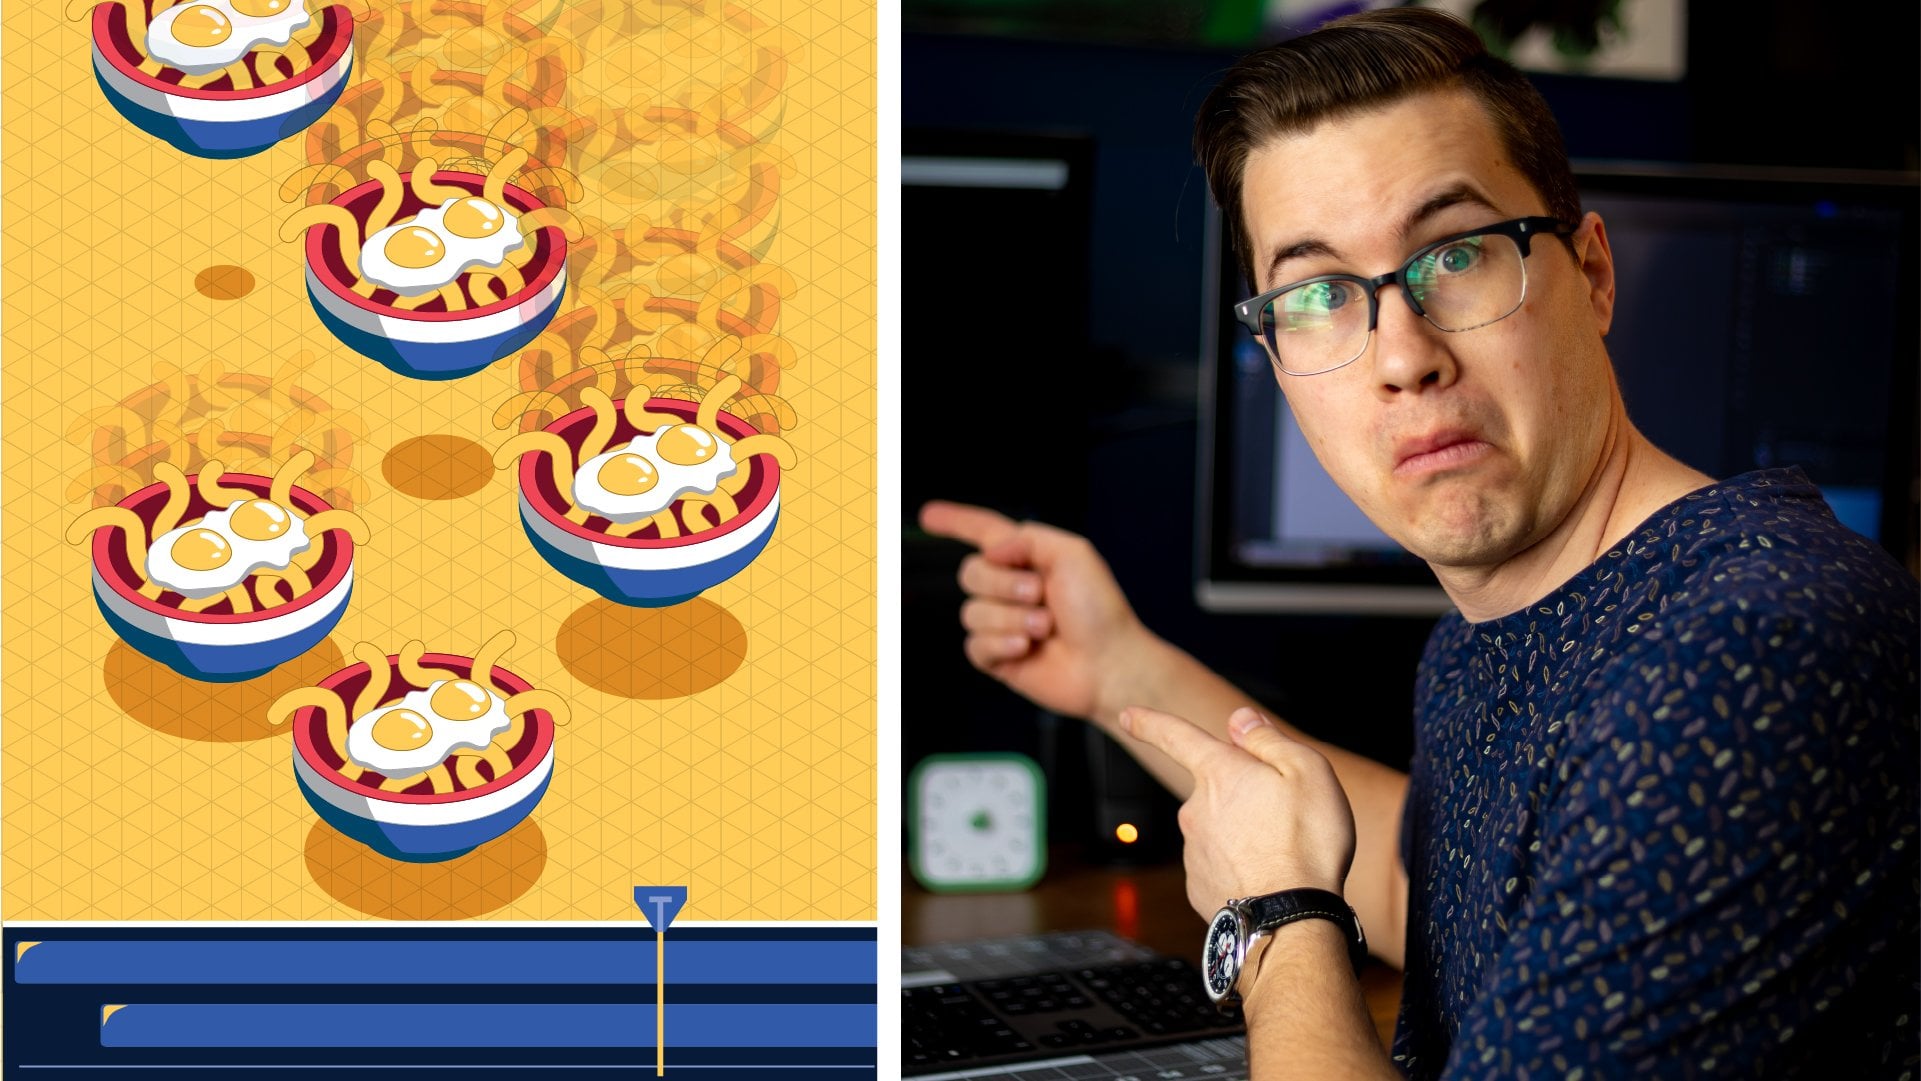
through the in point. Now I'm going to do the same
thing with my out object. I'll lock my in object. I'll unlock my out object. I'm going to select the noodles
will transition and they will turn into a
cloud. All right. So I'm going to turn the
noodles into a cloud. So I'm going to
select my out object. I'm going to double
click into the blend. As you can see, this
is my out object. I'm going to delete the first two objects
that I have in there, and I'm going to
paste in the cloud, and maybe I'll make
it a little bigger. And then I'll just
copy that one, and I'll copy it and paste it. And as you can see, the blend
has been created there. And I'll paste it over top of my reference for the last line. And now you can see
that behind it, it perfectly matches up
with the ingoing blend, so that when we animate them, we will animate them together and they will move
at the same speed. All right. So we'll
double click out of that. And then we'll change
the icons as well. So down here, we can just
open up our icon layer, unlock our icon layer, and then we can just
move out those two. We can take the cloud and take the noodle
bowl, put those there. I'm going to select
these three objects, one, two, and three,
holding control shift. I'm going to copy
them. I'm going to go up to my illustration. I'm going to delete these three, and I will paste and move into place and just resize to fit them
within that screen. All right, so I have noodles
transitioning into a cloud, and I have my noodle bowl
in my cloud going out. I have my masks set up. I can lock everything,
and I will save it. All right. Now we can
jump into After Effects and start animating our
transformation machine.
3. Getting Started in After Effects: Three Okay, now that we have
After Effects open, we're going to set up
our file for animation. We're going to right click into the project panel, import file. We'll find our Illustrator file. We'll set it up as create
composition, and we'll import. Now, we'll have the
composition set like this and set for
layer sizes and hit Okay. Now you can see that two
compositions were made, one composition with
everything contained in it, and then the main composition
with all our layers. If we double click into that, you can see that we have
all our layers here. Now we can see that we
can hide our layers using the eye at the side so we
can reveal it or hide it. And with the frame, this is going to be our
final composition size. So anything that's
within this frame is going to be shown
in our animation. So that's important
to see. And now, what we're going to do is
we're going to clean up our timeline a little bit using something
called the Shi Gui. So if you see here, there's
a little little face here. And to activate these is
you can click on this, and what it's going to do is it's going to hide that
layer from your timeline. It's not going to get
rid of it, but it'll hide it temporarily
so it's not visible. So you get rid of a
lot of the clutter. So you can click on that, and what you can do is you can click on the button here and that'll hide that layer
from your timeline. So we'll go back
into it and we'll decide which layers
we want to see in our timeline that
we will animate or use for animation and what
we don't need to see. So the background layer
and the shadow layer, we don't need to we're
not going to touch them. We're not going to touch
the machine layer. And we're not going to touch
the blend reference layer. And actually, we can just
hide that one, as well. And any layers that
you're shy guy, it might be good to
just lock them as well, just so you don't
accidentally touch them when you're playing around
with your animation. Now, if I were to click
the main shy guy, it'll get rid of those
layers from my timeline, and, yeah, it looks
a little better. So now we have everything cleaned up and we can
get ready for animation.
4. Animating Your Objects: Okay. Now we'll get
into our animation. We have our composition
window over here. We can see all the
visual elements, and then we have our timeline here where we will
actually do our animation. So I'll zoom in a little bit to show you what we're doing. And now, what we want to do
is we want to create it, so these objects,
the in objects are moving into the machine and the out objects
are moving out. Now, how we're going
to do that is we're going to just select
the in object. And as you can see here, we have it selected in our timeline. Before we do that,
we just want to set the timing of
our composition. So to set your
timing, I'm going to go to composition settings, and I will change
the time down here, and I'll keep it as 4 seconds. If yours is not 4 seconds, you can change it to 4 seconds to keep it consistent
with what I'm doing here or you can change it to whatever duration you
want. I'll hit Okay. Now, what we're going
to do is we're going to go to the beginning
of our timeline, and we're going to hit P on our keyboard to activate
the position property. Now, we're going to hit
the stopwatch over here to set the first keyframe
for that property. Now, what I'm going to
do is I want to move my first object over
to this second object, so it'll move from
one spot to another. And then I'm going to loop that animation so
it looks like it's continually moving
through the machine within our composition window. Now, how I'm going to
do that is I'm going to control D while this
in object is selected, and it creates a duplicate. I'm going to hit
T on my keyboard, which opens up the opacity. I'm going to reduce the
opacity to about 50%. Now, I'm going to go back
to my first in object. I'll zoom in here. I'm
going to go in my timeline, first of all, and I'm going
to go over 20 frames. So I'm going to hit Shift page
down to go over 20 frames. I'm going to hit that twice, and it goes over 20 frames. And now I'm going
to take that layer. I'm going to pull
it and drag it over top of my other nutable layer. I'm going to try and match it up so you can't see it anymore, and it's perfectly aligned
with the second one. Now, if I go back and forth, you can see there's
an animation from one to the other,
one to the other. Looks pretty cool. Now I can
get rid of my in object two. And now, what I'm going
to do with this one, I'm going to create this
animation as a loop. I'm going to hold Alter
option on my keyboard. I'm going to select
the stopwatch, and it opens up the
expression window. I'm going to type in the
expression loop out, and I'm just going to hit Enter. So now I have my
loop out expression applied to these two key frames. And what it's going to
do, it's going to repeat these two key frames
over and over again. Let's see how that works. Boom, boom, boom. Now, you can see that it sort of just reveals itself here. But if we look within, sorry, if we look
within our window here, where we will actually
see our animation, it looks like it's
continually moving forward, which is really cool. Now, we want the second object, the out object to match
perfectly with the first object. So we're going to parent
the layers together. So we have our out
object down here, and we have this Pick Whip. Now, this pick whip, it allows you to parent
one object to another. So it'll take all
the properties of the parent object and
apply it to this object. So we're going to click on that, and you can see when I pull it this little line comes here. If I hover over in object one, it's going to take
the properties of in object one and apply
it to the out object. And I'm going to see
how it's working. You can see the cloud
sort of moving at the same rate as
the noodle bolls, and the expression is
also applied to it. Now I want to hide, you know, the second half of
the in object and the first half of the
out object using masks. So I'm going to go
to my in Object. I'm going to try to find
my Track mat options. You might have to toggle. There might be a toggle
down here if you can't see it and find the track mat. I'm going to go to my
in Object track mat and go to in mask. Okay? That hides
everything after that. It contained within that mask, and I'm going to go
do my out object, Matt, and I'm going to do out
mask, as you can see here. Now, if I just zoom
in slightly and I hit space on my keyboard to
play, wow, look at that. Now we have a
transformation from noodles to a cloud,
which is really cool. All right. And then it perfectly loops at the four second
mark back to the beginning. Great. All right. I'm just
going to save it there, and we will continue our animation process
in the next lesson.
5. Animating the Blink: Now, to give our animation
a little more character, as the objects are
passing through, we're going to make
the red light blink. So how we're going to do
that is we're going to duplicate the blinker layer, and we're going to do that doing Control or Command
D with it selected. Now we have blinker
one blinker two. To blinker two, we're going
to apply an effect to it. So we're going to open
up our Windows panel, and we're going to find
the effects and presets. And it opened up over here. I'm just going to move the
dock the panel over here. And I've already
searched for glow. So you can find glow
here and I'm going to apply it or drag it onto
blinker number two. Now you can see that
something happened over. Now, I'm going to drag over this control panel just so
we can see what's happening. And nope, it's all right. All right. So we have
this object here, the blinker, and a glow
has been applied to it. So there's a lot of
different things that you can do with effects. So play around with it and
just see what they can do. Maybe increase the glow
radius, the glow intensity, make it brighter,
glow threshold, see what that exactly does. Maybe I like that a little bit more, and that will be okay. So you can play around with everything to see what they do. But for this case, we're just
going to have it like that. Now, we want to make this
sort of blink in and out. Now, how we're going to do
that is we're going to find the markers at which
we want to animate it. We want to animate a full loop between these two key frames. So the first keyframe, I'm going to apply a marker. By clicking the Asterix
on the number pad, you can apply a marker to either the layer or if I
have no layers selected, let's just deselect all layers, and I hit the marker, it'll
apply a marker to the top. That's what I'm going
to do. Now, I know that this layer is
20 frames forward. So if I hold Shift page
down and hit that twice, now it goes to the
exact 20 frames, and I'm going to
hit the asterix on my number pad and
create another marker. If we don't have a number pad, you can go to layer markers
and add a marker there. Now, between these two objects, I'm going to animate this Blink. Now, what I'm going to do is I'm going to animate the opacity. So I'm going to hit T on my keyboard with
blinker two selected, and I'm going to start at the first keyframe
with a property of 0%. Now I'm going to
hit the stopwatch in that layer to
make a key frames. Now I'm going to hold Shift page down to
go ten frames over. Now, in the middle,
this is where I want it to be at full opacity. So I'm going to hit 100%. And then all I'm going to
do is go to the next one, shift page down, and I'm
going to go back to 0%. Now you can see what's
going to happen here. Now one blink. Now I can
set it up as a loop. So I can alt click
on that stopwatch, go loop out, hit Enter. And now what's going to happen is from the first
keyframe to the last, it's going to keep
blinking in and out. Now, that works pretty well, and I like that, but I want it to be more
like a flash and fade. So instead of
transitioning 0-100, I wanted to go only from zero and 100 here
and then fade out. So how I'm going to do
that is my first keyframe. I'm going to right click and I'm going to go toggle
hold keyframe. Now, it's going to
hold that value 0% up until it hits
the next key frames, and then it's going to
hit 100% immediately, and then it'll transition
back down to 0%. And then it'll hold,
and then it'll flash. So now, instead of doing
smooth in and out, it'll be a flash
then fade, flash, then fade. Boom, boom, boom. So if I zoom out, you can see
exactly what's happening. Again, all of these
effects are customizable. So if you wanted to reduce
the opacity of that or the radius or the glow
intensity, you can change that. Great. Alright, that's
how we animate our blink.
6. Animating the Icons: The The next thing that we're going to
do is we're going to animate this screen icons. All we're going to do is
we're going to push them out a little bit and fade them 100-0% as they push
out. So pretty simple. So we'll click on
our screen icons, we'll open up the
position property, hold Shift to open up
a second property, Shift T to open up
the opacity property. And now what we're going
to do is we're going to set the two key frames. We're going to
position it there. We're going to set the
position and the opacity. Now we're going to move forward. To our marker, and now
we're going to push it out, so we're just going to drag it out just a little
bit, like that. And we're going to change
the opacity to 0%. Alright, now let's see
what that looks like. Cool. Alright, so that
looks not too bad. We're going to play around
with the speed a little bit. So I'm going to select
all my key frames. I'm going to right click and go keyframe assistant and
apply an Easy Ease. So that'll make it sort
of go in slow slow. Now, to make this more apparent, I want it to start
in really slow and then speed up as it
gets to the end. So I'm going to open up my speed graph here,
my graph editor. I'm going to make sure
it's on speed graph. I'm going to select
those two key frames, and I'm just going to pull
this first one forward. And now it's going
to start really slow and then speed up. And then I'm going to pull that one all the way
to the end so it speeds right into
the end. Like that. All right, I'm going
to exit out of that, and we'll just see
what that looks like. Boom. Boom. Okay? Not bad. Now, just like our other ones, we're going to loop these ones. So I'm going to hit Alt on
my stopwatch, Alt click, and I'm going to type
in loop out, hit Enter, click on my opacity, Al click on my opacity, Loop out, click,
exit out of that, and we'll see how that looks. Maybe not the best.
So maybe we do need to extend these a
little bit more. So we're going to go shift
page down, one, two. Let's see if that'll
loop properly. Maybe it's got to go to
zero a little earlier. Let's go to zero
a little earlier. Changes to value graph. Good. Okay, I think
that looks okay. So play around with
those graphs settings to see if you can change
anything, play around with them. Otherwise, just set it up as a straightforward
movement and opacity. And yeah, just have
some fun with it, see what you can do.
Just go to save that.
7. Adjusting Your Composition: Okay. In this section,
we're just going to create a new composition and
maybe move things around, play around with
it and see if we can make it a
little differently. Okay, so the first
thing that I'm going to do is I'm just going to duplicate the
transformation machine. I'm going to hit Control D,
and I'll make a third one. So if I open up that one, we can play around
with this one. I'm going to go to the
composition settings, and I'm going to change the
composition settings from 1920 by 13 50 by 1080 and 13 50. So it's a four by five ratio. And now you can see that fits in within my border that I made, and you can see
how it looks now. That's really cool. All right. So let's save that. Now I
have transformation three. We can hide that frame around the border or we can keep
it there, change the color. I believe if you wanted to, you can change this. You can go create shapes
from vector layer. And if you wanted to, you can
increase the stroke width. And there you go. You got a cool little framed
illustration with movement, which is really fun. Now, if I wanted to duplicate
this whole object here, this whole animation,
all I'll have to do is I'm going to
duplicate it again. And as you can see, I'm
making many duplicates just so I have
different versions of them that I can go back to. Now, make sure I double click
into the fourth one because any changes I made here won't be applied to the third
one over here. Now, I'm going to
see my frame here. I'm just going to lock that one because I
don't want to move it. The frame, lock that. Blinker, I'm going to
move this one in object. All these ones, I'm
going to select now. So I'm going to select
all these layers. And what I'm going to do
is I'm going to precompose them into one layer. So I'm going to go precompose. Precompose one, I'll just
say transform transform. Now I have this layer. Now, if I move it around,
actually, before I do that. Let's reverse that
because I need some extra layers. I
need the actual machine. Let's see where the machine is. I need the machine and
the shadow as well. I don't need the
background though. So I'm going to select
everything from here on, and I'm going to
precompose those. So I'm going to go precompose
transform, there we go. Now I can move that around
anywhere and it keeps that. So I'm going to keep
it there, and I'm going to duplicate
this transform, Control D, and now I can
move it somewhere else. So I have another machine.
I'll put it down here. So I have two machines
sort of working together. Where do I want it down here? Yeah, I can overlap it. And then I'll do
another one, Control D, and then I'll move it up here, but I'll move this
one to the bottom, so I'll just There you go. Over top, like that. And this one. Yeah, there we go. So now I have multiple
machines working like that. Cool. So what I did is
I took all the layers that encompass this
one illustration and precompose them into one, and then I can duplicate them as many times
as I wanted to. Just remember, this composition is only as big as this frame. So if I move it over this way,
it's going to be cut off. So if I wanted to move
it over more like that, I might have to do it from my original version that
has the extension of it, and then I can move it
a little more freely. All right. And if I wanted to, I can change the
background color. Unlock, create shapes
from vector layer. And now I can change
that background layer to some other color green, green.
8. Exporting Your Project: The All right. Now that you created your
animation illustration, we are going to export it. So all you got to do
is with it selected, your transformation four or whatever composition you want, you just go to file. You're going to export
and you're going to add it to Media Encoder. Okay, when it finally pops
up, now what we can do, I like to change mine
to animated gift just so I can submit it
in the project panel, or you can change
it to your h265, you can change it to, you know, QuickTime,
whatever you'd like. But I'm going to
use Animated GIF and the Animated
GIF, Match Source. And you can select where you
want your file to go to. I'm going to hit Play. Okay. And then we can go
to our file and see it. There we go. And we have our
animated gift. Looks great. Looks really cool. The amazing
transformation machine. Awesome.
9. Thank you!: Hey, guys, I just want to say thank you for taking the class, and I really look forward to
seeing what you guys create. If you create your
own class project, submit it in the Project panel, and I'll go through it and
I'll give you any feedback. If you enjoy the class, please
consider leaving a short, positive review of the class. It helps engage more students
like you to learn together. If you like learning
with me, please consider checking out my
profile here on Skillshare with an assortment
of other classes and more Isometric
move mini classes that you can create more class projects and get
into it'll be After Effects. Thanks again for
taking the class, and I really look forward
to continuing with you on your creative
journey. See you later.
 Kyle Aaron Parson, Graphic Designer and Illustrator