Transcripts
1. Introduction: Hi, I'm Lyndon Eller. I'm a mixed media artist, illustrator, and art educator currently living in Vermont. I love sharing skills
with others to help them explore their
own creative world. Many students have shared
that my voice is soothing and calming as I do like to incorporate a mindful and
therapeutic approach. In this course, you
will learn how to move your hand intuitively,
lines and marks. Practice self acceptance. Use basic watercolor techniques. Approach, collage with
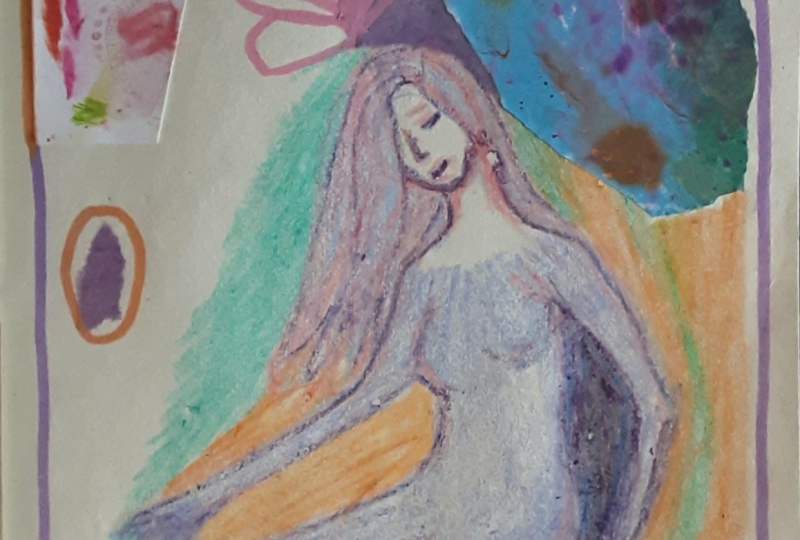
curiosity and playfulness, create several variations of figures that represent
different emotional states. This class is based on a
series of 50 plus works that I created for an exhibition
called Let Happen. I really feel that it's rooted in a quote by Random Marina L, Let everything happen to you. Beauty and terror,
just keep going. No feeling is final. I really feel that
series came out of honesty and necessity. Exploring the simplicity
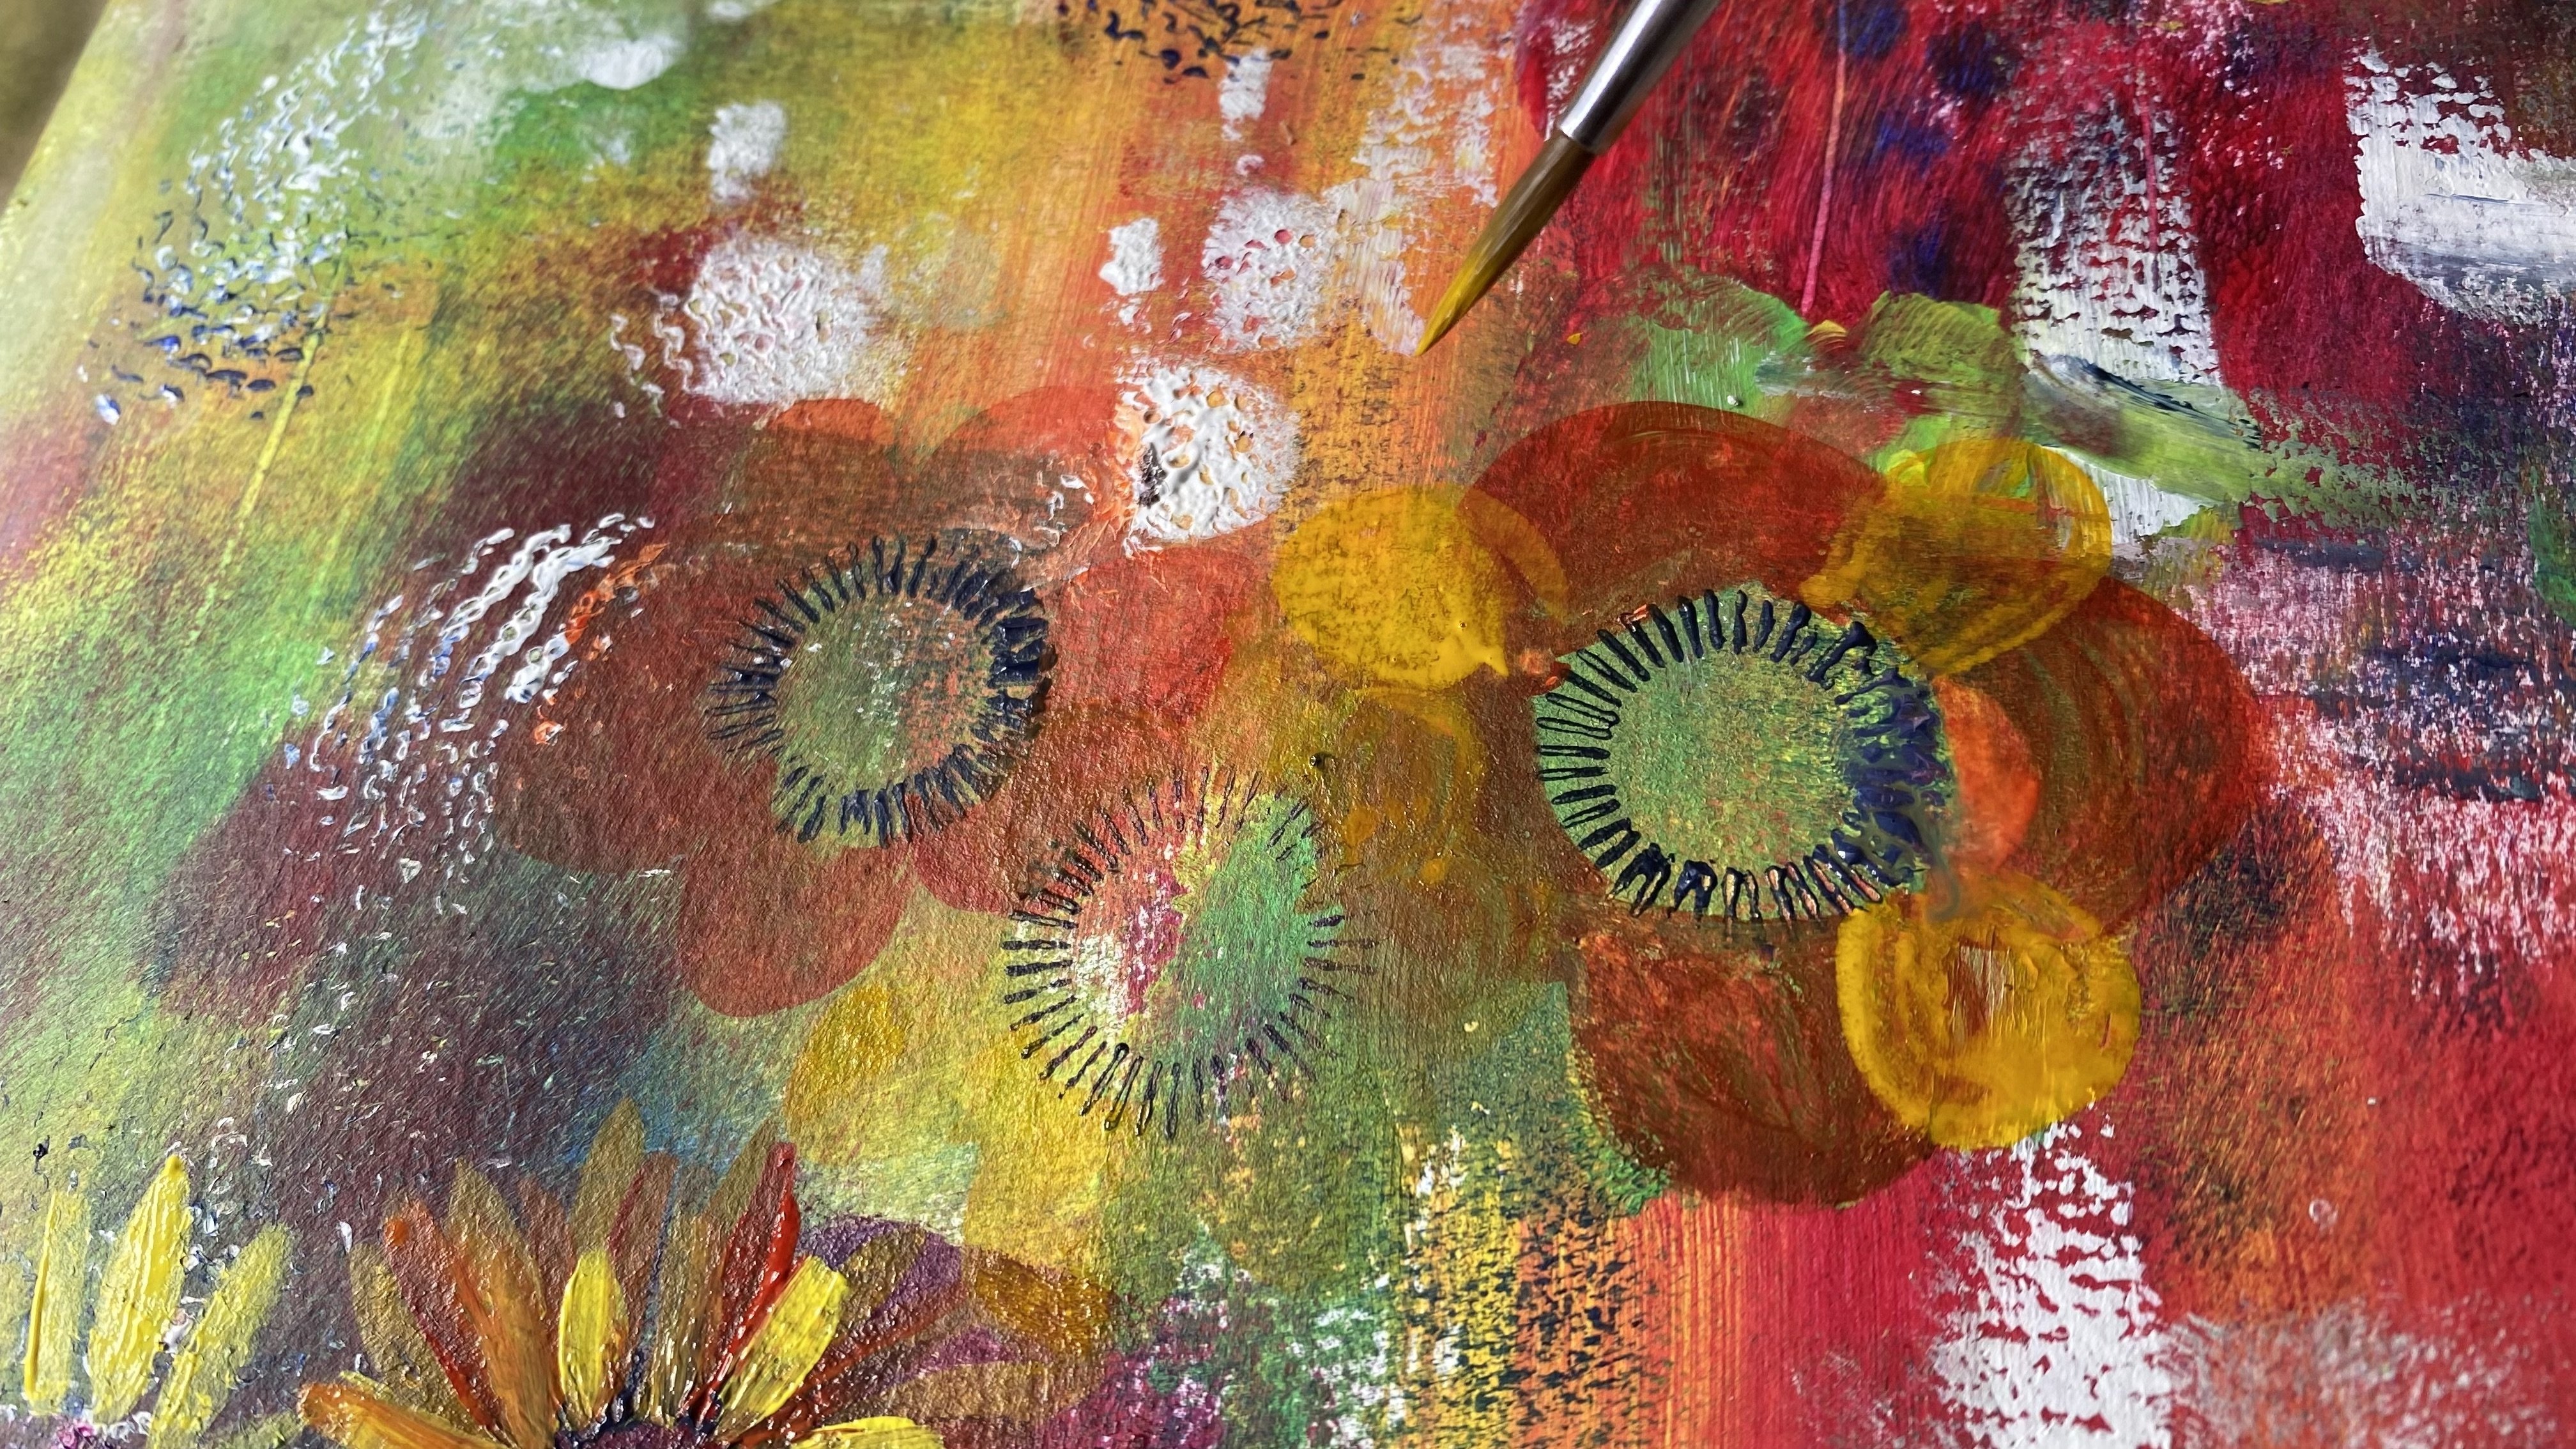
of elements like space, form, shape, and line. We're going to combine collage,
paint, and illustration, and really activate
our intuition and trust in the process.
2. Preparing your materials: For this project, you
will need some paper. I'm using some heavyweight
watercolor paper. Mixed media paper
will also work. I've cut it to a
six by nine size, but really any size
paper you'd like to work on, some watercolor paints. These are case for making
paints which I really love. Anything Will brushes, I really like to
use round brushes. Their versatility
in line weight, two different sizes here, 12.4 But again, any brushes you have will
work for this project. Some scissors. Again, I really like
smaller scissors as I feel you have a little
more control when you're cutting your collage
elements then any other medium you
want to incorporate. I have some pastels, some colored pencils here. You can also grab some markers. Really just any other
mediums that you'd like to add in some
final details. At the end, a little pile
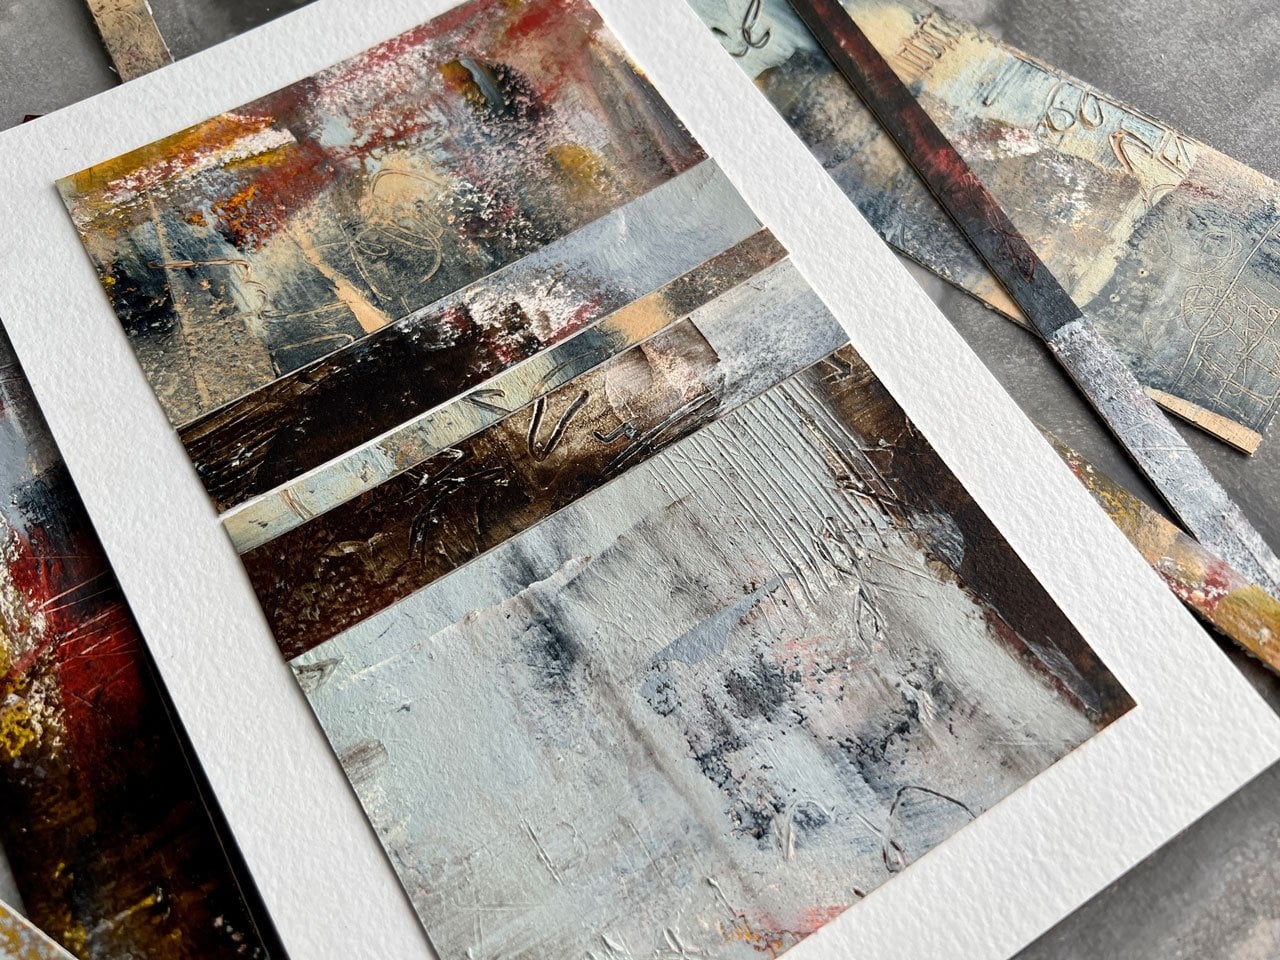
of some collage papers. I have some plain color paper, some tissue paper here. A variety of papers
that I've kept, some patterns, some are old
palette paper I've cut up. You can use photographs, you can use maps, book pages. Again, really anything
that you have in your collection or
nearby, and a glue stick. That's the last thing.
3. Warm up intuitive line exercises: Go ahead and grab either some sketchbook paper
or just another sheet of your watercolor paper
so that we can warm up with some intuitive
line exercises. I have my brushes, my water, my play paper, and my paints. Go ahead and just choose
one of your brushes. Dip it in your water, and give it a nice swirl
and a color of your choice. With water color, it's all
about pigment to water ratio. The more water you use, the lighter the color will be. The more pigment you
get on your brush, the darker the color will be. We're just going to hold
the brush really loosely, make sure our wrist
is really loose. Press it down. Just
wobble, wobble our wrist. No real expectation of
what the line should look like, just wobbling it. Now you see I've moved my fingers all the way
up towards the tip just to see what that
feels like to hold the brush at the very tip. Have a little bit less control. I can see I'm running
out of paint there, so I'm going to
reload this time. I want you to hold it down at the bottom with
a little more control. And press on that
brush and then lift up slightly and, and, and up. And that's just a
nice little exercise to see what you can do
with a single brush. Have variation your line width. I'm going to change
colors just for fun. I'm going to try out a
different color here. Let's just pretend
we're going to paint a face really intuitively. We don't have a plan of
what it will look like or where we're going
to place the features. Let's just start
with oval shape, overlapping on some of my
other lines here. That's okay. This is also a great
opportunity to think about figures and portraits
in more simplicity. Don't overthink it, it
doesn't have to be realistic. You can really allow and welcome whatever marks you think
could represent eyes, or nose, or mouth, or a hand, a leg. They can be your unique
interpretations. The reason I like to do this is just shows you that you can, often we get really
stuck in, well, I don't know what
I'm doing or I don't know what I want it to look like or what it should
look like or it's supposed to look like. This. One thing I
think by sometimes just exploring where our brush takes us with a
loose concept of, yeah, I think I'm going to
maybe draw some hair in a face when we just
see what happens. We can have a lot of really
delightful surprises. And if anything, it just proves to us, oh
yeah, I can do that. That wasn't so scary. Maybe just intuitively
play with no plans, no expectations of this face. Right. We're going
to, you can crumple it up and put it in your trash can if you want to after this. Um, it's just kind of nice
to not have any pressure. So I'm going to switch brushes, and you're welcome to
just switch through your brushes as you're kind
of warming up and playing. I'm going to switch
colors again. Let's choose another
subject matter to just intuitively and boldly place our brush down and see
what form it takes. You could choose anything. You could choose a vase of
flowers in front of you, or the tree outside your window or an
object near your desk. What would some
flowers look like? If you just put your
brush down and moved it? Would there be leaves? Would there be stems? Would there be extra lines? It's a little more scary not to have anything
in front of you that you're just in drawing from a pure place of
movement that can feel a little more scary if you do just want to grab
an object in front of you and then just intuitively follow your eye and
move your hand. If that feels a little
more safe for you, you can try that as well. I would say spend
another few minutes in this exercise state where even if you're just doing lines, maybe you do your hand or you're just moving your
brush and seeing how it feels, seeing where it takes you when after a few minutes, you feel nice and loose and you've hopefully just
gained some trust in your hand. Again, you can rip
this up though. I encourage you actually to keep any exercises
that you do for collage because they can be really repurposed
in a beautiful way. Even if you just, you cut
out some of the shapes and the lines and then they become pieces that you can work
into a future artwork. Now if you want to
turn your paper over, what we can do is
try to apply what we just practiced and
learned into a figure. Again, we're moving intuitively. We are reserving all
judgment for our lines and ourselves just encourage
you to think about an emotion or the position that conveys something
that resonates for you. In a lot of my works, I did a figure
covering their face, but we all know the basics
of a figure is arms, legs, face, hands, and try to let
go of any idea of proportion. I'd say almost the more raw
and quick and trusting, the better, the more
expressive they'll be there. True, they'll feel.
I started with this curved line for
the back because I knew I wanted someone arching. I'm not sure where I'm
going with my figures. I know I need a head. This heads be one arm is
sneaking through here. I'm always reloading my
brush when I need it. Maybe I have the
other arm out here. Arms are out, and that's it. You can always add
hair if you want to, but that can be
your whole figure. I would try a few
of these again just so you shake out all that fear. And you try a few
different positions, get a little wild. If it's easier, you can hold image in your
mind or position in your mind as your painting started with a head and some
hair falling back there. Again, it's going to be
awkward because I'm not quite even sure where I'm headed. I'm doing kind of
a seated figure. I have a hand coming up here reaching out to overlaps. You can try again.
Different brushes work with some different colors
and see what you enjoy. You make them weird, make them, you know, crouching
and awkward and just don't be afraid
to try something. Even if you go off the
page, that's okay. So I leave my faces blank. If you want to add some features like we did with the face, you can or some extra
lines for hair, you can do that as well. But I would urge you to just
keep it relatively simple. There might be a
figure that you paint that you're really struggling
because you don't like it, you don't like where
the lines took you. That's okay. That's fully okay. I think naming that can be
really helpful. Just acknowledging. Hm, I
don't think I like that one. Or maybe looking, searching through the figure
and finding one area that you do like and naming that you can spend a few
minutes reflecting on. Why is it that I'm
uncomfortable with this figure? Why is it that this one worked? I think that's really
how we learn and how we progress is through
reflecting on our work in a really honest way and not with judgment,
just with honesty. I'd encourage you
to spend some time, do as many figures
as you want to. You can take out another
piece of paper and do some more and reflect. One other technique we can try if you want to grab
just a fresh paper for this final warm up exercise
is wetting your brush. I have just water on my brush. Only water, no pigment. I'm going to add a
figure with just water. Might be hard to
see on the camera. And you might have to reload your brush with water several times because the first layer of water might sink into
the paper a little bit. Just make sure you have water reflecting on the
surface of the paper, on all your lines. Okay, I have my figure. I'm just going to
check once more that the water is still on the
surface of the paper. Now I'm going to dip my brush. I'm using a different palette here for this blue that I have. I'm just going to
drop it in my water. This is called a wet
on wet technique. You're essentially adding
in wet pigment onto water. It's wet pigment on wet water. This is another
technique that you can use if you'd like to. You can even just
drop it in there. Just touch the tip of your brush and it will
spread through the water. Maybe here, I want to add
in green, green here. And it will just blend into the other color really
smoothly and seamlessly. You can have fun playing with this dropping in of color
inside your water lines.
4. Poem pause: But now we're going to
move on to a little poem. Before we get started,
you're welcome to keep painting and listen, what to do with this minute. Turn this minute loose, no fingerprints, no marks, no black paint
carrying your name or the name you think
this minute endures. This minute is without its name, itching to be gone and
you to live it, let it. I am an gallagher.
5. Selecting, placing & adhering collage fragments: Go ahead and get your final
artwork paper out and ready. We're going to begin selecting
our collage fragments. Grab your pile and
your scissors. The idea is that
we're going to place some collage elements floating around the white paper to give a map for where our
figure is going to go. We're holding a loose
vision of what, you know, what shape or what position, what emotion we're trying
to create with our figure. Maybe I wanted a very dynamic, long stretched out figure. I might imagine creating the
edge of a long line here, starting to shape
just a little bit. We don't want to
create a full outline of our figure, right? I might just cut a
piece and move it around and see if a form
starts to take shape. If I place it here,
I can think, oh, maybe this is my figure here. Maybe their head starts
to go up here and curve accentuated by adding another collage element there. It's part intuition and
part intention, right? We're just, we don't have a full image of how our
figure is going to look. I think leaving some room for just layering
some collage pieces. And visually enjoying each of them and how they're sitting, how they're interacting
with each other, and just sift through your pieces and see
what you're enjoying. I might place this
here and really like how it connects
with these pieces, but I have no idea how my figure is going
to interact with it. And that's okay. You
can rip or you can cut. Okay, cutting is going
to give you a cleaner, more intentional line, but ripping is going to give you
some really nice texture. We're almost creating
an abstract composition with a very loose idea of leaving some space so a figure could interact
within these collage pieces. It's always great to keep collage papers that you've
cut out of and to keep those negative spaces because those can create an interest in an accidental curiosity
in your artwork. I'm looking at this
line, this contour line, and wondering maybe
that's a finger there or yeah, I'm not sure. Definitely play for
a few minutes or longer as long as you want to. You enjoy to keep it simple. Keep it minimal.
Don't overthink it. It's just part of the fun. Then we're just going to glue a simple glue,
stick our collage. Sometimes you have
a few layers of pieces and I just take a mental
image of where they are, knowing that they might not go back exactly in the
place I had them. And accepting that's okay. Sometimes I find that the second time
they're placed is even better than the first. When you're gluing, you know, just make sure that you are adhering the glue on all
of the edges of your paper. After you have your
essentials placed down, I may want to just
add a pop of color. A little extra piece
here or there. Now that I'm envisioning
my figure moving up here. Maybe a hand is going to fit in this little area and
they're scooping down here. Now I can add on just
some extra little pieces to make it a little bit
more visually interesting. These are all fragments that
I've just saved over time. I think this is
my son's artwork. He was just
scribbling on a paper one afternoon and
there was nothing big. Just really small. But I just cut it up and
kept it nearby. Anytime you go to
throw something away, maybe just pause and double
check if there's something interesting that might
be there tucked in a corner that you
could repurpose. I always love including
transparency in my work. You can see the tissue paper created a little transparency. I might add some
one other place. I just find that transparency immediately adds
depth to a piece. Okay, so now we are ready to
begin painting our figure.
6. Painting your figure: This is the big moment. I always like to shake, shake out my wrists and give myself a warm
word again to just let go of any idea of creating these perfect
lines or perfect figures. Really accept whatever
marks flow out of my wrist, my hand, my brush,
how the color looks, I'm going to fully accept it. That to me is a part of the beauty of practicing
these intuitive figures, these lines, without
any sketches, any idea where we're headed. I think it's a huge parallel to life and just
really good practice. Let it be joyful,
let's go for it. I'm going to choose
my color again. I know that I want
my back to go here. I'm actually not going to paint a line if I'm using the
collage as my line. If this isn't the back of
my figure or the head, I'm going to start my
line at the top here. Okay? And I'm going to let this line at the edge of
the paper be my line. Continuing down had envisioned curving around here
and adding a leg. I'm going to add
another leg here. Thought about having an arm come down here, maybe in here. I just want to add some awkward little lines to show that that's
a hand there. I just need a line to
come down and connect. Oh man, that's so scary. There's my figure ended up
kind of being a seated figure. Yeah. Now I can
decide if you want to put in some eyes
or nose or mouth. You can kind of like the idea of framing the face
with maybe some hair. That's the scariest part, You did it, you have a figure.
7. Extra marks & details: And something we can do now. We can add on a few
watercolor blooms. I'm looking around. Where would be a nice area
for one of these blooms? Maybe I'll add one down
here in this corner. I'm going to add some water to the paper where I
want to add this bloom. Then I'm going to just dip my brush in whatever
color I'd like. I'm just going to touch
my brush with the pigment into the water and it's
going to start blooming. And I can always go in, wipe off my brush, and even
add on some more water. There has a very
material soft effect. Really just remembering to enjoy myself through this
process and let myself be delighted by certain
effects and certain of the way the paint can move
or the way my brush feels. These are some final
details really, that we're adding on right now. In addition to adding
some extra water color, you can also bring out your colored pencils
or your pastel sticks. I really love these
really chunky oil pastels and they just leave really
nice textural marks. I might just add on dots, overlapping onto the figure, give some repetition some
texture in my piece. Now we're considering color, bringing everything together. I'm looking at this really
wonderful little pink spot and he really wants something
else that's a little warm. To connect to this piece, I might just add a line there. Very intuitive. Again, not really
overthinking it, but still giving it a
little bit of thought, a little bit of intention. Something that I find always feels good is a little scribble. I really like to do my
scribbles with a little pastel. This is a soft pastel stick, you really have to learn
what materials you enjoy. I like these alcohol markers because they really
also give a sense of transparency when
you're overlapping them with some collage or
something else beneath them. Just adding on
these final shapes, lines marks on the top layer. You really felt like
you wanted to add another collage piece frame. Something like you
really want to add a frame to
your foot or play. Bring back out your collage
and cut a few pieces and see if you want to add
on a piece or two more. After you've added your final
marks, then you're done.
8. Variations: Another approach is reversing the order and creating your figure first and adding
the collage around it. I find that this is
not as intuitive. It's a little bit more
intentional and a little less of a practice in self acceptance
because it's not as clumsy. It's not as awkward because you're not
confined by the collage. But I'd love to try
one with you that way, if that feels like a
better path for you. So let's say I wanted to do again something with
some longer hair. Maybe I really wanted
some wild arms that come up again. I'm just drawing arms and
lines completely loose. Don't even know if
really this body is making sense in a
traditional format. This figure is a
little more floating. Now from here, if I want to, I can go in and start cutting some collage to fit
around my figure. I might even have some pieces
that are pretty close. Maybe I start with those where
I can find a nice match. Let's say I have this piece and I really
want it to fit in here because we're working in reverse and
we're trying to fit our collage to our figure. I like to hold it down
and then do some P, where P up, I'm searching
for the line as I cut, knowing it's not
going to be exact, it's trial and error and you correct things as
you go and as you cut. I would suggest waiting to glue until you've
significantly explored all your pieces and
move them around and decided that they are going to stay where
you'd like them to be. Just this process of picking
up some collage pieces, laying them down, and then laying them on
top of the lines. And just lifting
them up and peeking. So you can snip, snip, snip your way into creating them to be a puzzle piece
to fit within the lines. Then you can adhere your pieces. You can even adhere some of your pieces and then add more. You can decide how much you want to overlap your line here, you want to fully overlap it, maybe you want to
partially overlap it. It's really up to you. I like
to leave my figures empty inside and really keep that bold negative space
of the figure empty. But you are welcome to fill in the body with color however
you'd like to fill that in. I find that if you do
keep the form empty, the collage elements become even more important
because they're really bold in comparison with
the rest of the page, which is really empty, white space and your lines. I find that what
you're choosing for your collage can make a loud statement in
your composition. And that's just
something to think about as you're
laying them down. You can really observe
how your eye is moving, how your eye is interacting
with all of the components. You can have some fragments
going off your page and all you have to do is snip the edge off to
make a clean edge. If you haven't smiled yet during this video, take a moment. Just let go a big
breath, little smile. Then if you want to
add some of those wet on wet areas to your piece. First wetting your paper, then dropping in some pigment, just letting it float
around in there. Anytime you add something to your piece, it's
changing, right? Whether it's a block
of color or a texture, a mark, a line, a shape, it's changing your piece. That's powerful,
I think ripples. And any mark in line, you can add movement,
texture, rhythm. And a lot of these fundamental
design principles, the last final strokes and decisions can be really
influential in your piece. If you've made a mark that
tightening and you think, oh, I've ruined it, I
don't like how that feels Now try to accept it
because it's there, right? And see if you can find, if you can add
something else really. You know, again, it
can be as simple as an extra line
or a shape nearby, or a color that just
interacts with it in a way that kind of brightens it for you or changes
how you feel about it. So there's often, you know, something kind of
powerful we can do to balance out what we
consider a mistake. And I think always trying to arrive at the end of
creating something, especially a project like this, that really truly is a practice in accepting whatever
comes out of your hand. I think when you
arrive at the end, it's nice to just
look at your work with a moment of gratitude
for yourself in the process. You know, that's really where this series originated from.
9. Final thoughts: Thanks so much for joining me in this intuitive mixed media. I really hope you enjoy creating your minimal line figure
with some attic collage. I hope you had a moment of, a few moments of joy in the process and I hope to
create again with you, Sue.
 Linden Eller, Contemporary Mixed Media