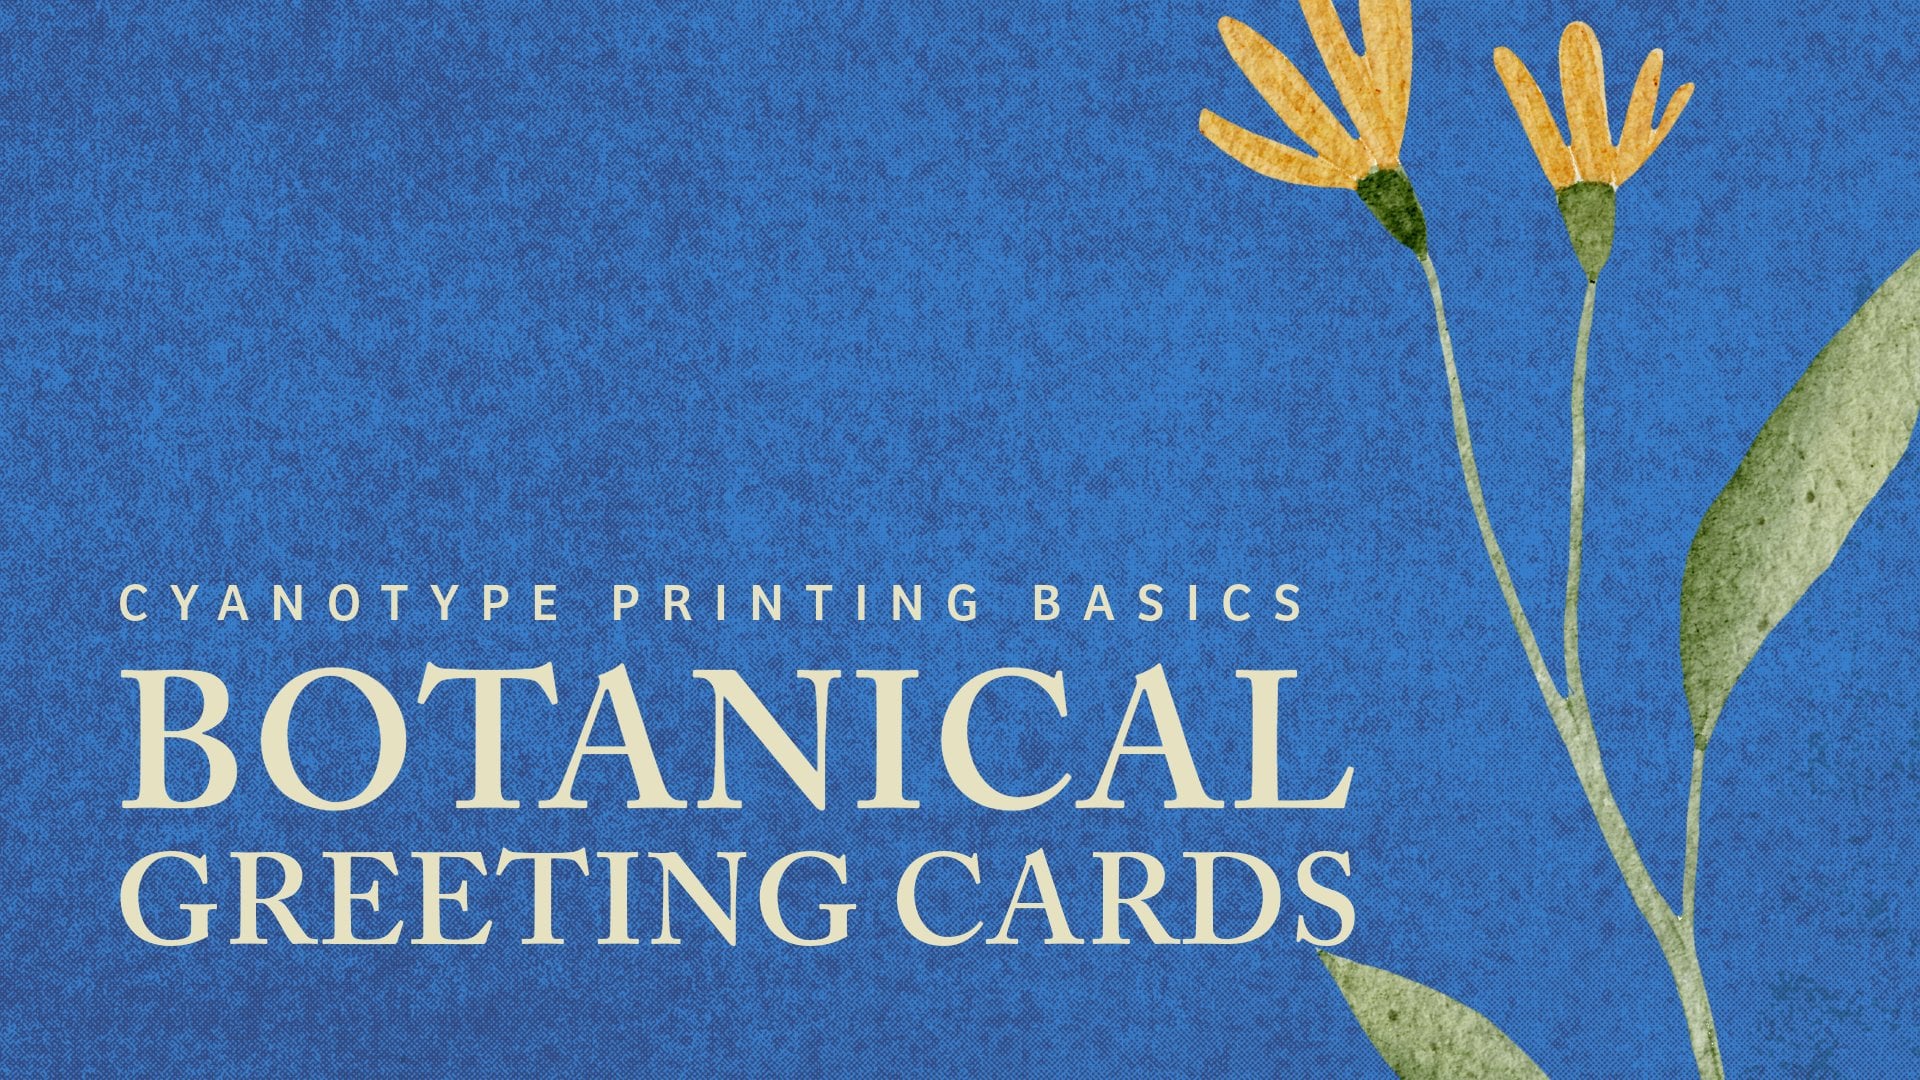
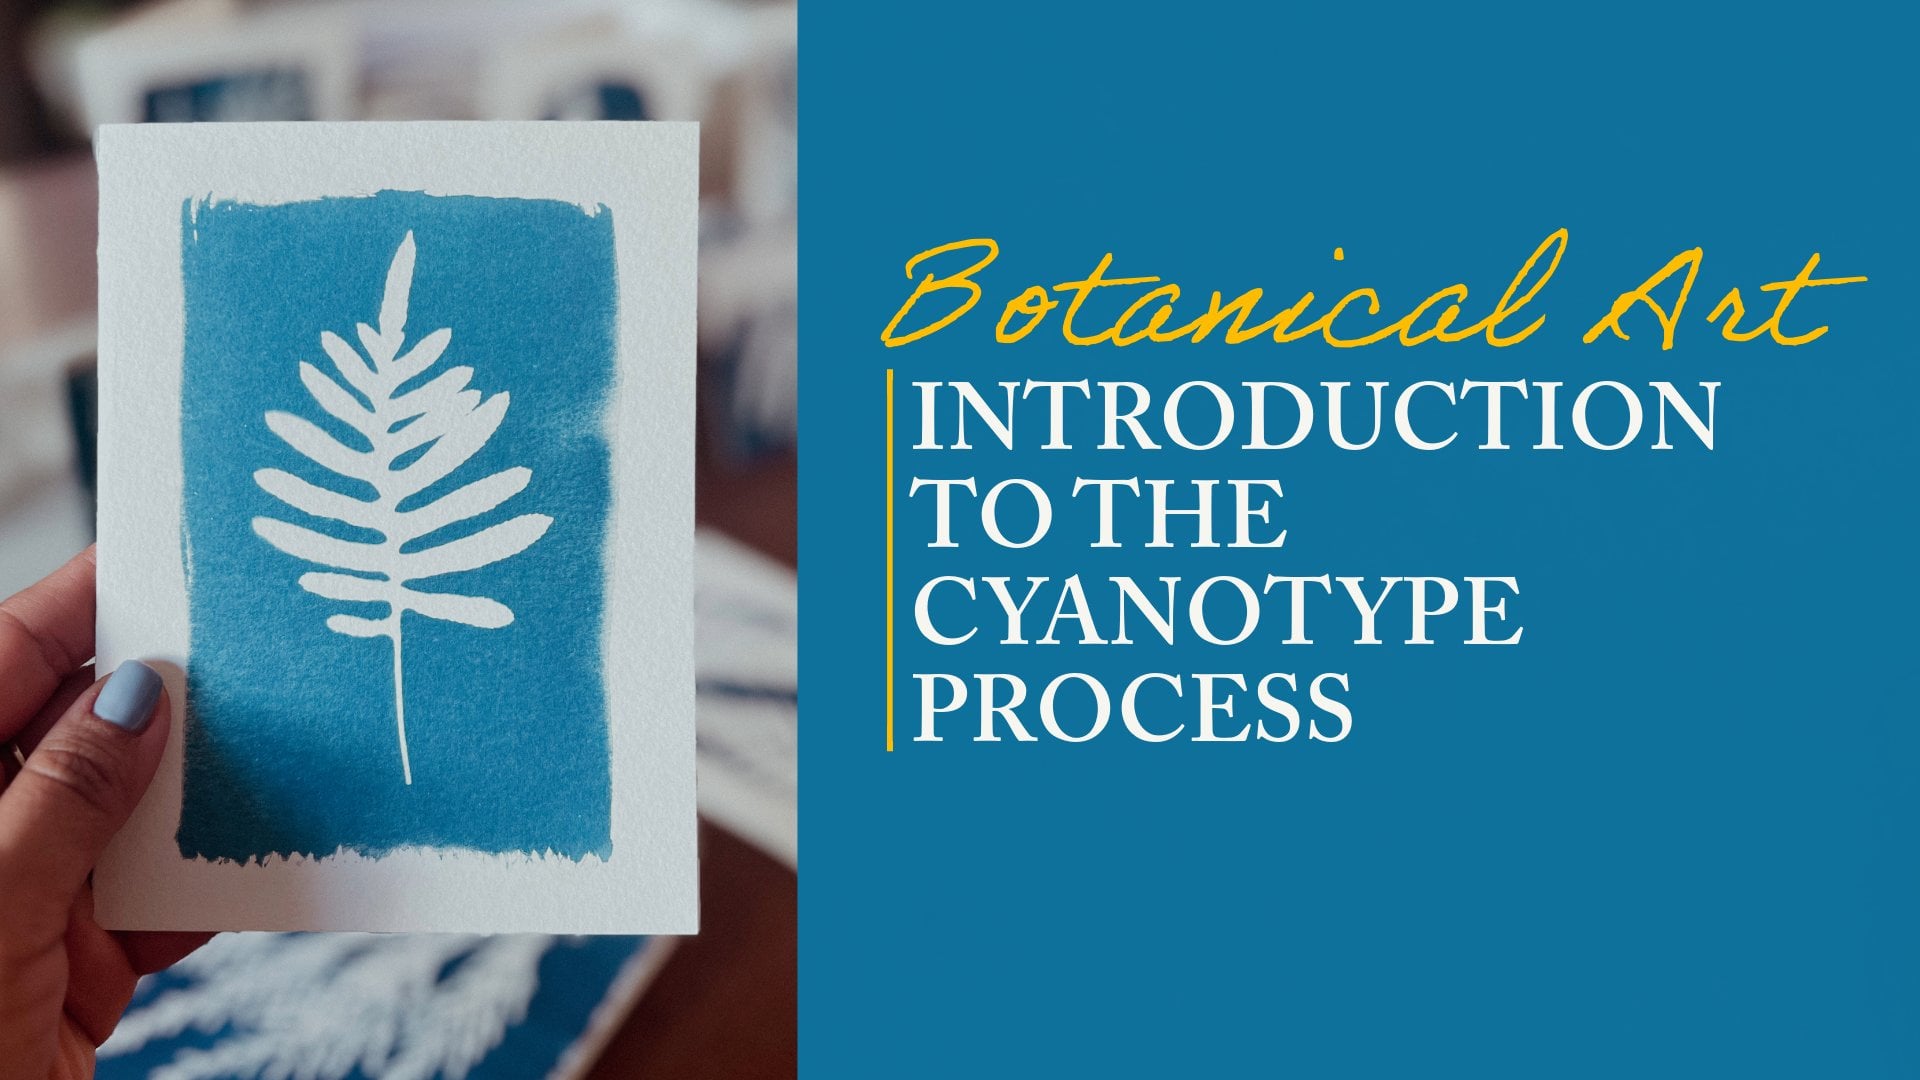
Intro to Wet Cyanotype: Creative Botanical Prints
 Diana Caragan Stinyard, Artist/Designer/Photographer
Watch this class and thousands more
Watch this class and thousands more
Lessons in This Class
-
-
1.
Wet Cyanotype Intro
1:33
-
2.
Materials
1:24
-
3.
Class Project
1:52
-
4.
Preparing Botanicals
1:07
-
5.
Experimental Additives
1:16
-
6.
Assembling the Print
1:06
-
7.
Exposure
1:07
-
8.
Rinsing and Drying
1:47
-
9.
Closing Thoughts
1:48
-
-
- --
- Beginner level
- Intermediate level
- Advanced level
- All levels
Community Generated
The level is determined by a majority opinion of students who have reviewed this class. The teacher's recommendation is shown until at least 5 student responses are collected.
22
Students
1
Project
About This Class
Step into the sunlight and discover the magic of wet cyanotype printing — a creative blend of photography, chemistry, and nature!
In this beginner-friendly class, I'll guide you through the wet cyanotype process, a playful variation of traditional cyanotype printing that uses water, soap, vinegar, and natural materials to create soft, painterly effects.
You’ll learn how to:
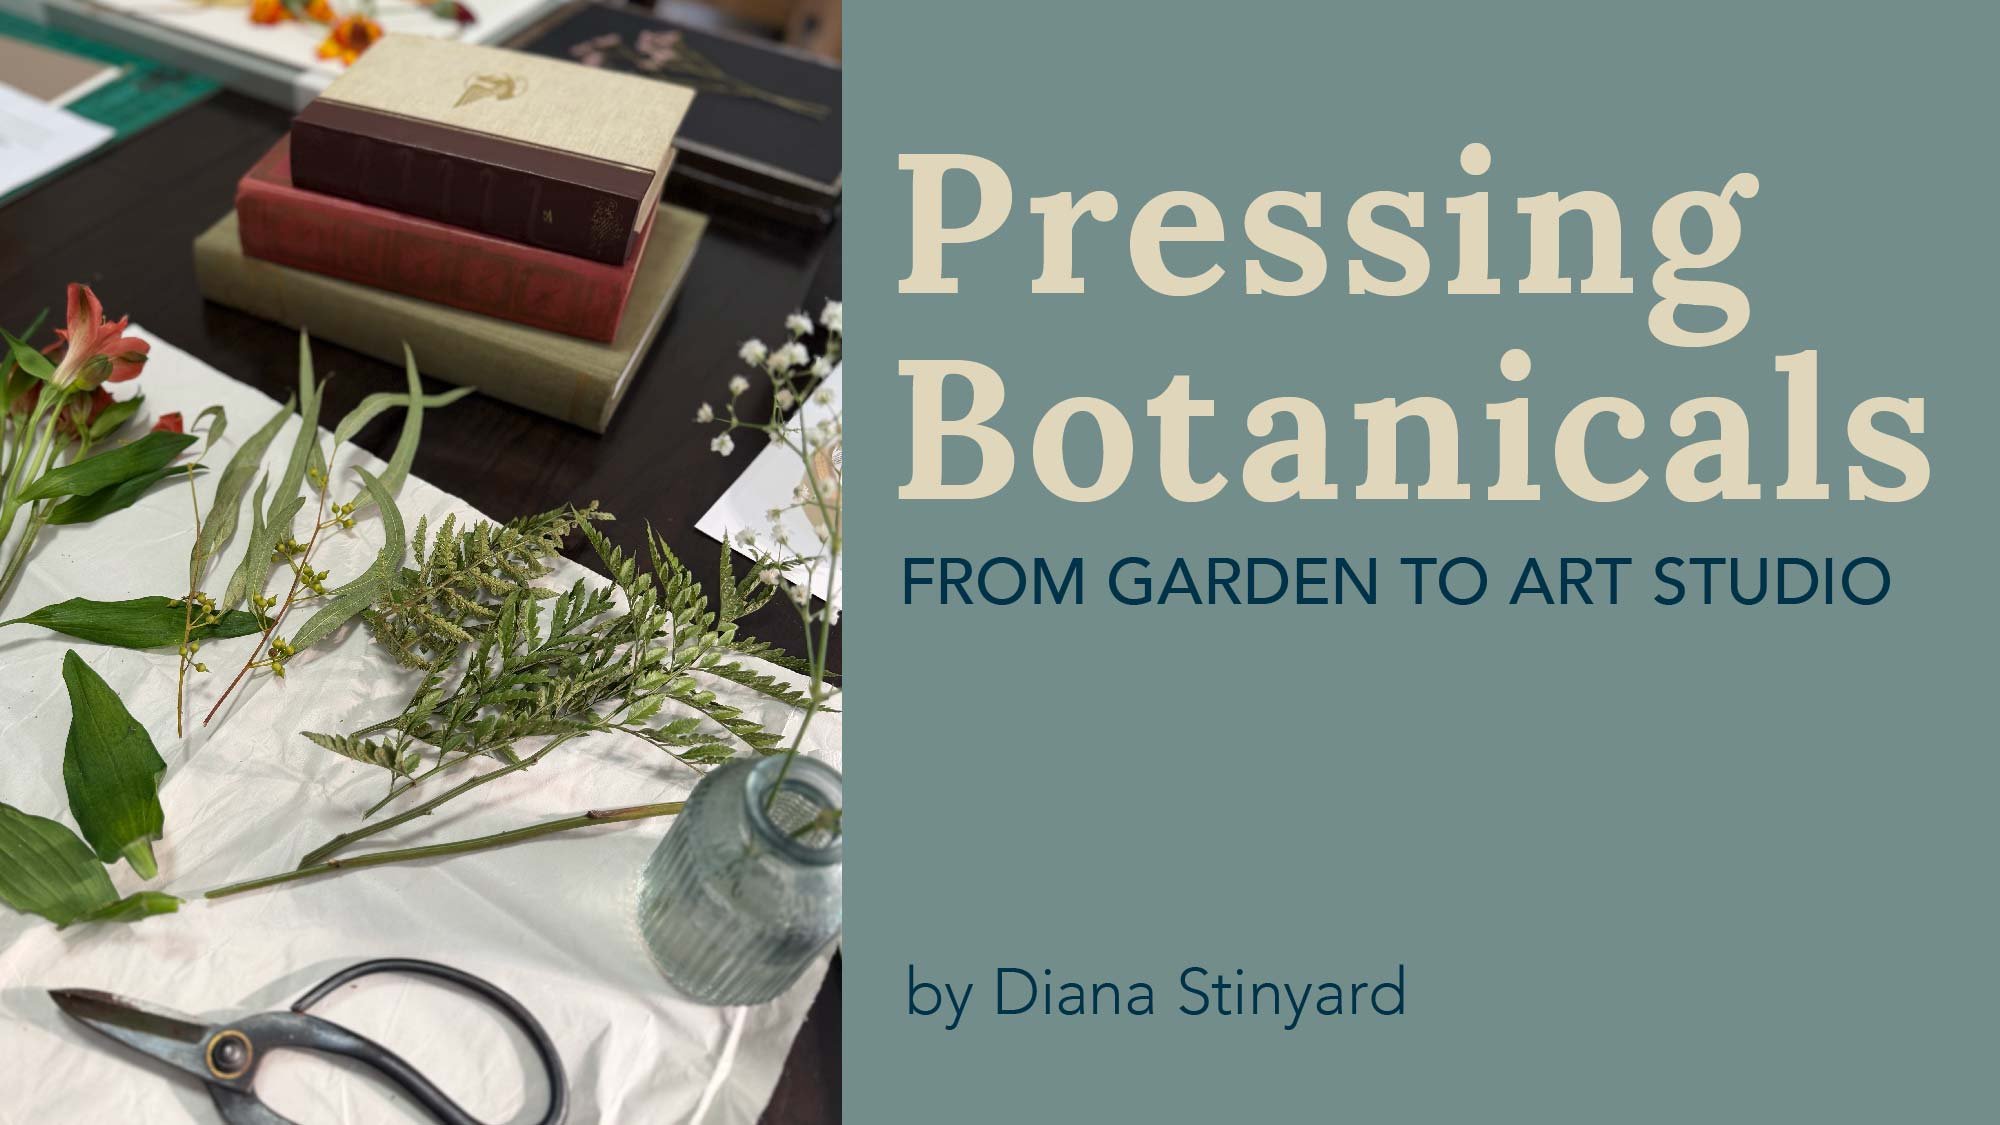
🌿 Choose and prepare botanical materials for printing
💧 Experiment with wet techniques and natural additives
☀️ Expose your prints to sunlight for rich, unpredictable results
🎨 Rinse, dry, and finish your prints for framing or mixed-media projects
This class is all about exploration and creative discovery. Each print you make will be unique — shaped by the light, weather, and materials you choose.
No prior experience is needed — just curiosity and a willingness to play!
Who This Class Is For
- Beginners curious about cyanotype and alternative printmaking
- Artists, photographers, or nature lovers looking to experiment
- Anyone seeking a relaxing, hands-on creative practice
What You’ll Create
By the end of this class, you’ll have your own collection of botanical blueprints — expressive, one-of-a-kind cyanotype prints that capture the delicate details of plants and the unpredictable beauty of sunlight and water.
Materials You’ll Need
- Cyanotype paper (pre-coated or hand-coated)
- Botanical materials: leaves, flowers, grasses, ferns
- Spray bottle with water (optional: add vinegar, soap, or turmeric)
- Glass or acrylic sheet, binder clips, cardboard
- Running water for rinsing, basin
- Gloves and apron (optional)
Meet Your Teacher

Hey there, I'm Diana, a fine artist, graphic designer, and photographer from Texas living in South Italy. I grew up surrounded by artists and musicians in my family, so art has been a big part of my life. I love everything about creating nature-inspired art, whether designing illustrations, taking photos, or making cyanotype prints. Art has given me so much joy, inspiration, and a sense of gratification. Over the years, I've learned different skills from different projects I worked on. Most of my inspiration comes from my culture, social background, travels, and experiences in life. I am passionate about learning new things and sharing that knowledge with everyone.
Hands-on Class Project
Now it’s your turn to experiment with the magic of sunlight, water, and botanicals!
For your class project, you’ll create your own botanical wet cyanotype prints using the techniques covered in class.
Your Assignment:
- Gather your materials — cyanotype paper, botanicals, and any additives you’d like to try (water, soap, vinegar, turmeric, etc.).
- Create one or more wet cyanotype prints using what you’ve learned about composition, wetting, and exposure.
- Once your prints are dry, take clear, well-lit photos of your finished pieces.
- Upload your photos in the Class Project section to share your work with the community.
Optional: Add a short note about your creative process — what you experimented with, what surprised you, or what you’d like to try next time.
In the Discussion Section:
Share your reflections and discoveries!
- How did the weather, plants, or additives affect your results?
- What textures or tones did you love most?
- Did you encounter any happy accidents along the way?
This project is all about exploration and creativity, not perfection. Every print will be different — and that’s precisely what makes this process so magical.
I can’t wait to see your botanical blueprints and hear about your experience in the class discussion. Let’s fill our gallery with light, color, and creativity!
Class Ratings
Why Join Skillshare?
Take award-winning Skillshare Original Classes
Each class has short lessons, hands-on projects
Your membership supports Skillshare teachers
Learn From Anywhere
Take classes on the go with the Skillshare app. Stream or download to watch on the plane, the subway, or wherever you learn best.