Transcripts
1. Intro PB 2026: Pressing plants is one of those practices that
asks you to slow down. It's quiet, tactile
and very forgiving. You don't need special tools
or a lot of experience. Just curiosity and
a little patience. Hi, I'm Diana, and welcome to this class on
pressing botanicals. In this class, I'll
walk you through the entire process
from selecting, preparing and pressing
your botanicals properly. And finally, I'll
show you how to care for and store
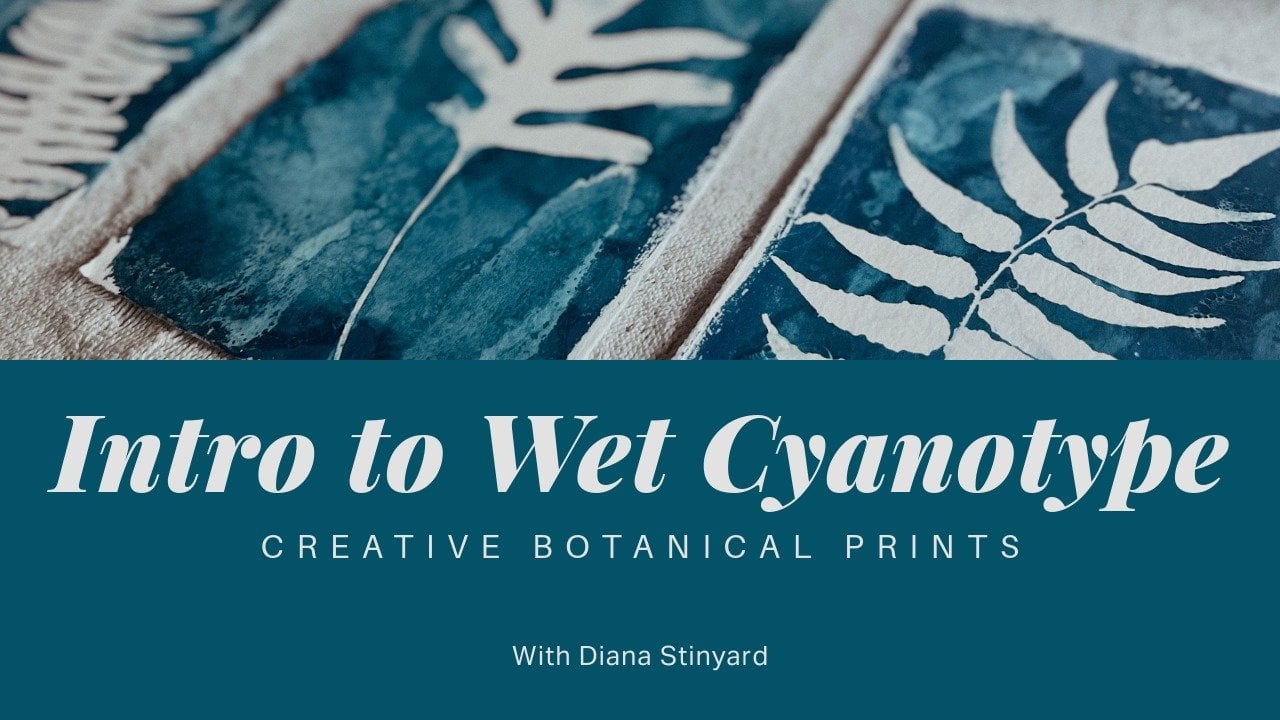
them once they're dry. I'll also show you what this pressed botanicals
can be used in creative projects such as cyanotype printing and
building a personal herbarium. By the end of this class, you'll have a small
collection of pressed botanicals
and the confidence to keep using this process
in your art practice.
2. Materials PB 2026: Et's start with materials. One of the things I love
most about pressing botanicals is how
accessible it is. Here's what you'll
need fresh botanicals, flowers, leaves, grasses. We will need some heavy
books, masking tape, a pair of garden shears, paper, pencil, and a marker. And also empty box and
envelope for storage. For optional materials,
tweezers for delicate pieces, and notebook for labeling. And that's it. No fancy
equipment required.
3. Class Project PB 2026: For your class project, you'll create a small
press botanical collection using at least three
to five botanicals. Press them and let them fully dry and store
them carefully. If you'd like to go further, use one of your
pressed botanicals in a cyanotype print or a simple herbarium page and share your results
in the class gallery. O.
4. History PB 2026: Mm. Before we begin pressing
our own botanicals, I want to share a little bit of the history behind
this practice. Pressing plants has been
around for centuries. Early botanists and
naturalists collected and preserved plants
by pressing them flat so they could study
and document them. These collections
became what we now call herbaria where plants
are carefully dried, labeled and stored as scientific
records of plant life. During the 18th and
19th centuries, pressing flowers also
became a popular pastime. People would collect
plants during walks and travels and preserve them
in books or journals. These press botanicals often
carried personal memories, marking places visited, seasons
past or moments in time. Some of the earliest
botanical books even used real pressed plants as
part of their documentation. One notable example is
the work of Anna Atkins, who used early
photographic processes in the 1800s to document
seaweed and plants. Her work helped bridge science, art and botanical preservation. Today, pressing
Botanicles continues to live in both worlds. It remains important in
a scientific collection, but it has also become a meaningful creative
practice for artists, makers, and anyone who enjoys working
closely with nature.
5. Botanicals PB 2026: Before we start pressing, it helps to understand
which botanical work best. Small thin plants like ferns, eucalyptus, and
small flowers like peruvian lily and gypsipilla
tend to press beautifully. Thicker flowers can
still be pressed, but they may take longer and
sometimes lose more color. Season also matters. Spring and summer
botanicals often have more moisture while fall
leaves tend to dry faster. I also want to mention
ethical collecting. Take only what you need, avoid
rare or protected plants, and if you're
gathering from nature, be mindful of the
environment around you.
6. Selecting Botanicals PB 2026: In selecting botanicals,
look for healthy specimens. Avoid anything already
browning, bruised, or damaged. I like to gather a variety, different shapes,
sizes, and textures. Even weeds and grasses can make the most beautiful
pressed pieces. Color is something
to keep in mind. Some colors like blues
and purples tend to deepen as they dry
while others may fade. That's part of the process
and part of the beauty. O.
7. Preparing Botanicals PB 2026: Preparation is one of
the most critical steps. Start by gently removing
dirt or debris. If needed, lightly wipe the
botanical with a dry cloth. Avoid washing with water, as excess moisture can
promote mold growth. Trim items if they're
too thick or long. For bulky flowers, you can
gently split the back of the bloom or remove extra layers to help
it press flatter. If a plant feels
specially juicy, you can let it sit out for a
few hours before pressing. This pre drying step can
make a big difference.
8. Pressing Botanicals 2026: One of the easiest ways to press botanicals is by
using a simple book. This method is very accessible and works surprisingly well. Start by opening any
page of the book, place your dry leaves
on top of the page. Make sure they lie
as flat as possible, then gently close the book. You can press more than one
botanical on the same book, as long as there are
enough pages between them, this helps keep the book
from becoming lumpier and even while the
botanicals are drying. For flowers, the process is slightly different because
they hold more moisture. First, place a sheet of
absorbent paper on the page, then gently position the
flour face down on the paper. Once it's arranged
the way you like, place another absorbent
paper on top. Then carefully close the book. If the leaves are
clustered together, you can carefully
spread them out. One simple trick is to
secure them lightly with small pieces of masking tape so they stay in place
while pressing. When you're finished,
placing your botanicals, set the book aside and
place extra weight on top. You can stack a few heavy books
or use any sturdy object. The additional weight helps
apply steady pressure, so the botanicals press
flat and dry evenly. This method is perfect for beginners and works
surprisingly well. It's also the method
I personally use to press many of
the botanicals that later become part of my
cyanotype prints. O.
9. Pressing Timeline & Care PB 2026: Most botanicals take anywhere
1-3 weeks to fully press. Check them every few days, especially in the beginning. If the paper feels damp, replace it with dry
paper to prevent mold. Once pressed, botanicals
become very delicate. Handle them jettly. Ideally, with tweezers
or clean dry hands, keep them away from humidity
and direct sunlight, which can cause fading. If a botanical curls slightly, you can repress it for a few
days to flatten it again.
10. Storing Botanicals PB 2026: For storage, I recommend
using clear sleeves or sturdy envelopes and
empty flat boxes. Ledling is optional, but I
love noting the plant name, date, and where
it was collected. Over time, this becomes a beautiful record
of your practice. Store everything flat
in a cool dry place.
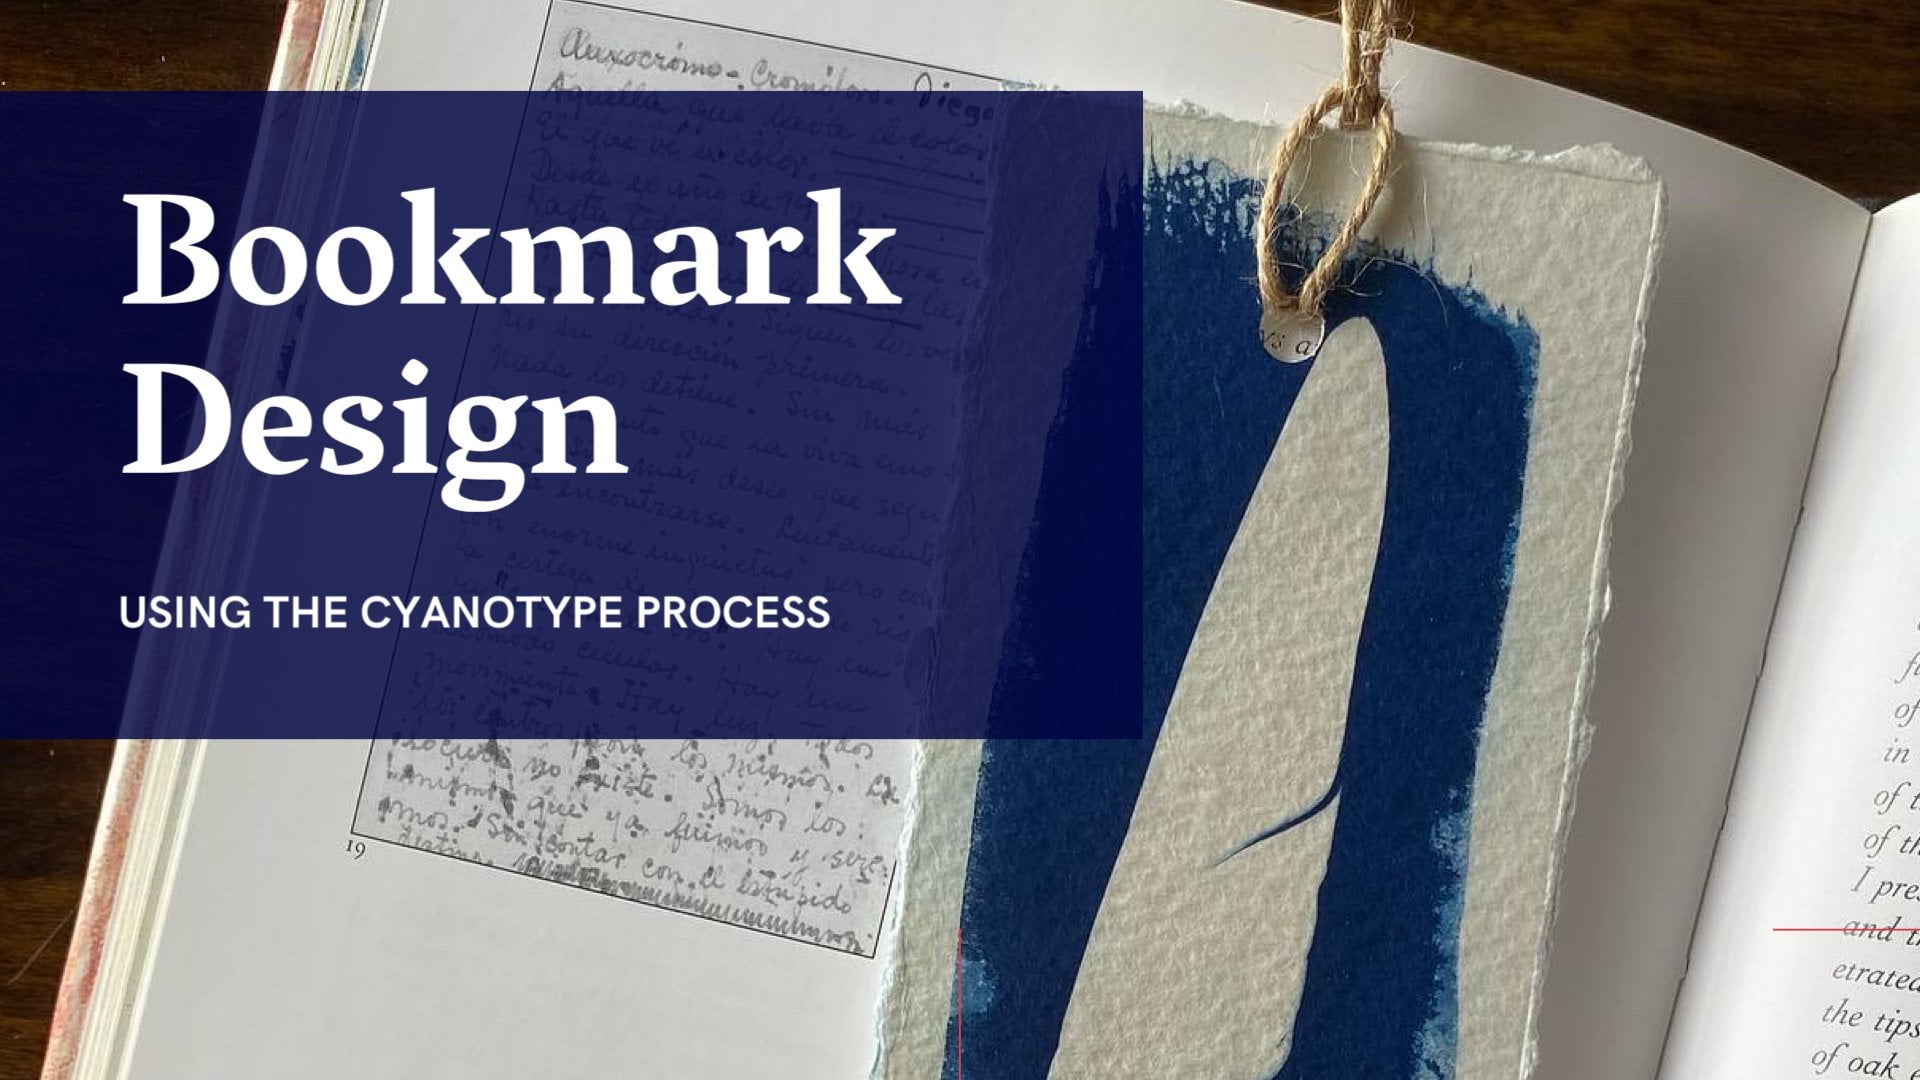
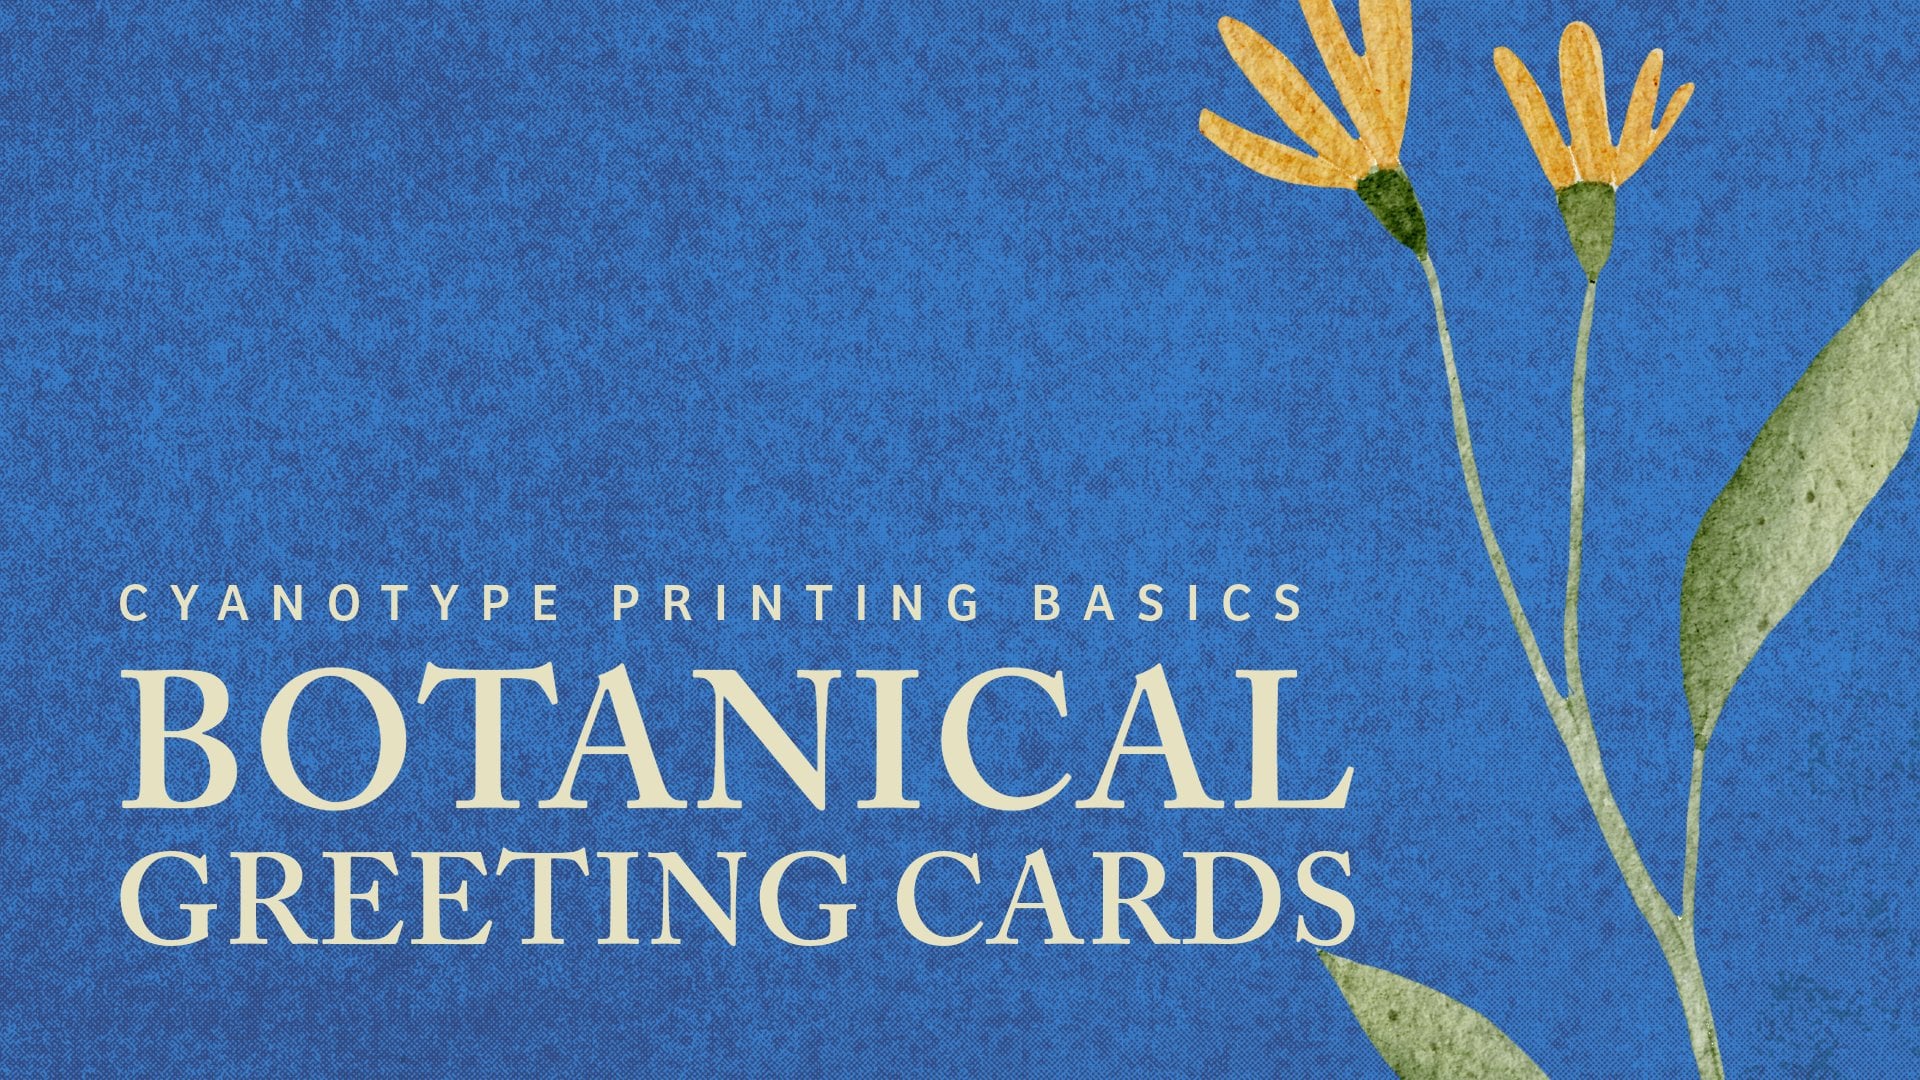
11. Creative Uses PB 2026: One of the joys of pressing botanicals is how many
ways you can use them. They're perfect for
cyanotype printing because their flat shapes
create strong silhouettes. Having a stored collection means you can print year round. Press botanicals are also
wonderful for herbarium pages, combining plants with notes,
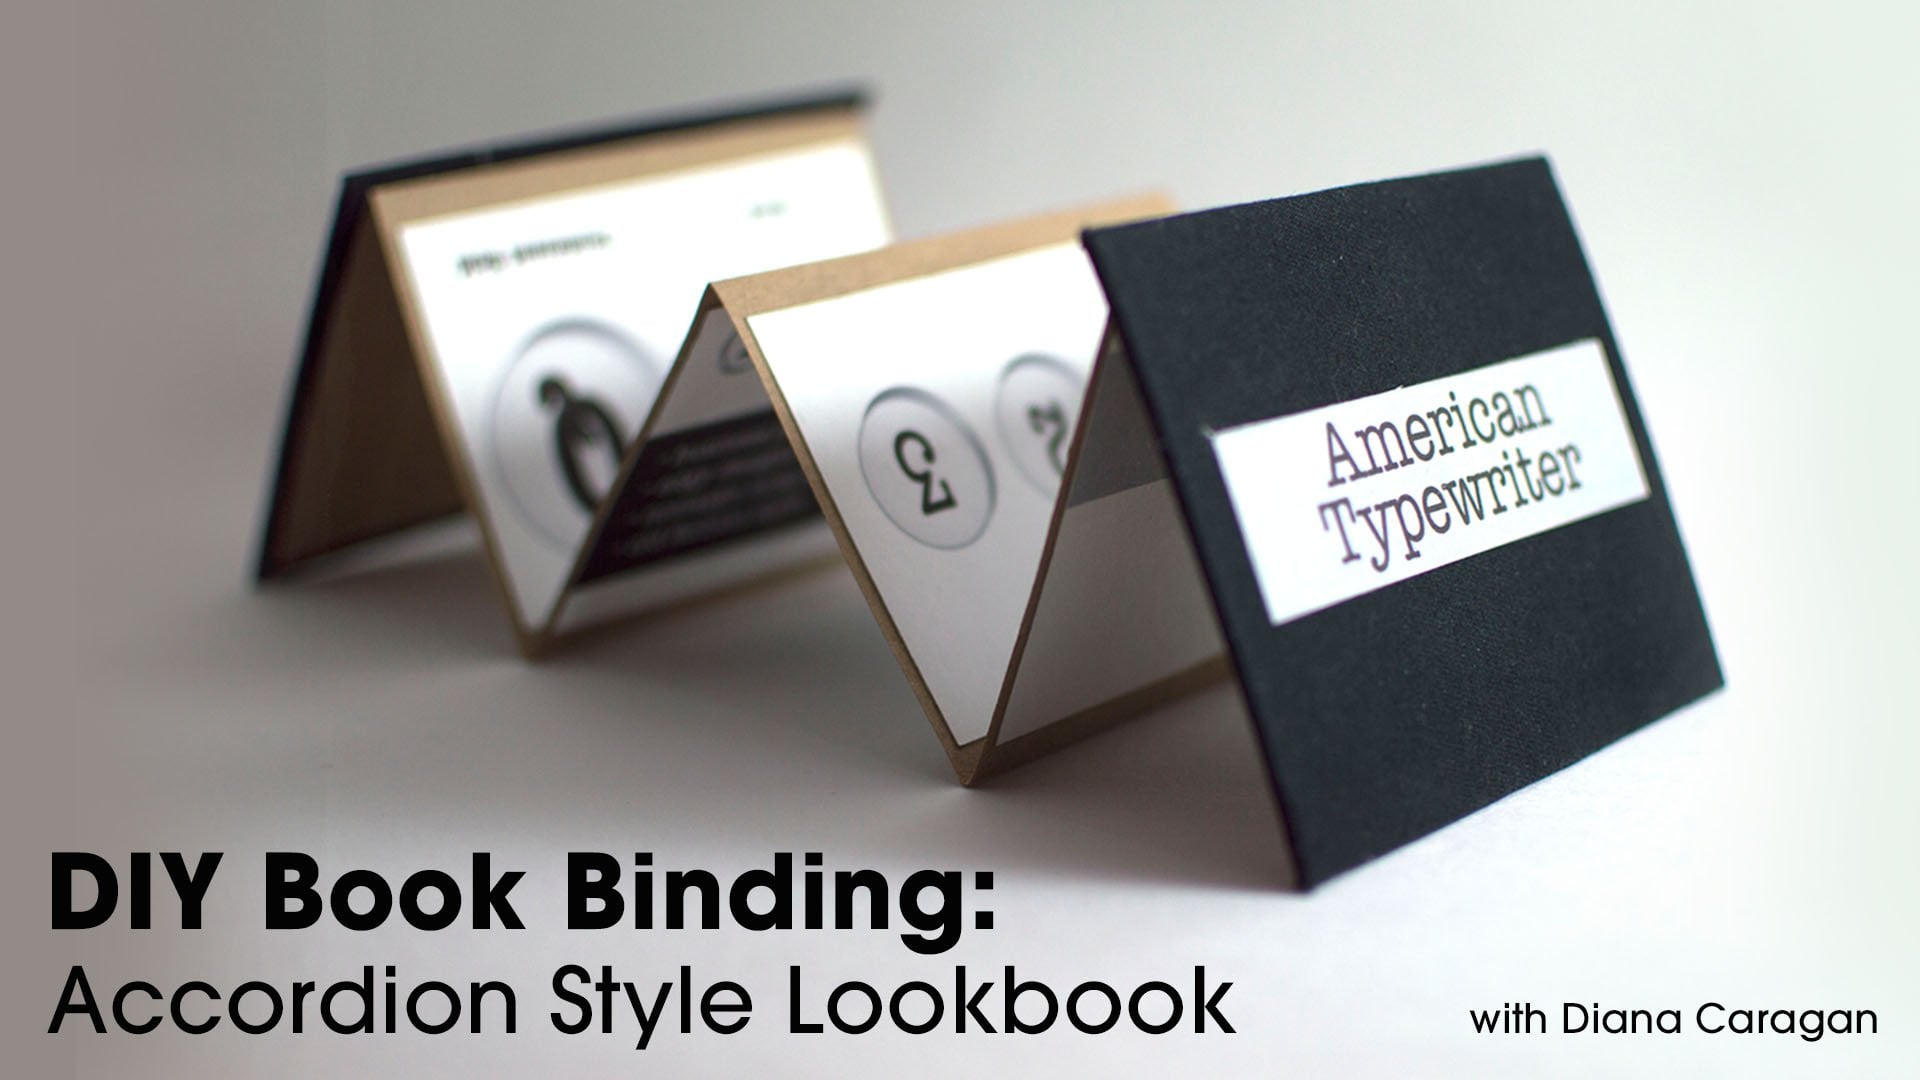
sketches and observations. You can also use them
in collage, journaling, framework, and handmade
cards and bookmarks. O.
12. Closing PB 2026: In this class,
pressing botanicals, we covered the
following materials that we need to
use for the class, class project,
which please don't forget to submit your project in the class project section. Brief history of pressing botanicals understanding
different botanicals, selecting botanicals
to be pressed. Preparing botanicals before pressing and
pressing techniques, pressing timeline and care, and how to properly store your botanicals after
it has been pressed, and different ways you can use your press botanicals
for creative projects. Pressing the tencles is a practice that you can
return to again and again. It teaches patients,
observation and care. There's no perfect result. There's no rush, time, nature, and your hands. Thank you for taking
this class of me, and I cannot wait to
see what you create, don't forget to
share your project in the project section. And if you have any questions or want to share your
thoughts about the class, please share them in the
discussion section. Thank you.
 Diana Caragan Stinyard, Artist/Designer/Photographer