Transcripts
1. Class intro: Illustrators become known
for their personal style. How does that work
when you work with brands that all have
their own unique style? In this course, we're
having fun with illustration and breaking
apart would actually make something a style
so that you can become a versatile and valuable
brand illustrator. My name is Malin and I worked as a brand designer and
illustrator since 2015. I work with sustainable
brands of all kinds of sizes, and illustration
is my favorite way to bring more personality
to any project. When you're first hired and you're staring at a brand guide, you can feel quite
intimidating to know where to start when you're
replicating a style. Or if you've been hired to develop a style for a
brand and you need to create something that
feels cohesive and consistent across
different illustrations. How do you actually
approach that? My goal with this course is that you'll be able to
confidently look at any piece of illustration
and know how to break it down so that you
can replicate that style. This goes for creating in an existing style,
creating your own, or just drawing inspiration
from mood boards, and then being able to
create something unique. The class project for
this course will be to create three
spot illustrations, all for the same motif, but with three different
separate styles. These illustrations will be a great addition
to any portfolio. But I hope they also
make the class a little bit more tangible
as we go along. I can't wait to see what you create. I'll see you in class.
2. Ways to use illustration: This course is about
illustration for branding. I thought we could kick off by talking about some of
the different ways that we can actually incorporate illustration into
branding projects. This not only helps us
be aware of what is possible so that we can be
prepared for client questions, but it also can help us
promote different products and make suggestions so that we can illustrate more for
branding projects. I want to share some examples
with you from some of my favorite design
books in the workbook. You will also see a page at the end with some
ideas for design books that you can explore if
you want to learn more about illustration or
just get inspired. One of my personal
favorite ways to use illustration is through
pattern design. This is something
that you can add to the inside of product packaging. It can be used on
websites, for example. It's just such a
playful way to bring in a little bit more
illustration without having to actually be something
that is at the forefront, but a bit more of a
discrete and accenting way. Patterns can be
highly illustrative, they can be used
with typography, and there's so much diversity
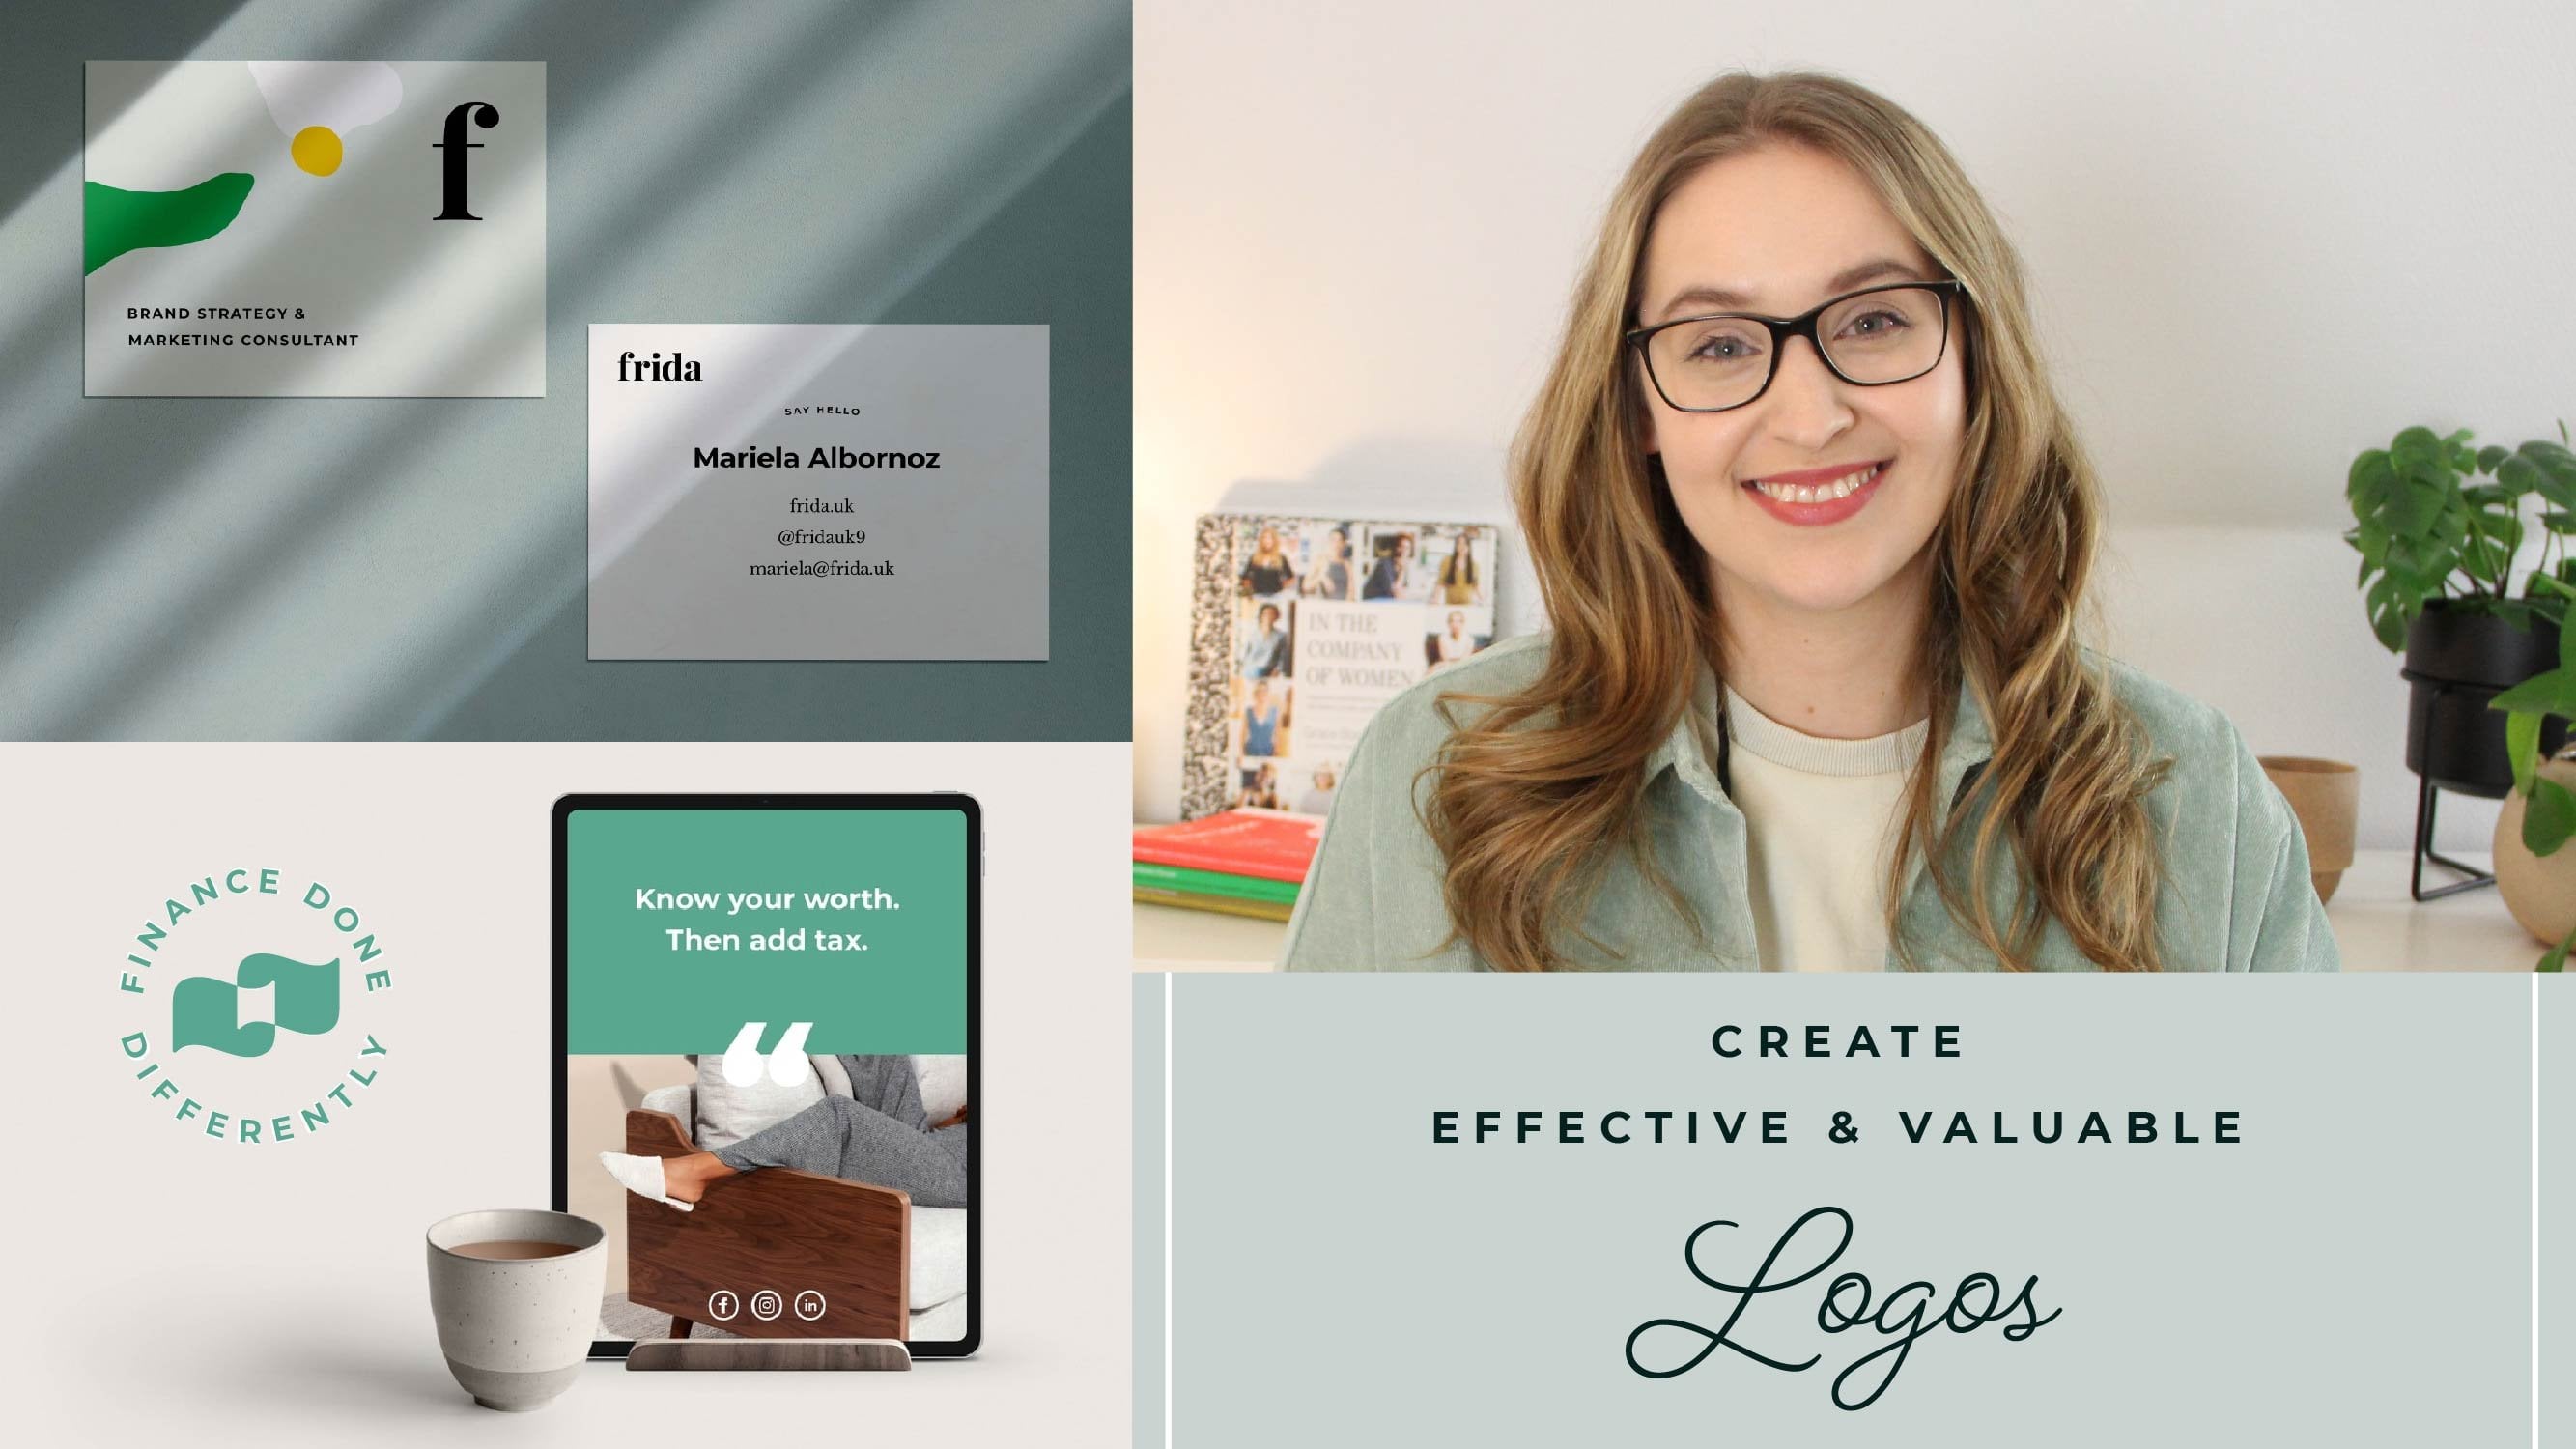
and playfulness there. Another application that I
mentioned is icon design. And this is a great
way to get, let's say, some features of a product
or benefits across in very small formats
that just have a lot more personality than
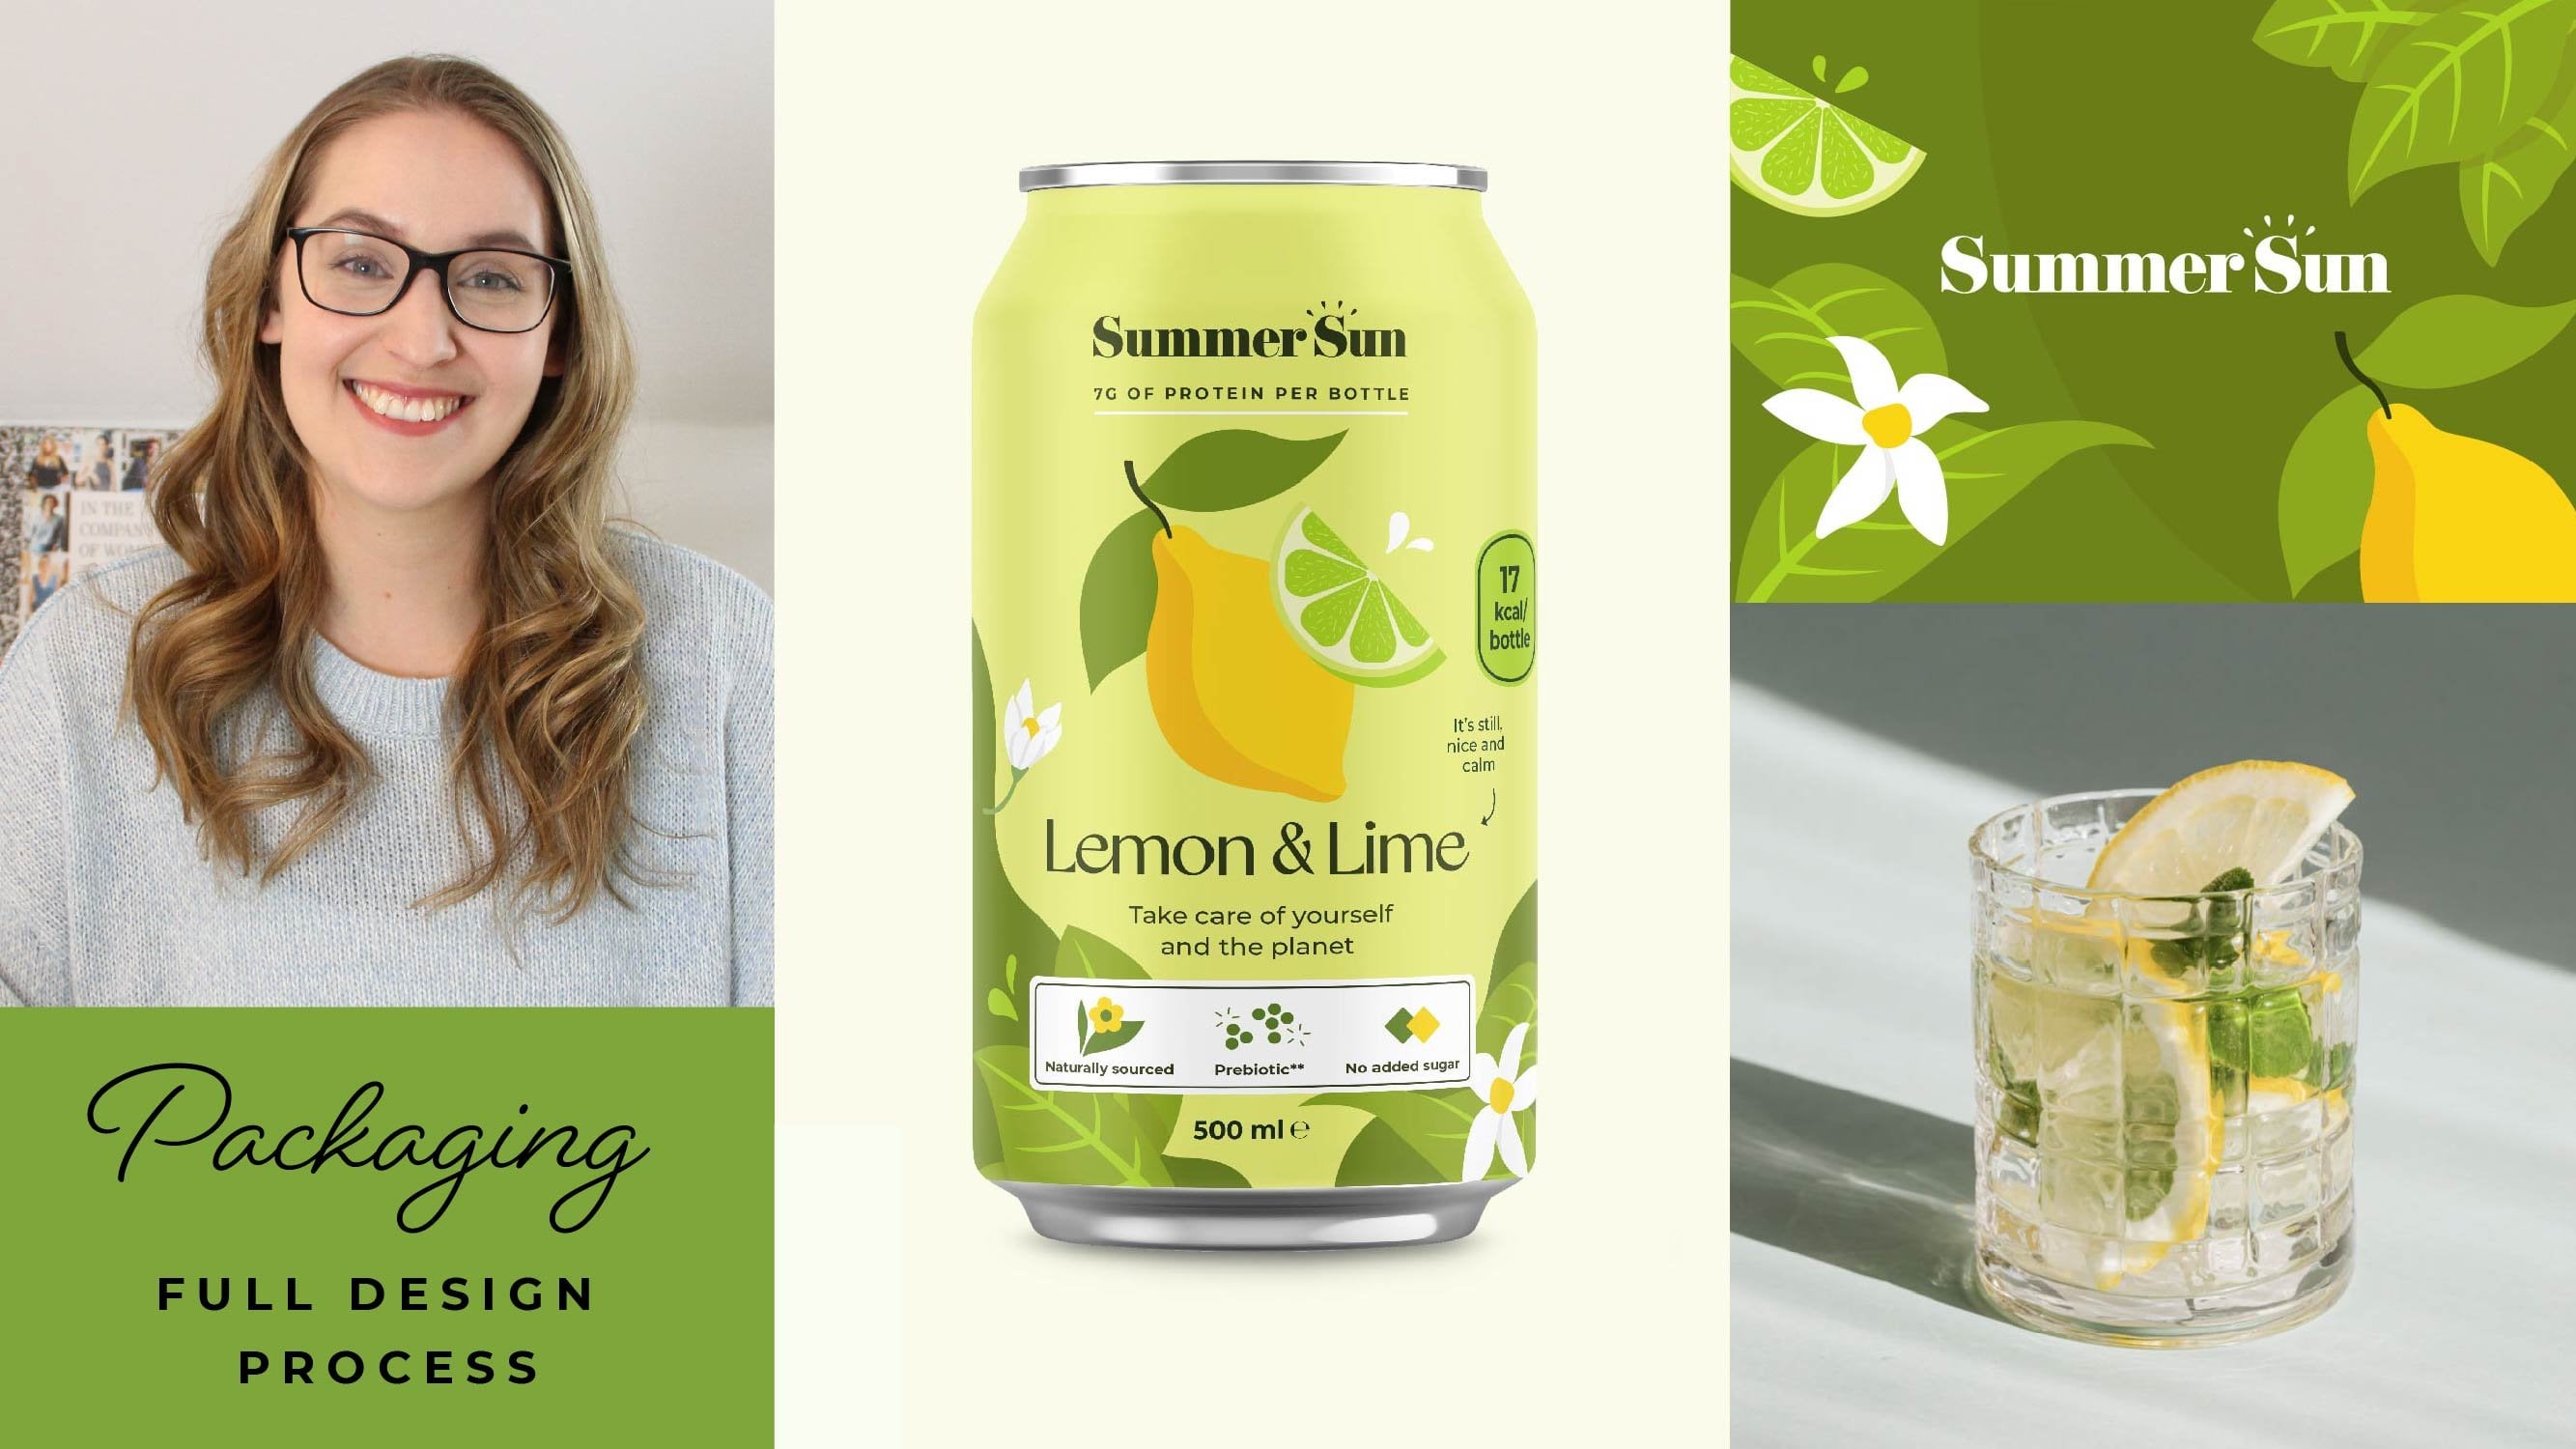
if you would just have text. Another way is through
packaging design. And this is a great way to
stand out on the shelf and be recognized as something
that is very, very different. It can also be perfect
for setting the tone. If you have a product
that is very organic, you can have more organic
illustration styles. Or if it's very modern, you can have something that
is a lot more modern. Another great
application is ads. Because people are
so used to seeing photography that
using illustration as a way to just bring
a little bit of something new is actually a great way to catch
someone's attention. Next up is merchandise, and this is something where
it could be anything from a promotional item to something that is
worn by their staff. Day to day items like T shirts
or tot bags for example, are something that
we can see really commonly be used for
branding merchandise. Of course, we have to talk
about websites because websites are a perfect
place to put illustrations. And they can be anywhere from a main hero image to spot illustrations that bring
a lot more personality. Although there are
tons more examples that you can explore
in your own time. The last one I want to
mention is reports, because we design quite a
lot of annual reviews and other items that are
promotional in a sense, but are also a way for them to summarize the
year, for example. These are perfect places
to incorporate things like infographics or illustration as a way to break up
that monotomous text.
3. Mediums: Someone has been
drawing my entire life. It is a little bit easier
for me to be able to see what tools someone have used to create
an illustration. I thought it would
be really helpful if I show you how it looks when we illustrate with different tools and
techniques and mediums. I'm going to grab some
of my art supplies and we're going
to have a look at what type of texture and effect that those different
techniques are creating. Let's go through some
different painting techniques and different mediums. The first one I want
to share with you is a simple watercolor one, just because I think that it's one that we probably
all know about. What we can see is that we can see the texture of
the paper through it. We're able to actually
have quite a lot of impact on how much of the color we see
and how faded it is, by how much water that we add. By adding water and working
our way through this, we can actually impact how
the color is laid out, but also how thick the color looks and see
through the color looks. That's water color, one that a lot of people
are familiar with. But next up we have something
called quash paint. Quash paint is basically
like a watercolor paint, but it is a little bit
thicker so that you have a little bit more coverage when you're working with
your illustrations. Quash paint works really similar to water color in
the sense that you can impact how thick and thin it is by how
much water you add. If we add a little bit more
water to the side here, we're going to be able to see
that we can blend it out. It does work similarly to
watercolor, but as you can see, you can get a very
solid look with quash that is a little bit more difficult to achieve
with watercolor alone. What's nice about quash
is that you also get a lot of that texture
through if you want something that has a bit
more texture but a medium between watercolor and something
very solid like acrylic, which is something that we're
going to have a look at. Now, acrylic paint is great for when we want to have
those really solid areas. It's great because
it dries very fast. If we want to go over
different areas, we're able to actually do
that very quickly with another color without
having it smudge so much. If you're using something
like oil paint, for example, you would have to
wait sometimes weeks, before the paint fully dries. But with acrylic paint, you get a very thick
coverage and you also get something that you
can paint over very quickly. In fact, if we wash our brush that we
use a different color. I bet because this is paper, we could basically paint over this with a very different
color right away. And not really have that
much smudging here. We've got a very different
color, let's give that a try. And then we can see that we can paint straight
over it without actually having any issues
with it blending together. Acrylic paints are great for projects when you want to be
able to work pretty fast. Next up, I want to
show you how it looks when we use color pencils, because this is a technique
that is quite underrated. I think the great thing
with color pencils is actually how much you can
control the depth of the color. We can use a very faint pressure and get a very faint color, or use a very strong pressure
and get a very rich color. This is great if you
want to go over shading, if you want to do different techniques on top of each other. There's so much flexibility
with color pencils. There are also
ones where you can actually use water
on top of them, that's something you
can experiment with. Next up, I want to
talk about line drawing using a ink pen. This is perfect if
you're doing things like portraits and you
want to do stippling. For example, if you want to work with very fine lines and
you're tracing something, ink line pen is a really, really good strategy for that. Then we have colored
pens and we've got anything that is a marker. Basically these are
great if you want to create a lot more texture
in your illustration. And these again, you can
control how colorful it is. Not as much with
pressure where you can call the thickness of the
aliens with the pressure. But if you go over
it multiple times, you'll get a different thickness of the color or a
different opacity. That's something that is really flexible with colored pens. And then lastly, I want
to talk about crayons. Ons are something
that I think we maybe associate more with kids, but it's actually a really
lovely strategy to use a really lovely
medium because it really picks up that
texture of the paper. Again, how much of that texture
we want to come through. We can use a very light pressure and get almost all texture. We can use a very hard pressure and get a very full coverage, or go over it again and
get a very good coverage. They can be a little more
tricky to blend together, so it's good, be good
for color blocking, but a little bit more
tricky if you're trying to layer
them on top of each other because they have
this waxy finish to them. They can be a little trickier to put on top of each other. Now here comes the
really fun part. I really like when you play
around with illustration. And you're practicing
your skills to mix these different
ones together. For example, a great
base is a watercolor, and then you could use something like a crayon to
illustrate on top of it. And you get these different
techniques, merging. And you're seeing
where they actually merge, where they don't merge. Can try it with the ink
line pen for example. So we can pretend
that this is maybe a person and we're going to put some legs on them, or a bird. Maybe you can start actually
playing around with these different textures and starting to get a little bit, still a little bit wet,
but you can start to get kind of an idea of how these
different things can work. The bottom line is to have fun, be playful, and experiment
with different techniques. And I hope this help break down a little bit what to expect from different mediums that we're going to be
having a look at.
4. Tools and setup: Which tools that you
choose to use are very much up to the
requirements of the project, but also your own preferences
and working style. If you work in print, there are a couple more things to
consider like lines and bleed. But if you work in
a digital medium and it's intended
for a digital use, being able to
export as a Jpeg or PNG is usually most of the
things you need to consider. I think a lot of us default
to working purely digital, but remember that there's lots of illustrators who work in a physical medium
like water color or collage, for example. And then who scan their
artwork and either just keep it as it is or you can
even go into let's say, Photoshop and Illustrator and then make little
tweaks afterwards. The tools should help you not be a barrier to your creativity. That said, let's have a look at some practical things
to keep in mind as you're creating that will help you avoid some really
common mistakes. The first thing we need to
consider is color profile. When you're first setting
up your document, you need to choose either RGB, which is for digital use, or CMYK, which is for print. If you're working with a
branding client who needs their specific brand color to be represented exactly when
you're printing something. They might also ask
you to work with pantone colors or
the PMS system. Next up is artboard size. If you work in a tool like Adobe Illustrator where
you're working with vectors, which means that your
artwork is scaled to any size without
becoming pixelated. Your artboard isn't
as important as it is when you're setting
up rasterized artwork. If you're working in a tool like Procreate or Photoshop
for example. If you're working with print, I suggest setting up
the exact artboard size that you've gotten from the
printer as their description. If you're working in digital and you're working in
a vector format, you can set the exact
artboard site as well. If you're working in
a rasterized format like Photoshop or Procreate, I like to set the artboard two or three times sizes bigger than what the
final artwork would be, just to make sure that if
I need to scale it up for a different illustration
in the future or something else happens, I have a little bit of
leeway to work with there. Talking about tools, here
are some of my favorites. I work mostly in Adobe
Illustrator and in Procreate. Adobe Illustrator is perfect for creating that
vector artwork. And when you want
to create artwork that feels very digital, you can use the pen tool and the pencil tool to
create really beautiful, crisp lines, which is perfect if you're
creating something that feels really modern. I also like to
work in procreate. Because procreate is
like drawing directly on a piece of paper has
a very similar feeling. Me being someone who
grew up always drawing. I have sometimes a
hard time connecting that experience of to working
straight on my computer. If you want to use
Adobe Illustrator or Photoshop for that matter, and you want to work
with a drawing pad, there are lots of options, but they can be quite pricey. Have a think about which is the best for your budget and
for your working style. I already mentioned procreate. And it is definitely my go to choice as long as I don't
have to scale it up. Procreate is working with
that rast rice format, just like in Photoshop. But it has so many
different brushes, so many different quick commands
that you can work with. I find it incredibly
user friendly. It also only has a
one time payment, which is very low compared to Adobe products where
you pay every month. You could do things like save brush properties, for example. So that every time you're
working on a new illustration, you can go back to those exact brush settings
that you had for your last project and keep that consistency
for that style. The same procreate also lets you do stop
motion animation. If you want to work
with very simple ones, you can just use
Procreate as it is. But they also launched
Procreate Dreams recently, which is a much more
extended version if you want your illustrations to come to life through animation. You also have Adobe Fresco
and Adobe Photoshop, which are both great options. Fresco is like a mix
between procreate. It's that very same experience
of drawing on your ipad, but it works with vectors, just like Adobe Illustrator,
Adobe Photoshop. Most of you are
probably familiar. But it again, creates that rast, rised, pixelated artwork. You need to keep in mind the artboard size that
you're working with. Okay, so now that we know a
little bit more about tools, let's jump into actually looking at illustrations and
what makes up the style.
5. Mood and Themes: I thought it would
be helpful if we looked at how to break apart a style and see what actually makes up
that specific style. We're going to have a look
at some examples together and we're going to try to
answer these questions. Keep them in mind as we're looking at these illustrations. How does the illustration
make me feel? Who do I think the
illustration is for? What is depicted?
Are there people, animals, objects, or other focal points
that set the tone? Is there movement or a sense
of energy in the piece? Where do I think this
illustration would live? Like, would it go
in a magazine Or would it be on a
website, for example? Let's break down the style
of this illustration Here we're going to ask ourselves those specific
questions that we had before. How does this illustration
make me feel? I would say it makes me feel
happy and a little bit cozy. Maybe you have all
these items that are related to autumn
might make you feel a little bit that seasonal really cozy,
Autumn feeling. Who do I think this
illustration is for? I would say this
illustration is either for a kids book or maybe a magazine
for like younger women. Perhaps it feels very
much in the Kai, but not in the
very bubbly sense, but a little bit more
towards that cozy feeling. We've got a lot of items
like knitted items, teas, and it would be for
someone who would really enjoy maybe
reading a good book. Someone who enjoys sitting
inside and doing self care. Maybe like having cosy candles on having a nice cup of coffee. What is depicted,
are there people, animals, objects, or
other focal points? I would say that the
main focal point is the character,
the bunny here. We've got a cute
bunny character. We've got not two
super complex details, but it still adds
little details here. And we've also got all
these other elements around it where we've
got, let's say, the little items
that tell a story about what the theme of
this illustration is. Is there movement or
energy in this piece? I would say mostly, no. But we do have little items. Like we've got the
liquid here moving, we've got these little sparkles that makes it feel
a bit more dynamic. And we've got things
like the book, for example, being partly open. All those things
could indicate that there's a little bit
of movement going on. And lastly, where do I think this illustration
would live? I think this
illustration could be a desktop wallpaper,
for example. If it was broken down in a
slightly different proportion. I think it could be a
great illustration for a situation like
a cozy magazine. Maybe like a garden magazine or a kids magazine, for example. It could also be a spot
illustration if they wanted something that fits
within next to text. Because that could work really well if it was only the bunny. I think it could work
well for a kid's book. It could even work well the way it is now for a kids book, if it was as a way
to tell a story. And all the things that are
happening in the story is summarized like let's say the first page of a book to
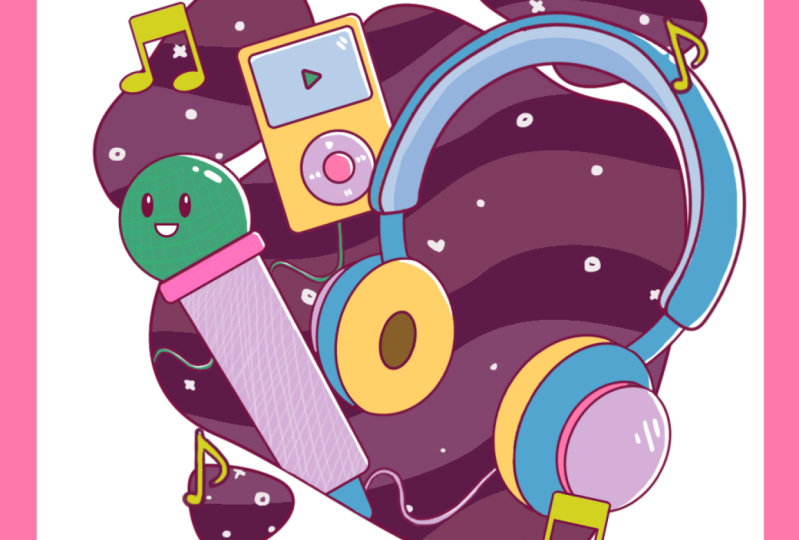
set the tone, for example. Let's have a look at a
second illustration style just so that we can start
seeing the contrasts here. How does this illustration
make me feel? This one makes me
feel very happy. Calm, a little bit whimsical, very creative. Who
I think it's for. I would say this illustration is probably going
to be living on a website or a
social media account where you've got very
creative people, people who are into maybe digital illustration
or digital creation. Because we've got digital styles here because we've got
all these vibrant colors. We also, I think,
have something that's quite energetic what's depicted. We've got one person here, but I would say that although the person is a focal point, the flower is just as
much of a focal point. We've got this very whimsical, magical feeling around it. Is there movement and a sense
of energy for this one? I would definitely say yes, because we've got the layering of all the different elements, makes it feel a
bit more dynamic. We've also got this flower
almost opening a little bit. It's definitely not
tons of movement, but you've got
little things like the butterfly, for example, moving that direction of the leaves or these
different items coming out. All of that is going
to contribute to making it feel a little
bit more dynamic. I touched upon this, but where would the
illustration live? I could see this
be on a website, home banner, for example, or as a spot illustration, or let's say for a
blog for example, to break up the text. Because it is so modern
and digital looking. I guess it could
also be used for like a T shirt
print, for example. It could be the basic
foundational illustration for a mural, for example. I think this is
where we're really starting to get
into application. Because this illustration being so clean and not really
having any texture, that's going to work really
well for something like a mural or more print for let's say a T shirt because it's going to be easier to replicate. Now that we have a good idea of finding the mood and the themes, let's have a look at
the techniques used.
6. Techniques: In order for us to be consistent with the way that we illustrate, we need to be able to analyze the techniques of an
existing illustration style. This is just as
helpful if you're looking at a mood
board, for example. And you want to be able to replicate the mood or the
style of an illustration, even if you're not replicating
it from a brand guide. We're going to go back
to those illustrations that we had a look at
just a moment ago. And we're going to
do the same thing and answer a couple
of questions, but this time about
the techniques. The first question
is, what medium do I think the art was made in? This can be a little bit more
tricky to know now that we have a lot of digital brushes
and things that replicate, for example, watercolor
or collage effects. But we're trying to go
for the look of it, even if it was
created digitally, but it looks like
a physical medium. We're still just
trying to get what that technique looks like,
if that makes sense. Secondly, have they used a
certain brush or a technique? Does it have texture?
For example, how is shading or gradient used? What's the color
palette And what level of complexity is there To make
this a bit more tangible, let's jump back into those
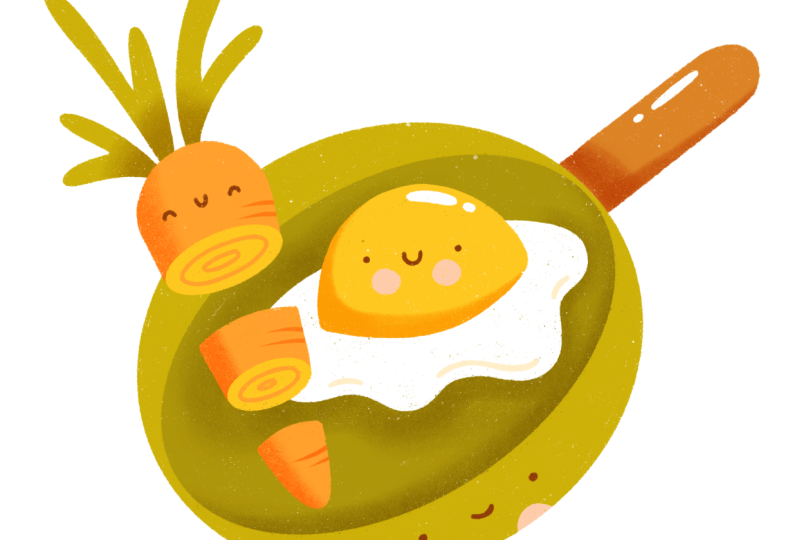
illustrations that we had a look at for this one, we're now going to look
at the techniques used. It's a little bit of cheating because I made these
illustrations. I do have the answers for them. But we're going to have a look at how you would approach this. In this case, we can see
that we've got texture, we've got some shading going on, we've got a little bit of different colors going
on, they're quite muted. This could be created either digitally using brushes
that have texture, but you could also see
something like this being created with,
let's say, crayons. You can see in the texture here. Or it could be created
with guash, for example, if you've got a bit of a
thicker brush or a bit more of a dry guash texture when
you're painting as we've seen, we do have quite a bit of texture and we also got shading, so we've got little areas that have a little bit more
of a shadow on them. We can see that gradients are not something that
we're noticing here, but we do see how
different colors are used. Let's say how this color inside of the mushroom is
darker than the outside. And then we've got a
layer of shading as well. There's a couple of
different techniques here are used to create depth. The color palette is very warm, a little bit muted. We've got these nature colors. So we've got like
green and yellows, a little bit of pinks, and these different brown
tones very nature inspired, which feels suitable
for the illustration. In terms of the
level of complexity, we do have some areas that are
a little bit more complex. Like we will have little
lines or little details, but we're not going into like a hyper realistic
type of style even though we are adding
little details that bring out the personality
of the artwork. Now compared to
this illustration, I would definitely say this
feels very digitally created. You definitely could get a lot of this type of
effect if you're doing, let's say, mural painting. If you're doing
painting with very, very precise things like
if you're using a type of ink that is going to
be very high coverage but because we're not getting
any texture whatsoever, I would say this is feeling
pretty confident this is a digital illustration in
terms of the level of details. We do have some, but it's quite big areas of
one solid color and that is going to help us get that quite digital impression as well and also a very
colorful impression. We don't really have any shading or any gradient going on, but we do have
things like having a darker color on the
inside of the flower, for example, or the
inside of the shoe here. But other than that,
we only really have one solid color used. The color palette
feels really happy. It feels very artificial. Like if we compare it to
the last illustration, it felt very natural, inspired and like you
were in the forest. In this case, we're
really getting this a very unnatural color palette
with really bright colors. So now that we know
what to look out for, let's put this into
practice and start actually replicating some
illustration styles.
7. Creating a reference: Now that we know what
to look out for, let's start practicing
our illustration skills and put that observation
into action. In the workbook, you
will see this page with three different illustration
styles for each style. There are four prompts for spot illustrations
around hobbies. We can imagine that these
spot illustrations will go in a magazine mixed in with text to create a more
interesting layout. The class project is for you to create the
fourth illustration for each of these three styles,
the one called cooking. Before we start illustrating, it can be helpful to break down the existing examples into
more simple line sketches. This will make it easier to
start on the new ones since we can easier see the way
that the style is structured. To do this, I just
pop the illustrations into procrate and
lower the opacity. You could do this in any
program that you use. Then I add a new layer and grab a dark color and a
sketching brush. You can then start marking
out the focal point. This is often a key object
or a person, for example. I just make really
rough outlines to get a good idea
of the layout. Then we can mark out any
interesting directional flow of the illustration and add
in other larger details. Lastly, is there any
really obvious shading or if there are details
we want to remember, but we can add them
in roughly as well. Now that we have
these three sketches, I'm going to turn
off the layer with the finished work and just
look at the sketches. I can make this layer a
reference and make it smaller. Then I add a new
layer and we can start sketching our
own rough sketch.
8. Example - Sketching: I'm going to illustrate the
gaming illustration for Style One so that
you can see how I approach actually
replicating a style. First, let's work
on a rough sketch. So let's try to create the gaming illustration
for this style. This is another
illustration that we've got for the camping one. If we just have a little look, we can see that
there's some texture in the actual brush
that we've used. We've also got some
shading going on. We've got little details like the flowers, quite muted colors. Then we've got this little
guy here, the little sun. We definitely want to
incorporate, I think, some characters in the
gaming illustration as well. Let's hide this and go
and create the sketch. I'm just going to go and grab a dark color so
that we can sketch. With that, we're going to grab
a slightly smaller brush. If we're thinking about what
we want to incorporate, I want it to be some characters that we
can play around with. And I want to think of items
that you can see in gaming. I'm thinking like
a potion bottle, maybe a star, like
a gaming console. Let's try to sketch that out. I'm just going to
start by sketching this little potion bottle. Just something very
simple like this. Maybe the top here is a little bit thicker,
little bit wider. Then we've got something like a cork sitting in
it that could work. Well, maybe some liquid coming
away from the side here. I want to be able to actually
have that potion in there. Some savouching in there, maybe to get a little motion could do something like this. Maybe some bubbles. We wanted to have that
character, right? I'm just going to start by
drawing in a little cute face. Then we can see if we want to create some other
type of interaction. Perhaps once we have the
actual characters painted out, we got our first character here. Then now I'm going to try
to add the little console. Now I'm thinking
that doesn't have to look exactly like an
actual console would, but I really like the shape
of an Xbox one because it has the look of these like almost like little
arms or legs coming out. We got this little shape here that could be a really
happy character like this. Then we could even
do how you have like the circles for the
different buttons. Those could be more
like the cheeks, I think that could
be really cute. Maybe we're going to move
the eyes up a little to create a little bit more of that happy, cute expression. Then maybe we add a little
star here just to have a bit more of something that is a little bit
different in size, in terms of proportion, just to bring a little bit
more of a dynamic impression, maybe some little
bursts going on. We could have some things
to add in the white space, because whenever we
have these empty areas, it can be quite nice to have something to
fill that in with. I think this is going to be the basic sketch that
we've got to work with.
9. Example - Colours: We got our sketch. I'm going to lower the opacity
of this one here, depending on how
complex your sketch is. You could definitely
do a clean sketch going over and drawing
a lot more details. But in this case, we're going
to keep it quite simple. I've just lowered
the opacity and then I'm just going to add
a layer underneath. We're going to look
at the color palette. We saw this quite
muted color palette. I have this one
right here that is going to make up the color
palette we're working with. I want the bottle to
be quite pale so that the actual liquid inside is
going to be quite powerful. But we still want to stick
to these mutus colors. I'm going to pick
something like this, very light pink
color for the brush. We want something that, again, has a lot of texture but still feels like it
has a solid fill. I really like the dry ink brush
that comes with procrete. But if you wanted
more, you can use something like the
sticks one, for example. It's got lots of texture, but I'm going to go
with the dry brush one. For this, I'm just going to
start by making the circle. And to make a perfect circle, If you make roughly a circle, then you let the pen
be still on the ipad, it's going to make a circle. And if you hold
your finger down, it's going to make
a perfect circle. And then you can go in
and out to resize it. I think that looks really good. I'm just going to
grab my brush here, because what you could
do is you could go and pull the color and go right to the middle. And
that would do a fill. But as you can see, that
gives it a solid fill. I actually want that texture. I'm just going to go in and use the brush to actually
fill in this area. Great, I'm going to
do the same thing for this bit over here. I want the lines to be straight, so I'm just going to
hold it down and put my finger and that will
make those lines straight. We don't have to worry so much about this at the top here, because we're going
to have this shape on top be layered on top. We don't have to worry
so much about this one, We want them on different layers because we want
to be able to put shading in between them
with a nice clean line. I'm just going to start by
finishing this off here. Great. Now we can add a new layer to be able
to see what I'm doing. I'm just going to lower
the opacity of the layer underneath then we can actually see what it
is that we're doing. If you want more of a
hand drawn feeling, you can use a bigger brush. If you want it to be
a lot more precise, then you could use a much
thinner, smaller brush. One of my favorite tricks, if you want to be adding
a lot more personality, and you're someone who likes
to make things very precise, is to use a brush that's
so big that you can't be precise because that tends to create a lot of personality. Great. So I'm just going to
bring the opacity back there. I want this cork to be behind, but it can be on
the same layer as the back bottle because we don't want them to be
actually touching. Because then as we're
recoloring in procreate, you can actually pick a
color and then you can pull that onto an area, but it has to be separate
from other colors. I'm going to use this one here. We're just going
to go in and draw the cork here at a little
bit of a nice angle. I'm going to put this circle on top so that we can
do the shading, just like we were
talking about before. It's always nice to keep things on their own layers
because that means that we actually have
the ability to go in and change clipping masks. We can go and add
different effects, add shading, add highlights. Keeping things on their
own layer is really good. In procreate, your
artboard size is going to dictate how many layers
that you have available. When you're creating
your artboard. You're actually able
to set the size. And then knowing how many layers you're
going to be getting, you can adjust that as
you're setting it up. We can do the same thing
here as we did with the circle before by
just holding down, amazing, there we go. I'm just going to
bring the opacity back up, that's our bottle. So I'm just going
to go and color in this little controller here. Now normally the
controller would be white. But we want to think about
the contrast between these. I think I want to
have quite a bit of color inside of
the actual liquid. I'm going to keep the color for the controller
still quite bright. I'm going to add a new
layer behind here. We're going to grab this
lighter beige color. Don't be afraid to go over your illustrations a few times. If you want to create
a curve that you feel is not quite looking
the way you want, you can always go
over it and just keep tweaking it until it
feels like a good idea. A lot of times you might
have to actually turn your sketch off just so that you can start to actually spot
where areas might not be looking the way that you
want them to perfect. Now we can start adding
the star and the details. Let's bring our sketch back. I'm going to add the star first. It's going to be a
nice pop of color. It's always a good
idea to make sure that your sketch has everything
where you want it to, because especially in a
program like procreate, if you start moving
things around after you've
actually drawn them, they're going to lose
a lot of quality. This won't really be
an issue if you're working in a program
like Adobe Illustrator. Because you're
working with vectors. And they can be scaled
up and down no problem. But especially in resizing and moving items means that
they lose a lot of quality. They'll look pixelated. Just use your sketching stage as a way to actually
map everything out. And then your coloring
stage can just be really fun and
relaxing and you can maybe watch a movie or listen to a podcast or something at
the same time. Very nice. And then I'm just going to
add these little bursts here, The little star. Now I think I'm going to add
this in a darker pink color just to get a little bit of contrast with the
actual star itself. Okay, very nice. So now we can go in and add
all of the little details.
10. Example - Details and Shading: So I'm gonna start by adding the little cheeks to our
little character over here. I probably want a pink
that's a little bit darker than the pink that
we've got for the bottle, just so that it doesn't
blend together too much. I'm just going to go in a
little bit closer like that, and then trying to get this
at roughly the same height. Okay, Then we can
add in our liquid. I'm going to start
by this layer on top because that's going to be a little bit of a darker color. And then we can place
the other one on top. I'm going to pick a green
color just because I want to make sure that we're contrasting it from the bottle itself. Let's try this one. Okay, I
think that could work well. It might look a
little bit toxic, but it depends on what
it's going to be used for. I think for a video game
that's totally fine. Great, Then we're going to be adding the other color on top. I'm going to go with
eight lighter shade here. There we can go in and shape it a little bit more
just to make sure we're tracing the edge of the
bottle a little bit more. There we go. Then we have our really cute faces to add,
That will be really fun. Let's add in some details. We're going to be adding
shading in the second, but I just want to go over and actually look at
the details First, I'm going to add these little
cute characters faces. We're going to start
with the eyes. Sometimes you have to
zoom out to see if you feel like the brush stroke
is the right width. I'm thinking that
maybe it would be cute to have a bit
more interaction. Going to see if
maybe we can have this character maybe looking at this one a little bit more. That could be really cute. Then we could bring back the
cheeks into this as well. So we can have a little
bit of a light pink here. See if that looks good. Sometimes visibility
is an issue, so you have to think about
the color combinations. I'm also going to go in and add these little bubbles
rising up here. Okay, perfect. Now we're
going to go into shading. I'm going to hide the sketch. And then we're going to
go and actually start adding shading where we
think that would make sense. I'm going to start
with this bottle here because that would be a really obvious one
to have a look at. We're going to add
a layer above. We're going to set
it to multiply. Then I'm going to click
and do clipping mask, that way we can choose
the same color. Then I'm going to go and
use a stipple brush. I use a brush set called Mimi's brushes from a
created called Mimi. I'm going to use this
one Mimi texture medium. All of these different
things that I'm using are linked in the workbook
so that you can have a look. Because we've created
these on different layers. This is where you're going
to see that magic happen. It's really easy to actually
create that line there. We can also go in and see if we want this shading to
happen somewhere else. Like maybe we want it to be a little bit at the
edge of the bottle like that to create a
little bit more dimension. Then we can go
into other places, like let's say we want to go into the actual controller here. We want to do the
same thing, make it a clipping mask, make
it a multiply. If you want the shading to be a little bit stronger or
a little bit less strong, you could always work
with the opacity here. I'm going to do the
same thing of grabbing the shading here, color. And I can go in and add
that shading in like that, that's giving us a little
bit of an effect there. And I'm going to go in here as well to create a little bit more of that effect. Very good. Okay. And then we're going
to work on this cork here. I already have a layer there, it's just about
choosing the color. I'm going to start by adding the little shading like that. Then we remember we have
this at the top here. I'd like to do
something like this. Might have to smooth
that out a little again. We have to remember which way that the light is going to come. In this case, I've chosen the light to come
from the right. That way we're going to
have lighter areas here and darker areas on the
left hand side. We can do the same thing with the star and put a bit
of shading going on. On this side, you can
see how much you want. Play around with
the intensity here, maybe change the brush
thickness a little bit to play around with how sharp you want
those lines to be. I like using quite
a big thick brush because it gives it a
bit of a softer look. Sometimes you have to redo. I think that's the bit that is really important
about illustration, that you just have
to experiment. I'm actually going to pull down the opacity on this
one a little bit so that it's not as strong because I don't
think we needed to be. And then we can go
into certain areas and make them a
little bit stronger. Okay, that looks better then we want this to happen
on the liquid as well, because I want it to be a
little bit of a contrast there. Let's add a layer above,
multiply clipping mask. Grab this color here. Then we can go in and
add the little shading here, something like this. I think it just brings so much depth, which
is really cute. I think the last
thing I'm going to do for this one is I'm going to actually go and add
a little highlights. I'm going to go back
to my dry brush, but I'm still going to use the multiply and I'm
just going to add in these little effects that
make it look a little bit more like a cork here like that. Then we're going to go in
and add little highlights. I feel like we would have, especially for the bottle, some light hitting
the side here. We could make something
like that, Maybe a shine. And that's going to
make a huge difference. I think we could do
the same thing on the star, Something here, that the star would be
a little bit shiny, maybe maybe a little bit
on this side as well. That just brings so much
more dimension to it. I think we could do
something similar to adding a detail here. I'm just going to go and grab
a color that's very close to the color of this
one. Let's have a look. Yeah, that looks good. We might want to add maybe
some little eyebrows just to add a little
bit more personality to our little character. We could add one of those little buttons over here if that's something
that feels right. Okay. I think I'm going
to stop there because sometimes you have to just take a step back and not actually. Okay, well, I got
one more actually. We're going to add
a little bit of a little shine up here as well. Okay, I think that's it. Sometimes you have to step away and just not illustrate anymore. And I think this
is the case where this one is actually
done as it is. I hope this made it
a little bit more concrete to actually see
it happen in action. This is a technique
that you can use when you're developing
your own style, as well as you're creating a moodboard and
you're reviewing it. You can start to pick out
details that you like about different pictures
and illustration examples, and then you can start
putting those together into your own unique style.
Now it's your turn. Go ahead and create the
cooking illustration in all three styles. Don't forget to post either
the finished work or let's say the line illustration
in the Projects tab. You just go down underneath the video and click
on the Projects tab. And there you can
post your project. So that we can all
learn from each other and get inspired. I'll make sure to
post mine as well so you can have a look
at how I approached it.
11. Approaching realistic illustrations: Let's create a realistic
illustration together. We're going to go through all the different steps together. These steps will also help you, if you're creating any
other illustration style, you just have to adapt it to the style that are you using. But the steps will be
more or less the same. I have chosen to
illustrate a set up with lemons and a nice
picture of lemonade. Let's get into that together. First up, we want to break our illustration
into basic shapes. For example, I'm
drawing a lemon. I can start to add circles for the different parts
of the lemon itself, and triangles and
rectangles for the leaves. These are all images that I got from a free site called Pexels. We do have the right to use them as you're sketching these
shapes use a light color. I like to use red or light blue since it helps make it
easier for me to see what we're doing when we
move forward and we can sketch on top of it for
our more clean sketch. Once we've blocked out all the general elements
where we want them, we can add a new layer and lower the opacity of my first
sketch just a little bit. If you're an Adobe Illustrator, you can also add a new layer
and lock the first sketch. Now I go over my sketch again with a slightly
darker color and try to look at the curves and deviations from
those basic shapes. Don't be afraid to undo
or leave a lot of lines. This is the sketching stage, so nothing needs to be perfect. Once I'd like to
look of my sketch, I high the first rough
sketch and lower the opacity of my
more clean sketch. At this stage, you can
choose to either move on to a very clean line sketch. This is something that you
might want to do if you're actually keeping the line
drawing as an outline, say as we did in one
of the other styles. Or you can choose to go
straight into color, which is what I'm going
to be doing here. Before illustrating,
I like to establish the color palette by swatching out where
each color should be. This helps me make sure they
all work nicely together. And it saves me a ton
of time later on. So I can just enjoy the
illustration process. I try out different colors on layers underneath my sketch. If you feel unsure,
you can even make a few copies and try out
ideas on smaller thumbnails. Now we can move on to
illustrating using colors. I start by laying out
all the solid colors and make sure to place items that would touch on different layers. This way you can recolor them and add shading and
texture to them later. Brush I'm using right now is
mimicking wet acrylic paint. I like it because it has a more natural texture that gives less of a digital feeling, but it still has
really good coverage. Once the base colors are done, I move on to shadows. We want to go back
to our references all the time and really try to understand where
shadows would naturally fall and how strong
they would be. Pick a direction that the
light will come from so that all your shadows will
fall on the opposite side. To get a good color,
I add a layer above, just like we did in the example with the gaming illustration. I set it as a clipping
mask and choose multiply. This will pick up the color
that's underneath and create a more natural,
more realistic impression. To get that really
realistic look, we'll need to play
around with the opacity to build up our shadows. Most shadows in real life
are not super harsh, but rather feather and
fade at the edges. I'd like to start by adding a more harsh area first
and then lowering my opacity of my brush and blending it in like if you
were putting on makeup. If you're in procreate,
you can choose to have your eraser be the same brush
as you're painting with. That way, you can
remove areas where you went too far without
ruining the texture. Once we're happy with the
shading, we move on to light. Think back to where the light
is coming from and look at your reference to understand how the light falls on each object. The same thing here
as with the shading. Some lighter areas will be stronger and some will just
have a little bit of lights. Keep blending and
building up the lights. I set the light layers as
a clipping mask as well, but the blend mode is
just set to normal. The last step is details. This is where that really hyper realistic look
usually comes in. For example, does the
lemon have dimples? Do the leaves have veins? Or does the surface
have some texture? Maybe play around on a new layer and make sure
to take a step back now. And then sometimes
we can get very caught up in the illustration
and loose perspective. Grab a nice drink, do something else, and
then come back to it. I hope these tips made
realistic illustrations feel a little bit less
difficult to approach. And that you feel
empowered to give them a try yourself if it's not
something you normally do. These tips, like I mentioned, they can be used for
any illustration style, blocking out the shapes that we, that we did, thinking about
lighting and shading. These are universal
principles for illustration that you can incorporate into
any of your work.
12. Brand Guide - Explaining your Style: If you are the one
developing a brand style, being able to
explain the style in a brand guide can be really
valuable to a client. We want anyone who is looking at that brand guide to
understand why you made certain choices and what they need to consider when they're
replicating the style. I like to include more than
one example if you have it just so that they can see how the illustration style is used
in different applications, like for social media posts
or for their website, or on a T shirt, for example. Here's an example of what it could look like
in a brand guide. This is an illustration I created for our
creative community. The things that I
want to point out is the use of color
and how to combine them and how I want someone to feel once the
illustration is done. In our case, I tie the mood
back to the company goals. The illustration style
should feel modern, creative, and a
little bit whimsical. I also want the colors to be used in different
proportions, for there to be one main focal
point, usually a person. I have also showed
some examples of the illustration on how it
can be used day to day. Exactly what you choose to add
depends on the project and the brand and how they actually will use their
illustrations in real life.
13. Wrap up: Being a flexible illustrator
is a really valuable skill. It doesn't mean you can't
have your own unique style, but it just means you can take on lots of different
fun types of projects and develop your skills depending on the
needs of the client. I'm here to answer all
your different questions. We have a discussion tab
underneath and the project tab, so you can ask questions, you can post your own projects
and support each other. I'm going to post
my own approach to the cooking
illustrations as well, just so that you can use it as a point of reference
or inspiration. If you like, just let me know if you have any questions at all. If you want more illustration
inspiration and tips, you can go and check out my
Youtube channel as well. Thank you so much for
taking this class. Good luck with all your
projects and see you soon.
 Malin Lernhammar, Designer and teacher