Transcripts
1. Introduction: Hello, My darlings! Are you curious about gouache and how you can use this paint medium to create illustrations with more depth and texture. Besides those beautiful, clean flat graphics? In this class, we're going to be painting a few pretty mushrooms. And I'm going to show you some of my preferred techniques when it comes to illustrating with gouache. We'll explore using thin, almost watercolor like layers, adding shadows and contrast, and creating texture and dimension using simple lines and strokes, gouache is a versatile medium and can be quite fun to use and experiment with. So come on in and join me in this quick class. See you inside.
2. Tools & Materials: So for this class, Here's what you're going to need. Some watercolor paper. Anything between 200 and 300 GSM will do. Your brushes. I recommend using synthetic brushes because watercolor brushes tend to hold more water than you may like to use with gouache. Your gouache paints, any brand. You won't need too many colors for this class. I'm using maybe three to five colors only. So your papers, your gouache paint, some tissue paper, your brushes, one or two will do, as well as two to three jars of water to wash your brushes in.
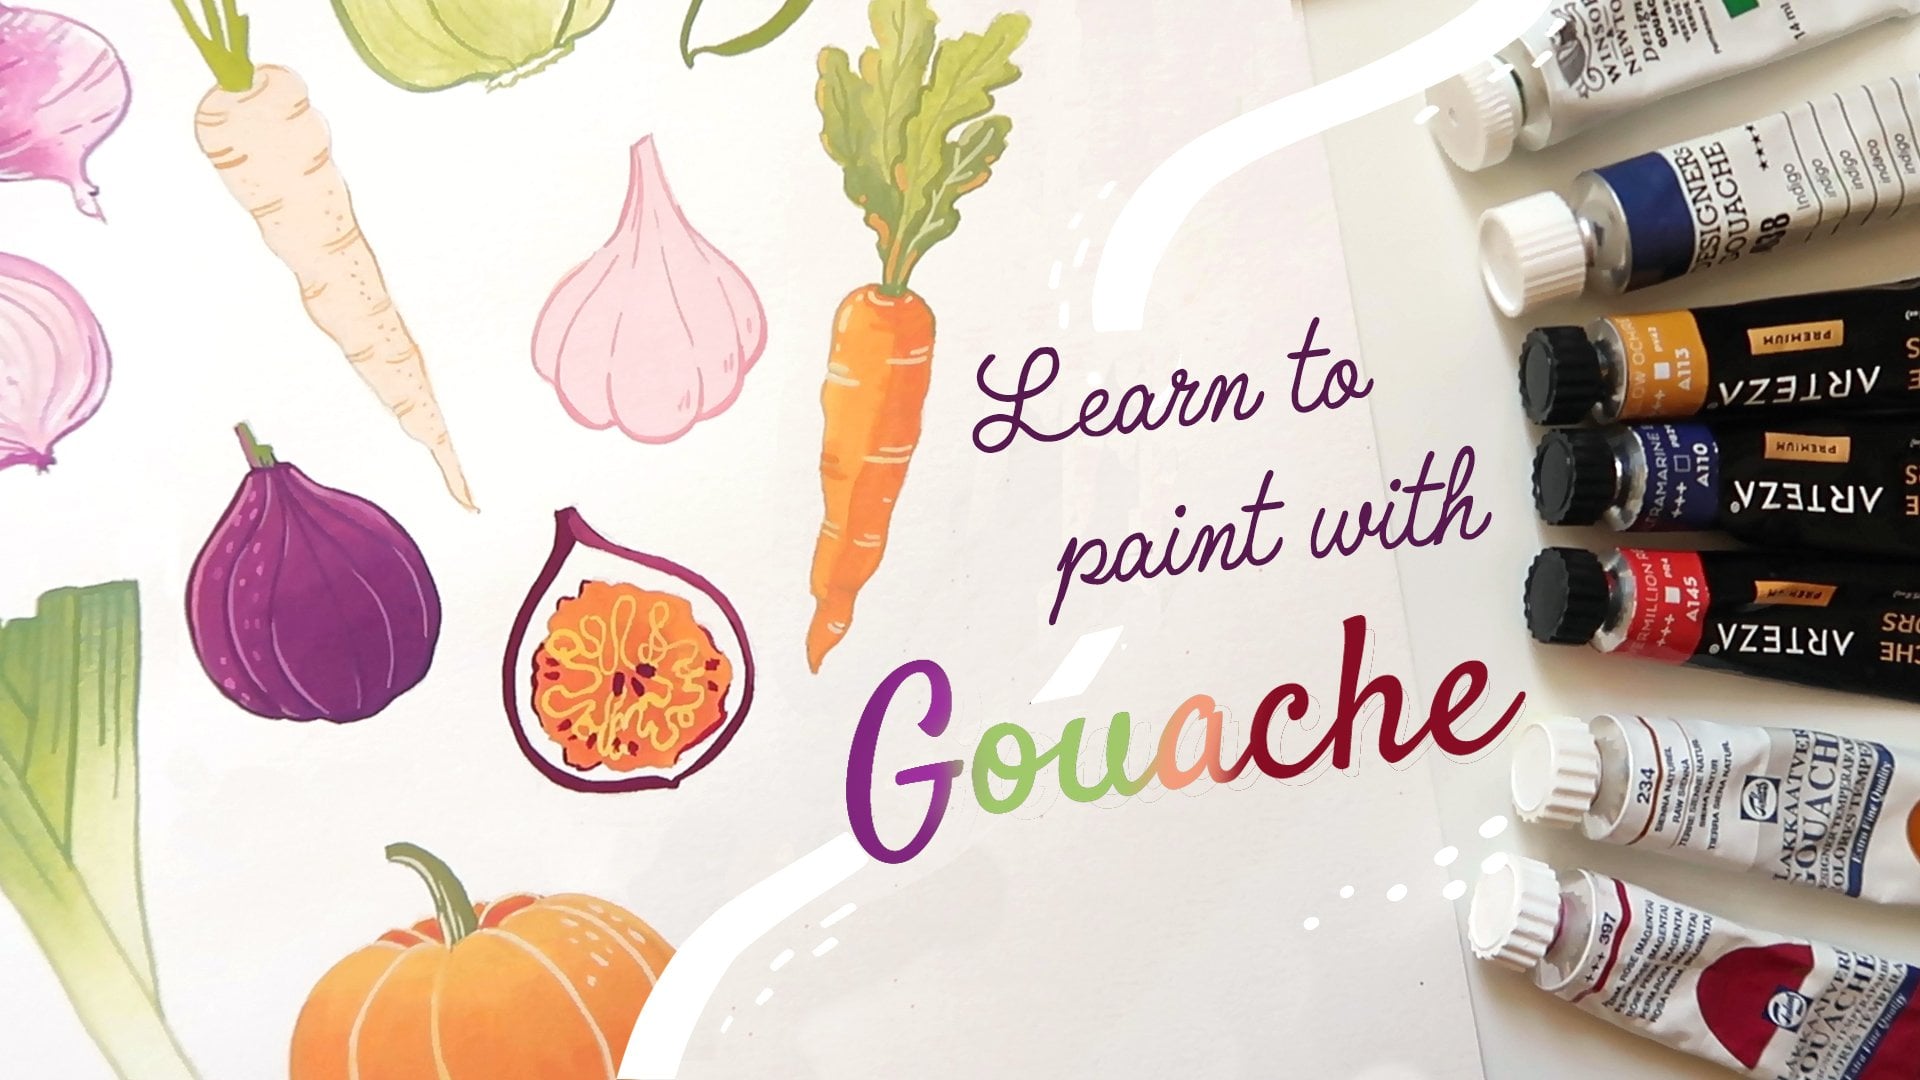
3. Quick Gouache 101: If you're new to gouache paint, Here's where we'll go through a quick intro and differences between gouache and watercolor. Your gouache may come in little tubs or tubes like this. It has a creamier consistency compared to watercolors. You will want to add a couple of drops of water to your gouache paint. I like to use a little dropper. For a nice flat finish, You'll want to get your gouache to a nice creamy consistency. Sort of like softened butter or chocolate spread. How creamy you end up with is up to you. Don't be afraid to experiment and find out what works for you. Okay, Let's get into the main differences you'll see when working with gouache versus watercolor. So here I'm laying down a layer of gouache paint. You can see that it's very opaque and you can't see the paper through it. Watercolor tends to be a more transparent medium. I can carry on this way to get a nice flat, even finish on this rectangle. I can also use a slightly wetter brush before picking up some paint. I'll then be able to use that water to make a nice fading gradient. You can go back in with a wet brush to work with the paint and pull it out so you can get a gradient from opaque to transparent. One of the challenges with gouache is layering. Gouache is very easily reactivated with water. So if you have a nice thick wash and you go back in there with a wet brush, you'll still be able to move the layer beneath. Of course, this can be useful in some cases, but this is one scenario where glazing is much more difficult with quash than with watercolor. Glazing is when you add a wash or a layer of transparent color over a previously dry layer of paint. But if I took a load of creamy paint, not too much water, I can easily paint over with a nice opaque layer. Just be careful not to work this too much because as you can see here, you will eventually wet that previous layer and it will reactivate and start to blend with your new layer of paint if that's what you want. So then all is well and good. Remember, the point here is to understand how the medium works so you can use its characteristics to your advantage.
4. Class Project: All right, So we're just about ready to get into it. Before we begin, Here's your class project. We are going to be painting three mushrooms. Now, you could find reference photos on Pinterest or online, or use the link provided in the description to go through the board I've put together for you. Pick the ones you like. You can paint along or watch the lessons through and go back to them as you start doing your project. A little tip. Don't get too hung up on the drawing or sketching, starting with. It doesn't have to be perfect. It doesn't even have to be realistic. This is your creation. And personally when it comes to mushrooms, so weirdly the shapes the better. Okay, so let's head on to the first lesson.
5. Mushroom 1 - Layers: Let's get started with our first mushroom. So here I have a rough sketch of the first mushroom I picked. I've added a few rough sketches in the project section of this class that you can also use if you like. First, I'm going to add some of the gouache colors to my palette. You can go with around three to four colors that match the mushroom you've picked, or make up your own. I'm using a bit of umber, ochre and white, and I've taken a bit of apricot just in case. I've added a bit of water to the base color that I want to use for the stem. And applying a more or less even wash. Towards one side where the shadows would be, I add in a bit of darker ochre and let it blend. While this layer is still wet, I'm going in with some dark umber for the shadows. Since the first layer is still wet, this will start to blend with the new color. I'm using a few strokes in the direction of the stem to help it along. I'm then moving on to the top of the mushroom and doing more or less the same. First, I'm adding the base layer color. In this case, a lighter color at the edges and a richer brown at the top. They're both wet, so I let the paint blend together as I move along with my brush. This may not be a very smooth blend at this stage and that's completely fine. We're painting something organic; it doesn't have to be perfect. I use the darker umber on the side where the shadows are. Just establishing some light and shadow already gives form and dimension to the subject of your painting. So take as much time as you like and don't be afraid to add contrast to your painting.
6. Mushroom 1 - Details: Once that first layer is all dry, we can go into add further details. I'm adding more color to the top of the mushroom using a very wet brush so that the paint reactivates some of the layer underneath and blends with it. Short downward strokes in the direction of the mushroom cap will mimic its natural texture. Moving down to the stem, I'm doing more or less the same, adding a new layer of darker and lighter colors using a wet brush. So I can let the new colors blend with the previous layer. Then you've got to let this dry for a little bit. I like to use my heat gun or a blow dryer to speed things up, but you can also just let it air dry. Once that's dry, I go in with a smaller brush and a color darker than the current shade on that spot. I'm using short strokes to create the textured creases on the mushroom surface. Paint in the direction that the cap bends in. Use more curved lines in the spots where you see it bends or curves more in your reference photo. This will help give the illusion of dimension to your piece. If you go over the edge a little bit like I did over there, don't worry. I'm just smoothing it out a bit and it becomes part of the imperfections that occur naturally in all plants. This will actually make your painting more interesting and feel more lifelike, if you will. As I move toward the lighter side, I'm leaving a few spots with a less strokes. This is where the light would be hitting it more. So we continue painting in the shadows of the creases. Once I'm done with the cap, I leave that to dry and move on to do the same with the stem. You could use slightly longer strokes here if you want. I'm using a darker color on the side where there's more shadow. Now I'm adding just a hint of the ground, just a splash of grounds to show the soil or mud and add a few hints of a darker color here and there and let it blend as it would. Now I'm going back into the mushroom with a much lighter color, almost white, but not quite. We're now painting in the highlights. Go easy on this one. It's easy to put in too much. When it comes to painting in the lightest highlights. A little goes a long way. And there you have it. A pretty little crinkly mushroom.
7. Mushroom 2 - Layers: For the second one, I'm going to be adding two little eyes to turn it into a cute character. The process is more or less the same, just with different colors. I'm going to fast forward this one a little bit. So feel free to paint along or grab a cup of tea or a mug of coffee or hot chocolate. And sit back and watch.
8. Mushroom 2 - Details: Yeah. Okay. Hello. So the one minus six. Hi.
9. Mushroom 3 - Sketch: So for our third mushroom, I'm going to show you quickly how I sketch out the outline for the mushroom before I start painting. I'm just lightly drawing in the rough outline of the stem, the gills on the underside of the cab and the cap itself. It's all very rough and just more or less the general shape and direction I want to go. It's a mushroom. Mushrooms are oddly shaped to begin with, so don't worry about it not looking perfect. Once that's done, I can move on to the painting. I'm going to speed this up, so feel free to paint along. Sit back and watch for now.
10. Mushroom 3 - Shadows: In this one, I want to add a hint of blue in the stem to show the light reflecting off other blue mushrooms around it. So I'm just going to drop it into slowly blended in with the previous layer.
11. Mushroom 3 - Details: [no captions]
12. Conclusion: Well done, darlings! If you are painting along, you should now have three pretty mushroom paintings with you. If you decided to watch through the lessons first, feel free to go back to them as you need when you go through creating your class project. Don't forget to upload them to the class project section and if you do post them to your social media, Tag me as well so I can see them too. Thank you for joining me for this quick class on using gouache paint. Hope you enjoyed it. See you next time.
 Gilchi Rose, AuDHD Storyteller, Writer, Artist