Transcripts
1. Intro: Think you can draw
animals. I get it. And you're not alone. Most beginners feel that way. It can be a pretty
intimidating topic, but by the end of this workshop, you will be surprised
what you can create. Welcome to the Illustrating Animals in Procreate Workshop. Hi, my name is Alexandra, A KD art Mother. I'm an artist, illustrator, online educator with over
90,000 students worldwide. My superpower is that I
make complicated art topics easy for beginners,
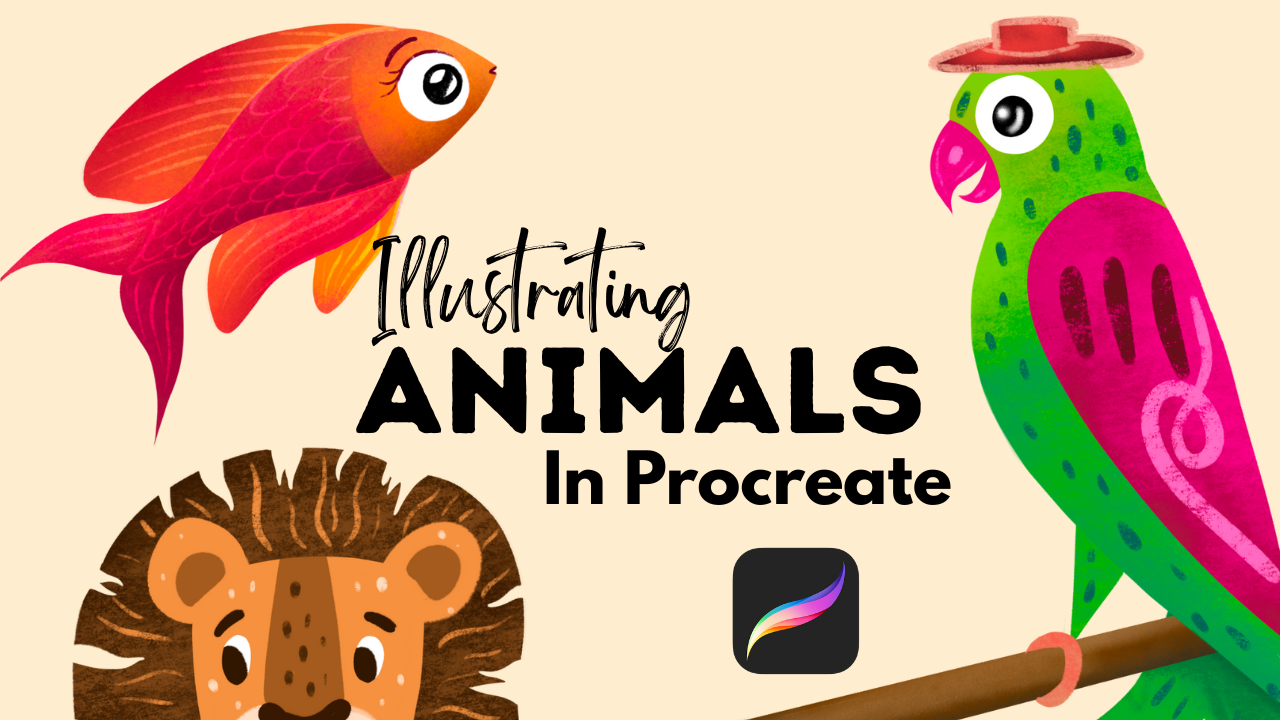
even very beginners. In this workshop, I will guide you step by step
through the process of turning a reference photo of an animal into a stylized, charming illustration
and procreate. Whether you are brand new to digital art or looking
to grow your confidence, you learn how to break
down the visual elements, simplify shapes, and create an artwork
full of personality. All while having fun. We will go through my
favorite design process that helps you to improve your skills pretty
quickly and doesn't require any supernatural
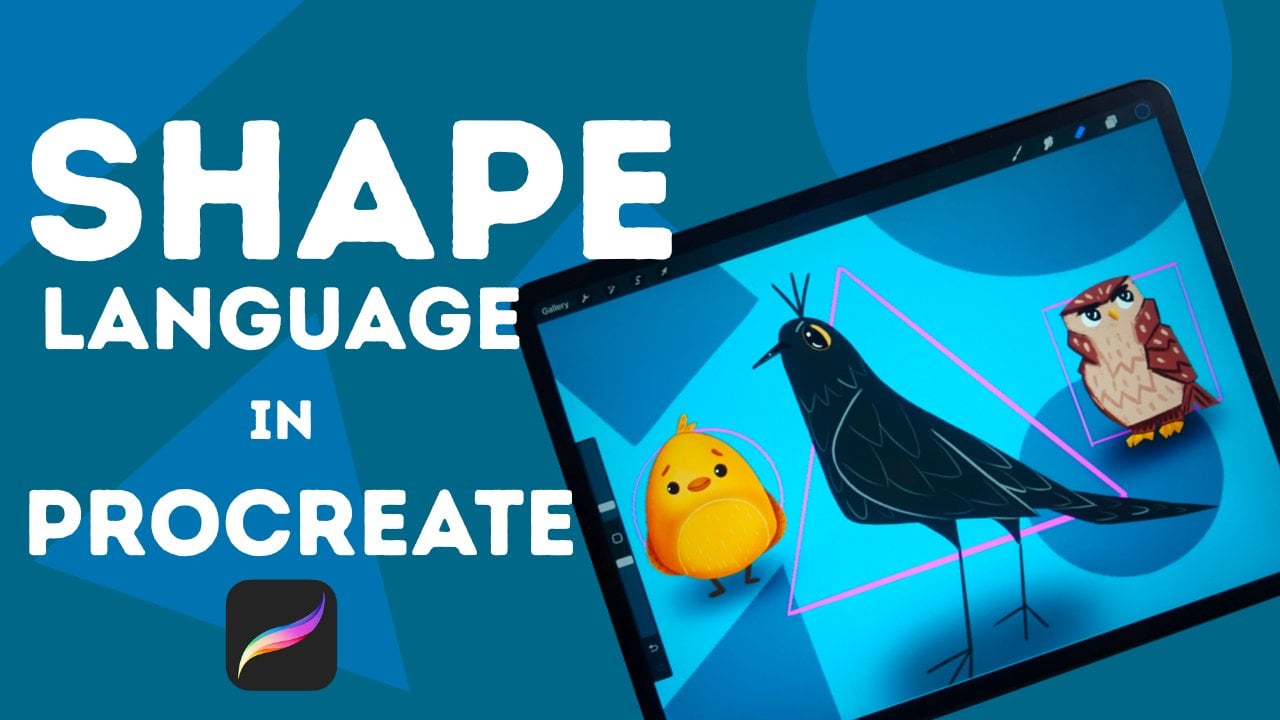
talent or skills. We will start by identifying basic geometric shapes
in reference photos. Do some observational sketching, and then turn that
into a clean linework by exaggerating and
simplifying shapes. We'll add a pinch of
character design. And while, you'll have some adorable results
that you can be proud of. I will show you my personal
illustration technique, but you will be free to complete the illustration your
way if you wish. Okay, I can't wait
to get started, so grab your iPad, and
let's get into it.
2. Sketching: Hi. Hello there. So welcome to the workshop. I'm so excited
that you are here. So in this workshop, what I'm going to show you is, how do I illustrate animals or make these really cute
characters from animals, and it is a very simple process, but it requires some observational
drawing and sketches, and this is what we are
going to basically do. So the whole process
looks like this. I choose a reference photo. I can start illustrating animals from the knowledge
that I already have. But in order to have knowledge
about how to draw animals, I need to observe them. And this is why it
is necessary to have observational drawings to learn things about things, okay? And then we can
approach, you know, illustrating animals just
from our imagination. So if you are a beginner
that I guess you are, I really want you to implement these
observational drawings just for fun into your
schedule or, you know, art practice, um,
basically just to gather knowledge about things around you and this applies
to everything. So if you want to draw objects, you need to observe the objects. If you want to draw, I don't know, or
illustrate scenes, you need to go out and actually
draw real life scenes, and then you can, you know, invent things in your head. So basically, we do
observational drawings with basic geometric shapes, and then we can transform our observational sketches into something really cute,
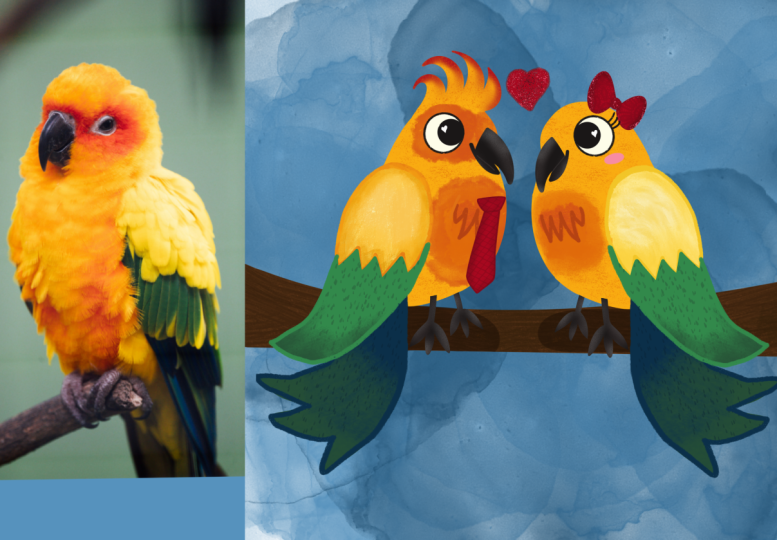
for example, like this. So what I prepared today are
three different animals, a parrot, a fish and a lion. And I'm going to create
just very rough sketches. I will show you how I
transform these sketches into basically linework
for my illustrations, and then I'm going
to illustrate one of these animals based on which
sketch I like the most. Now, before I even start, I want to give credit to the images that I found
online on the website, unsplash.com that are, you know, freely
downloadable images. And they are really beautiful. As you can see, you can
also get inspiration for your color palettes from
these beautiful images. So now you can just, you know, take out your iPad and observe the images with me and
do some little sketches. And then later on
after the workshop, you can just do it on your own. All right. So let's
just get started. I imported the photo into
a screen sized canvas. And what I'm going to do is
to choose a pencil brush, and procreate comes with a wonderful pencil brush that you can find
in the sketching, and there's the six B pencil. This is my favorite one. Now, I want you to create a
new layer above the photo. And well, based on the photo, what color it is because we
are going to at first find the basic geometric shapes
that we have in these animals. That will give our base, for example, for the
illustration itself. So choose your colors wisely. I think I will go
with a very light yellow so that you can
actually see what I'm drawing. Let's see if you can see that. I will make the pencil
big yeah, you can see. So I will draw with this yellow, but you can draw it black,
whatever, you know, just to see the shapes. So what I'm going to do
is to basically find the basic geometric
shapes in these animals. And what are those there are circles trangles
and rectangles. And into circles, I
include ovals as well, and into rectangles, you
have squares as well, right? So for the head. We have a circle. I
will just draw in here. Mm. We have a triangle for the beak. Then we have an oval, and we have another triangle. Okay. Now I can take this
shape and put it to the side. I observational drawing. This means that this is going to be basically the base
for my observations. And we can actually, let me show you this thing. I can duplicate this
construct and put it aside so that I can have
something to relate to when I'm doing the
observational drawing. I made it a bit smaller
so that it fits here. The point is that you keep your eye on the
original drawing, and I will basically
just lower the opacity of this one so that I can
see the original artwork. Now I'm changing
my color to black. I keep the six B pencil. I will create another layer, and I can just start
with short little, lines and I will make
the brush a bit smaller to draw the shape of the animal. I can see this circle
ends here and there is a part of the animal
that goes like this, and here is the back part, and here is the beak that
I can draw here like this. The eyes approximately here. Like this. And here is the body. Here is the little leggy. Like this, I can draw something here that
it is standing on. And, this eye doesn't
look really good, so I will just
make it like this. And yeah, I have a little drawing
for the parrot. Now, this is an
observational sketch, and let's change it a bit, and now we can use
our imagination to make an illustration
base from this sketch. Now I'm not going to look for the reference spot on too much. I will just add some details, and I will work a
bit and exaggerate. So when we are illustrating, exaggerating features
is a basic thing. So, for example, making the eyes bigger or the beak a little bit, you know, curvy or
the wings, et cetera. You can either add things
or you can simplify things. So I will just create another layer about
this basic sketch. I will lower its opacity. And I will just try to make simple shapes
from its body parts. So let's say, I will add some smile into. So I separated the
beak, as you can see. I just add it here. I can add a giant eye. I will just add it here. I will make it a circle and add the big big iris
into the middle. For example, like this and
make the head a bit bigger. Exaggerating, you know, as I
already told you, will help. With expressing, I don't know. I love this curve here. I think the position of
the body is not the best, but we can always change, right? So I want to exaggerate this part bit so that it
is a little bit pride, little parrot you know, has his chest out like this. And I want to simplify the back. I think I need to make
it a bit smaller. And Oops. Like this. I will add the tail. I tell I mean the wings. And what about the tail? Like, I don't really like it. And I think and now
I'm completely, like, now going away from
the original sketch, so I will turn it off. I will need a branch going here. And I want the
tail to have some, you know, I will add
these things here. Yep, I will add the
eyes, add the eyebrow. I will maybe add a little head. Like this because
character design is all about adding elements and accessories to give personality
to our illustrations. Okay, so now we have
a parrot with a hat. Can you see that? And I can improve this when I'm
starting to illustrate. But let's just move
on to the next animal so that we can apply
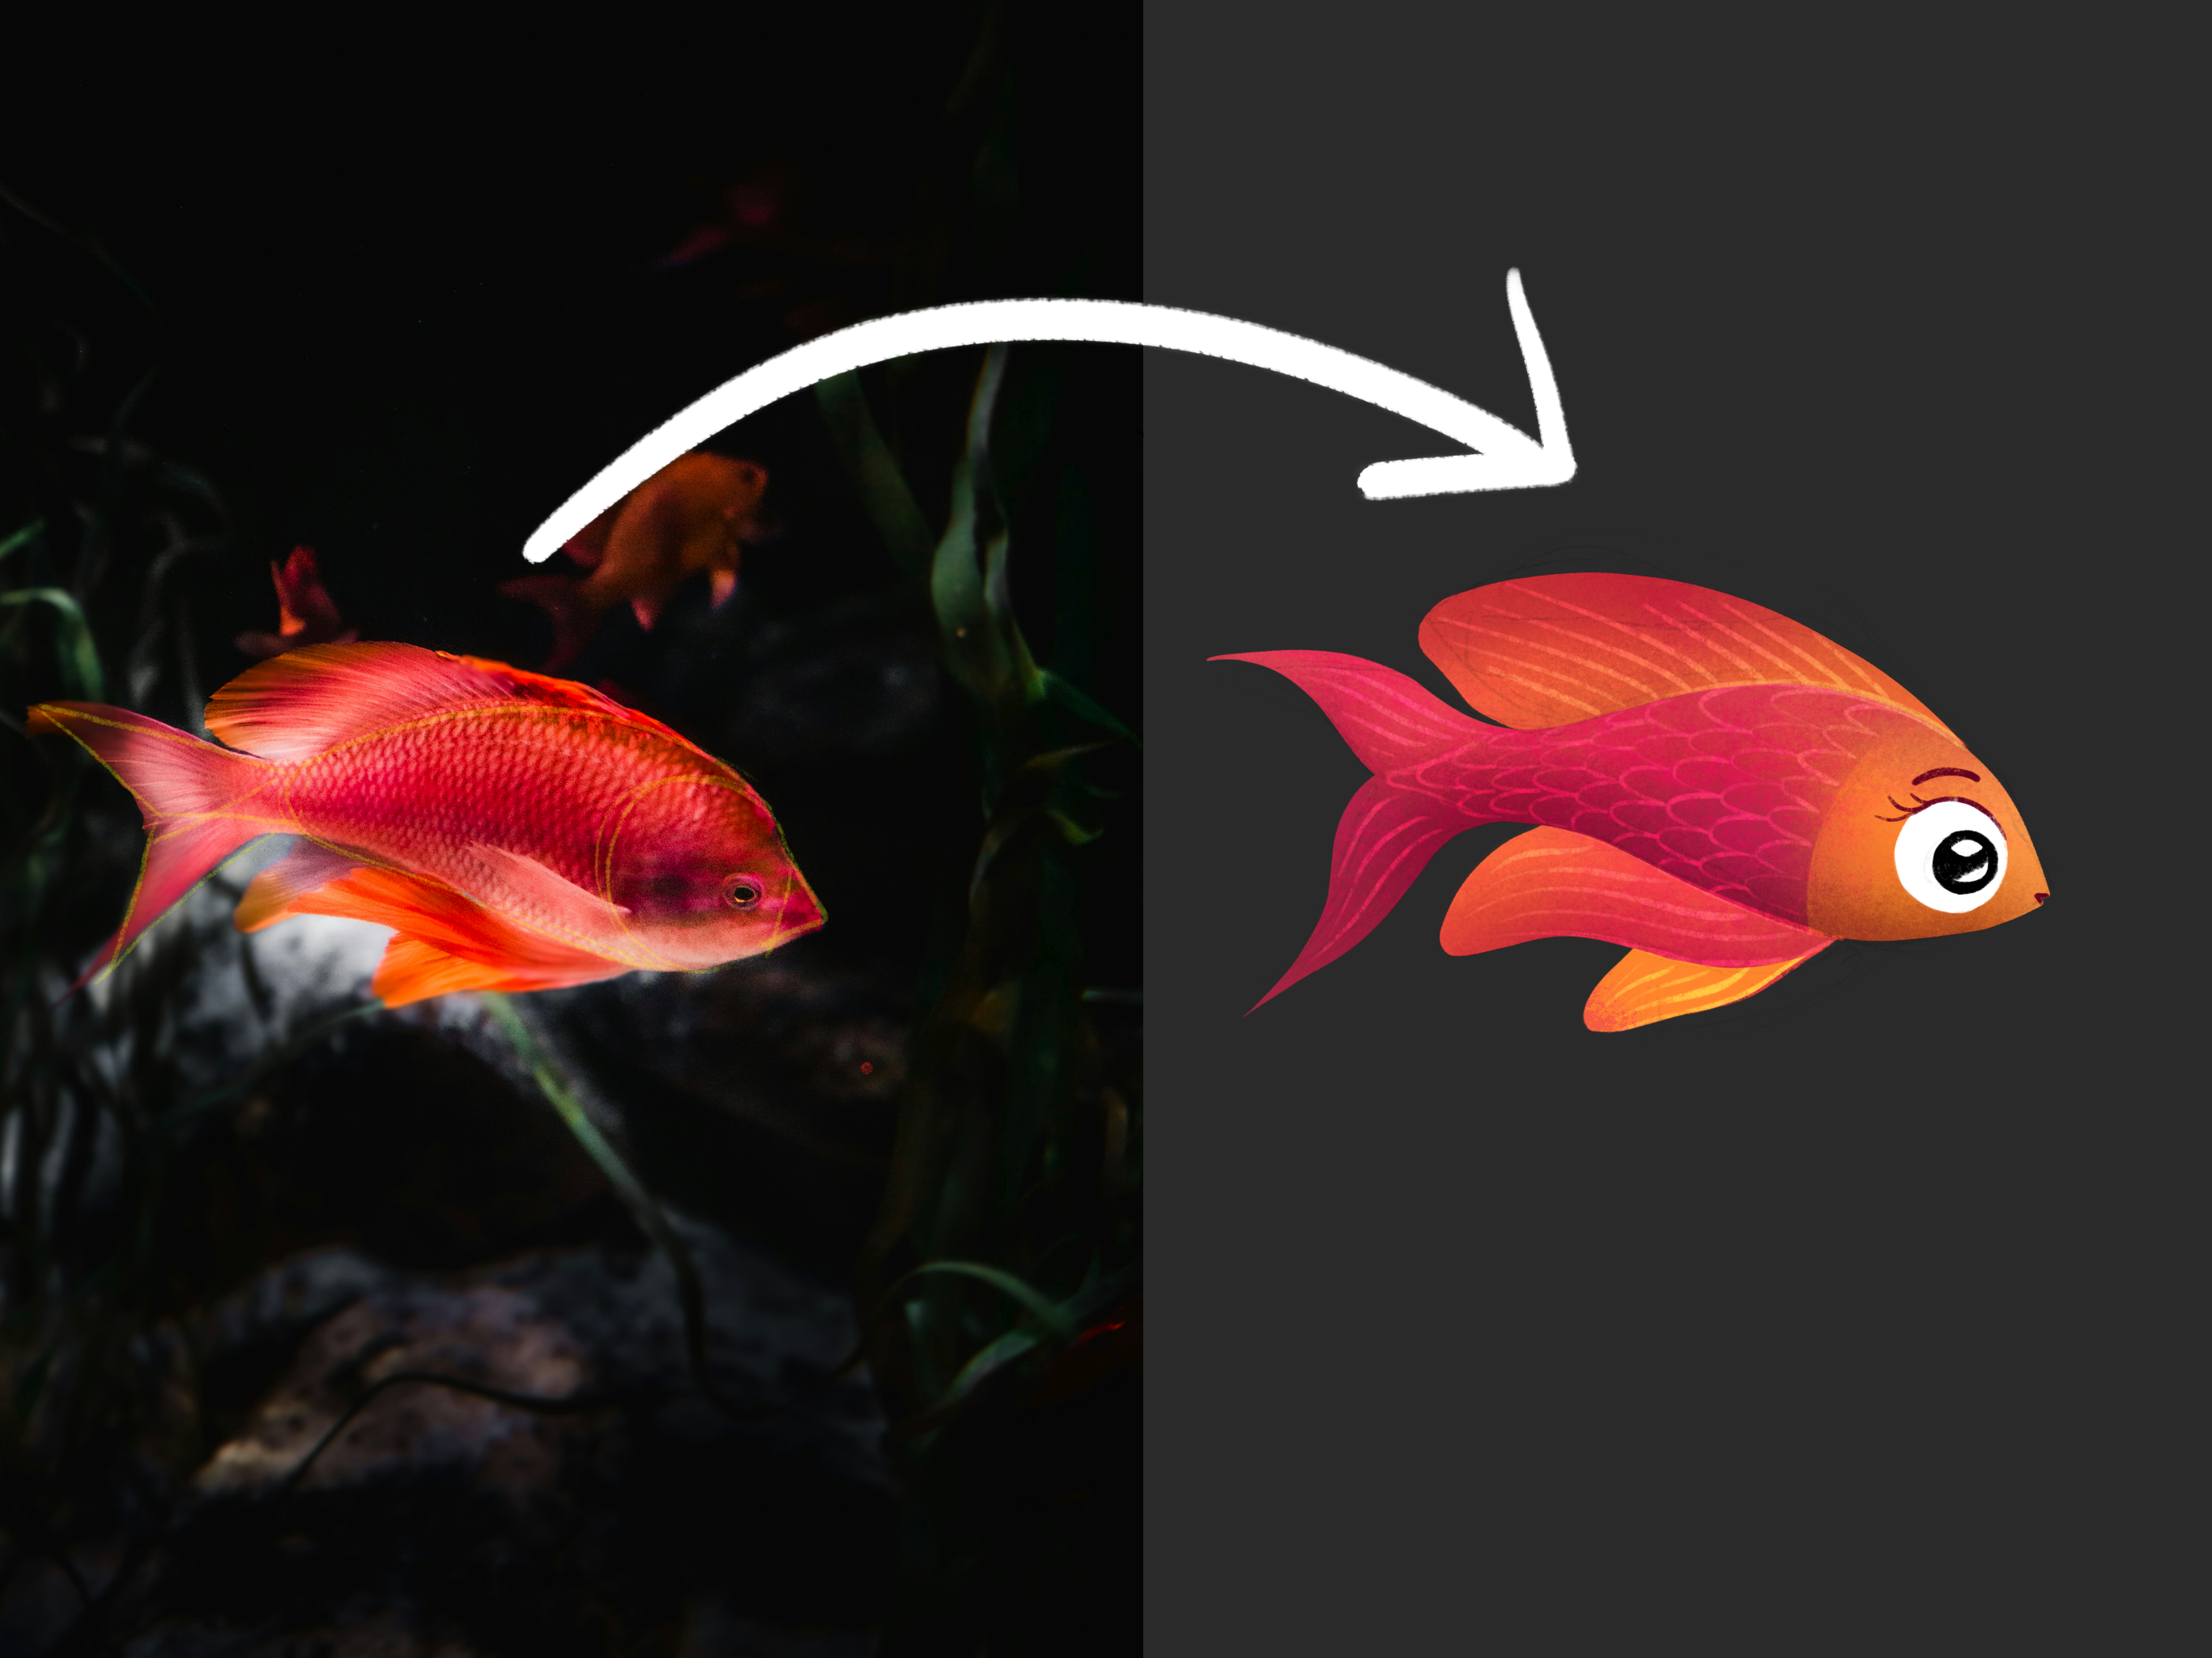
the same process. So here is this beautiful fish. This fish is really beautiful. So I'm going to add another
layer. Choose this yellow. Keep my six bit pencil. And just look for the
base shape. So we have. We have a little
triangle here and a circle for the
head and an oval. And yeah, we have the tail here. Let's say these
are two triangles. We are keeping it
like, you know, we are not copying the
outlines and looking for basic geometric shapes so that we can see where
we can exaggerate. If we want the
head to be bigger, we know that we are
exaggerating the circle, okay? And then we are going
to play with this fins. So I'm going to duplicate
this little one. I will put it here and
create another layer. I have my black pencil, and I will just start lower the opacity of
the original one. I will just start sketching it. I hope that you see because
this is a bit smaller. So I am with short
lines looking at the reference image and kind of do observations
about this fish. Okay. I see here here and here are some fins that
basically look amazing. I love how it looks. And I already started
to think about things. So yeah, this
observation drawing is also good because it just starts out your creativity
like it starts to go. And as you can see,
I did this sketch, like in a minute, probably. So I will create another layer
and lower the opacity of this little um sketch. And now I can work on creating
an illustration of it. Alright, let's do this. I allow this curve. So I'm adding it. It has has a little mouth here. So I will just add that. He has his head. I'm going to add big eyes because it is always
cute to have big eyes. Oh, he's a surprise little fish. And you can exaggerate,
again You know, you can make like shapes bigger. You can think about
beautiful fin. It has this shape, but we can create a
differently shaped one, but I like this shape, actually. So it starts kind of here. And like something like this. And he has a little
fin here as well. Wow. I love it. I love
how it looks like. Then you can progress from this to add more gestures and
things like that and details. But let's just move
on to the lion. I will create another layer. I will choose this yellow, and I can totally see this diamond shape in the
middle. Can you see that? I can also see the oval
here and here are the eyes, basically, here are the ears. And for this one, I will just basically add
the circle or this oval or this organic shape around the head and just place it next. I will make it a bit smaller, and I will just choose my black. I will choose my six B pencil. And basically, I
will start with, um defining this shape. I don't know how it
will go, but yeah. This is the base
shape for his face. He has his ears here. And here is a triangle as
well that I didn't there, but I can just sketch it
there slightly or lightly. I can add the nose. It doesn't need to
be perfect, okay? More you do
observational drawings, the better you will get. And yeah, this is a little nosy. A little and kind of as you
can see here is this shape, so I can just imitate that
and add the ice here. Yeah, d. Well, thanks and Hedy thing. Okay? Oh, Igered. Okay, Oh, I've drawn onto
the yellow. Okay, whatever. This is a normal, my mistake. It's okay. I will create another layer, and I will just lower the
opacity of this sketch. I love how it turned
out, by the way. Well, let's just exaggerate and do it more illustratively. Okay, so this is a pretty complicated, like,
animal, right? It is more complicated
than the fish was. So I can just stylize. This means that I can change
this base shape of the head from this triangular
to more basic one. So, for example, to, you know what pops up in
my mind, um, let's see. It can be a bit rectangular if you want
to make it for kids. It can be more oval, so it's a nice lion. I will try to keep the
character of this face and do a little head shape
like this and place the ears on top or
maybe it can stay here. Yeah. And I will
add some shapes. So for example, this shape
is really characteristic. I can simplify the
nodes as well. And add another shape like
this and make it simpler. It is all about having
fun and playing, you know, I'll add
eyes like this. And I can use this
shape for this part. But it is missing
some parts, you know, so to create the
effect that it is fur, I can just cut out of. As you can see, there
are these wavy things, so you can add those. You don't need to,
but it looks fun. This is very stylized, but you have seen my process. And yeah, basically, to do a little recap
on what we did was basically getting
reference photo to learn about animals and do an
observational drawing. Then finding basic
geometric shapes within these body shape so that we
can have points to relate to. And then we can use these structures to do
observational drawing and really sketch out the animal and then use our sketch as the
base for the illustration. So it's a whole complete
transformative process from going from a reference
photo to an illustration. You can simplify body shapes. You can exaggerate, you
know, parts of the body. You can add character
with accessories. That's character
design parts rather, but illustrations are about
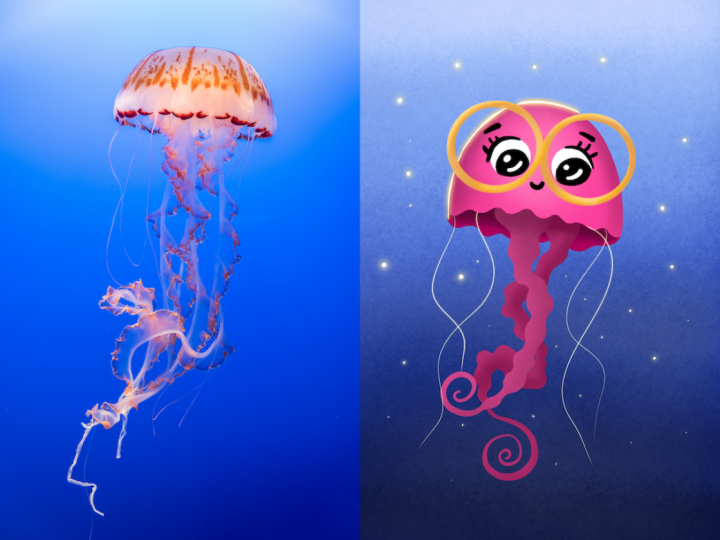
characters, you know. So if you want characters,
you need accessories. And I love to add, I don't know, glasses to my character. So yeah, let me do that. This is lion weight glasses. And then, yeah, you can find the basic geometric shapes
and simplify and change them to give a
different character or make these animals,
you know, cuter. So this diamond shape
is pretty edgy, so it speaks with, like, shape language, that it
is dangerous animal, but you can make them cute. And this is for practice, okay? So if you want to practice drawing animals and
illustrating animals, it is good to do this several times so that you, you know, learn how you are drawing different animals and how
you are changing them. It is all about play. And yeah, so let me just choose one animal that I am
going to illustrate, and which one should it be? I don't know. I love
this fish so much. I love the colors. And I think it is, um,
mainly the simplest. So I think I will
go with that one.
3. Illustration: Alright, so the first thing that I'm going to do is to pick up colors from this one because I totally love how
it looks like. So I will go to palettes. I will create a new palette. And I could just import a
photo to choose colors from. So if you hit the plus nine, you can just add new palette from photos and you
can import a photo. But I'm just going
to pick them up now, and I will start with
the lightest color. It is this very light. And we have very light yellow here as
hoops. I didn't mean that. I will tell it swatch. I meant this light yellow. Yeah. Then we have darker
red, even darker red. Here is some pink
and dark purple. And you don't really need to, you know, fully copy
how it looks like. You can simplify everything. So what I'm going
to do is to lower the opacity of the
sketch, of the sketch. And create another
layer below the sketch. And from the brush
set that you get, it is the rtters
ultimate brush set. There are six brushes, and these are the ones
that I'm going to use, but you are totally free
to use whatever brushes. The main point is that the
basic shape that this fish has it's going to be done by an opaque brush
with a clean edge. So this is the clean
shaper for me. Just make sure that you
have a brush that is opaque and choose a
base color for it, and I will choose this
pinkish red color. And I'm just filling
in the shape. And you can adjust the sketch or the character design or
the linework for yourself. I just want to show you my
illustration technique. And if I don't like the shape, I just go in with
the eraser that has the same brush as
the eraser and oops, and I will make it
smaller and make light adjustments to the
shape so that it is perfect. Okay. Cool. I will create
the fence to a layer below, and I will choose
a different color. Probably this lighter orange. And as this one
is a layer below, I will just add it there. And I will yeah, start
working on them. So I will alpha lock
all three layers, and I love this shape of
the head in the front. So I will just go back probably
with a different color, basically, and I will
try this yellow. I can see that, this color is kind of the bottom
part, but let's just see. So for the head, we can
have maybe just one. I really love this
very orange color, so I will try to add
that rather. Okay. And now I'm going in with the shader brush and paint
around a little bit. And I want this very pink color. I can just pick up from
here or my little palette. And to the main body, I will make it a bit bigger
or I don't know, 10%. I will just add in into
the into this part. Yeah, can you see that? So I want basically to
lighten up the fish. So from the top, it will have lighter colors. I can just go in with this
shader brush here like this. And in the bottom part, I want a bit darker, and I see a little bit of purple here that I think I can add. Here. Don't worry
about the head. Now, I will just choose
a darker version of this ocher color and
add in in the front, and I will add back with the original color to
the top like this. I will go even lighter
in the top a little bit. You can use texture brushes
as well to do this. I love this pink as well. I will just choose
a texture brush. I have a texturizer here
or is this very pink? Pink. Yeah. And I will create another layer
and make it a clipping mask. And I want a very
saturated pink. And I will choose my
texturiser brush. And I'll just add some dots here and there to the whole fish, and it will create this
wonderful texture. Can you see that? I love how it looks like. In a second, it will
look even better. And don't worry
about the pink going into the yellow and
stuff like that. And I will go to the fin now
Yeah, it is alpha logged. I will add what is
very pink to it, and I will go back with this
yellow and the shader brush. I will turn off the sketch so that I can play
with it a bit more. As you can see, I
can lighten the fin, so it differentiates
from the base, you know, shape of
the little fish. I can add some
colors to the end. This bottom one, I
will make it even more yellow. Make this. And I will add back this
yellow to the head of bit. Oh, I love the shapes that
are coming out. Beautiful. And yeah, you might wonder what about this
very light color, and this is where
details come into place. So I will create
another layer on top and choose the
sketching pencil. And I will just
add some details. So if I want to simplify, I can actually add
cops that's very dark. I go even lighter. I can add linework. So I can kind of
do a little bit of linework around these shapes so that they are more different. And I can add details
like this into the fin. Cool. And I can add
a little bit here. You can add more lines, and I will add this
to the end as well. Really cool. And you
can add the scales. So you can add
these things here. This part really depends on the illustration
style that you have, how you are used
to drawing things. I really love this base
colored and some shading, some little texture and
very simple details on top. This is basically how
I love to draw things. I will do a line here. And on top, I will
create another layer. I will turn on the sketch. I will just choose white, and I will add the ice. I will erase from it to
have it more. Solid. And I can create another layer clipping
mask, choose black, and add the little pupil here. Really cool. And I can
choose this very dark one. And to any of the layers, I can just add the little
eyebrow, the little mouth. If you want even more details, you can add eyelashes. You know, you can customize
your little fish. So now, this is a girlfish and I will turn off the sketch. And maybe I'm not really
satisfied with the details. So if I go in to
the details layer, I can play around
with blending modes. I often do it. So, wow. This colored dodge adds some very interesting things
into it and the vivid light, as well. Oh, wow, okay. The dark one doesn't
look very good. Oh, I love the vivid light. Yeah, let's keep it
that. Yah, cool. It looks so cool. And let's change the
background color to black and wallah, here is our little fish. If you want even more definition because I can see on camera that it is not
very, um, you know. In contrast, I can go
into the main shape, Joe the shader brush
and add more contrast. So I can just darken
it like this. And or maybe the fin, as well. Let me see the top fin. I can make it this dark, but I don't like it that way. I can make maybe the
edge a bit darker. Okay, and maybe the bottom one. Because the shader
brush adds texture. So yeah, I think the color
palette is pretty similar. I misses some red, but it is totally okay. It was just an inspiration. And can you see that I had a reference photo and with the process
that I've shown you, I already have a
little character, and I think it is super cute. Okay. Now I'm going
to illustrate. All the others. And I will apply everything
that I've done here. I can just add
some, I don't know, the environment and things
like that. So that can be fun. Yeah. So what I'm
going to do now is to illustrate the other ones as well and apply this whole process to
those sketches as well, and I will have three
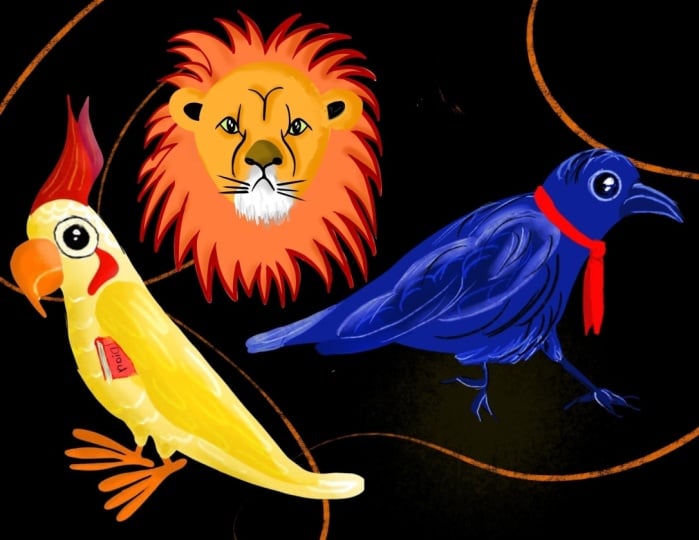
little animal characters. Alright, so here are all
free little illustrations. I think they are so cute, and I put them together to this image with some
decorative elements, and it is just finished, and I'm so happy
how it turned out. Now, um so the process is the same as you
could have seen. I've done the same. So let's just do a little
recap on how we progress. So we had a reference photo. We found the basic geometric
shapes in the body. Based on that, we did an
observational sketch, and then we transformed
the sketch, exaggerated parts,
simplified parts, and then did the illustration, and my illustration process was filling in the basic
shapes with color, then adding shading texture
and some detail on top. And I hope that you
like this workshop. And if you create something based on this workshop and you are sharing
it on social media, make sure to tag me so that
I can see it and share it with my audience because I'm always so proud of you guys. When I come up with
something to teach, you always do better than me. You are so creative and you just need some guidance
and some push. But yeah, I believe in you and I hope that
this workshop helped, and it was a pleasure
to have you here.
4. Final Thoughts: Congratulations on
finishing the workshop. It was a pleasure
to have you here. Make sure to share what you created with the help of this
workshop on social media and tag me as the Artmother
so that I can show you off because I'm so
proud of my students. They mostly outdo my idea. So go to Instagram, find me as the Artmother, follow me, and, yeah, also stay up to date there. If you want some freebies, I have something for you. Go to my website and sign up for my newsletter
to get access to 46 Procreate brushes
I personally created and some color palettes. It was really, really, really fun to be
here with you and thank you so much
for supporting me with your presence and for investing in yourself
and your art journey. It is really important. I hope to see you
somewhere else, as well. I wish you all the best
and happy creating.
 The Artmother, Professional Art Teacher and Artist