How to Transfer Reference Photos for Drawing & Painting (Tracing Method) | Andy Villon | Skillshare

Playback Speed


1.0x


  • 0.5x
  • 0.75x
  • 1x (Normal)
  • 1.25x
  • 1.5x
  • 1.75x
  • 2x

How to Transfer Reference Photos for Drawing & Painting (Tracing Method)

teacher avatar Andy Villon, Fine Artist

Watch this class and thousands more

Get unlimited access to every class
Taught by industry leaders & working professionals
Topics include illustration, design, photography, and more

Watch this class and thousands more

Get unlimited access to every class
Taught by industry leaders & working professionals
Topics include illustration, design, photography, and more

Lessons in This Class

    • 1.

      Welcome to Class

      3:01

    • 2.

      Materials

      2:16

    • 3.

      Preparing the Print Out

      2:29

    • 4.

      Tracing

      8:22

    • 5.

      Thanks for Watching!

      1:13

  • --
  • Beginner level
  • Intermediate level
  • Advanced level
  • All levels

Community Generated

The level is determined by a majority opinion of students who have reviewed this class. The teacher's recommendation is shown until at least 5 student responses are collected.

110

Students

--

Projects

About This Class

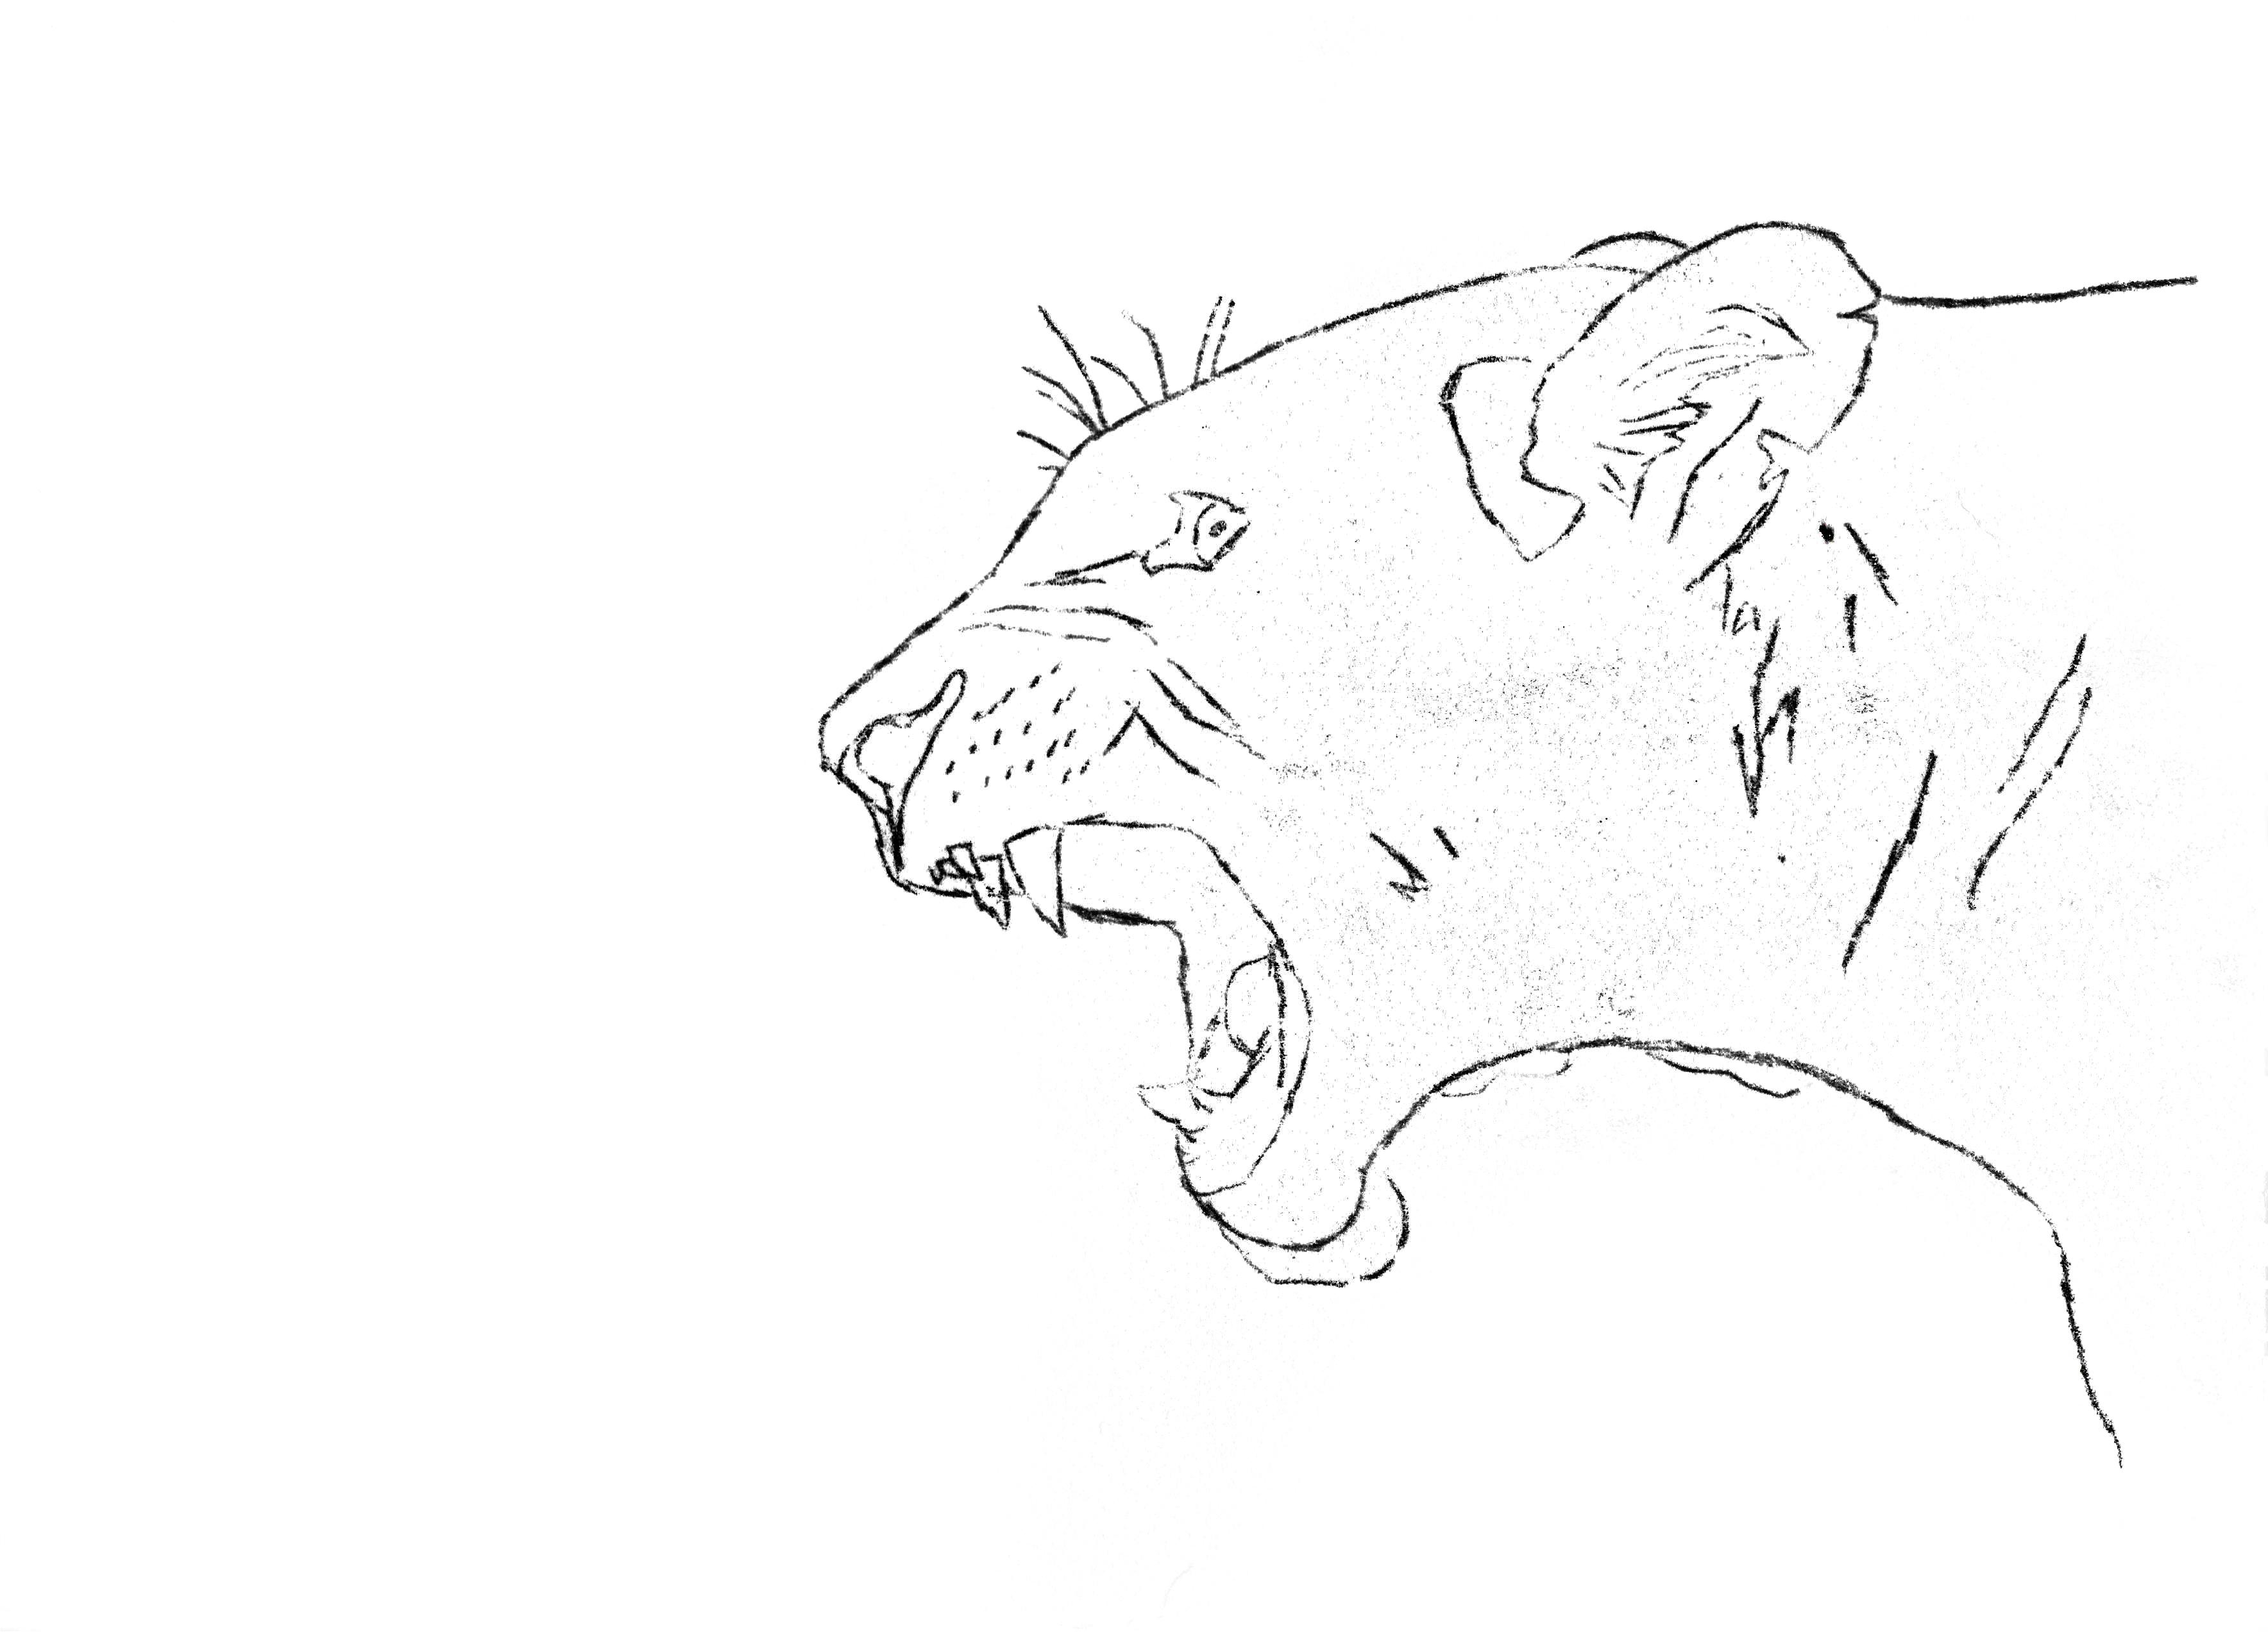
In this class, you’ll learn how to transfer a reference photo onto paper or canvas using a simple tracing transfer method. This is an easy, reliable way to create an accurate outline so you can spend more time on what you really want to improve—painting, coloring, and finishing a piece—instead of getting stuck at the sketching stage.

This technique helped me for years as I developed my art skills. It let me work from a clean, realistic drawing while I continued practicing sketching on the side. I’ve also noticed many students enjoy coloring and painting more than drawing, and that’s completely normal. The tracing transfer method is a helpful bridge: you still learn structure and placement, but you don’t have to fight the stress of “getting it perfect” before you can start.

If you’ve ever wanted to paint something specific but struggled to draw it accurately, this method can help you get a solid outline consistently and confidently.

Materials

Use whatever you have—here’s what I’ll be using:

  • Sketchpad paper or canvas

  • Soft graphite pencil (6B, 8B, or 9B)

  • Optional: 6B graphite stick

  • Artist tape or masking tape (to hold the reference photo in place)

  • Hard graphite pencil (HB, H, or 2H) for clean transfer lines

I also would love it if you visit my Etsy Shop where I offer prints of my artwork and other handicrafts: AndysARTtitude

Be sure to check my pages out on Instagram and Facebook where I post updates of my art and I announce when there are new SkillShare classes.

Related Classes:

Meet Your Teacher

Teacher Profile Image

Andy Villon

Fine Artist

Teacher

I'm a fine artist and Skillshare teacher specializing in colorful, realistic animal and floral art using Posca markers, acrylic paint, watercolors, and mixed media. I've been working as a professional artist since 2013 and teaching art since 2021, helping beginners and growing artists build confidence through clear, step-by-step instruction.

My classes are beginner-friendly and project-focused, designed to help you create vibrant artwork while learning practical skills like shading, layering, texture, and color control. I'm especially known for teaching realistic animals, glowing effects, and eye-catching florals, inspired by bold color palettes and what I like to call Instagram-style art -- bright, expressive, and visua... See full profile

Level: Beginner

Class Ratings

Expectations Met?
    Exceeded!
  • 0%
  • Yes
  • 0%
  • Somewhat
  • 0%
  • Not really
  • 0%

Why Join Skillshare?

Take award-winning Skillshare Original Classes

Each class has short lessons, hands-on projects

Your membership supports Skillshare teachers

Learn From Anywhere

Take classes on the go with the Skillshare app. Stream or download to watch on the plane, the subway, or wherever you learn best.

Transcripts

1. Welcome to Class: Hello and welcome to class. My name is Andy, and I'm so happy than even decided to join me here for this aren't class. Today, I'll be teaching you the transfer or otherwise known as the tracing method. It is important for beginners, especially because in my personal experience and also from observing my own art students, I find that they struggle many times withdrawing with the answers weren't draftsmanship of art, but when it comes to coloring, that's what they enjoy. More show instead of getting bogged down and stretched out for not being able to draw. Well, now I'd like to give my students the option to be able to trace and use this transfer method of getting the drawing down on the paper. And that allows them to be able to color and do what they really make. The drawing will come more naturally and progressively in my personal case, my mentor saw that when I was learning to draw, I really struggled and I wanted to be able to just cover and shade and do what I really enjoyed. And he knew that within time I went to be able to draw really well too, which I am right now. But he knew that I needed some time to mature and my artistic amenities and taught me how to trace using this method. I will show you today. And for many years I have traced using this method. But then I graduated so to speak and learn how to draw freehand ion and not have to use this transfer method. Today, what I'll be using as an image that I'll be working from is a picture of a lion. And I'll go over it more later on in the materials section. But if there's something else that you want to draw or whatever, then that's perfectly fine. If you have a portrait or a picture of your animal here, pad or a house, a car, whatever it may be, that's fine. This method can be used with anything you wish to draw an absolute, a really wonderful thing about it. It used it to draw animals, people, cars, cityscapes, landscapes, a number of things. To start out or going over the materials where our layout and show you the materials I use. And if you don't have the materials, that's okay. Then I'll go over how to prepare the picture for the transfer. And after that, or transfer the picture from our printout to the paper will be working on. 2. Materials: Alright, so we're going to start by going over the materials and we'll go over in a paper at first. Now this method can be used with any type of paper. It doesn't really matter, smooth, hard, whatever you have. So that's the first material you need is your paper. Next one more, need some tape. Either I have Artist's tape or you can also use some scotch tape or anything just to stay the paper down that we'll be using to transfer our artwork. Next thing you'll need is a soft core pencil. This one is six B pencil, heavy. You don't have this exact depends on that's okay. Anything in the range of 6789 B0 is perfect. We just need to have something soft. And in my case, I like to use this big piece of graphite that I got in my large store. It is A6 be graphite and it's rated for working on raw large areas. And if you weren't in on some of them running banking, transferring something really embedded and this is a great asset. In the final thing you'll need is a pencil, such as a mechanical pencil. Some of them harder. This XB, such as a HB or age, or to be anywhere around there. Something a bit harder. My case, I'm using this mechanical pencil and I like, and we'll be using this to transfer from pain-free and print out to our piece of paper here. And then the final thing you'll need is a print out. In my case, I have this one, have a lion that I'll be using as an example and downloaded this picture from Shutterstock to my computer and I put it on wrath and white. You don't need it and I can write as fine. And I have it on this regular 8.5 by 11 printer paper. And of course if you want and then I until we better or smarter, even scaled it when you're in your printer settings before you print in the picture. 3. Preparing the Print Out: Alright, so we can get started now, I have my printout of my lioness and I'll turn it over. We need is a hard surface such as this, the back of my paper pad. And I'm going to send a town and started out with my six feet pencil. Now something that can help you save time as I have right above here. And so I'm looking at this through the back of the paper. And I don't mean to get on this area because there's nothing there. So I'm going to go in the back. I'm going to go in and trace night nine to give me an idea of where the animal is, where I need to enter in. There I can see where my tastes. So now I've set this down and I'll hold my pencil at an angle. You see I have a nice sharp point. And I'll start with ins his folks trying to sell it in other way. It doesn't have to be sorted. Trusted amount where there's not much fight showing through our pacifying I felt CV amount and that amount. Not too much, not too little. 4. Tracing: Okay. So now that we got that filled in, well, take this to one side for a moment and assess our sketching where our drawing will be. Okay. Sure. And turn it around and place it in a location. And we want our line we think about right there. So now what I'll do is I'll grab my tape again. I'm using artist tape. And I'm going to take a piece of this in place and then take it to the back paper to have a sketchbook paper. And I think I'll add one more piece over here on the left. Just to be safe. It's a swamp. He's like a fish and a half by 11. Then two pieces are fine. Have it better than you might want to add more pieces of tape. Okay, so now I can start my mechanical pencil and I'm going to start on the far right and I'm pressing fairly hard. I'm just tracing some of these lines on the back. First. What I'll do is I'll go all the way around the line. This. I'm kind of scraping as I don't before I get a nice transfer. Right now if you want to check, you can check mine and see I'm getting a nice transfer. So I'm going to go around to the main silhouette of the lion. Okay. So I've got the man silhouette. And as you can see now, I can go in and focus on some details. So we'll work on here. First up, hair. I think in some of these towns and there's these little indentations around here. I also want to trace some of these details and offer up his side of the air. Just going around the fur and cigarette. And so when you might want to melt down the direction of the fur, I can go in and trace some of the ways that her is going in. Just. Right here. We notice there's an outcropping and her kind of a change in color so we can trace around that. Well go on to the I trace around and have Paul Ryan here. We want to be sure to get the outer part of their eye around it area so we can trace some of these lines and her hair. You know, slather or touch or some of these whisker indentations here. Well, little around the nose, tracing some of the details around here. And then we'll go ahead and go around the mouse, starting to trace more of those details around here. You see right in here, there's a prayer over there or a shrine on the left. You want to know who? That town. We want to note the tongue. And then we'll go ahead and trace. And trace. And it starts with the outline of her mouth and hair. Okay. So now it's time to check. I can also trace some of these hair marks and hair. Following the trial. I was a her. Okay. And then we went to and some of these was to. I don't want to transcend some of his fur and hair, so I know where they are. Okay. So I think that's about it. So let me check once more. And I want to be sure about got all the two towers I wanted to. I want to bring this phone down a little bit more and hear. Okay. So they are gone so they can turn to remove or remove this piece of paper. Okay so there's our Ryan this nicely drawn out it and see how that details that forward so you can see so that is our line is transfer ready to add color and whatever medium here using current pencil watercolor pastels markers call for it. 5. Thanks for Watching!: Thank you so much for watching. I really hope you enjoyed this class and we're able to learn something from it. Please feel free to post a picture of your drawing below this class so that all of us here on Sco chair can see what you did. If you have any questions, don't hesitate to start a discussion in the discussions tab below this video, and I will be happy to answer your questions. Well, if you would like to support me, please check out my website at www.andartitude.com And feel free to visit me on Instagram and Facebook where you can see daily updates of my artwork at Andy's attitude. Stick around here on Skillshare and follow me because in the coming weeks I will be uploading more classes. That's been it for now. I hope you have a wonderful day. See you in the next class.