How to Sketch a Macaw: Simple Bird Drawing for Beginners | Andy Villon | Skillshare

Playback Speed


1.0x


  • 0.5x
  • 0.75x
  • 1x (Normal)
  • 1.25x
  • 1.5x
  • 1.75x
  • 2x

How to Sketch a Macaw: Simple Bird Drawing for Beginners

teacher avatar Andy Villon, Fine Artist

Watch this class and thousands more

Get unlimited access to every class
Taught by industry leaders & working professionals
Topics include illustration, design, photography, and more

Watch this class and thousands more

Get unlimited access to every class
Taught by industry leaders & working professionals
Topics include illustration, design, photography, and more

Lessons in This Class

    • 1.

      Welcome to Class!

      2:23

    • 2.

      Initial Sketch

      4:24

    • 3.

      Adding Details

      6:57

    • 4.

      Final Details

      6:34

    • 5.

      Thanks for Watching!

      1:13

  • --
  • Beginner level
  • Intermediate level
  • Advanced level
  • All levels

Community Generated

The level is determined by a majority opinion of students who have reviewed this class. The teacher's recommendation is shown until at least 5 student responses are collected.

18

Students

5

Projects

About This Class

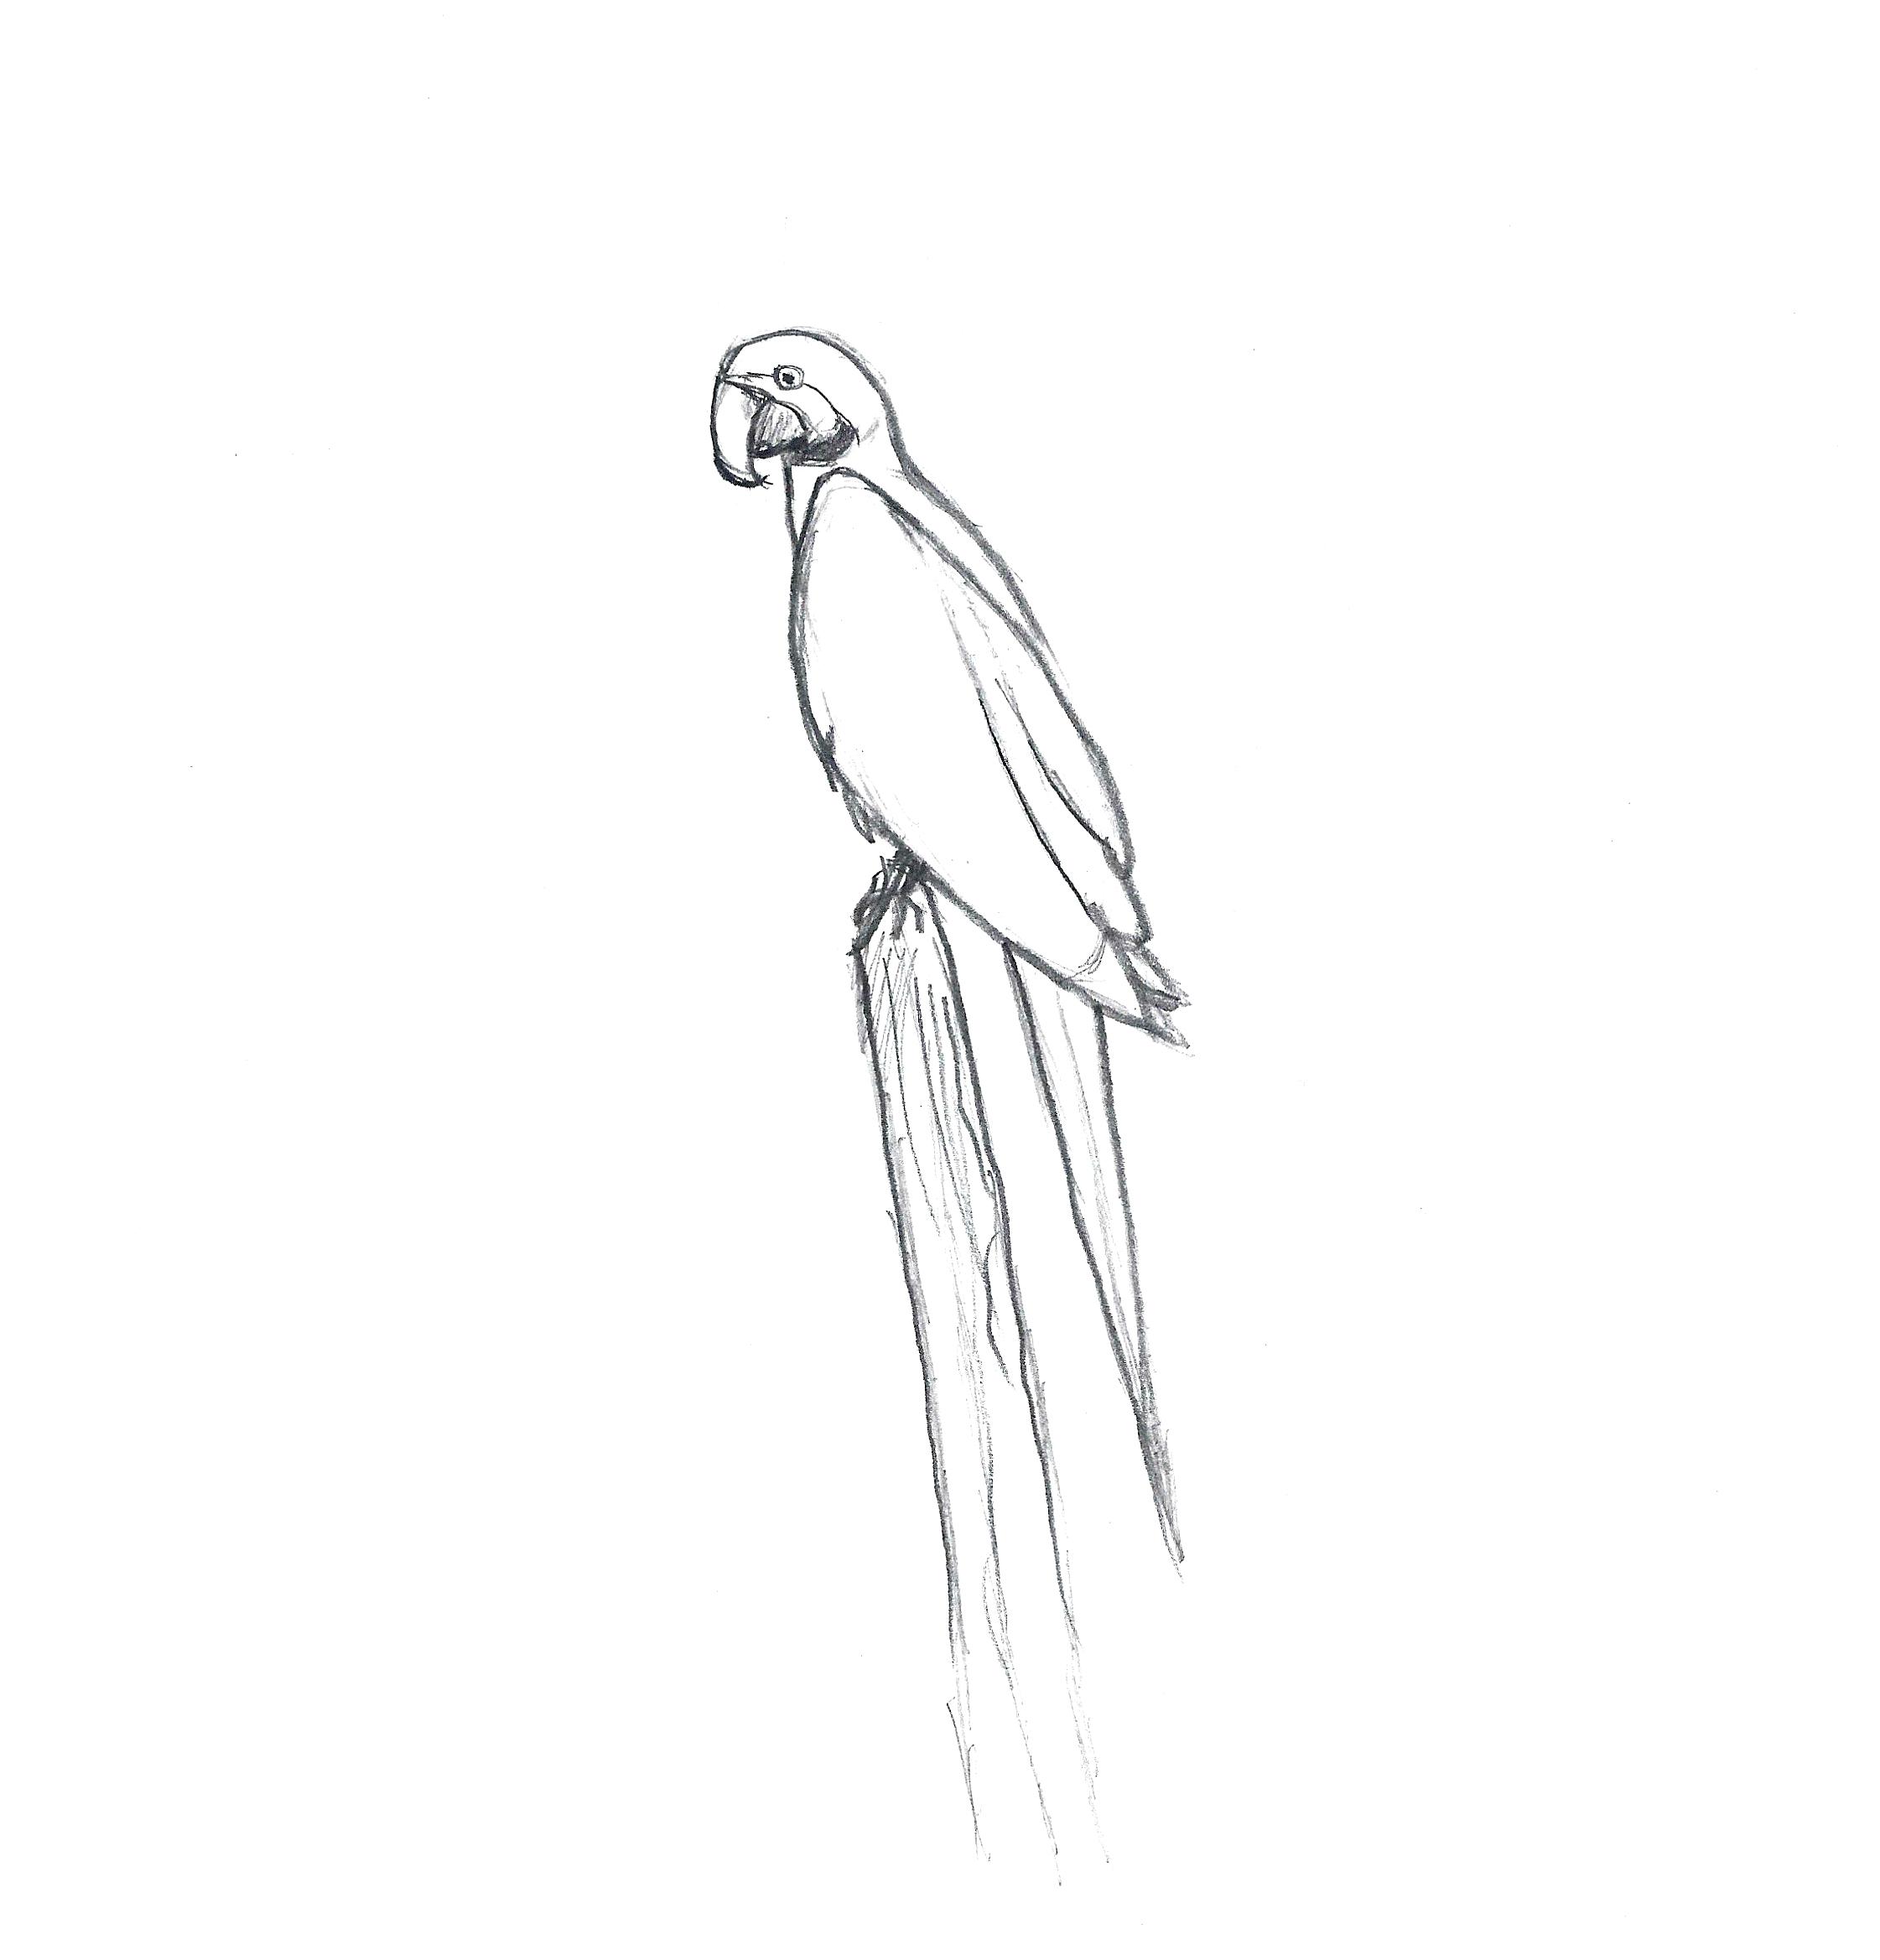
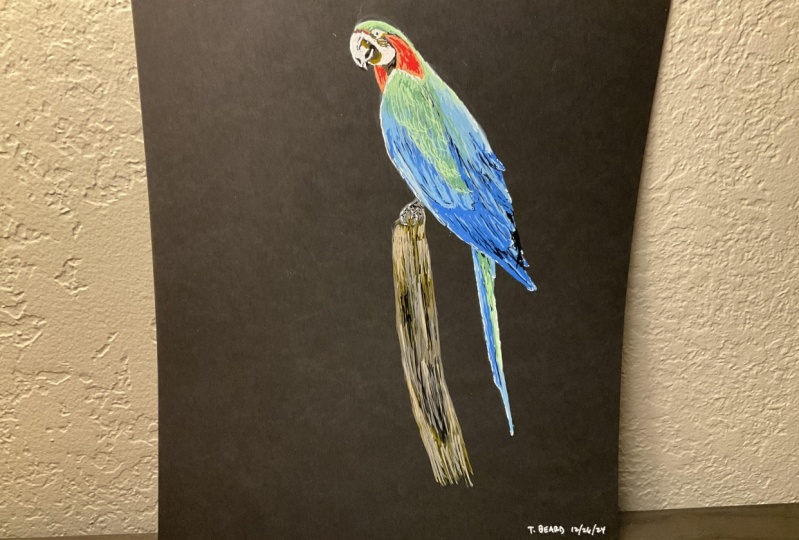
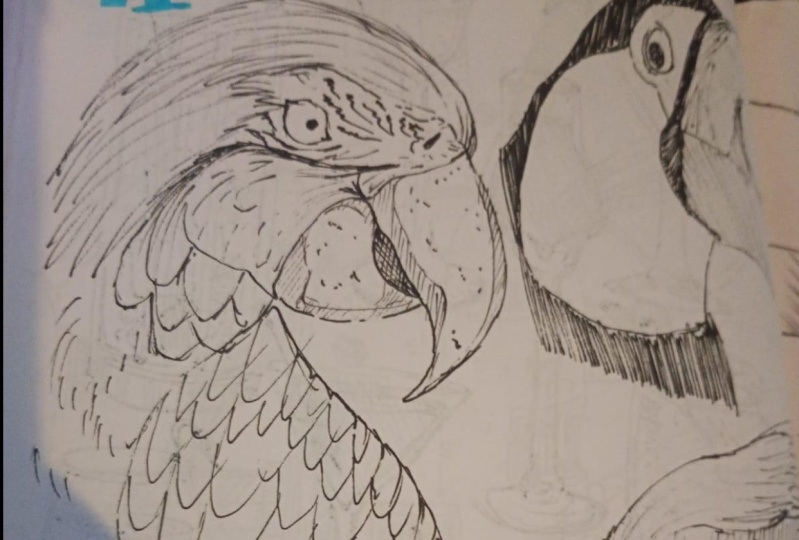
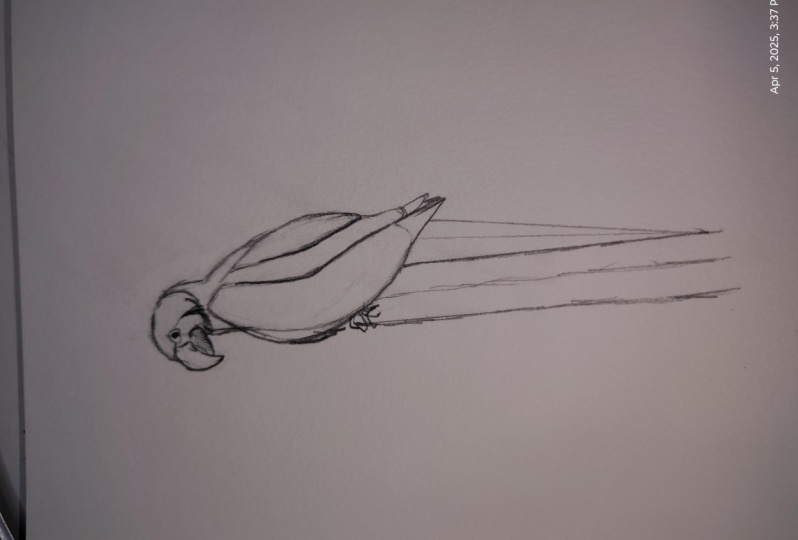
Are you a bird lover—especially parrots and macaws? In this class, we’ll draw a simple macaw (parrot) sketch using only pencil, focusing on clean shapes and the basic form rather than heavy detail. If sketching has ever felt intimidating, this lesson is made to help you loosen up and build confidence with a few simple techniques for drawing birds.

I love painting, but I also love the quiet practice of sketching—because it’s where your ideas get built. The goal here is to keep things simple, train your eye, and enjoy the process. The more you sketch, the more natural it becomes.

This class is great for beginner artists, animal lovers, and anyone who wants to improve their bird drawing skills. In the project section, I’ve included the macaw reference photo—feel free to use it as you follow along.

Materials you’ll need:

Strathmore Bristol Board 100 lbs Paper

Graphite Pencil 2B and 5B

Kneadable Eraser

I'd love it if you would visit my Etsy Shop where I offer prints and other handicrafts of my artwork: AndysARTtitude

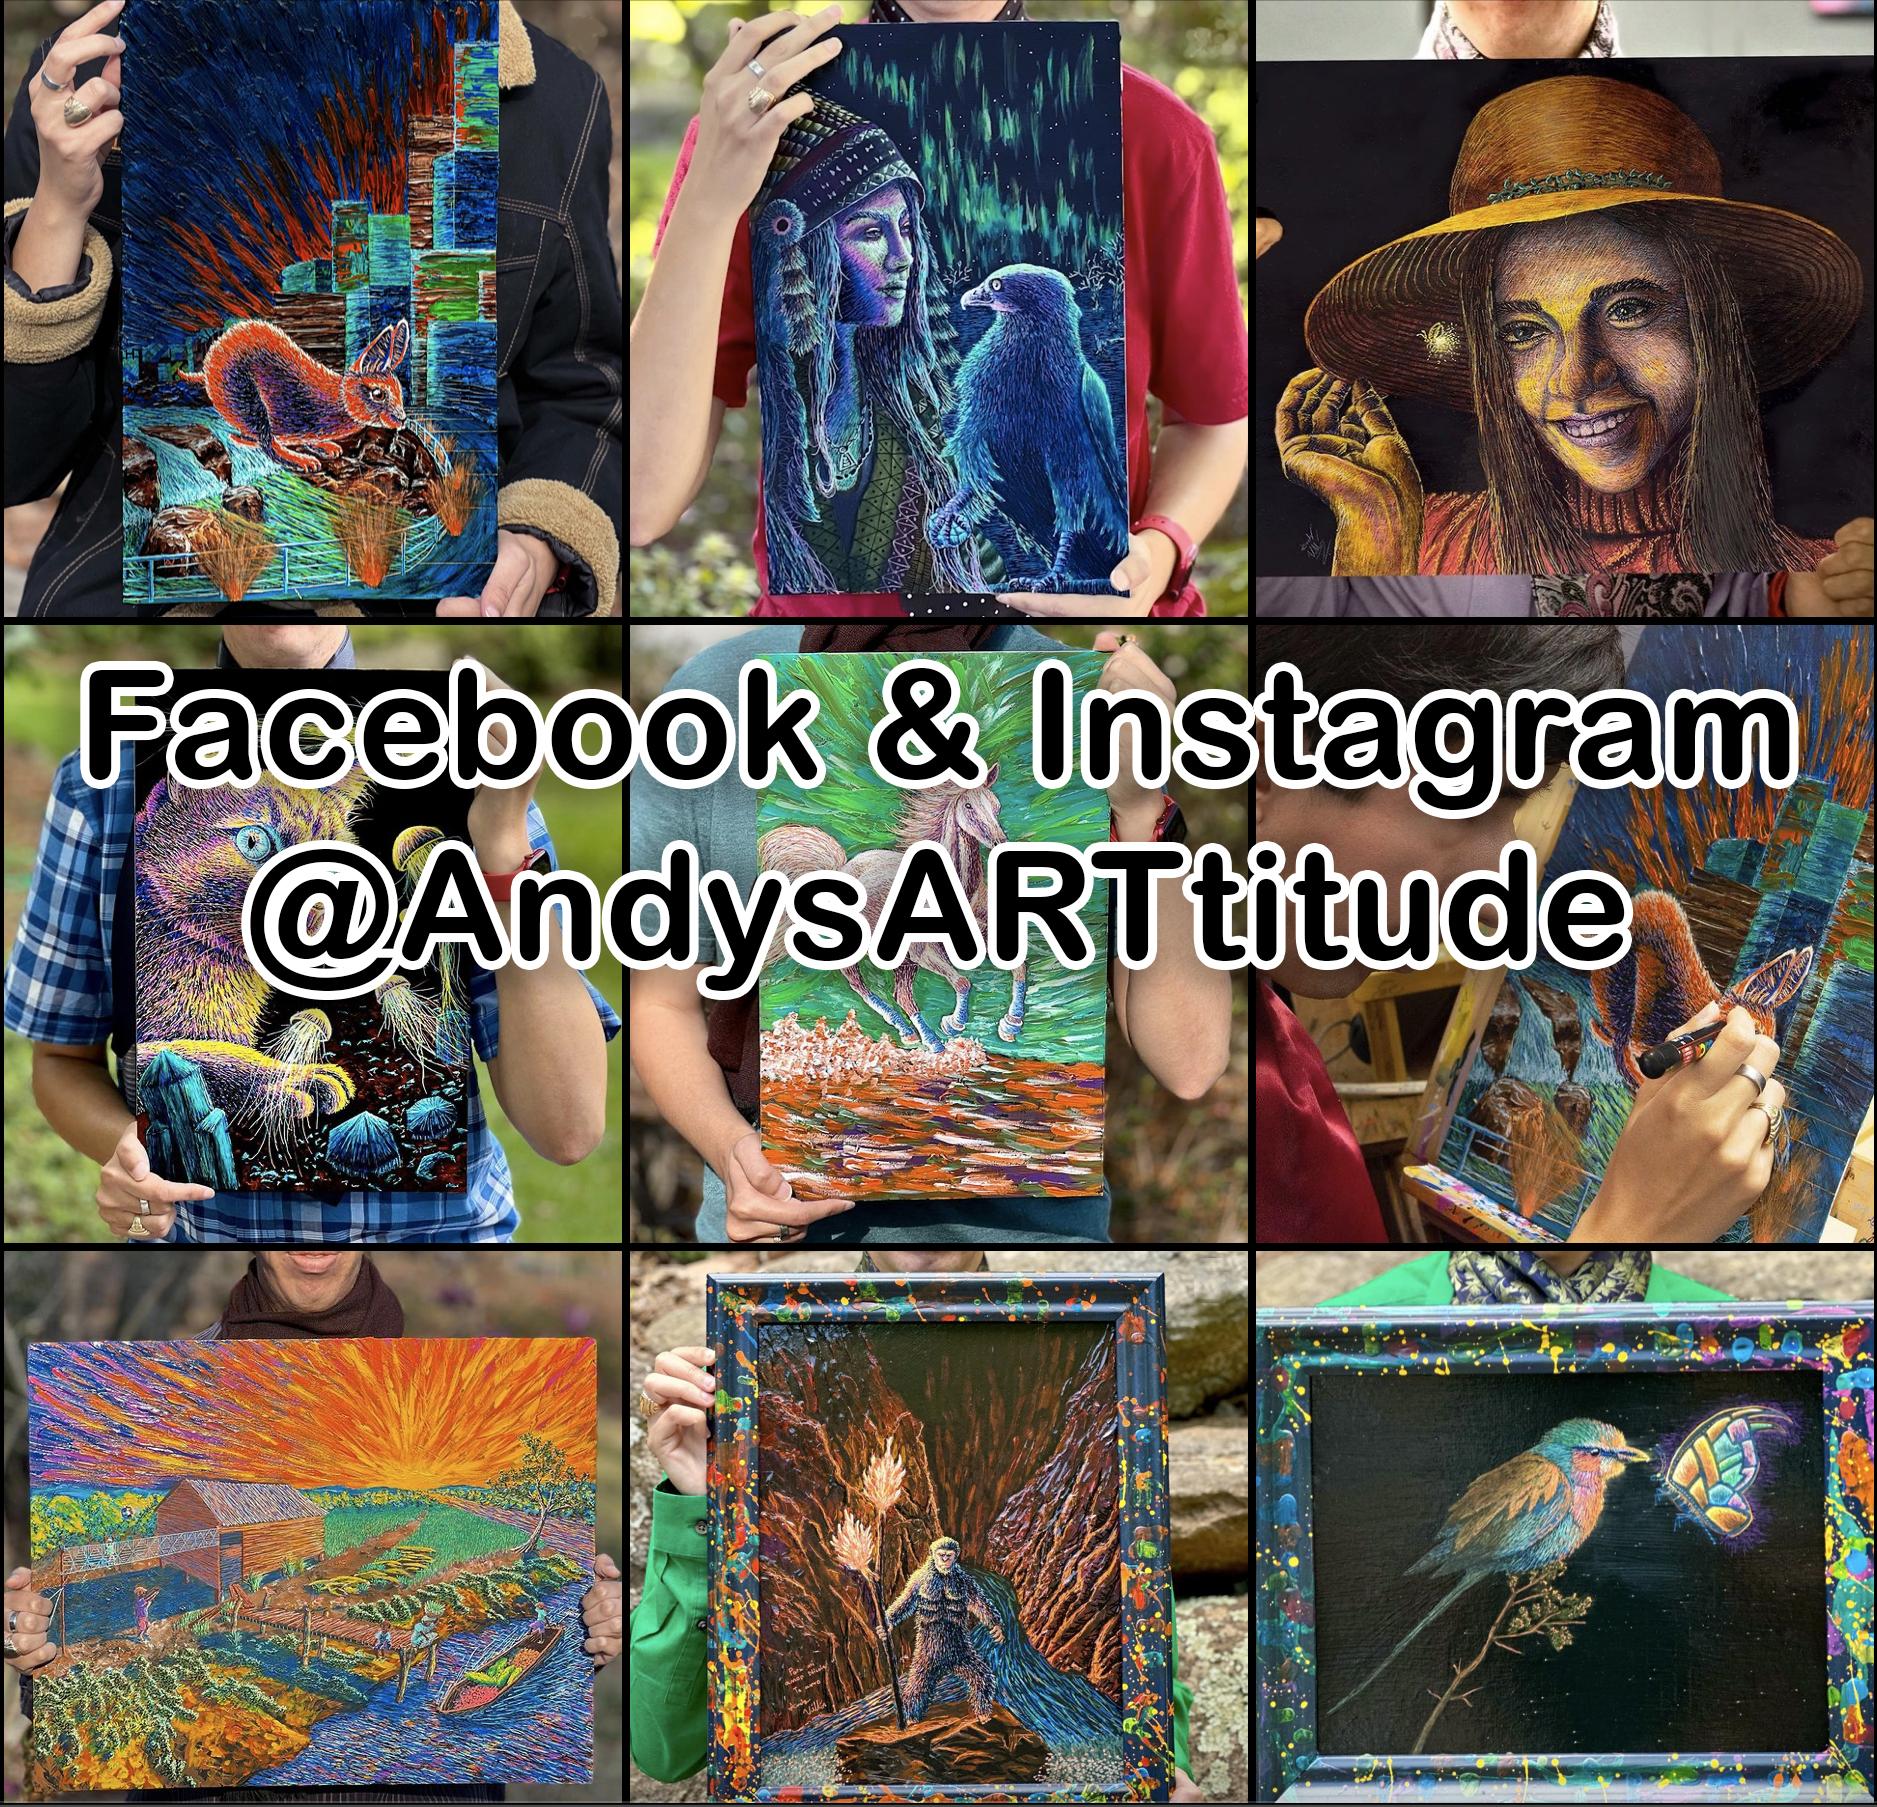
Be sure to check out my social media pages on Instagram and Facebook where I post updates of my art I also announce when there is a new SkillShare class.
Meet Your Teacher

Teacher Profile Image

Andy Villon

Fine Artist

Teacher

I'm a fine artist and Skillshare teacher specializing in colorful, realistic animal and floral art using Posca markers, acrylic paint, watercolors, and mixed media. I've been working as a professional artist since 2013 and teaching art since 2021, helping beginners and growing artists build confidence through clear, step-by-step instruction.

My classes are beginner-friendly and project-focused, designed to help you create vibrant artwork while learning practical skills like shading, layering, texture, and color control. I'm especially known for teaching realistic animals, glowing effects, and eye-catching florals, inspired by bold color palettes and what I like to call Instagram-style art -- bright, expressive, and visua... See full profile

Level: Beginner

Class Ratings

Expectations Met?
    Exceeded!
  • 0%
  • Yes
  • 0%
  • Somewhat
  • 0%
  • Not really
  • 0%

Why Join Skillshare?

Take award-winning Skillshare Original Classes

Each class has short lessons, hands-on projects

Your membership supports Skillshare teachers

Learn From Anywhere

Take classes on the go with the Skillshare app. Stream or download to watch on the plane, the subway, or wherever you learn best.

Transcripts

1. Welcome to Class!: Hey there, how are you? My name is Andy one, and I'm so happy that you've decided to join me here for this class. I enjoy working with alcohol merkers, posca, merkers and colored pencils. And sometimes I haven't like using all three and even more, such as acrylic paint and watercolors and doing something called mixed media. Over the past ten years of my artist's career, I've learned and gather knowledge on how to draw and paint. Over the past three years of teaching, I have learned what appeals to my students and how they learn best. In this class, I want to help build your artistic abilities. Here's what we're going to learn in this class. In this class, we will be drawing a simple sketch of a parrot, specifically a call. This class is designed to be simple and easy to do. It only takes about 15 minutes and all you need is a sketchpad eraser. And your pencil, I will be using a two B pencil as well as a five B pencil if you would like a full description of the materials and photo references I will be using for this class. Please see below this video in the video descriptions tavern. I invite you to follow me here on Skillshare so that you see whenever I posted a class. And also don't forget to follow me on Instagram and Facebook. There. I post daily updates of my artwork. And when you're done with this class, I would love to hear your feedback. Please leave a review and also feel free to share your work that you've done. So that all of us here on Skillshare can appreciate your work. It is now time to start this class. So sharpen your pencils and let the class begin. 2. Initial Sketch: Now we will be throwing a call for this video. What I will do is start by adding in where I think the piece of wood, the branch that the bird is sitting on is. I know I want the top of the bird's head to be around here. Not too far from the top of the paper. I see the top of the bird's head is right about there. Then I need to figure out, okay, the piece of wood looking at the photo is right. If you go straight down from the top of the bird's head, the wood would be around here. I'll put a mark there. This is where the wood branch starts. I'm going to just draw a line to represent the wood and which way it leans. Because it leans ever so much. That's really all I want to start out with. I know my bird is going to go right in this area sitting on the top of the branch. So what I will do to start out with start by adding the body of the bird. And I'm going to add a long said oval. Okay. And then this is the body composed of the wing and the body. I had to covid and add a bit more size to the front of the chest, right in here. That's all I really want for now, this long oval shape. Now I'll add the head. The top of the head needs to be right along this height. I'll just go in, right around here, and add a circle. I'm looking at where the head is. It juts out ever so much in front of the front of the chest. So looking at where, if I drew a line from the chest up, where is the front of the face would be? Right, just forward of that area. Just like this. 3. Adding Details: Okay, so I will now add in the neck. And if you notice the back of the neck, it swoops in just a bit as it joins the body here. So basically, that's our first step that we want to do, as we've done with the other birds. Adding the simple shapes to establish where our bird is, where the main features of the bird are, the head and the body. All right, now I'll go in and just a line here to indicate the length of the tail. That's all I want for now. All right, so let's start adding in some details. We can go in and start adding in the weighing. I'll have the wing coach out a little bit. Here we look at these ends of the wing. The end of the wing is it's basically have these triar forms, but we have these triangle shapes. Some are more pointed than the other ones, others a bit more rounded and they're fairly long. And we can even add a small indication of a the other wing by adding a smaller triangle here just to show where the other wing is. Okay. And then going back to the head is at the eye and I'm looking at where the eye is, it's basically right in line with the front of the chest. So the chest, front of the chest is here. We go straight up and we end up at the eye. We have this white area around the eye. And then right around here we have the peak. The upper peak comes almost out from the eye in a way, and it sweeps out from the head. And then we have the lower peak right in here. And I want to extend the top of the head a bit forward like that. 4. Final Details: All right, so what I've continued to do is to modify the head. Looking at it and comparing it to the picture of the photograph reference. Really comparing the size of the head, where it charge, where it stops in the angle of the curve. Really going back from the drawing to the photo and editing the pile ticket, what I see is more accurate at this point. I'm going to go in and modify the top of the wing just to extend it a little bit so I got it to be a bit higher up. Right now are working on the tail. So basically the tail is one long triangle, if we think about it like that. It's just we have a center line axis like we've talked about. And we'll throw the triangle around it, coming to a point right at the end of this line. At this point we've got the bird to where we want it to be before we added in the final details. Right now what I will do is go in and do a few additions to the tree here. So I'll go and inform it around this main axis that I threw, I'll add the trunk right in here. I'm using this line as a guide for the feet. What I'll do is go in, We're not going to add too much detail to the feet. Some lines here to show the toes and the legs, the cooks around this top piece of the wood. If you were drawing a bit bigger, you might be able to get a bit more detail of the leg. That's all I really want. All right, so now I will step in with my five pencil and just go in and clean up some of these lines, then add a bit of depth to this. All right. So that rubs up our call drawing, you were able to see how I added in these lines for both of the bird. Establishing where the head top of the head was and then finding where the wood went and allowed me to the place the bird to the size I desired. I added that long oval in order to show the size of the body, and this allowed me then to go in and add the circle for the head. Again, we're working from simple lines and shapes and then going to more complex shapes and designs. 5. Thanks for Watching!: Thank you so much for watching. I really hope you enjoyed this class and we're able to learn something from it. Please feel free to post a picture of your drawing below this class so that all of us here on Sco chair can see what you did. If you have any questions, don't hesitate to start a discussion in the discussions tab below this video, and I will be happy to answer your questions. Well, if you would like to support me, please check out my website at www.andsartitude.com And feel free to visit me on Instagram and Facebook where you can see daily updates of my artwork at andsartitude Stick around here on Skillshare and follow me, because in the coming weeks I will be uploading more classes. That's been it for now. I hope you have a wonderful day. See you in the next class.