Transcripts
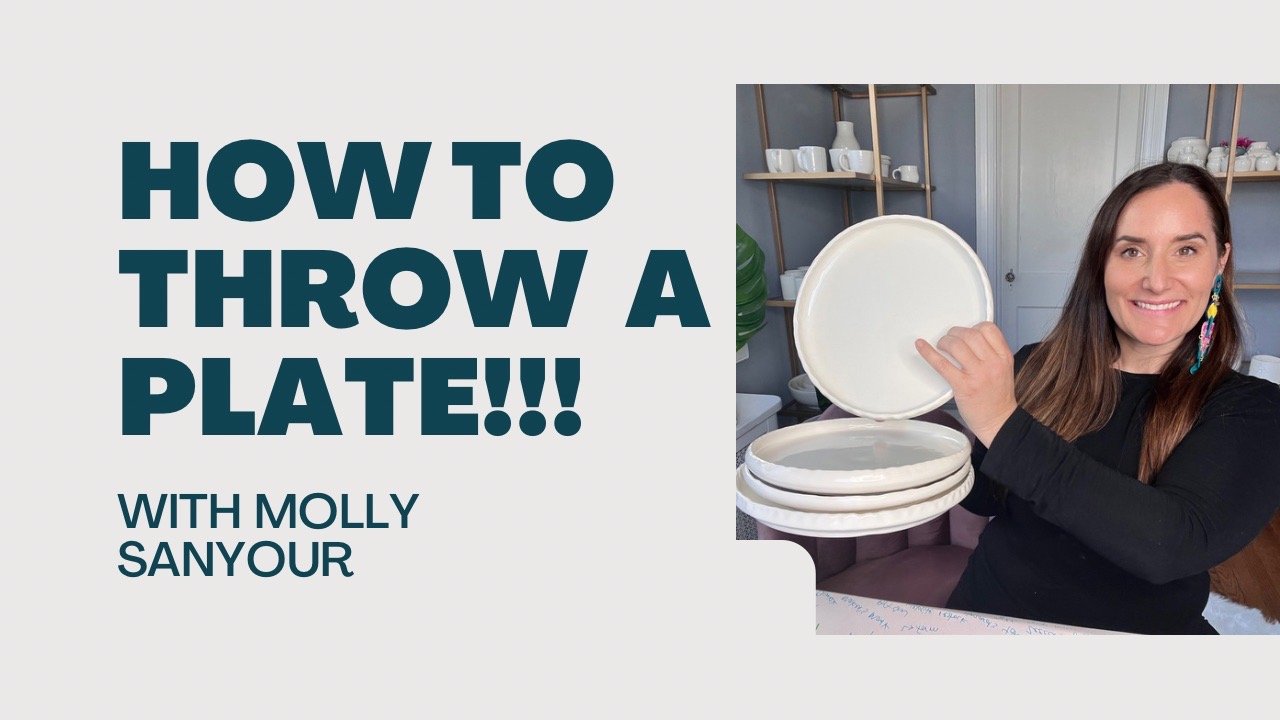
1. How to Throw a Bowl for Beginners! Intro with Molly Sanyour: Hi Skillshare, I'm
Molly January. I'm a ceramic artist and teacher coming to you from
Richmond, Virginia. I'm currently a high-school
ceramics teacher where I teach beginning
level ceramics, both wheel throwing
and handling. I also have my own
strengths business, Molly Sanger's ceramics,
where I make my own wears, some of which had been
seen with Lizzo most recently in her death
campaign for body positivity, where she's naked with just
my butt mud covering her. Boom. She also had them in her Vogue interview where she cheers with the interviewer. My work has also found that the Virginia Museum
of Fine Arts and the cork gallery here
in Richmond, Virginia. In business, I've also
made partnerships with other pottery companies
like LL kiln, diamond core tools,
and speed ball bats, where we've just released the black Molly
seniors ceramics bat. I've also started a membership
called thrown with Molly, where client Uzziah lasts from all skill levels and Oliver the world join weekly to
talk all things clay. If you're looking to
join a community, looking at further,
be sure to visit my website to learn
more and sign up. I've been learning
about ceramics since I became a ceramics
major in college. I can't stop learning, taking workshops from
all over the world from the Anderson Ranch Arts
Center in Colorado. Do you flying all
the way to Athens, Greece to learn about naked
raccoon firings with Galli, Galli, this art
through Skillshare. I'm really excited
to bring all of my knowledge and
tips and tricks to you to help you have a successful time in
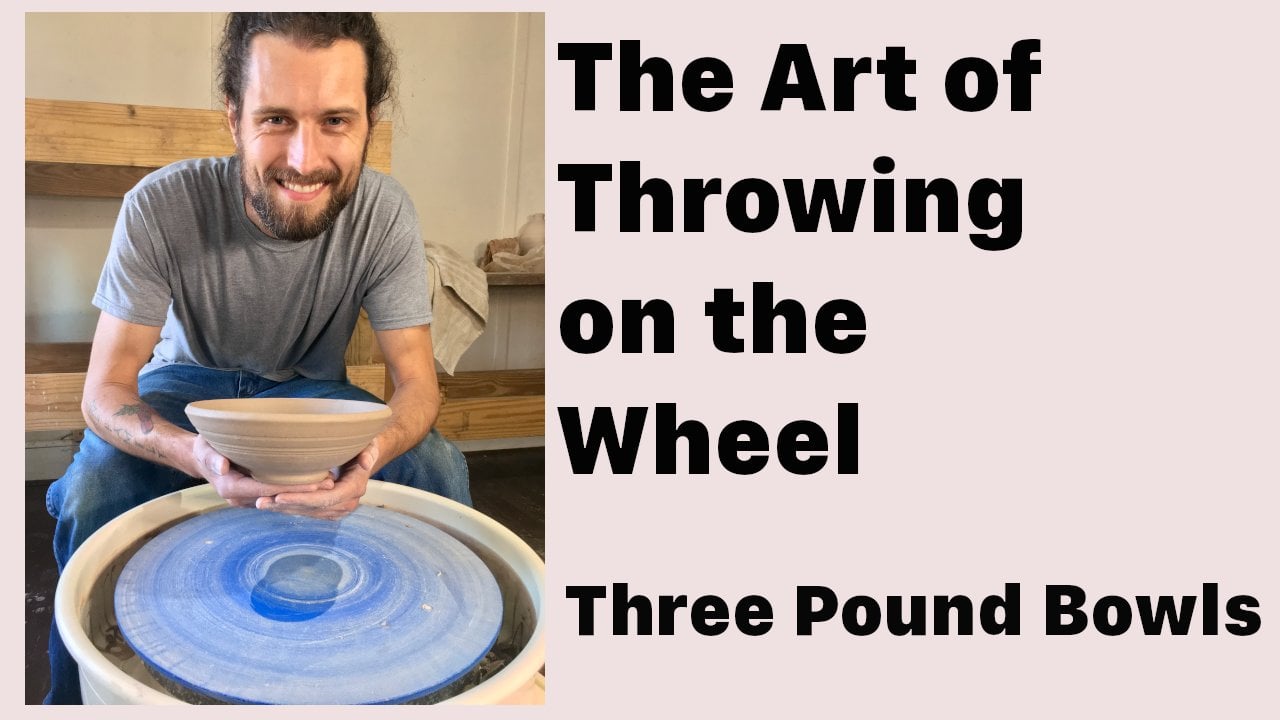
your studio practice. In this video, I'm going
to show you how to grow the perfect bowl with that
continuous interior curve. So let's get into it.
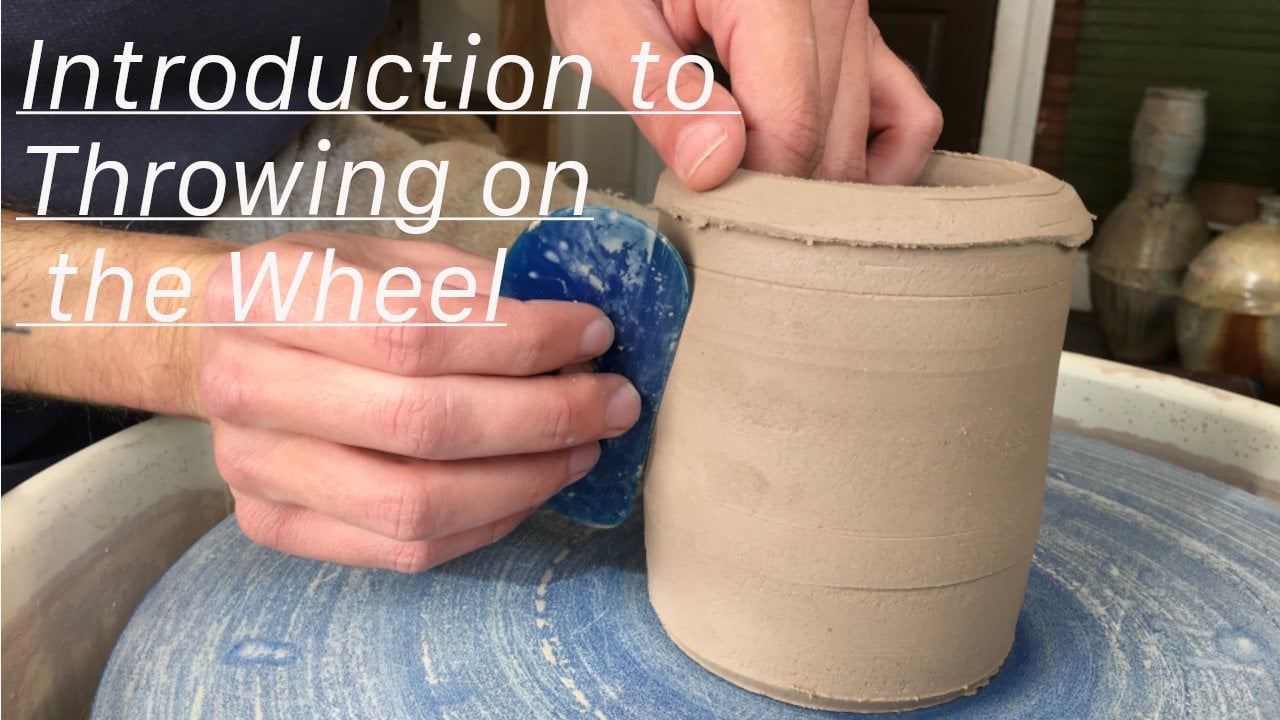
2. Prepping your clay for success while throwing a bowl on the wheel!: All right, Let's get into it. How to throw a ball
for beginners. First, you want to
start with a ball of clay that fits nicely
in your hands. Too small or too big is
going to be a challenge. Next, you want to make
sure that you watch it up and I'll post the
video for that to come. And then you want to make
sure that you tap it around. If you put this down right now, you're going to trap
some air bubbles. So take an open
fifth, make sure you tap it round and smooth. You also want to think
about creating like an egg shape where it's
a little more fatter and rather on the bottom and a
little more points here on the truck tap and I surround into an X-shaped and then
place it on my wheel. With dry hands. It's important to start dry, too dry to drive you add any water it could go
flying at this point. So with dry hands, you want to use the
palms of your hands at 39 o'clock on the wheel. Let it's been really
slow and tap downwards. Really slow tapping down. This is making sure it's
stuck on the wheel. And then by tapping
up, you're also bringing it into the cone, which will be our first step.
3. Some tools you might want to use while throwing a bowl on the wheel!: Now when we throw a ball, there are few tools that I like. I personally love a
double flimsy ritual because it allows me to get a curve in one and
then bring the curve and to the other to make that
perfect continuous curve. I do love a wooden knife
because it helps me cut away some of the
clay at the base, which then I need my needle tool to cut through and remove. And then I love to have
a few sponges with my bucket of water to
add water as I need to. All right. So now that
we've use dry hands to tap it into a cone, our first step is to come this clay up and
down on the wheel.
4. Coning the clay up and down!: Counting up and down is
like wedging on the wheel. It's going to squeeze
out any inconsistencies and air bubbles and make sure clay spending smooth and
consistent and almost centered. At this point I'm going to
add water with my right hand. I love using a sponge
and my right hand. So as any more water, I can just squeeze on it and there it goes. While we call an up and
down while we open and center and all the things
that leptin is the boss, the right-hand will have a
chance to be the boss later. I am a right hand or
my wheel is spinning counterclockwise
and my left hand is going to be the boss. That means it has to be stable so I can be
anchored against the clay and there'll
be no wobbling happening. To allow
that to happen. My elbows gonna
go my hip socket. So as I leaned my body forward, my whole forearm
pushes into the clay. You should have a straight line from your forearm into the clay. You don't want it
over here or over there for I'm going
straight into the club. My left hand is flexed. I'm using the palm to
the thumb to help create that cone just leaning on
it from my hip socket. Meanwhile, the right
hand is going to assist and squeezing
up that claim, working on any inconsistencies, my wet sponge is going
to start on the back. I'm using all three
fingertips to press down on the back to get all
this clay at the base. And I'm going to squeeze
into my left hand almost like I'm gonna clap these fingertips into this Pong. You want them working
across from each other. Right thumb latches
onto I can just squeeze and close in
and get that leverage. Plenty of water, plenty of speed starting at the HBAT
latch on and allow these right fingertips
to grip into that clay left hand is the boss not wobbling around and come all the way up and
then hold the top, let it rotate, rotate, rotate and then always slow. A release usually
come off the cliff. So you can see on that
first coning up and down, I've got some issues
to work out down here. It looks a little
smooth, but we're gonna count up and down
until it feels smooth. And cleaning up the
clay from my sponge, loading a backup of water, I can add a little bit. And now that left boss hand has to support the top of the clay. The right hand which
is not anchored, it's gonna make a fist
around the thumb and that this is going to make contact with the
center of the cone, depress the clay
downwards to the bath. What sponges in my
hands so it doesn't get stuck on the left-hand side. The boss blacks against the top right-hand is
gonna hug the thumb. This will push down
speed is my friend. Now, as I press to the bat, I've made it flat. If I go to calm that up
and I have an issue, make sure I've
established my cone. The right-hand can open
up and drop down like prayer hands from the top all the way to the
bottom of the plate. Looks like this pressing
down then relaxed, let this right-hand for us on the client all the
way to the back. Left hand makes sure
that you haven't slipped back and you're
using your fingers, you want to use the palm
against the clay the whole time while that right
hand is doing the jobs, you should make a circle at the base to know that
you've reached the bottom. That's cutting up and
down. Let's do it again. Add more water
left-hand side boss, leaning firmly
from the floor and going through the center
of the fingertips, starting at the
base of the clay, latching on to give
me more leveraged, squeezing those fingertips
into my left palm, letting the clay rotate and
then moving up with it, going patiently got to let
it rotate and then come up. When I get to the
top, I hold it, let it rotate, rotate, rotate and slow-release,
slipping much more smooth. Now, clean up that sponge. Hug my left thumb. Now here's something
that could happen and go wrong as the right-hand
is pressing down. If the left-hand
takes a break and it doesn't want to be the boss and the right-hand things,
it's the boss. You're gonna get
this mushroom every time and that can
create air bubbles to make sure you don't get the mushroom if
you want that left hand applying pressure
the whole time. The hands are patient wheel as fast pressing that
client towards the back. And as you get to the top, you want to draw
pressure from the tops. And they said it
could be prayer, or it could be just taking those fingertips and dropping
the pressure from the top. Let it rotate, brought down, let it rotate, bring it
down, let it rotate. Bringing download rigid, green,
all the way to the base, lift, rotate, rotate,
rotate, slow release. The whole time you're
trying to gradually contain that clay you want
too wide or too narrow. That's coning up and down. So cutting up and down is a great step to
help make sure that your clay is prepare
that it's smooth and it pretty much centers
your play for you. Now, as we come down this time, we're gonna press to center.
5. Centering the clay!: Let's talk about centering. When we center the clay, after we've made
sure it's prepared, the left hand is
still the bosses, so anchored in my
hips I can lean on it and not allow
the Plato wobble. The right hand is the assistant. It's going to make
up this around my left Boston with
the West bunch. I can squeeze water as I needed. Speed is my friend. They're connected
working together. The fist is catching the center of the glade, pushing down. The difference of
counting up and down in centering is I'm not going to drop it to a cone at this point. I'm going to allow my right
hand and keep pressing down. Keep pressing down. I'm gonna stop slowly,
get warm water. Keep pressing down, keep
pressing down on town. My left hand reaches the back. So we're pressing down or pressing out and
boom, there it is. See that black circle. One thing you want to make
sure that your pinky is not gripping on underneath. You want to make sure you're
using that flex left-hand leaning on the clay from your forearm through the
center of the Clegg. And that is gonna be what makes this nice centered
form nice and smooth. Meanwhile, the right-hand
opens up like a karate chop, catching the center
of that club. The left-hand of the boss, as it's leaning in, it wants to come back up. So that's
on the right hand. Is there the stet study up
hands are always connected. The right hands open
like a karate chop, letting it stay flat
across the top while that left hand is leans on
making that nice inform, the centered form
should look a little wider and then slow-release a little wider than it is tall. At this point, I got
to clean up my bad. Let me tell you one
thing about centering. If it gets off centered, again, this is what's
happening in your left-hand, the bosses on the
bat, it's leaning in, pushing that whole farm in the right hands flat
across like a karate chop. They work together. Don't let the right-hand
be the Boston Press down too far to get to
where you want it. Hold it both hands
lean and just hold it and just let it
rotate, rotate, rotate and then slow
release that centering. Now let's talk about opening
and establishing the bottom.
6. Opening and Establishing the bottom of your Bowl!: At this point we
have a center form. It can be a cylinder
or a bowl or plate. We're going for the bowl. And when we throw a ball, we're looking for two things. We're looking for a
continuous curve on the bottom and the top bit
of the lip thin enough. Because when you
flip it upside down, depending on how you're
going to trim it, either with love's or a gift finger up or whatever
tool you might use. You want to make sure that
your lip is as thin as you want it because you might not be able to turn that part off. So continuous curve, top
portion thin enough. One difference from
a cylinder for me on a bolt is how I open it. With a cylinder. We try to keep that lip narrow, but for a bowl, I can
go ahead and open it. I actually tend to use
three fingers letting my middle finger reached
the center of the cloud. Even though the right-hand
is doing the opening, the left hand is still the boss. Arm is pushing for the forearm. Hands are connected plenty
of water, plenty of speed. And these fingertips we'll
drill down to the base. Now with this bowl, I wanted to leave about
this much thickness so that I have room
to trim up but later. So as I'm drilling and I'm kind of holding
it and thinking, how thick does that bottom feel? That feels pretty good. And then I could check by
bringing up my sponge, get that water out,
stop the wheel, take a clean needle tool, stick it through the middle, put my finger where it
reaches the client, pull it up and that
Southlake, my bottom is, I don't think I want to go
much thinner than that. I have opened. Now sometimes I will
see my beginner, it'll pull from here. Then their foot is just
this narrow to establish a foot wide enough to support your bowl to
be a functional goal. You want to now for
go from opening to pull back and
establish your bottom. It looks like this left hand is still the boss,
plenty of water. And the right-hand
that just opened up these fingertips are gonna
pull back, back, back, back, back while connected to the Boston to allow this
play the foot of the clay, the face to open up. If I'm going to put
hot soup in this, I need this foot to
be wide enough to support the bowl when
I'm eating out of it. So now my foot
will be this wide. Instead of this way. You want to open up your
foot as wide as you want it to be and then hold it and let it rotate,
rotate, rotate. It ends are connected, Fosse hand thumbs connected, they're pulling towards you, letting it rotate,
rotate, rotate. If you go too fast, you'll put spirals and
get it off center. So be patient here, literally table
here, let it rotate, blood here, let it rotate,
and then slow-release. Now, if you watch
the cylinder video, you already know the difference. This one is already opened
really wide for a cylinder, we've got to keep that lift
narrowed to get our height. But for a bowl again, we
want those two things, a continuous curve and the top end of our lip, thin enough. From here I've run
out my sponge and I'm gonna hold my sponge
with both hands, elbows against my body and
I'm gonna reach to center. If I were to slice this
and have my bottom is almost curving and
then kind of goes up. And I want that
continuous curves, this move start creating
elbows against my body. I'm going to reach to the
centre of the clay and press on pressing there and I'm
going to slowly come over, press slowly, come over, press slowly come over. And I'm not pressing
as much because I don't want to press
out on the wall. Now it looks really flat. So on them inward move, I'm going to come back and
press harder and harder. As I get back to the center of pressing harder and harder. And it's going to help start
that continuous curve. I come back, BEC, as I come out here, come back, press hard or as I go to center, my pressure is starting to
create that continuous curve. It's also a good idea
to make sure you're cleaning out your sponge. You want to squeeze it, the
water so that that plays out. It's like All right now that's opening and
establishing the bottom. So let's talk about pulling.
7. Pulling the Walls of Your Bowl!: When we pull the right
hand is now the boss. That means it's stuck
in my hip socket, so it's not wobbling
around, It's nice and steady against my body. My right hand is going to drop some water at three o'clock, decode the clay so
it will spin easily. My right hand is going to
start at the base of the clay, getting all this clay and
I do like a wet sponge, so it's my fingertip
pressing over a wet sponge and
the inside hand, even though it's not the boss, it's going to be in charge of that continuous curve
for a cylinder, we want to start right
there and pull up and in. But for a bowl we're going to allow the boss hand
start pressing. You can see the play
already moving. This inside hand is going
to start in the center, but it's not going
to start pressing until it patiently glides over, glides over, glides
over them right there. As soon as I feel the clays between the pants and my finger, they can boost, squeeze on
that clay and bring it out. And then up. And notice this little
finger I'm putting it on the lips to compress
all at one time. When I get to the
top, I hold it and let it rotate, rotate, rotate. This inside is
creating that curve by gliding over and
then pressing out, and then they come up together, clean up my sponge. I can establish
that curve bottom again with a little
pressure from the sponge and then add a
little water and do another poll getting all the
fatness from the bottom, letting this hand glide over, pressing out with
the inside hand into the Boston
and then coming up together patiently
holding the clay gently as it thins
out at the top and compressing that
lip at the top, let it rotate, rotate,
rotate, slow release. So already I'm
getting a nice curve. I'm gonna ramp my sponge
checkout my curves. So from the center
go over to 304, Back to center, really
establishing that beautiful curve. And then I went to
check on my lip help then is this feeling that feels pretty thin
about this whole way. So that gives me a
number and flip it over, put a log of clay to attach it and be able to
trim the bottom part. When you throw, you're
just looking at the interior form the
bottle we trend later. Alright, So from this point
I could consider this done, but I'm gonna show you how
I liked to shaping tools.
8. Using a Rib to establish a continuous curve!: I'm gonna show you highlight to shaping tools that you
want to think about. What kind of bullying
this would be a good scrambled egg bull you might want to open up wider. It's totally up to
you. You're just looking for a continuous curve. And the top bit and
enough I like to do is take two curvy
rib tools and take one on the outside
and bend it with my thumb on one side and my index fingers
on the other side. And put that on the outside. Then I can put the
curve of another one into the inside and instead
of fingertip to fingertip, it's red to red. Now if I hold this angled slightly away from
me at three o'clock, it can glide onto that clay
right-hand still the boss. But this I am going to push that curve into the
outside wrench tool. You can see I'm pushing on it. Blood break there. I still see that slip. So I'm gonna take some time
and just let it rotate. They're pressing from
that inside hand, really securing up
with the outside hand. There is that continuous
curve and then the ribs can come up
together and just rotate, rotate, rotate, slow release. Finally, before we
do the next step, I'll just make sure that
my curve is consistent. Bring this out,
reach to the center, elbows are against my body. Make sure I have that
continuous curve. Gentle as I press up here, I can just gently drop my
sponge for me. Then he slipped. And that's it. There's our continuous
curve and there's our bulb.
9. Using a wooden knife to pre-trim the bottom!: The wooden rich remove some
extra clay at the base. Right, to use the wooden rib, I say to hold it like a pencil. Everybody holds a
pencil differently. But when you wrote
it like a pencil, you don't want to
hold it down here. You want to hold
it at the back-end so that the clay
can cut through. The second hand is going
to hold it on top, elbows against your body so
that you are in control. This is how the clay is going to be sliced through this tools. You don't want to go like this, like that, but
this is the blade. Both hands or warning
tight elbows are intermediate and you're
over here at three o'clock. All I'm gonna do
first is just touched the clay and let it make a mark. Where does it it from thin to thick and I'd say
about right there. So just touch it, let it
rotate and make a circle. Now holding on
tight, I'm going to press a little bit,
let it rotate, press a little bit,
let it rotate, press a little bit,
let it rotate. The more patient and
steady you hold on, the cleaner, the cut. When you reach the
bat and you can stop, get a clean needle tool, cut through that extra clay, let it spin and remove this. So this is some crazy you
don't have to trim later. It's kinda like reshaping this wooden rib
appreciates and pre cuts. And then I would take a clean wire cutter and hold it tight like dental floss
rapid on, nice and tight. Press my thumbs down and drag this wire cutter
under my bowl, the whole web that
will help release it. So as the lift dries and I'm getting ready
to flip it to the bottom, can dry and I could
trim the foot. That wire cut will allow me to remove the clay
from the bat later. So that's how we throw a ball.
10. Share you Bowls with #TWMbowlchallenge: So that's how we throw a ball. You're looking for
the continuous curve and the top portion. Then stay tuned for my
training videos to come by. I hope this helped
and I look forward to seeing your balls to come.
 Molly Sanyour, Ceramic Artist & Teacher: Richmond, VA