Transcripts
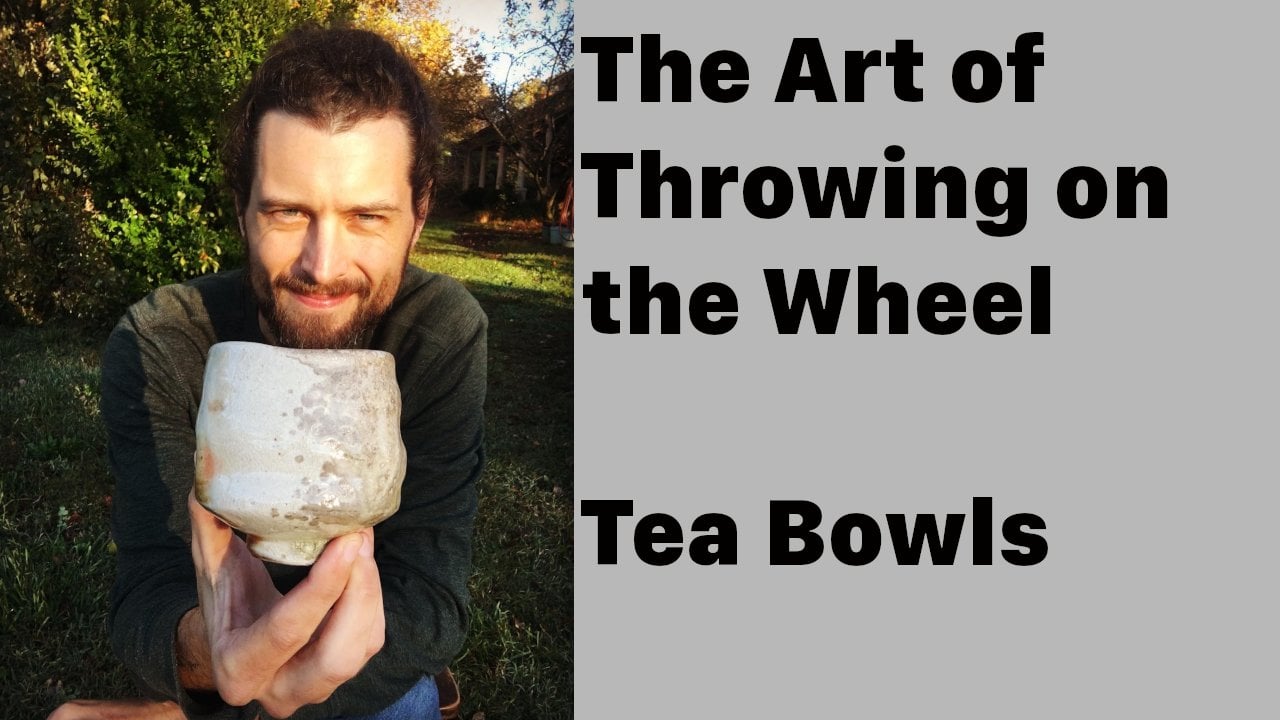
1. Introduction: Hello partners, my name is Sam, and in today's class we're going to be learning about throwing and trimming balls on the wheel. Balls are a wonderful farm with lots of room for experimentation and exploration, despite being a pretty simple vessel. However, we're going to focus on the basics of polls. How to throw low and wide forms, and learning about throwing with the end result in mind. Oftentimes began as a meatballs by mistake as a result of letting the clay flare out too much while throwing. And there's nothing wrong with that. But I think it's better to make a nice bowl when we intend to. The bowl might be the oldest form we have as potters. Since the first Neanderthal or whomever pounded some earth into a concave shape and put something in it. We've had the ball. I think this is so cool because it's still one of the first forms we make when starting pottery and one that resonates back through millennia. Aside from that, it's also closely tied to anything communal. Cooking meals, rituals. The bowl is found wherever people are doing something together. Day however, just having a good Boulder we enjoy using as well. We want the first we have to make one. So in today's class are going to be going over preparing our tools and our clay, getting the clay centered on the wheel, throwing the ball, and then trimming a foot on it. Along the way, we'll be discussing common problems people face when making bowls, had to deal with those issues and what it is that makes a nice bull. So settle down in your wheel couch, office chair wherever you are. And let's get started.
2. Preparation: First, let's go over the tools will need today. First we have our wheel of that splash pan, a bucket of slightly warm water. That's my preference. And our hand tools, including a sponge, ribs, throwing knife, needle tool, and our wire. I like to start with a nice clean workspace, which might seem counter-intuitive as I'm about to splash muddy water all over the place. But I think it's good to sit down with this fresh start as possible. Leaving tomorrow's mass behind us in giving our energy into today's mess. But like I said, what I like to do, whatever you prefer, just remember to tidy up your workspace at some point and don't let them get ahead, you. All right, let's get our claim measured in wedged. We're going to be working with three pounds, which should be plenty for a medium-size bowl with a nice foot on the bottom. Using the spiral wedging technique will get acquainted with the clay while also working out any air bubbles are inconsistencies and may have. Okay, we should be all set. Let's grab a towel and have a seat.
3. Centering: Make sure our wheels turned on. He's good. I can get water on a sponge and get just a little bit of water on our wheel here. And that's squeezing a whole lot on news. Want to get a little bit of water on there to help the clay stick to the back. With a somewhat your eye hand. Grab our clay here. Smack down the middle. Not bad. Not bad. We'll go ahead and give that a quick slap sac, which is just what it sounds like. We're just going to see slap this clay and will rotate and slow Minister quantity. And it's a little less work. Actually the second list. Okay, that this span get some water on here. And the most important thing was centering is to let your body do as much work as possible. I guess here, your skeletal system, you weren't on, Let your risks and shoulders take a break and use your body to brace your hands in a way so that you're not having to fight the clay. You want to have your elbow is way out here so the clay can push your hands around. It's nice to keep this left elbow tucked in nice and tight. I like to keep it right here in my hip. And then even without my right hand, I can just lean into the clay. And you can see it's starting to come up a little bit. And then their right hand comes in and implies that downward pressure. Then that compresses all of that clay down together and gets nice and collected in the middle of the bat. That's a new one. Now since we're making a bowl, I'm gonna push this down a little bit further, give a little more of that clay connected to the chat, since this is a nice low Y4. At the end.
4. Throwing: The Press Just a little dimple. My right thumb here and using my left thumb, press down on that point. And my left thumb supported by my right-hand. Let's start by opening this up a little bit. I don't want to go all the way down. I'm gonna stop right about there. I want to leave enough clay down there, decarbonized play. So I don't wanna go too far without checking my needle tool lab that do the bottom slide my finger down to the clay. And that's a little less than I'd like. So what I'm gonna do is gonna press him back, way back now. Press back here. Just a little bit. Not a whole lot. Check that. Good. I will do just fine. And go ahead and collect some of this clay a little bit more. And I don't right from the very beginning I want to be establishing curve here. So I'm going to be establishing this curve really early on and I want to try to maintain that because that's really gonna kinda, that's going to help guide me. As I start to throw in shape. This whole will help give me kind of a waypoint from where I want to be. So when I go to lift this, I'm actually going to start with my left hand just flat inside this bowl. And go ahead and push in a little bit with my right hand here, start to drive that clay up. Luma slowly slide iCloud my left hand here, and then hook up with my right. And I don't want to start flaring it out just yet. Keep it moving up for the time being. And you go and really compress this tabular and merely compress that. Let me leave myself plenty acclaim. Little more water on there. And let's try to scoop out some, some more of this clay out of time here. Do again and again. That don't work that stuff out together. Scrape off here and that's fine. Some of that water out. And now we're gonna go ahead and consolidate this just a little bit, get everything back where we want it coming out in a little bit and then really compress when I want to make sure that by the time I flare this pull up, my room is still sturdy enough to handle daily use. Doing something really thin that you're afraid you're going to break every time you pick it up. That's no fun. So let's dive in here one more time. Press in. Now on this poll, I'm going to start to guide this out just a little bit. Instead to let this flare out. Guide that and you can already see a much thinner that women's getting. That's okay. We prepared compress that. It's some water out here. And this is nice. There's plenty of clay, it's plenty thick, and that's just fine. I wanted just a nice sturdy bowl, nice-looking, warm, something. I'm not going to be afraid of breaking the Sanger in the dishwasher. But also it's easier to cut clay away than it is to put it back. So anything you're going to be trimming a lot or trimming a big foot on. Don't be afraid to leave yourself a little extra clay because it's always because you can always cut it off, but it does something to offend. Can't put any playback.
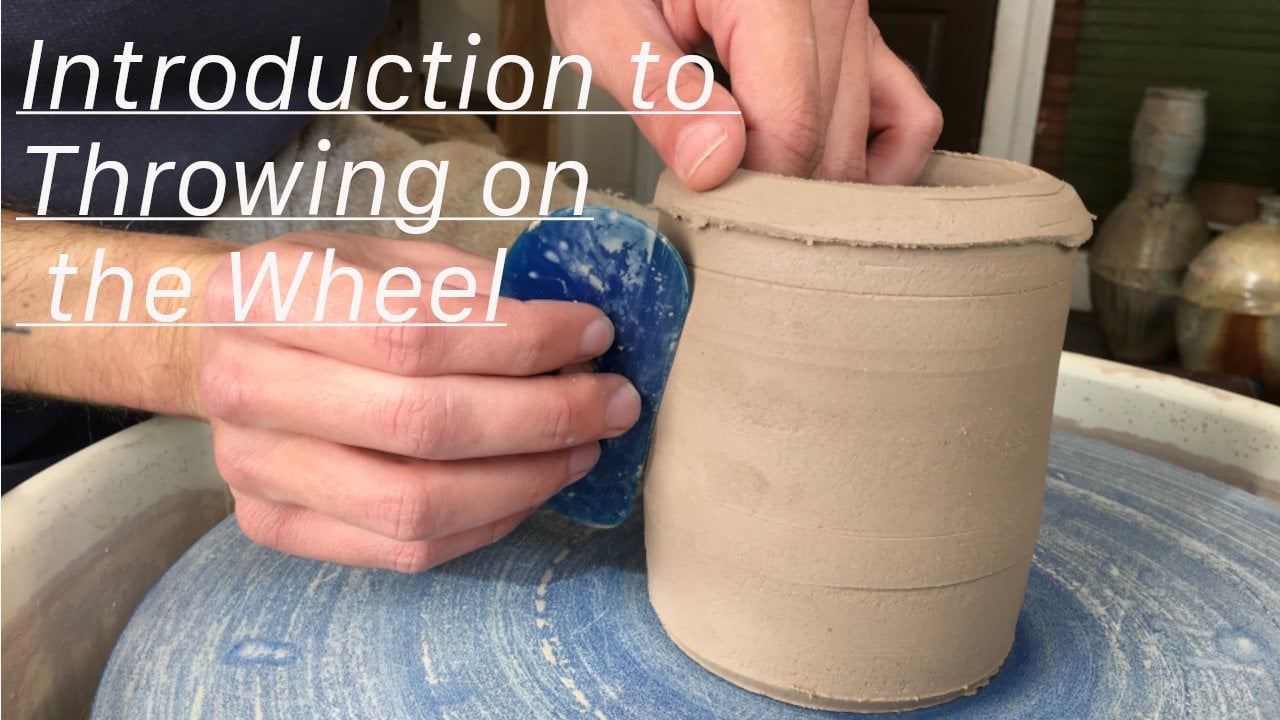
5. Shaping: So I'm gonna take my blue rip here. You can start to shape this out. And while I'm doing this, I'm still going to keep a hand on the outside, on the outside of the ball here. Just to give myself a little extra support, extra piece of mind starting here at the top and they're going to dry them down, drive down to the center. And then we'll come right back and I'll start there. Now you can start to choose what type of ball you really want. Do you like something that's a lot more contained? You want something really open? I'm going to go for right down the middle, I think. Right down the middle. So I'm gonna start here in the base of my pot. Start to press on the use both hands because I really want to make sure my hands are sturdy while I'm doing this, MR. to flare this clay out. And none of my right hand supporting the outside of this bowl. And then you have this river and went back down and really establish this curve that we want. Okay. Last week, a wire, they're going to look at it from the outside. We've got a nice curve happening and there's kind of a flat spot out here. So I'm gonna take this room and press on it would be right there. Try to keep that line and nice and consistent. That's what was just nice. There we go. That's in that photograph. I think it just keeps that keeps that tension moving, doesn't stop it anywhere. So we want to avoid any pauses, the pause and the action. We want to keep everything moving together. I'm going to use this nicely shared clap here. Smooth. It's remembered. Nothing fancy. I'm not going to be any crazy with this. Shrimps make it nice and smooth. Race to work with. Easy to wash, easy to handle. There anything would work. Okay. Now we're ready to trim some clay out of CWIS, get it dried up, and then ready to trim.
6. Trimming: I'm just going to slowly, with both hands, guide this bamboo knife and start to cut away some of this. I want to be careful not to let it cut stuck in there. And also be careful not they start pressing into my curve. But this, I'm not gonna be able to get too much out. That's okay. We'll trim it a little bit. The only reason I'm trying to get some out analysis so that it can drive a little bit quicker. But that'll do it for now. Now we'll let this dry. Come back. I'm going to trim it. All right. Let's get this cutoff. This is wired under hand, nice and tight. Press it down against the Battle of their thumbs. Start to flow back slowly, rotate that and we'll fold all the way through. Now. Holds up, you can see it's still a little bit, still a little sauce. We're gonna give that some more time to dry out a little bit before we start to trim. The next thing we want to do before we get this term is getting centered on the bed. So first going to eyeball it, slide it around a little bit. And then I'm going to hold my finger and start the wheel spinning. And then I'm just going to hold it close to ones I like to pick right here where I'm going to start trimming. And you can also check the ram, check the middle. I'm going to check this by right here and just see if that clays little uneven so I can see it's coming a little closer right there. So I'm gonna scoot it just a little bit. Check it again. Okay, that'll do it. Next thing I do before I start trimming is I'm going to take or little balls of clay. And I'm going to use these balls of clay to ten minutes to the path. So I'm gonna do is I'm going to do both sides at the same time. I'm going to actually press it down into the back just next to the bowl. I don't want to press it into the books. I don't want to start to compress your squeezed the rim and push that out of whack. When I don't mean to you, let me know the two sides at the same time. There is no wanna do it at the same time. It's because as you're pressing these balls of clay down to the bat, it is pressing into the ball screw and do a one-sided might scoot the bowl over a little bit and knock it down to center, so I'll check it one more time. That looks good. The next thing I'm gonna do is determine the width of the foot that I want. So for this, I'm going to say about 33 knuckles across. That's it. I'm going to do some allay my hand here kind of loosely. And I'm going to set my needle tool right on the edge of my knuckle there. Hold that in place and then I'm just going to rotate the wheel. And that gives me a nice little outline of Whereabouts. I'm going to be carving my foot. The do the actual trimming. I'm going to be using this trimming tool right here. Pretty simple. You can find it in most Clay gets works really well. So the first thing I'm gonna do is start to clean off all of this foul of this clip that I don't really want there. I'm going to use my left hand and kinda just kinda keep this here in the middle of the clay as a gauge. Just lets me know that things are feeling where to get started with scoot around and also just keep a little downward pressure. Now like to keep my thumbs connected as well. I'm kinda going to overlap on that. And then with my right hand and right index finger and will start to slowly press down and apply some pressure to this corner. Oops, let me come off nice and using them very long revenue. Now it starts to accumulate, shake it out. And then they use the point here. Driving down a little bit. Start going into where this curve is going to be. A big thing here is just trying to make sure your hands stays steady as possible. Steady as possible. Now will also mean being mindful of your wheel speed. You don't want to go in too fast. So when happens it can go fly in somewhere. If your tool catches, it can send a fly and you also don't wanna go into slow, going too slow, It's easier to be you're told to catch as well. Just cut big, unseemly galaxies and just kinda mess with the program a bit. Look at this line that I have. Come up just a little bit. Scrape away there, start to really get that curve right where I want it. Now I'm getting close to the foot itself. That curve. And I'm going to bring this foot him just a little. I didn't go quite to where my line was. That's okay. It might be a little too now. And give this one a nice firm. Earn bottom. I'm going to cut just a slight bevel there. And that little bevel doesn't do a lot. And what it does do is important. It creates just a little bit of lift in this pot sitting on the table, which creates just a little shade line right there. And just give us a little bit more interest on it's like it's floating off that's able to usually just a nice little pebble in and Bevel out, okay? Because it just makes for a nice bulk and it also allows you to pick it up from the bottom, which is nice when in Washington and I'm just moving it around in general to Islam as little functional things, but also aesthetic things to keep in mind. And now I'm going to do the inside of the foot. And I'm going to flip this over so that my points over here, I'm going to use this point starts slowly work in, into the middle here. Work and a little bit, I'm going to start to slide out and take a chunk out. Now I want to carve about enough room if there is enough room for my tool to sit in here. Some leaving about a meter or so with the foot and that's just going to start bringing all this down to yellow. Now I'm going to start leaning this way on this are leading with the curve. One nice thing to do and your carbon of foot is to try to keep whatever line you have on the body going once it goes past your foot. So if the foot is sitting like a ring, that curve goes, It's almost like the rain is just placed there. It doesn't mess with the line of the polygon or there's something you won't even really notice unless you look for, unless you haven't flipped over and looking at it. One of those nice touches and something that just adds a little bit extra visual to the piece. I still get this nice curve coming outside of the bowl. That nice curve on the inside of the foot here. Use my sponge Smithson this up just a little bit. Outside. Cleaners there is purely the nose, at least nice. Then you can also do some other fun little things. If you want to do any textures you're carving, any lines. Sometimes it's nice to carve some horizontal lines into, have something else to kind of hold onto and something visual. I like to add little spiral on the inside of the foot with my needle tool or with my carving tool, excuse me, just creates a nice little swirl in there. And I'll also demonstrate, just go ahead and put a few lines in here. What I'm trying to make sure I don't hit my lats, you know, it's going to put the point of my term to write their name down a little bit. You know, the one end. And then a little wonder, Here we go. And that'll create just another little bit of interests. And yeah, and I still functional purpose as well as it gives you something to hold onto a limited. Okay, so it's hit this cleared off a little bit. Remember plugs here should have a nice bulk. Want to make sure we maintain our nice curve in there, nice and smooth. Sometimes when trimming or just throwing in general, they'll be like a little lump right here, a little shoulder. It's very typical of bulls for beginners, but that's for word compression really comes, comes in handy. Shaping this bowl and finishing it before you take it off. Really compressing this curve and making sure that that line is continued all the way from the top to the bottom. And you can see our foot. It's got a nice width. It's not too much. It works proportionally with the ball. And that's really important is making sure things are proportional. Things add up the curves, nice little moves together. And that'll be a nice bowl of ice. Water. Use.
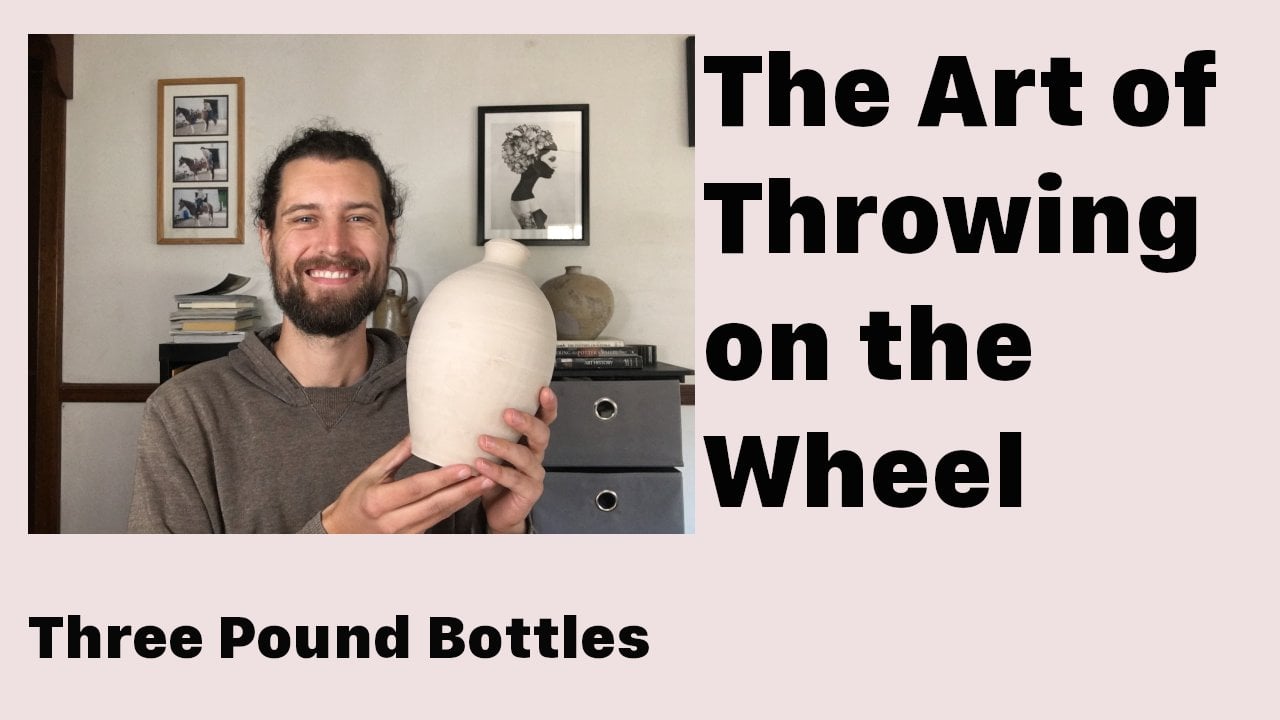
7. Final Thoughts: Well, there we have it. I hope you enjoyed the video and now you're able to learn something and be inspired to make something. No, balls are a lot of fun to make fuzzers, just so many different methods and styles to go with when creating your own. I would encourage you to do some Internet bruising and explore all the incredible balls that powders are making all over the place. And get some ideas about what you might like to make when it comes to a nice size bowls that will be perfect for meals. I'd start with three pounds and go from there. Start to get a sense for the size that you like to make and scale up or down accordingly. I'll be doing some videos in the future about the writing really large balls. So make sure and keep an eye out for that. Until then. Thank you so much for spending some time with me today and I hope to see you next time.
 Samuel Deering, Lets make some pots!