Transcripts
1. Welcome to the Class: In this class, I'm going to show you how to set up your Mac for web design. Let's begin. Hey, everyone. Welcome. My name is Adi Purdila, and I'm a web designer and developer. Now, if you're just starting out in web design, this class will show you all the tools you need to be fast and efficient. If you're a more experienced designer, then you might find some apps that are actually very useful but you had no idea about. In this class, I'm going to show you the apps that I use almost daily. They've made a significant difference for me and I believe it will be the same for you. I will show you what design software I use and also a few alternatives, as well as short pros and cons for each. You will see some amazing apps for picking colors, creating color palettes, and also checking for the contrast between colors so that you can make sure your designs are accessible. I'll also show you how to organize, bookmark, and preview your fonts much easier; this is so useful for designers because it's a huge time-saver. You will also learn how to manage and organize your icons so that you can always quickly find the ones you need. In the final two lessons, I will show you how to measure any distance or dimension on the screen and also how to take great screenshots and share them with your team or clients. Now, this class is mainly addressed to Mac users, but I think you should still watch it even if you're using Windows because you might find some compelling reasons for switching to macOS for web design. Lesson number 2 is dedicated to you, to the Windows user, and that's where I go over my reasoning for choosing macOS over Windows for this type of work. If you're a Mac user, you can jump straight into lesson number 3 where I will show you what design software I use to create all of my designs nowadays. Are you ready? Let's begin.
2. A Quick Word for Windows Users: Hey, welcome to the first lesson of this class. Before I get into the main content, I wanted to address this quick video to all the Windows users who are watching us. As you probably realize by now, this class is about setting up macOS for web design. That doesn't mean I don't like Windows or I don't like you, that's not true. I grew up with Windows and PCs and I have two PCs at home running Windows and Linux, and overall, I love it. However, I believe that for this type of work, for web design, macOS is better than Windows. That doesn't mean you can't use Windows for it, you absolutely can. You can design any interface, any UI that you want on both platforms. But I think you're going to have an easier and more enjoyable time doing that on macOS. That's all there is to it. I actually have some very good reasons for believing that. The main reason is the multitude of apps you can download and use, most of which are free. All of these apps are incredibly useful and most of them are unique, meaning they don't have a Windows counterpart, or if they do, it's usually not as good. With the macOS apps I'm using, everything just works as expected and that's something I value a great deal. Another great reason for using macOS is the Sketch application which is Mac-only. This is still the favorite digital design app for a lot of people, and I still find myself reaching for it every now and then even though I'm primarily a Figma user nowadays. I'll talk more about Sketch in the next lesson. I also love the reliability of macOS and Mac computers in general. I think people should pay more attention to this because it's very important that you have a piece of gear that you can rely on, especially if it's for your business. I rarely get crashes in macOS. As I was saying previously, everything just works as expected from both a hardware and a software point of view. Speaking of hardware, I think Apple currently has the best consumer displays on the market. Here, I'm talking about their famous Retina displays. Currently, I have two Macs with Retina displays, and this is one of them. Let me just tell you one thing. Once you get to work on a Retina display, you'll never want to use another display again, I promise you. This is especially true for design. These displays are very bright, and they're also very high resolution, so text and everything else on them really is incredibly sharp. Now, if you're thinking about switching to macOS, there is actually no time better than the present. I'm recording this class in January 2021. A few months ago, Apple just announced their new M1 chip and three computers that use it. One of these is a Mac Mini priced at around $700. Considering the price to performance ratio, this is actually a bargain and this is what I would recommend you get if you want to start using the Mac platform. Now, if you're a Windows user, and you don't want to switch, let's talk about it. Post a comment in the discussion area and maybe I can help you in some way. Maybe I can recommend a tool for Windows that's going to make your life a little bit easier. If there's enough interests, I'll even consider doing a separate class on how to set up Windows for web design. With that said, let's get into the meat and potatoes of this class. The very first step you'll need to take is to install your design software. That's the app that you're going to use to create your designs. But which one should you get? Because there are a couple of worthy options. Well, let's find that out in the next lesson.
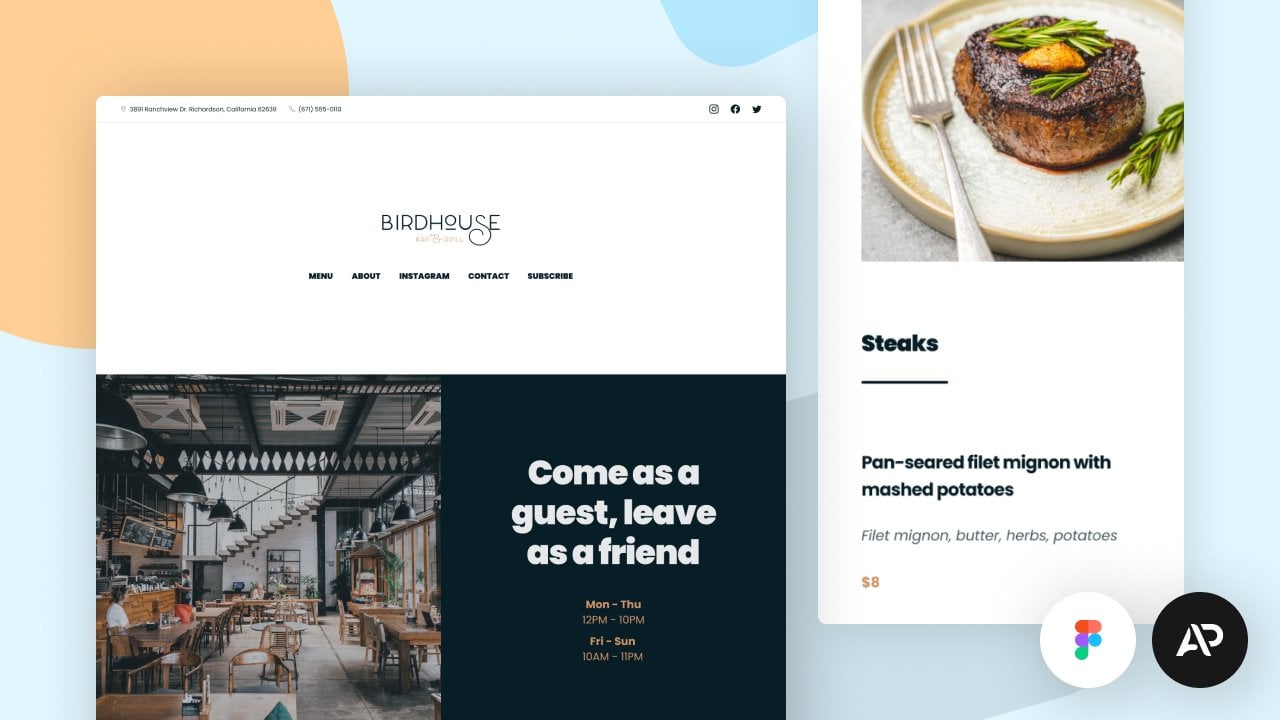
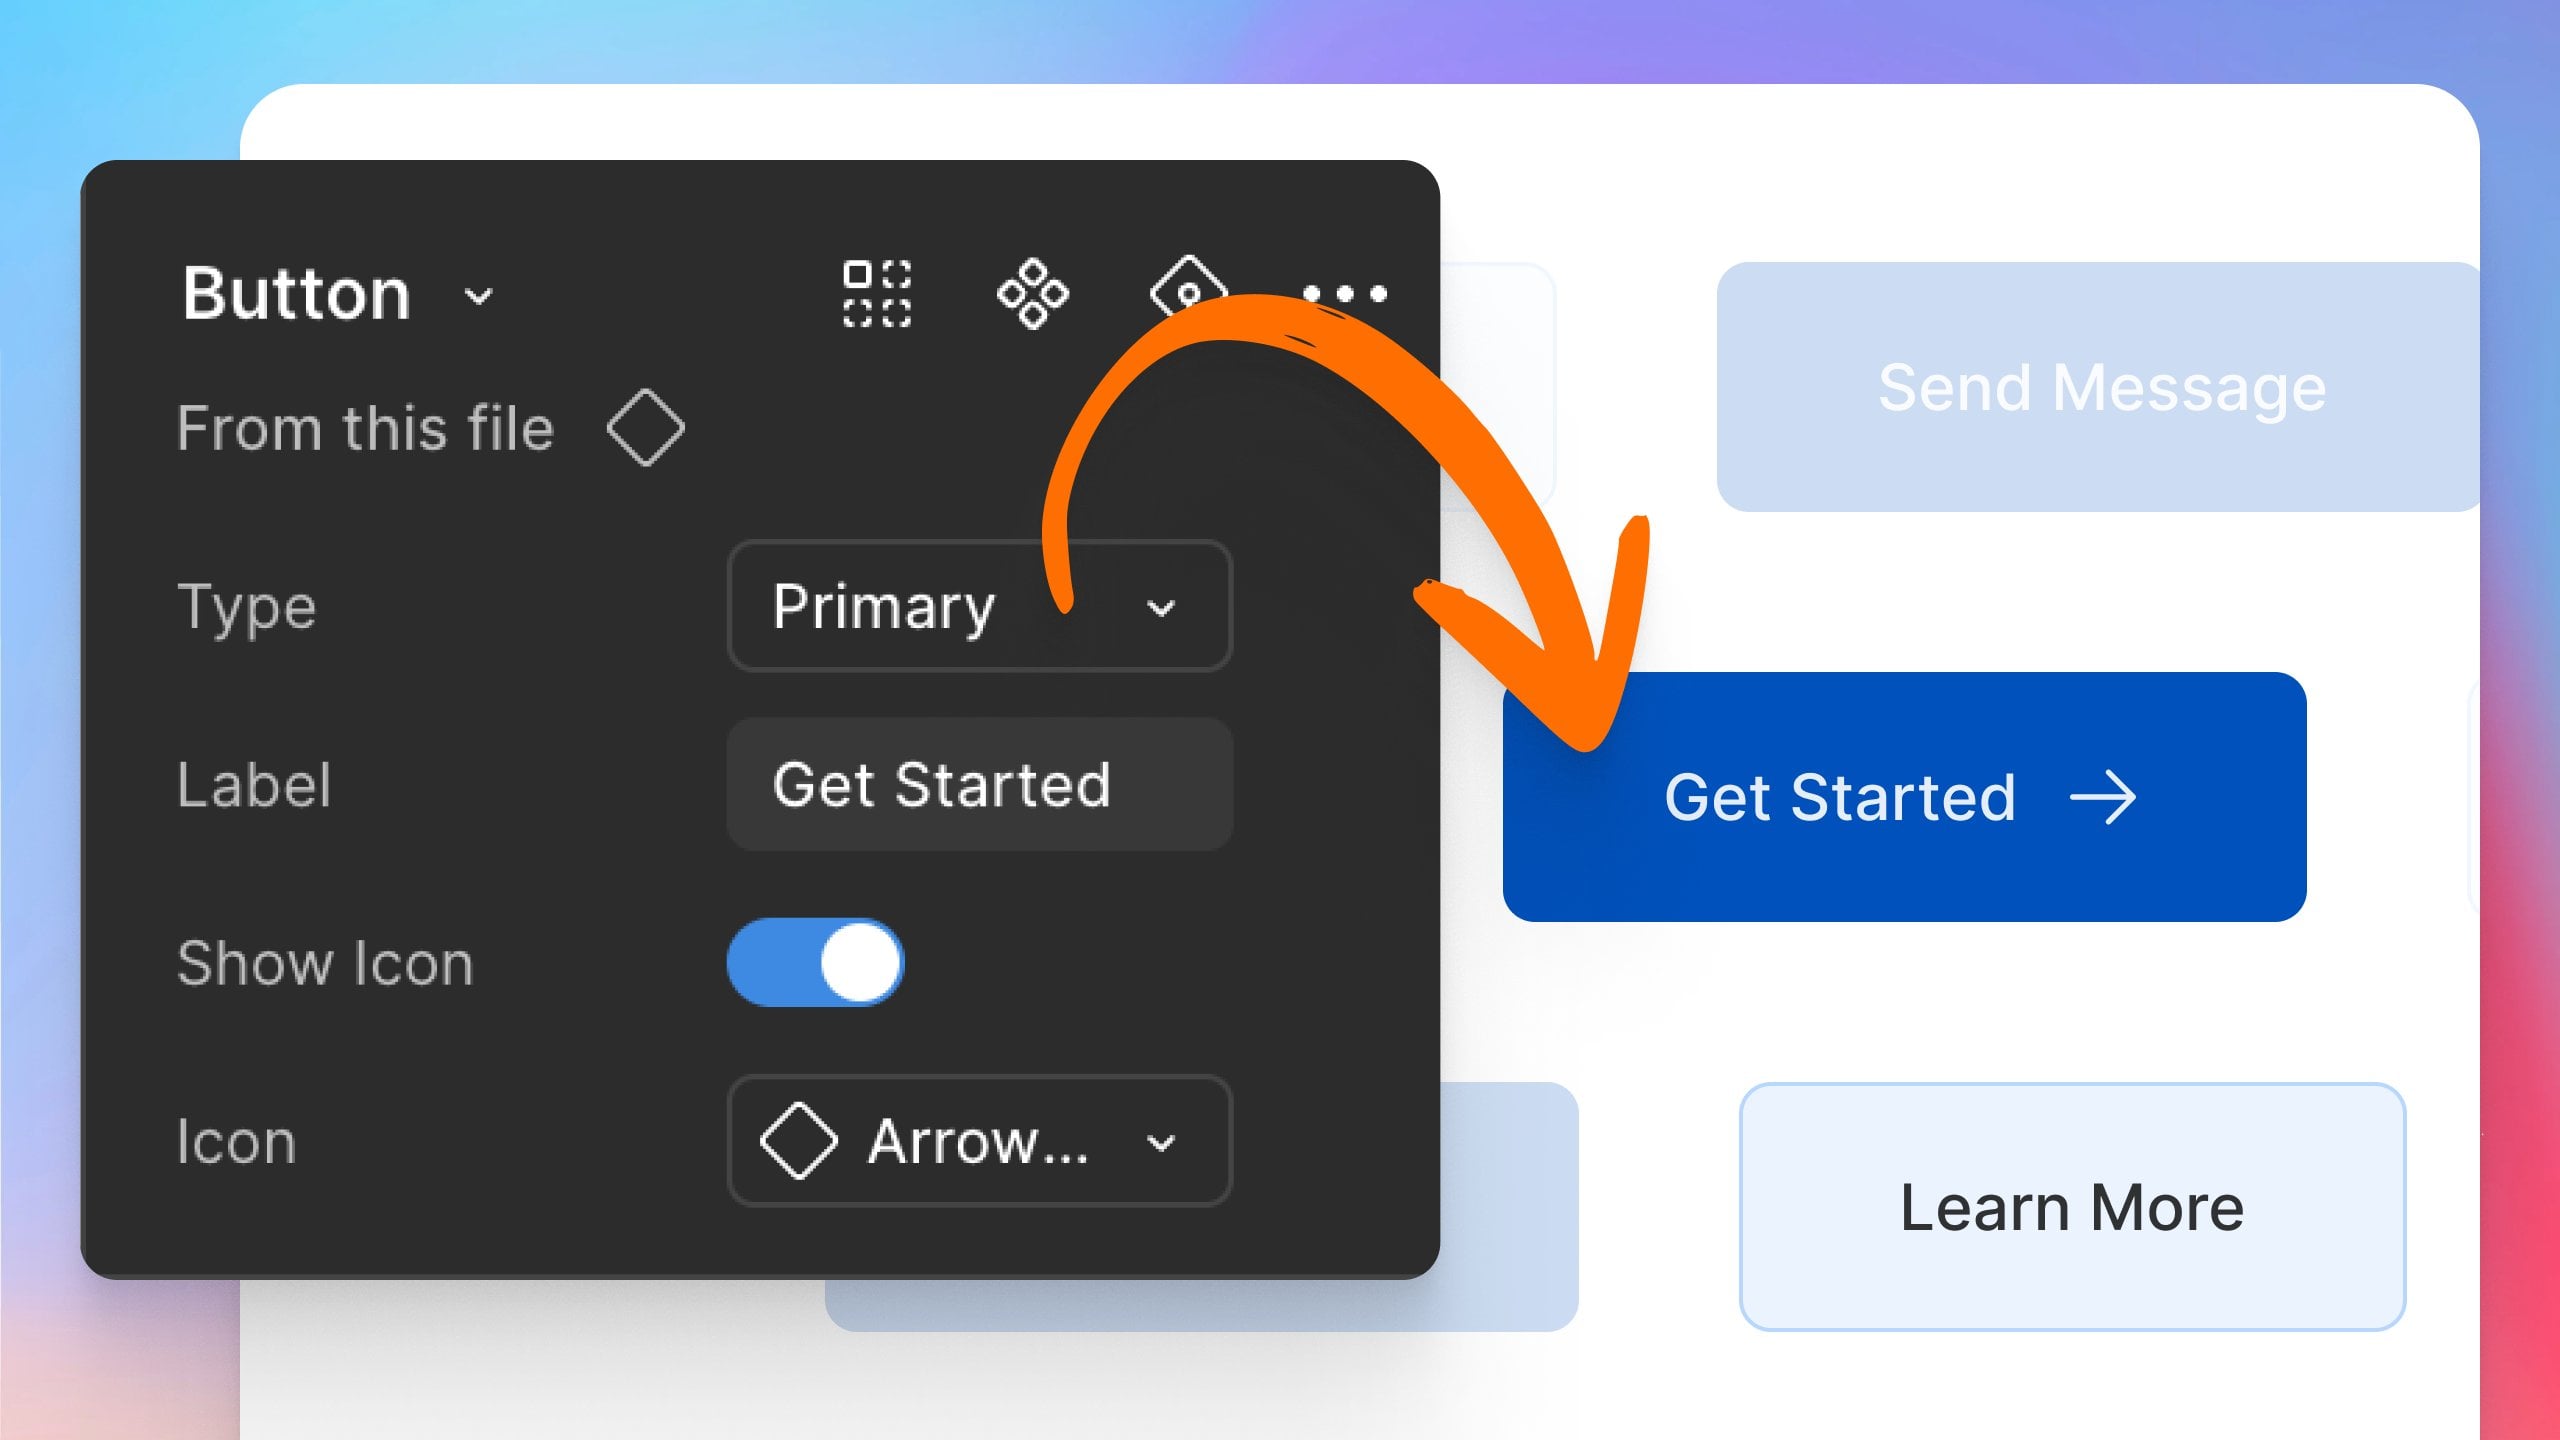
3. Design Software: Hey, welcome back to the class. This lesson is about design software and we're going to have a look at a few available options. I'm going to quickly go through the pros and cons for each one. I'm gonna tell you what to avoid. And also what I recommend. Sounds good. Let's go. I'm going to start by telling you what to avoid, okay? When it comes to UI design or interface design, you should stay away from Adobe Photoshop and Adobe Illustrator. And there are a few more out there, but these are the main ones. And don't get me wrong. Photoshop and Illustrator. Fantastic apps for what they were designed to do, not for this type of work. So for creating or designing websites and mobile apps and stuff, they're not very good at doing that. I know a lot of people started designing websites in Photoshop. A couple of years ago. Myself included. But we did that because there was no real alternative out there. Okay. But today, come on. There are so many apps you can choose from. And I'm going to show you three of them just in this lesson. I think technically of course, you can design any interface you want in both Photoshop and Illustrator, but you're gonna have a hard time doing that. So that's why I would recommend that you leave. Or you use Photoshop Illustrator for what they were originally designed, which is image editing and creating illustrations. Because we want to work efficiently. We want to use tools that were specifically designed for this type of work for UI design. And we're going to start with sketch. Now sketch is pretty awesome. This is actually the tool that I started using or right after I switched over from Photoshop. I believe back then it was sketch version three. Now it's sketch version five something. Well, sketch version 50 something because they kind of multiply their version number a while back. But normally it would be a version five sketch was like this super lightweight version to Photoshop where I could design a website or an interface so much easier, it helped a lot of controls that are specifically designed for that. Obviously this app has evolved with time in, got better and better. It now has a bunch of features that you can use to streamline your workflow in terms of the UI, This is pretty straight forward. You have a top toolbar that you can also customize to hold your most important. Tools. Here you have a section for switching to the different pages. This is a layer panels so I can create any shape that I want. It's going to show up right here. And on the right side you have a inspector panel that will give you access to the various properties of the objects that you have selected on this canvas. When it comes to pros and cons, I think the biggest one is that sketches a native Mac app. So it's very fast that runs incredibly well on MacOS. And it even has support for MacOS, Big Sur, which is Apple's latest operating system at the time of this recording on this computer, I am using Catalina, which is the previous version. So it looks like the standard sketch interface. But in Big Sur, it actually has a slightly updated interface and in my opinion, it looks brilliant. I also love the fact that it has a dark mode. And I can easily switch between dark mode and light mode from the appearance here. And this is what it looks like in lite mode. And this is actually the only app that supports a dark mode from all the apps that I'm going to show you today. Sketch also has a huge community behind it. You have a lot of websites with various resources made for sketch. A lot of plugins developed by community members. And basically it has everything you need. In a design app. With sketch, you can create anything from icons to app designed to website design. And it's really a very complete toolkit. Now, when it comes to the cons, I think the biggest one is the fact that it's not free. Sketch is currently priced at $99. So if you want to use it, you have to pay this upfront. And then if you want to keep receiving the updated version of the app, you'd have to spend another $79 per year. So basically, you pay $99 in the first year. You have the updates included in the app. But after that year has passed, if you want the updated versions, you would have to keep renewing basically your subscription for $79 per year. So that's con, number one. Column number two is that there's the fact that this is Mac only. Obviously no problem for this class because it's about setting up macOS for web design. But if further down the line, maybe you're thinking about switching to Windows or being able to access your design files from another operating system. Using Sketch is not for you because this only runs on MacOS. And if you're interested, you can get the app at sketch.com. Now the next tool on the list is Adobe XD. This is yet another powerful app and one that's actually incredibly popular in terms of the interface. It's pretty similar to sketch. You have a toolbar here on the left side. You can also see the layers panel here and the inspector panel right here on the right side. And when it comes to Adobe XD, there are lot of pros. First of all, it's absolutely free. There is also a paid version, but if you're just getting started or you don't need like all the collaboration tools. This is a free tool. Another advantage is that it works on both Mac OS and Windows. So if you have maybe two computers, one at the office, one at your home, you can start working on a project at the office and you can finish it at home on another operating system, no problem whatsoever. And you can also choose to save your documents in the Cloud so they are accessible from anywhere. Adobe X D also has a huge community behind it, with lots of assets available for download like UI kits and whatnot. A lot of plugins are available. And just like sketch, it has everything you would need from a design AP, plus actually some unique features like the repeat grid. So for example, if I have like a rectangle here, I can create a grid by clicking a simple button and dragging like this, and it goes in multiple directions and I can easily adjust the spacing between the grid items. So this is a feature that I haven't seen anywhere else. It also has a very cool assets panel that allows you to save colors, character styles, and components for reusing your projects. Or for example, I can select this element x D knows there are two colors applied to it and read for a fill, agree for a border. And it automatically creates those two colors for me. Again, if I have a text element, I can save those character styles really easily. So let me just quickly give you an example here. I can click this button and it's going to save as helvetica new irregular 20 pixels. It gets its information from here. And further down the line, I can right-click this, I can edit that. And I can change those properties and any texts on one that has this character style to apply to it will get updated as well, which is pretty awesome. And of course, as the name says, it, it's an Adobe product. So we know it's a quality product which is actually updated very often. What I really like about XD is the fact that it's very fast and it has a very clean user interface. Also fun fact, you can import sketch and Photoshop files in Adobe XD. So if you're maybe switching from one of these apps for your web design needs. Then you can import all of your old files into XD. No problem whatsoever. Now when it comes to the cons of using Adobe XD, To be honest, I can't think of any. I think this is a really, really good app for anyone that's trying to get into. Web design. May be the fact that it doesn't have a dark node, although that's pretty subjective, not everybody likes a dark mode. Or maybe the fact that its interface is not as customizable as the UI from sketch, for example. Maybe we can consider that to be a con. I don't know. In my opinion. I don't see any real cons or any cars that are worth mentioning for Adobe XD. Now, if you want to get Adobe XD, you can get it in the Creative Cloud app. If you have that. Or if you don't, you can simply go to Adobe.com slash products slash XD. And here you can just click the start for free button and you can download it from there. Now, for sigma, Well, this is the one that I use daily. And I really, really love this app in terms of the user interface. Nothing special really. It's very similar to all of the other design apps out there. We have a toolbar here on the top, layers and assets on the left, inspector on the right, and the canvas and the middle. Now what I really love about figuring out is the fact that it's free. It works on Windows, Mac OS, and Linux. And it also works in the browser. So here I'm actually in Safari. And I have a FISMA filed opened. But I also have the desktop app installed and any change that you make to your files is automatically saved to the cloud. So for example, I can draw a rectangle in my desktop app. And when I switch to the web app or the one based in the browser, you'll see that change appear here instantly. And I love the fact that all my files are online and they are accessible from anywhere I want. Now, just like the other two, sigma has everything you need in a design API can create any interface with it. But you can also design icons, vectors, illustrations, even it's very, very powerful. Now, apart from the usual stuff you would find in such a software, sigma also has some unique features, for example, auto layout. So for example, I can add auto layout to a specific object. And then I can. Start moving that object round, like this. Like this. I can select my main frame, I can choose a different orientation. I can change the spacing between items. And also I can change the padding of the main container. And also something that I haven't seen in any other app. And this is actually one of my favorite features in sigma is selection colors. So if you select a group of elements and those elements have different colors applied to them, you will find all of them under a single group in the inspector. And you can see the hex code. You can change them really easily without actually selecting that item. Just from this interface. You can also change the opacity of that color and it can also create a color style to it. And if you're unsure which elements used that color, you have a little button here that allows you to select the element with that color. A fantastic feature. I use it all the time. And I wish some other design software would implement something like this. Sigma is really fast. It has a very clean UI. And I mentioned that it's free. Yes, it's free. It also has a paid plan, but that's for teams. So if you want to create more teams, you would pay extra for those. But if you don't, then it's totally free. And anyone on any platform, on any browser can use sigma, which is fantastic in terms of cons. The only one that I encountered so far is that sometimes it bugs out when importing SVGs. But other than that, I have nothing bad to say about fake my hand. In fact, this is my personal recommendation for a design software regardless of your skill level. So if you're just getting started, I recommend use Fatma. If you're maybe a veteran, I recommend you switch to sigma. I am that confident that this is a good product. Alright, now, these three apps are what we might call mainstream, meaning. Everyone knows about them. They are the most complete in terms of features. And they all have really big communities behind them. With that said, there is one more app that you might be interested in and that is called Studio. This is made by a Japanese company called Studio Inc. Based in Tokyo. This app is pretty different than what you're used to because you can create any kind of interface design. But the experience is that of a visual builder. The elements are usually stacked, so changing one will affect the others. You can add margins and paddings to elements and it's almost like working on a live page. The cool thing about Studio is that it can create a coded version of that design, which you can then upload to your own server. With it. You can basically design and code your entire website without actually writing a single line of code yourself. One downside could be the fact that studio only works in the Chrome browser for now, and it doesn't have all the bells and whistles of these other, as I call them mainstream design apps. I won't go over into much detail about this app. But if you're interested in seeing a class about Studio, let me know under discussion tab, I would love to give you a more in-depth look at this application. All right, so now it's time to get busy. Your task right now is to figure out which design software you want to use. If you already have a preferred one. That's great. We can move on. If not, go ahead and download one of these and install it on your system, play around with it, see if you like it. It doesn't matter which one. What matters is that you like it and you feel comfortable working with it. If you don't know which one to get, then just go with my recommendation and choose sigma. Create a free account and you're good to go. You don't even have to download anything you can get started in the browser, or just download all of them and play around until you find the one that you like. Now, let's move on to the next category of tools that is four color management. And in the next lesson I'm going to show you three very useful apps. So I'll see you there.
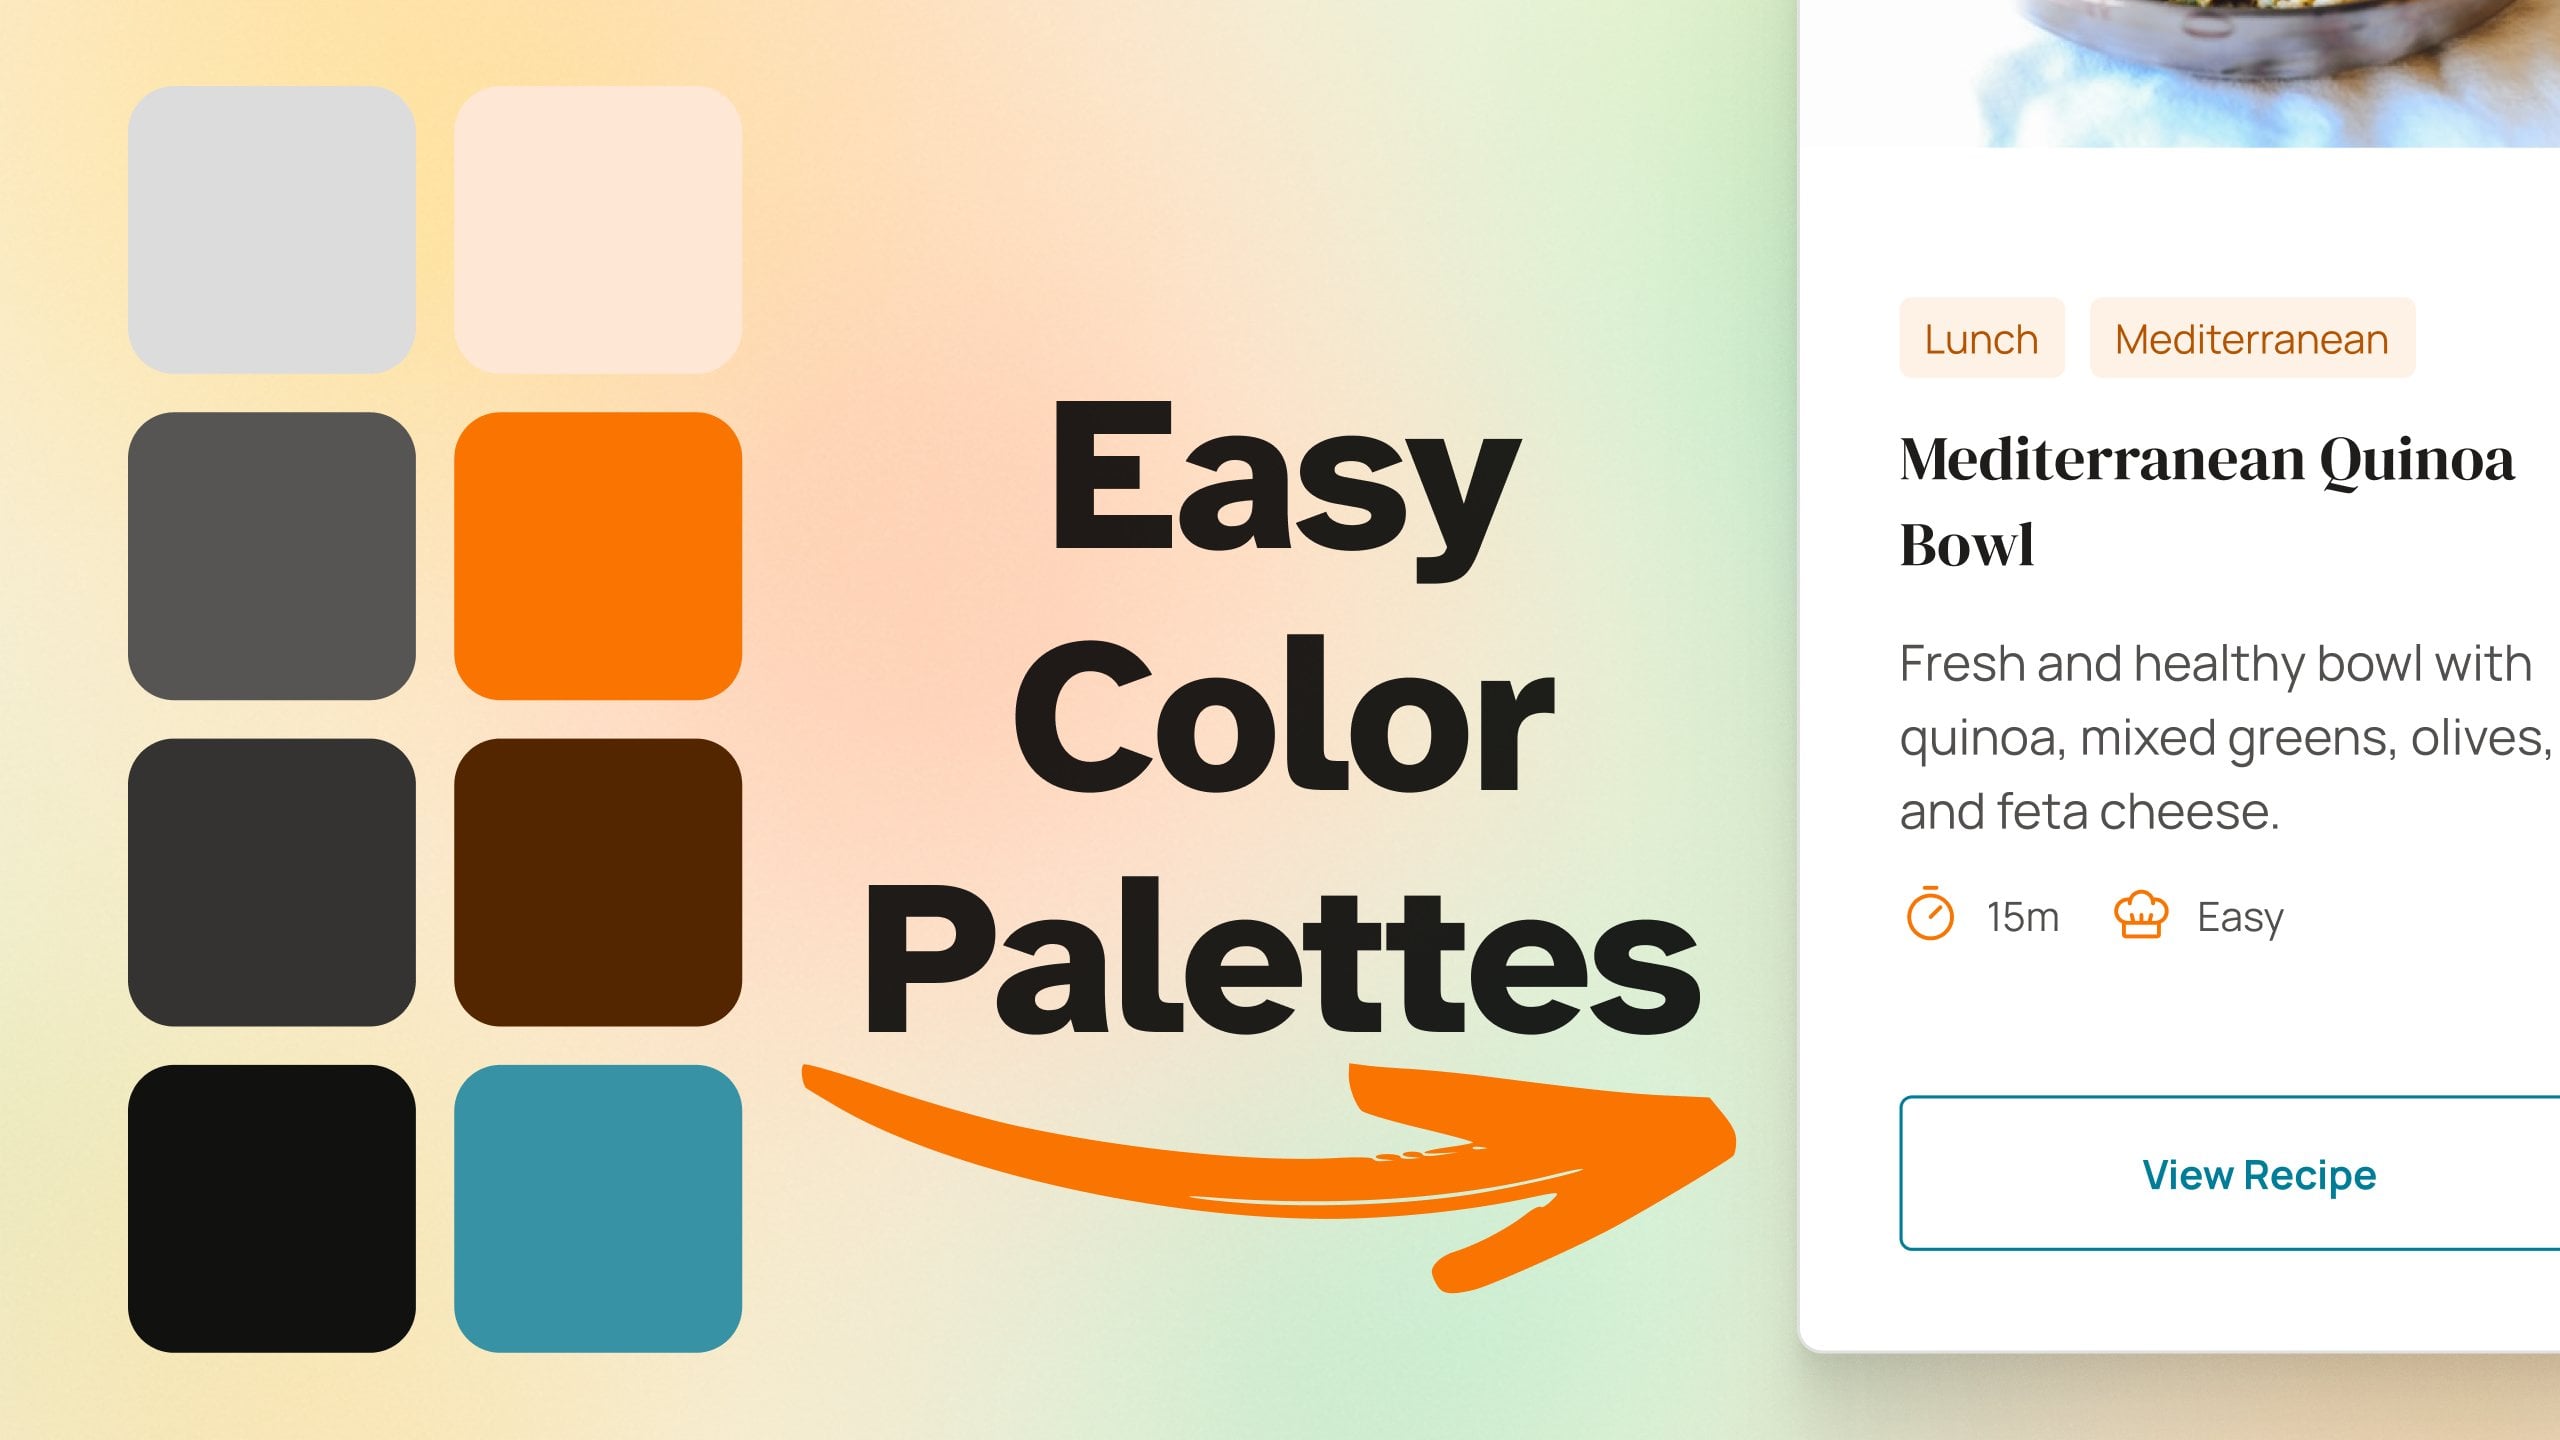
4. Color Management: Hey, welcome back to the class. This lesson is about color management, and I'm going to show you the apps that are used to pick colors from anywhere on the screen to check for color contrast and also to create color palettes. Now, I'm really excited about this because color is one of the fundamental aspects of design, and having tools that empower me to do this is just fantastic. Let's get started by looking at an app called ColorSnapper. You can get the app from colorsnapper.com. This is a Mac only. You can try it for free and you can also purchase it for about €12. I'm not sure what that is in dollars, probably around $15 or something like that. Now, this is an app that sits nicely in your menu bar in macOS, and you can assign a shortcut key to it, mine is Command Option C, and with it, you get this big color picker which you can make smaller or bigger using your mouse scroll wheel. It's like a magnifying glass. You can go anywhere on the screen and you can sample any color. See how it changes the hex value there? Once you find the color that you want to get, simply click, and that will automatically be saved in the history of the app here, and also to your clipboard so you can quickly jump to an app and you can apply that color right here. It's that easy, and as I said, it works anywhere on the screen. Now, you can also change the format of the color you are picking, so you if you go to Colors & Formats, right now it's set to CSS Hex, but you can get a Generic Hex without the hash sign in front or maybe you want an RGB format with red, green, blue values, or RGBA with an alpha channel, HSL, and a few other formats. Actually the list here is pretty big. The Colors & Formats window is also accessible via a keyboard shortcut, mine is Shift Command C, and you can also see a history of the color that you picked right here. You can scroll this using the scroll wheel on your mouse. If you have a color that you want to save it as favorite, you can simply click that little icon, and now you can click this and switch between history mode and favorites mode. That is very handy. Now, if you want to change a color that you picked, you can go to Colors & Formats, you can select the color that you want to change, for example this one, and you can click this little icon here that says Edit Color. That's going to open up this editor where you can change the Opacity, change the saturation, or actually the lightness of the color, or it can change the color hue entirely. You also have some additional options here, you can choose between the color wheel or a grayscale RGB, HSB slider. You can also choose between some predefined colors in the system, or you can choose between this spectrum. In terms of the preferences for the app, this is pretty straightforward, you can decide on the keyboard shortcuts that you want for picking the color, and also showing colors & formats. There's also a precision mode, which I haven't showed you. If you open up the color picker and you press the Control key, this allows you to move with a lot more precision. This is without the precision mode activated, this is with the precision mode activated. You can really zoom in there and choose the exact color that you want. You can also modify its appearance like the magnification level of the loop, the capture area, you can choose on using a dark theme or not, and you can also modify some of the formats that you can use to save the color, like using uppercase when choosing the Hex or the CSS Hex, and so on and so forth. If you're looking for a good color picker, this is actually my recommendation. We have another one that I'm going to talk about in a little bit, that's called Sip. That also is a great color picker, but it's a bit complicated for picking colors. Instead, ColorSnapper is an app that I've been using for a long time and I can recommend it to you wholeheartedly. The next app I want to show you is called Contrast, and this is used for checking the contrast between two colors and making sure they are accessible, and to determine that they are using the WCAG color contrast ratios. Now, how does this work? Well, let's say you want to create a button, and you're giving it a, let's say a fill color, something like this, and then you select the text and you give it a text color. Let's say something like this. Now, if you're going to check the contrast between the text color and the background color, in this particular case, you're going to find that it's not accessible, so people with impaired vision will have a hard time reading this text. To do that, Contrast is an app that again, sits in your menu bar, and you simply click on that little eyedropper tool, select one color, click on that and select the other color. This determines the contrast ratio between the two colors, in my case it's 2.04, and it's a fail. Now, if I'm going to increase the brightness of this color, and I try it again You'll see that now I have a much higher contrast ratio, 9.26, and this is a success in terms of accessibility. People with impaired vision will be able to read this text. It's really that simple of an app. At any point, you can swap colors by clicking this button, and you can also see a live preview of those colors right in the app, which is a great addition. In terms of preferences, there's not much to choose here. It's a very simple app, but you can define certain global keys for picking the colors and whatnot. But I haven't set up any of them because it's not an operation that I do very often; and clicking on the menu bar icon and just sampling the colors like this is actually very simple. So I usually just do that. You can get the app at usecontrast.com, and you can read more about that. They also explain what is WCAG, as you can see, it's the web content and accessibility guidelines. To download it, you simply go to the Mac App Store where you'll see it has a price of $6 and 99, which I think it's a very fair price for this app being that it's so useful. The final app I want to show you four color management is called Sip, and it's dubbed as a better color picker for your Mac. Now this is in a lot of ways very similar to the first color picker I showed you, ColorSnapper. But at the same time is much more complex. With Sip, you can basically do the same thing, get our color picker on the screen, you can use your mouse wheel to make this bigger or smaller, and you can sample any color. Now, right off the bat, we can see a difference. The colors here are actually named. See there, electric purple, and if we go to the blue, it's called crayon blue. Let's go up here, deep sky, azure. I think that's cool because it gives those names. You can also see the Hex code and a preview of that color right there. Again, once you click on a specific color, it automatically copies it your clipboard and also in your color history right here. Once the color is copied, you can of course go to your design software and you can paste it there. You can also click on a specific color to copy it to the clipboard. You can copy that and it can select this and you can change the color like so. It can also click this little button to edit that color and again, you have access to a slider for the hue, one for the opacity. You also have this picker right here on the side. You can also input the RGBA values manually. Once you're done, hit the Okay sign, and that new color is automatically going to be copied to your clipboard. You also have access to color formats. Right now it's set as CSS Hex, but here are all the formats that you can choose from. Now, if you paid attention earlier, I said that this app, Sip, is a lot more than just a color picker. We can see that right away because we can create color palettes. In fact, this is the way I use to create color palettes when I'm working on a Mac. Creating a palette is very simple, you just click this little menu icon and select New Palette, and then you can start sampling various colors. Maybe I'm going to sample a color from my MacOs doc right here, maybe another one from here. Then with those colors, I can simply click and drag into my color palette. It's that easy, and I can of course, make this window a little bit bigger so I can see all of my palettes. Now, Sip also has a contrast checker built-in. You can click this button, go to Check Contrast, and you can sample two colors. It's going to give you the exact contrast, very similar to the contrast app that I showed you previously. If you choose two colors that give you a fail, you can also click on "Fix", and that's going to modify the colors in such a way that they give you a good contrast. I don't really find myself using this feature, but if you want it, it's there. Now one of the features that I actually really like about Sip is this color dock, which gives you the color history and a few of the color palettes that you created. This can be moved on either side of your screen depending on where you want it. It functions pretty much the same as the menu bar app, except it's a little bit easier to see which colors you can pick from. Maybe I'm looking for a blue color. I know immediately that, hey, I can find it here or I can find it here. Am I looking for a light pink? Well, I can find it right here and I can click on that color to copy it to my clipboard, and then I can paste it in my design app really fast. That is Sip. You can get it at sipapp.io It's not free, unfortunately, it does cost around 10 Euros per device. However, it's also included in Setapp. Setapp is a subscription service for your Mac that gives you access to a lot of apps. Basically you pay a flat fee monthly or yearly, and you have access for free to a bunch of apps, and one of which is Sip. In fact, this is how I use it on my Setapp subscription. There you have it, three fantastic apps that you can use to work more easily with colors. Now it's your turn to pick out the one that you think would be most helpful if you want to, of course, or if you need it. All the apps that I'm showing you in this class are apps that I use. It doesn't mean that you need to use them as well. But I think they could help you, and you should try them out. Now, another major aspect of design is typography. As designers, we go through dozens of fonts until we find just the right one for our project. But how can we manage all of these fonts that are installed on our system? How can we easily preview and choose the right type phase for our design? Well, I want to show you two apps that are going to help us do that very easily. That's coming up in the next lesson. I'll see you there.
5. Font Management: Hey, welcome back to the class. This lesson is about font management. I'm going to show you the app that I use to manage all the fonts installed on my system. Now, macOS already has an app for this, it's called Font Book. You can use it to see what fonts you have installed, see how they look like, and also create collections. But we can do better than that. I found a better alternative called typeface. While it's very similar to the default app I showed you earlier, it has some extra features that make it really useful. Let's check it out. This is what the app looks like. On the left we have this sidebar that allows us to filter the fonts that are displayed on the right-hand side. For each font we can see a preview. By the way, this text is totally customizable. We can see the font name here, and also this blue dot lets us know that that font is activated. If for some reason I want to deactivate a font, I can simply click here and deactivate that font. Currently, this is a system font which cannot be deactivated. But if I'm installing some fonts myself, then I can use this feature to activate or deactivate. At any point, I can open up a font in a bigger window by clicking on it, and it's going to show me a bigger preview of all the characters. I can also see some information about that particular font. Also, I can choose to increase the size of those preview boxes or decrease it like this. From here, I can choose to hide that sidebar, and from here, I can toggle the quick collection on and off. With quick collection, I can simply right-click a font and select Quick Collect. Let's say you're working on a project, you're browsing your list of fonts, you say, this one works really well, so I'm going to quick collect it. Maybe this one works really well and I'm going to collect that as well, and maybe this one as well. After you do all that, you can simply click on that and it's going to give you that collection of fonts. Now you're basically narrowing down to just the fonts that you selected. This will help you make your decision a lot faster. Now, on the left side, we have a couple of criteria for filtering these fonts. If I'm looking for Monospaced, I can click that and it's going to show me all the fonts that match that criteria, or maybe I want some Script ones or Sans, Ornamental and stuff like that. At any point, you can click this little button and you can create a new tag, or you can import fonts. Let's say I want to create a new tag that's called WordPress theme. Let's say I'm working on a WordPress theme and I want to select certain fonts that would work well for my WordPress theme. Let's see, maybe I'm going to choose this one so I can right-click tags and I can select WordPress theme. What else? May be this one. Now if I choose WordPress theme, it shows me which fonts I marked with that tag. This is very useful for organizing your font library because we can use these tags to mark the fonts for different uses. Lets say you mark certain fonts with sans-serif, or other ones with, let's say, very legible or something like that, the criteria or the tags or the categories that you use is entirely up to you, but you can use the system to categorize your fonts, and that's going to make it much easier for you to find them later on. Now, with typeface, with this app, you also have access to Google Fonts. Basically, if you open up the Preferences and you go to.Library, you can import Google Fonts right here. This will download actually the entire library of Google fonts, so you don't have to manually go to the Google Fonts website and download certain fonts from there. You can do it from the app directly. You can also import Adobe Fonts. If you have any fonts from Adobe that you want to import into the app, this is the way to do it. Another great feature of typeface is the glyph compare. Let's say you have these two fonts. You can right-click on either one and select compare. That will actually overlap on the other font preview, and you can see the differences between each glyph. You can also make this a lot bigger, so you can see how Avenir Heavy compares to Apple SD Gothic Neo Light in this case. This is a very useful feature. Now, you can get the app, typeface, at typefaceapp.com. This is not free, but you can get a free trial. It costs 2,199 euros on the Mac App Store, or if you are using Setapp, that's the subscription service that I told you about, that's included, so you don't really have to pay anything except the subscription for Setapp, which if I remember correctly, is around $10 or €10 a month. It's really not that big of a deal. Also, the app has a dark mode as well, so you can toggle off the Dark Mode or the Night Mode as it's called here by using this keyboard shortcut or by going to View, Night Mode. Pretty cool. If for some reason you don't like this app, I have another suggestion for you. It's an app called RightFont, and it's a lot more complex than typeface, but it's also a lot more expensive. Let me quickly show you what it's about and then you can decide for yourself if any of these will be useful for you. You can get the app on rightfontapp.com. It's also a Mac App. Pricing wise, it costs $49 for a single license, but you also get a free trial. The app in lot of ways is similar to typeface. You have the list of all of the fonts installed in your system right here. You can change the previous size, you can change the preview text right here. You can also view this as a list, a card, or a grid. You can also group fonts by family, which is something I haven't seen on the other App, and you can also choose from four available themes. As I was saying, this is a bit more complex. Here you have access to the system fonts in a separate category, and you also have access to some icon fonts. There are actually a lot of them that include some very popular icon fonts like Font Awesome and Ironicons, Foundation, Enypo. You can use this to actually preview these icons and use them in your projects. You also have access to Google Fonts. You can sync with Google Fonts, so you don't have to download manually. You also have access to the Adobe Fonts that are currently installed on your system. You can also sync with SkyFonts , which is another service for managing fonts. This is an online service. Then you can choose to create various lists like all of the activated or deactivated fonts and so on and so forth. But as I was saying, this is an alternative. My recommendation would be to use typeface because that's the one that I use. I think it's simple enough, but at the same time, it allows me to manage my fonts a lot better. If any of these apps sparked your interest, then go ahead and download the one that you feel would be most helpful or the one that you like the most. They are not the only font managers out there. If you do a Google search, I'm sure you'll find a lot more. These are the ones that I showed you because these are the ones that I worked with, especially typeface. I know it, I know it's good, and I can recommend it to you. So far, we covered tools for design software, color management, and font management. But what else do designers use on a regular basis? Icons. I remember when I needed an icon, I would go online every single time and I would download it from there, or I would sieve through a bunch of folders on my computer trying to find the right one. Thankfully, nowadays things are much simpler, thanks to certain icon management apps that I want to show you. I'm going to do that in the next lesson. I'll see you there.
6. Icon Management: Welcome back to the class. This lesson is about Icon Management and let me tell you this; having an app that can store all of your icons and categorize them is terrific, fantastic, amazing. Before I started to use an app, I would go online, search for an icon, download it and use it, or search in my [inaudible] folders on my computer until I found the right one. But no more, thanks to an app called Iconset. I can now find any icon in seconds and drag it in my design app. Let me show you how. This is the app that I want to show you. On the left side you can see the icon sets that are available. In here, you can see the list of icons from that set and here you basically have an inspector panel and that's going to tell you the name of the icon, some tags and some details. At any point you can, for example, copy that icon as an icon or as an SVG actually. You can copy the SVG code or you have some additional options here. If you just copy it, you can just paste it in, or you can simply click and drag and it's going to create a copy of that icon in your design software. This is a vector, so you can make it as big or as small and it's going to preserve its quality. Now you can very easily add an icon set. You can by clicking this button and selecting "New Set" and that's going to allow you to give it a name and browse for the icons. This only works at SVG files, so you need to download those icons first to your computer and then import them into Iconset, and they're going to be available right here so you don't always have to go online and find the right icon. You can also search for icons, so if you're looking for an arrow, you can type that in, it's going to show you all the icons that match that search criteria. That search is also based on what you have selected here in the sidebar. Now at any point, you can export an icon set using this option right here. That's going to save it to your computer as a dot set file, which you can then share with other people that have the Iconset up and they can import that set into their own app. But the feature that I like the most is the fact that I can sync my entire icon library. Here, this is called icon set library. Currently it's local because this computer is not my daily driver, so I don't use it for work. But if I would, I would save this library in a shared place, in a shared location like Dropbox for example. Then if I install the app on another computer, I can just open up this library and all of my icons will be synced between devices. Very cool. In terms of the preferences, you also have a dark mode that you can enable. You can choose to hide or show the icon name and also an icon grid. Now the reason I like this app so much is that it's free and it works on both MacOS and Windows. You can get it at iconset.io and this is where you can download the Mac and Windows versions, and as I was saying, it is totally free. In my case, this is very useful because at work I have a Mac computer, at home I have a PC, so if I'm working from home and I need access to my icon library, I can download the Windows version and because the library is synced, all of my icons are available and I can use any one of them any time I like. I also have some alternatives I want to show you in case you don't like Iconset. But I have to tell you that I don't know how good they are because I haven't worked with them, except one of them which I tested briefly. From the reviews I read online, they seem to be doing a great job, but you're going to have to download and test them yourself to determine if that's true or not. Let's take a look at the four alternatives. The first one is called IconJar, and you can find it at geticonjar.com. This is for Mac only and it is not free. This is actually a 20 or €30 annually or €60 per lifetime. As you can see from this preview here, it's pretty similar to Iconset. Maybe it has a few more bells and whistles here and there, but I don't think for me personally at least wasn't worth getting this over Iconset. The other one is called Nucleo app. At nucleoapp.com. This is an icon organizer and an icon library with over 30,000 icons. You basically download the app and you also have access to the Nucleo library, but you can also add your own icons. This works on Mac and Windows, and it also has a free app. The third one is called the Noun Project. You can search for icons here, and there's also a Mac app that you can download. This also has a few Adobe add-ins for Illustrator, Photoshop, and InDesign. Finally, there is Iconscout that does something similar. Now it's your turn to organize your icons. Why? Because it's going to make your life easier and it's going to save you a bunch of time and that's always a good thing. I recommend you use Iconset because that's the one I use and I know it's good, plus it's free, it works on both platforms, but feel free to use whatever you think works best for you. Hopefully, the four alternatives I showed you will set you on the right path. Now question; what should you always do as a designer? Measure, you will rarely find a designer that goes, let's make that 23 pixels. No, designerson always measure stuff. Personally, if I make two buttons and one of them is like one pixel taller, it just drives me crazy, I can't stand it. Measuring is very important because we need to be consistent in terms of spacing and sizing. In the next lesson, I want to show you an app that I use almost daily, or at least when I'm designing to measure anything I want on the screen. That's coming up next.
7. Measuring: Hey, welcome back to the class. This lesson is about measuring. I'm going to show you an app that I use a lot to measure any distance or dimension anywhere on the screen. You can also use this app to create vertical or horizontal guides and also take screenshots of your measurements. Now, most design software you use has some measuring system built in, but usually, it only works inside that design software. If you want to measure something from, let's say, an image or a website, or you would have to import that image or take a screenshot of that website imported into your design software and make your measurements. Well, what I'm about to show you now works on a system level, meaning you can measure anywhere on the screen regardless of which app is currently active. I really like this tool, so let me show you what it can do. The app in question is called PixelSnap and you can get it at getpixelsnap.com. How does it work? Let me show you a quick example. This one lives right here in your menu bar, and you can set a keyboard shortcut to activate it. Mine is Shift Command F. When I press "Shift Command F", I get these cool red lines on my screen. Let's say I want to find the dimensions of this Buy button. You'll notice that as soon as I move inside the button, the edges of those lines will snap to the edges of the button and right next to it, it gives me the dimensions, 122 by 52. I can go in here and it's going to say it's 211 by 48. I can also measure the distance between these buttons. Then the one that I'm looking for, is of course, the smaller one. As you can see, it's very, very useful. Now while measuring this distance, you can hold down H to hold that distance on the screen. As you can see, even if I let go of H, that distance is still there. I can even move the cursor inside and I can press "H" here, or I can press "V", it's going to give me my vertical distance where in this case dimension. How cool is that? I can also get an accurate measurement of an object by dragging a rectangle around them and that will snap automatically to the edges. Here it tells me, "Hey, this is 95 by 35." You saw that when I hovered on that measurement, it gives me a camera icon and if I press it, that gives me a screenshot which I can copy or save as a file. I can even edit that screenshot, which is pretty cool. Now, while this tool is active, I can press "Shift V" or "Shift H" to add a snapable guide. You can see the blue is now a guide, and I can use my mouse cursor to snap that guide to any element on the screen. Let's say I'm going to snap one there and Shift V again to snap another one here, and that gives me a measurement here, 122 between these two guides. Then from this to the edge of the screen, I have 534 and 783 for this portion right here. I can also hold down Shift H to add a horizontal guide, which I can snap in exactly the same way like so. Now, at any point, I can right-click to access some contextual options, so I can add the guides here, I can hold the distances like I showed you previously. I can also open the screenshot tool, or I can enter the background mode. The background mode, basically, keeps those measurements on the screen while I can keep working. If I want to exit that, I can simply hit "Command Shift F" again and then "Escape" and I got out of it. Another cool option; when the tool is active, I can hold down Shift, and that's going to give me a crosshairs mode. Without the dimensions, I can simply use this to visually check for the alignment of certain options just like that. Then if I take some measurements, for example, I'm going to do H here and then a V, and maybe I'm going to save this distance right here. I can press "Command S" and that's going to take a screenshot, and it's going to save it to the file. That screenshot contains, and you can see a preview right here, it contains my measurements and my distances, pretty awesome. I highly recommend this tool. It's super useful regardless of where you're working. If you have Figma opened, maybe you're diving into a design and you want to find the distance between two objects without selecting the items individually and measuring inside that app, you can simply open the measuring tool and you can find the distance between the objects very easily, or you can just click and drag and find the dimensions. This can sometimes be finicky because here, for example, I also clipped a part of that line, but let's try it on this logo. You see it does a much better job. When doing this, you have to ensure that the background around the element is roughly the same color and doesn't have any other elements around it. By the way, if you're curious about this design, this is a landing page that I designed for my first Skillshare class. If you open up my profile here on Skillshare, you will find the class that's going to guide you through designing this entire page in Figma. Now, as I was saying, you can get the app on getpixelsnap.com. This is for Mac, and unfortunately, it is not free. It's $39 for one computer. If you're already using the CleanShot X app, which is made by the same company, you get a discount. But also this PixelSnap, this app is available on Setapp. I mentioned Setapp a lot in this course, and I'm going to explain again what it is. Setapp is a subscription-based app that gives you access to a lot of software, a lot of apps for a fixed monthly or annual price, and PixelSnap is included in your subscription. That is PixelSnap, a fantastic app for measuring anything you want on your screen. It's a bit on pricey side, but if you're using Setapp, then you might as well just install it because it's going to help you a lot when designing or even when writing code because it's going to allow you to take those critical measurements really fast and translate them into CSS code. Now, for our final tool, we're going to take a look at one that creates screenshots or that takes screenshots. I think for web design, this is also very important because it can help you communicate better with potential clients or your teammates by taking great screenshots. Or it can help you by allowing you to take quick screenshots of the things you like. We'll check out that app in more detail in the next lesson. I'll see you there.
8. Screenshots: Hey. Welcome all to the class. This lesson is about screen capturing. I'm going to show you the app that I use all the time to take screenshots, annotate, and share them. This actually replaces the default screen capturing tool in MacOS, and even though it can do all the same things, it has some extra features that you might find very appealing. Let me show you the app called CleanShot X. You can find the app at cleanshot.com. It is for Mac only. It is not free. It costs $29. It's made by the same company that created PixelSnap, the app that I showed you in the previous lesson. Of course, you get a discount if you have that app as well, or if you have Setapp, you can download it for free because it's included in your subscription. But with CleanShot, it can basically set a keyboard shortcut to activate. In my case, it's Command-Shift-4. I told you this replaces the default screen capturing tool from macOS. This gives you a crosshairs with the x and y coordinates of your cursor on the screen, and you can simply click and drag any area on the screen and take a screenshot. This opens up right here, and you can copy it to your clipboard. You can save it as a file, or you can open the Annotate tool. Here you can add, for example, arrows, circles. You can free draw by choosing the Draw tool. You can do something like this. You can choose various colors. Then once you're done, you can save it as a file or you can hit "Done", and that's now updated. You can copy it or save, just like before. You can also click this little button that says pin it on the screen, and you can move that anywhere. It's going to stay on top of all the other applications, and you can even change its size. If you're working on something you need to capture part of the screen and have it there for reference, for later use, you can do that very, very easily. Now with CleanShot, you have a couple of options. You can open up the app by clicking the menu bar icon, and it can also capture full screen. You can capture a single window. You can click this, and that's going to make a screenshot of your entire window. You can also capture or do scrolling capture. If you want to capture the contents of an area while scrolling, you can do that very easily. Let's say I want to capture this area right here. I can click "Start Capture", and then I can scroll. I went a little bit too fast there. Let's try that again. I can scroll. As you can see on the right side, it captures the contents of the page. Once I'm done, just hit "Done", and now that saved the whole page, which is pretty cool. With CleanShots, you can also do a timer, and it's going to trigger the screen capture after a set amount of time. It can also record the screen, and you also have a very handy option of hiding the desktop icons. Maybe you want to capture your entire desktop, but you don't want people to see your icons, you can click this option, and they'll go away. Now, the feature that I think I like the most is CleanShot Cloud. Let me give you an example. Let's say I want to capture this part right here. I can click on this button that says upload to CleanShot Cloud, and that's uploading. It copy the link to my clipboard. Now I can open that link, and here is my screenshot. This is a very easy way of sharing a screenshot. Maybe you're emailing someone and instead of attaching that screenshot to the email, you can just send them a link. That's how you can take better screenshots in MacOS. As I was saying, this is a replacement app for the default screen capturing tool in MacOS, and while it is a bit on the pricey side, it's also included in Setapps. So if you have that, then you might as well just yet it because it's a very, very useful. This was the last tool that I wanted to show you. So to wrap up this class, please join me in the next lesson for the class project and conclusion. I'll see you there.
9. The Class Project and Conclusion: Hey, congrats for finishing this class. I really hope it lived up to your expectations and that you learned something useful. If it hasn't or you didn't, please let me know in the comments. Let me know how I can improve because your opinion matters a great deal to me. Also, if you would like me to cover a specific topic in one of the Skillshare classes, please don't hesitate to let me know. Write a comment in the discussion area telling me what you would like to see from me in future classes. I have a ton of ideas for new classes, but what you want to learn is also very important, so again, please let me know. Now, please take a moment and write down the key takeaways from this class. Now because of this class's topic, the class project is a little bit different. For it, I would like for you to describe your web design toolkit. Meaning what are the apps that you use for web design, and how you use them. Do that in your own words, there is no template to fill in. You can just write down a list or give us a little story so we can understand the context a little bit better, and I think this will serve as an inspiration and will help all of the other people that are watching this class. Because, who knows, we might find an app that we haven't heard about, and that is super useful. Let us know how those apps help you. Also, if you have any other questions or comments, please post them in the discussion area, tab, whatever you want to call it. I would just love to hear from you. With that said, thank you very much for watching this class. I hope to see you again in the next one. Take care.
 Adi Purdila, UI/UX Designer, Framer Developer, Educator