Transcripts
1. Introduction : Hi guys, welcome back to my class and let's draw all together an amazing picture in a watercolor style so that later you can print and hang on a wall. So let's get started. Hello Gay Sam, Inga, freelance illustrator, and sets our next class. Today I want to show you that it's possible to create pictures in procreate, in authentic watercolor style. And no one will tell you it's a ditch the lines. Today, we'll teach you how to create texture paper, how to add watercolor court, how to paint flowers in a vertical style. How to locate them on a canvas and in a beautiful way. And the most important, how do reach source water coloring book. I will show you my whole process from start to finish. And as a bonus, I will share with you my new custom brush that I created. I will also add being Jew piles of reference, pictures, texture paper, and my floor losses that I paid. Feel free to use them for your own art projects. This glass is good as for beginners, as for intermediate level and even some experience artists can find here some useful tips how to pay in flowers in US style and of course, inspiration. Here class project will be next. Paint your own watercolor flowers, uses ETFs and brushes. That idea you Today, I will use procreate fuzzy squares whose iPad and Apple pencil. So if you have it for some other drawing birds or just regular people with Spain's, please join our class and good luck.
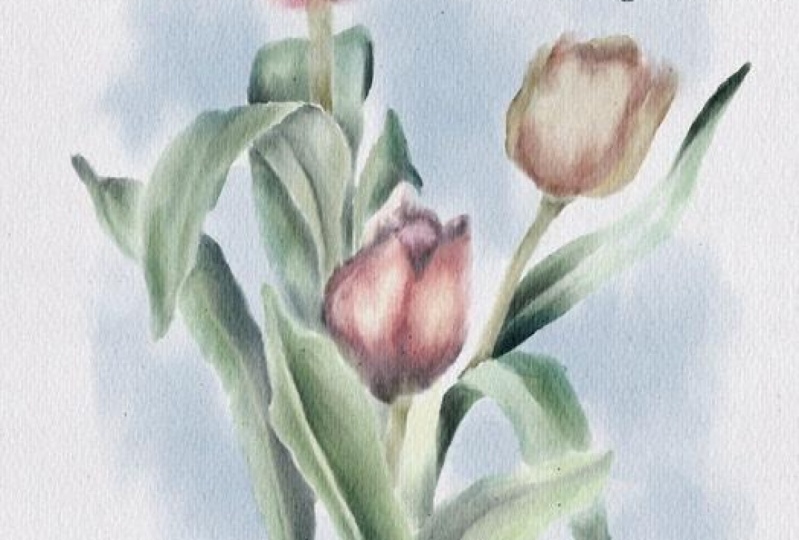
2. Creating textured paper and sketch: Hi guys. So during our today's class, I'm going to show you how to create beautiful watercolor flowers. And I'll show you a special technique, how it does it and how to reach. So SNA trouble watercolor Luke says we usually see in like real being teams, not the digital ones. So let's get started. And first of all, I already created a file on some reference pictures. It we're going to use today on a website and splashed, I will attach this fixtures to the description of the project so you can download them and use them. And second server gonna draw some flour and truly, and I'm gonna use one of those. And I also like this one. Well guys, you can start and first of all, Yep, we'll create our texture paper first. And how we will do is that they will add and go to Add, easier to file. And now we're gonna go and grab my paper today, which is rectangle shaped papers. So again, need to move it, slides it towards the sides. So here we have our texture paper and we need to double up. Kate said a couple of times, you remember? So I will March 2 layers together and two layers together. And after I will go to Linear Burn and colorbar. And once again, I will replicate and couple of times, Great. And I will merge it and merge. And now I'm going to grow our layers. And now I want to play it is a positive. So I think that's fine for me. So here we have our texture paper. We can even renames it texture paper, right? I wanted to start this. And I'm gonna go and increases size of my reference picture. If we need to create our kitchen layer and high Ville over said paucity of our reference picture. And I will go and grab 60 pencils or disappear. In a sad it is called sketching. You may see this one. So high-tech machines. I will turn off S2 heirs and I need to be immune layers at this evolve, our reference picture. Unless it be to bond. If you turn it off and have some last reference picture, most conflicts. And turn off our sketch layer and this is our reference. So I think I started with two leaves as I told you. So next part, let's move to coloring.
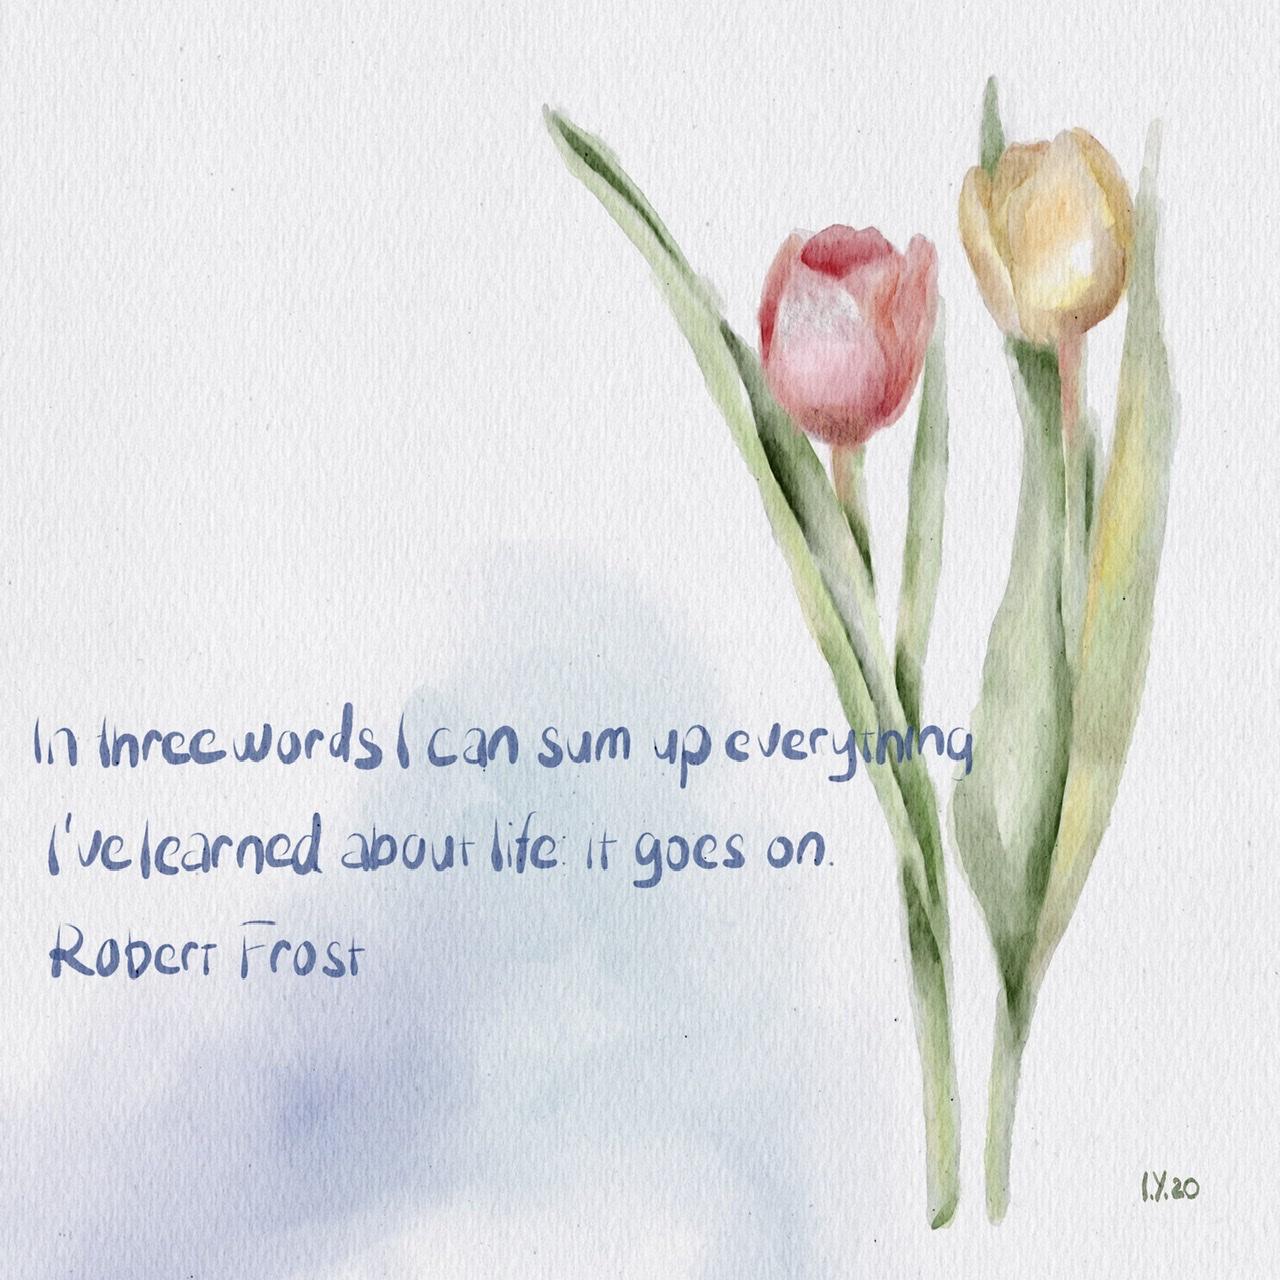
3. Painting tulips Pt. 1: Hey guys. As you see, I made small composition from to-to leaps. And next steps that I'm going to do, I will, I will, I can actually merge them together. And after I've a lower Zab pasta team, and I need to be on a new layers that is underneath textured paper. And for this class, I created a branch that is called bool marshmallow watercolor. And you're going to use it to run today. And I'm going to use some of my brushes from my broad brush says that I created, I already shared too easy one branch that's called who kept us watercolors. So we also use a 20th swell and then we're going to use some asset brushes. So I will use physio, I will share with zoos abroad such as quotable characters, watercolor once again. And it's a browser just called bool marshmallow watercolor, totally for free. So you might try Sam for your own art project and program will use my Azar brushes. So if you want, you can check them. Fullerenes are links at either. Leave, Ed's a description of the class. So let's start. Okay, great. And we also use SaaS reference pictures as a color palettes. And I'll show you how to use it. And once again, we need to be other layers that is underneath our textural layer. And if you're born, two can also change to the Linear Burn mode. It can help you to make your picture more saturated. And let's get started. And first of all, I'm going to show you how to get some particular colors. And you just need to Dough Press. And after it, choose a color that you like. Cadenza Tuan pro money like this. And as you see, this brush is very transparent. And as a blender, you can use our previous blenders feature. I shared these usages, Bu gentle blender, watercolor. I'm going to use as a blenders. It is cold probably boo, simple blender, watercolor and book huge blender. What color from my new brush set. But once again, I already shared Vizio my AZO blenders, which is also very, very good. So don't hesitate to use zed one as well. So. So as you see, I use this color it just as a base grade. Now I want to add some shades and different color variations. So this brush but is coordinate is like thanks to the control enter or exit pressure. More or less color. And now we move to the hazard brash, such as WHO kept us water, copper are surprised that you already have some shades. Because Blender, I'm using both huge Daniel watercolor. But once again, as a told you, you can use Blender watercolors said, I shared this with difficulty. Find a description of the projects. Once again by forgets about light side and dark side. To all objects like it can be followers or buildings of people. All items they have slight side and dark site. Okay? Okay. And now I want to use my crash, which is called cortex. Color crash. This treated transparent. Yeah. Here are some highlights and it was Ed, I'm gonna go and grab my bowl, marshmallow, watercolor brash, somewhere south plus 14 myocytes and mysterious. And his brush, we introduce a pretty unique from. So rest is going to create an iconic. Now, need to add more shades and I'm gonna go and cramped Miochol kept oh gosh, ones again. Okay. Well, thanks consistently to end are taken tried to turn the house kitchen layer.
4. Painting tulips Pt. 2: And the last step is we need to emphasize some main parts and remove something different on like that. So you should know is very neutral. And several entrepreneurs a fraud RS. Okay. So for now I likes it and what build tool and to add some port. So I think I would like this color and I will use my bowl marshmallow watercolour brush and increase its size. So remember, are the major ones still writes and listen to just grained plexus. And guys, I actually wanted to reach even more what color should look I'll already like feeling. But I wanted to show you what else we can do. And one more option is we need to come back to our layer. And after you go and grab Selection Tool, turn it to automatic. And slightly after the professor. Maybe 4% is find. And next hue saturation and brightness. And as you see if you use, if you use this brightness and you lovers of brightness, edges will be free to flourish. So next, hockey, great. And our r12 at court and said, I already found one. And also guys, as you might see, sounds apart, the overlay to overlap and my colors. So what did we do in this way? And I'm going to go, and the first tool, put it above our background color by that Snowden not and in this way, what would talk? I wanted to replicate set. And after said five goal and press Select enough to pellet with two white color and fill layer. So now we have a red player once again select because it's not truly White and fill layer. And from now it's CT. And once again and Phil, they're so perfect. And I went to them a case at a couple of times. Now is fine. And merge that together, risk my original one. So speaking about what we create a new layer, and I wanted to show you reach app I'm using for finding quotes. And I like to quote, quote reads. And here I found a good quote and I paste it. And after I wanted to change the font, next I go to ABC. And here we have different forms. Just choose one to tool-like. And after civic and religious dual, screen shrink. Some sense, I'm excited. And after two lowers up a city creating new layers of Facit bow, move to sublet color. And you're going to use actually as a funds that you have, some funds that you already have in procreate. Next step. And I'm gonna go and create new layer, grave membrane, full calligraphy or water color to it once again and so optional, you can just go and type to cause it to like and use it fall into to have in your library fonts in a procreate. Now we can remove a great weekend and remove all reference layer. Jerry Mexico. So that's it. Now, this is our first fainting, and let's move to the next one.
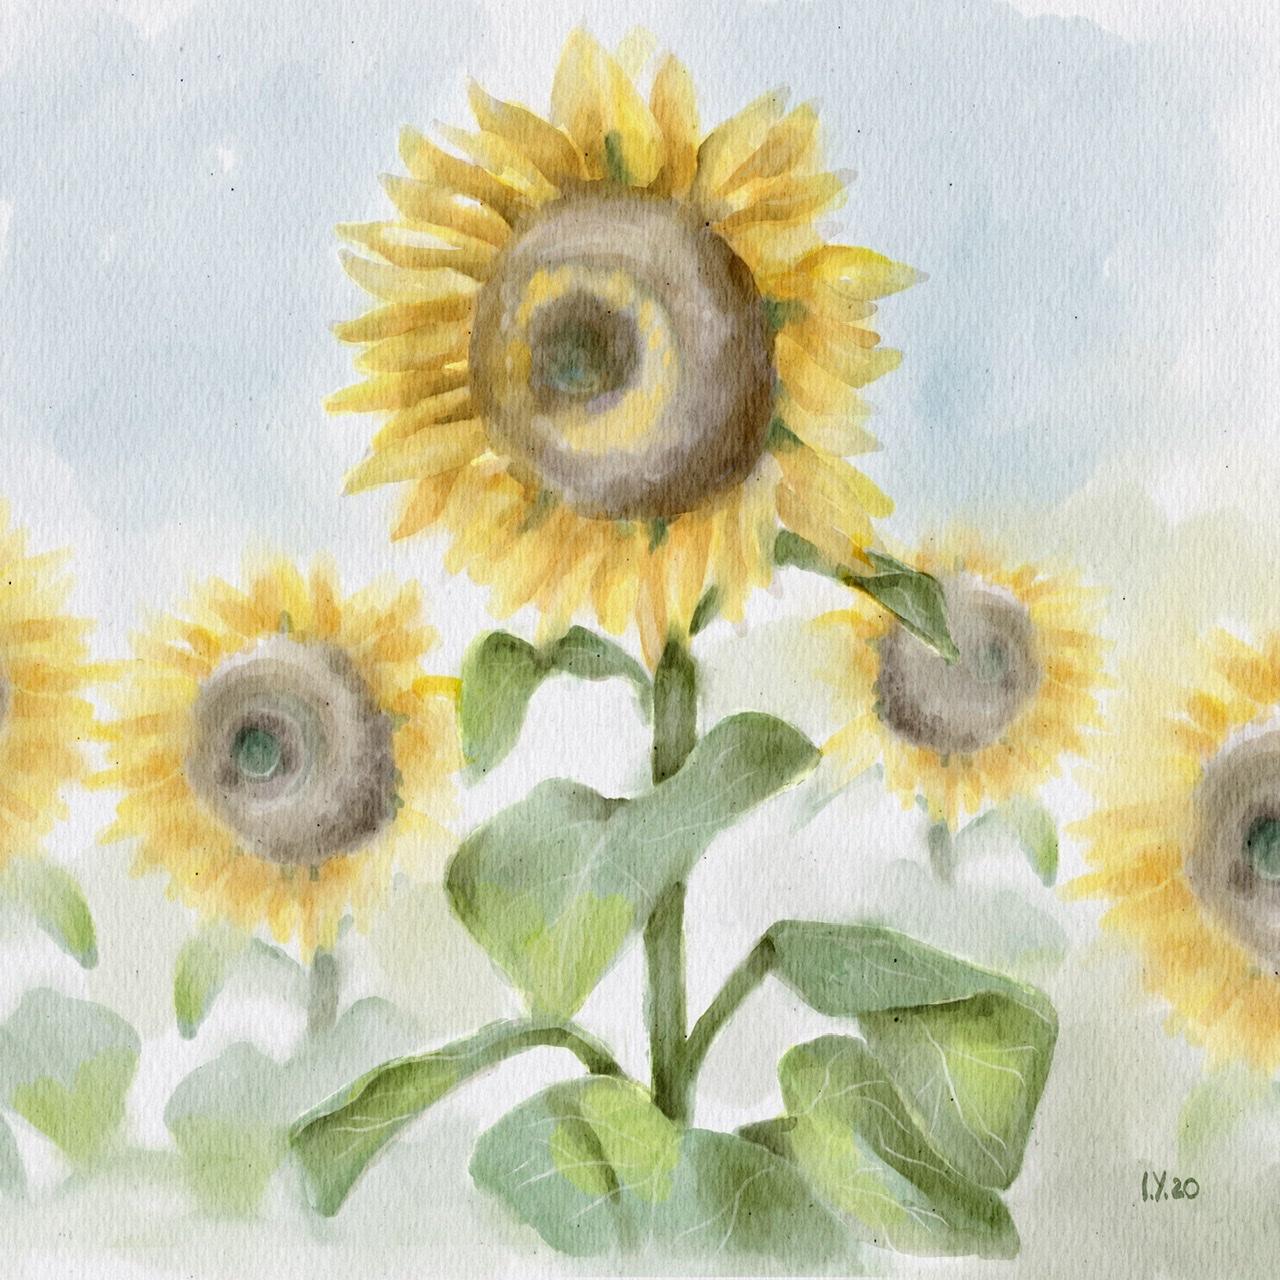
5. Painting sunflower Pt. 1 : We're on a new layer, such as l b as well, the narrow burn. And you have a reference layers at this here. And so cool. Once again on a new layers at this here. And we'll paint here. And I will start as we did before. This man put marshmallow watercolour brush. And let's keep adding colors. And second picture, my aim is to create a pair like fine arts, the real must-do piece. So it would indeed postcards assumption that exhibit sub pictures at you that you draw enough to just pretend and put it in a frame and had an old on a wall. So let's aim. The second picture is to actually create something that can help you to decorate your owner. F has a t and merge. As you might see, no. So have some background. Some become yeah. So in this way or if you've got onto away, so I'm gonna go into Medicaid picture. So for now let's just forget about AECOM. Victory can enter in the literature chains. So if now I went to the McCain, such ones can you to lower, has a brightness. Now I use my eraser. If your character sorta current brush. And it takes time to finish. All right. Okay. Okay. Hi. Thank you. Okay. And oftentimes, despite thinking, tries to turn off our kitchen hire and keep improving our team leader to take anymore. So my next brash, these protests, current brash, L1 to get some shades to listen farmer. And texture means how a trace in layer doesn't need to see where he said. So I said.
6. Painting sunflower Pt. 2: Right? And to make it more saturated, and this call to hue saturation, brightness as high as you see. Here. We have some veins, Thiokol to my eraser. Grab my bowl sharp or the coronagraph has an eraser. Okay. And we've all kept US political and brash. And then my final task, take darkest ones. So. See here, this is great. So if my temporary Mannheim fires kept to sweat, hash is timely things, it's enough. I'm pretty satisfied with that. And I wanted to add some shades to semi-dome promising flour. And one we're triggered, I'm going to show you is I would go to Selection Tool freehand. I've said enough to preserve hue, saturation and brightness. And I wanted to oversee its blindly. I like my sunflower, I do like set. And now we can turn off our reference big turbines. You remember we still have background. So I did it and now I move it to the center. And I still want to keep a background. And in this way, well, there's just more colors because some flour, I relax it and steal you. Remember, I told you that we have to farmers. I think there's a 11 mol. We can all it sees WK. And now I want to merge all of them together. So now added so that Chrome here and there. I still want to race. Well, and I wanted to add some shades. And I'm gonna go and grab my bowl marshmallow. What Jeff? Thank you for now, unlike set, what you're gonna do if you have a background and I want to show you one again, one more magic trick. I relax. See main sunflowers, autofocus stands arrest, predict, looked. I like that, I want to keep it that way. So guys, it was end of our class. Well, good is it is the end of our class. And now you know how to paint a picture in a real authentic articles child. And now you have a bunch of pictures that you can breed and hang on a wall. So I hope you enjoyed my today's tutorial and in let's see, generally through verbally.
 Inga Yoon, Digital illustrator and teacher