How to Make Elderberry Ink: Create Natural Botanical Ink for Watercolor Painting
 Adeline-Julie Bee, watercolor artist, pattern designer & teacher
Watch this class and thousands more
Watch this class and thousands more
Lessons in This Class
-
-
1.
Introduction to Elderberry Ink Making
1:42
-
2.
Botanical Ink & Elderberry Pigments Explained
2:36
-
3.
How to Make Elderberry Ink
1:51
-
4.
How to Store Botanical Ink
0:29
-
5.
Elderberry Ink: Final Conclusion
0:40
-
-
- --
- Beginner level
- Intermediate level
- Advanced level
- All levels
Community Generated
The level is determined by a majority opinion of students who have reviewed this class. The teacher's recommendation is shown until at least 5 student responses are collected.
9
Students
--
Projects
About This Class
Have you ever wondered how natural inks were made before synthetic dyes existed? In this class, you'll learn how to craft your own botanical ink from scratch using elderberries, a common, easy-to-forage plant found in hedgerows and woodlands.
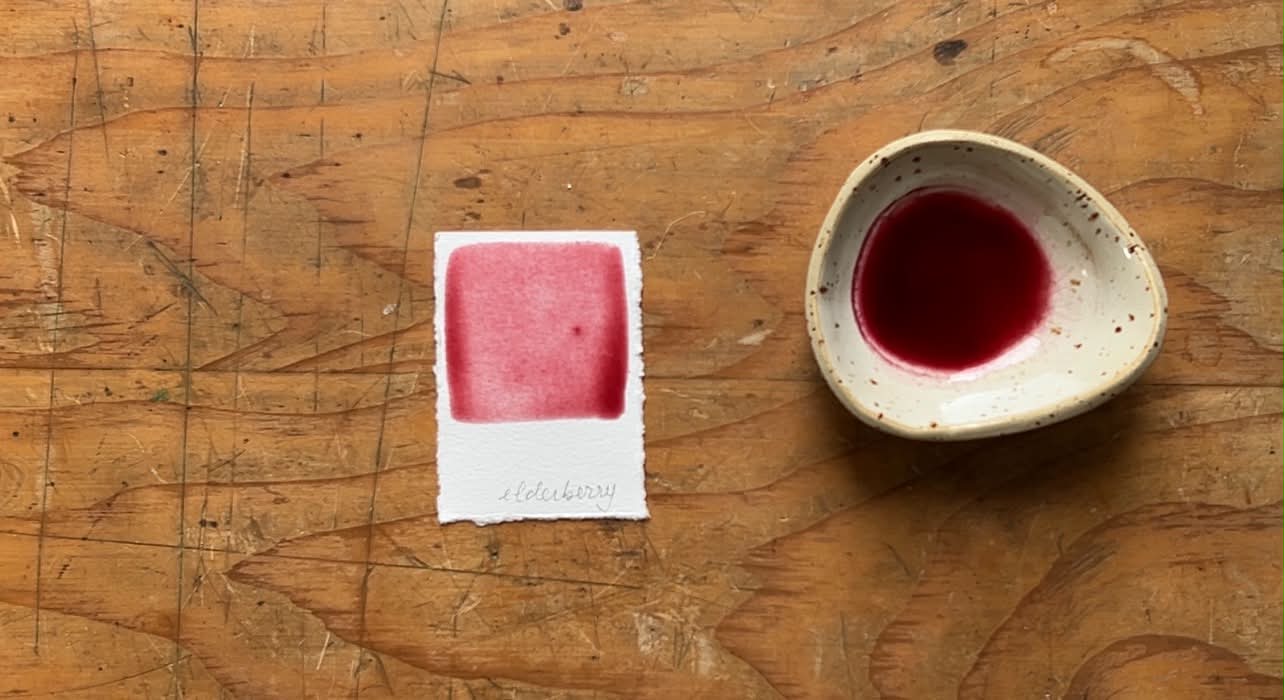
We'll start with the basics: what elderberries are, the plant they come from, and the natural pigments (anthocyanins) responsible for their beautiful blue-purple color. From there, I'll walk you through my simple process; from cooking the berries down, to adding vinegar and salt to stabilize the color, to straining and bottling your finished ink.
By the end of this class, you'll have your own jar of homemade botanical ink, ready to use for painting, drawing, or inking, plus the knowledge to experiment with other natural pigments in the future.
Perfect for: beginners interested in natural dyeing, foraging or sustainable art supplies. No prior experience needed, just curiosity and a love of making things by hand.

Hands-on Class Project
Class Project: Make Your Own Jar of Elderberry Ink
For this project, you'll forage or source your own elderberries and follow along to create your very own jar of homemade botanical ink, ready to write, draw, or paint with.
Here's how to get started:
- Gather ripe, dark purple-black elderberries and simmer them in a stainless steel pan with water for about an hour.
- Stir in a spoon of vinegar and a pinch of salt to stabilize and deepen the color.
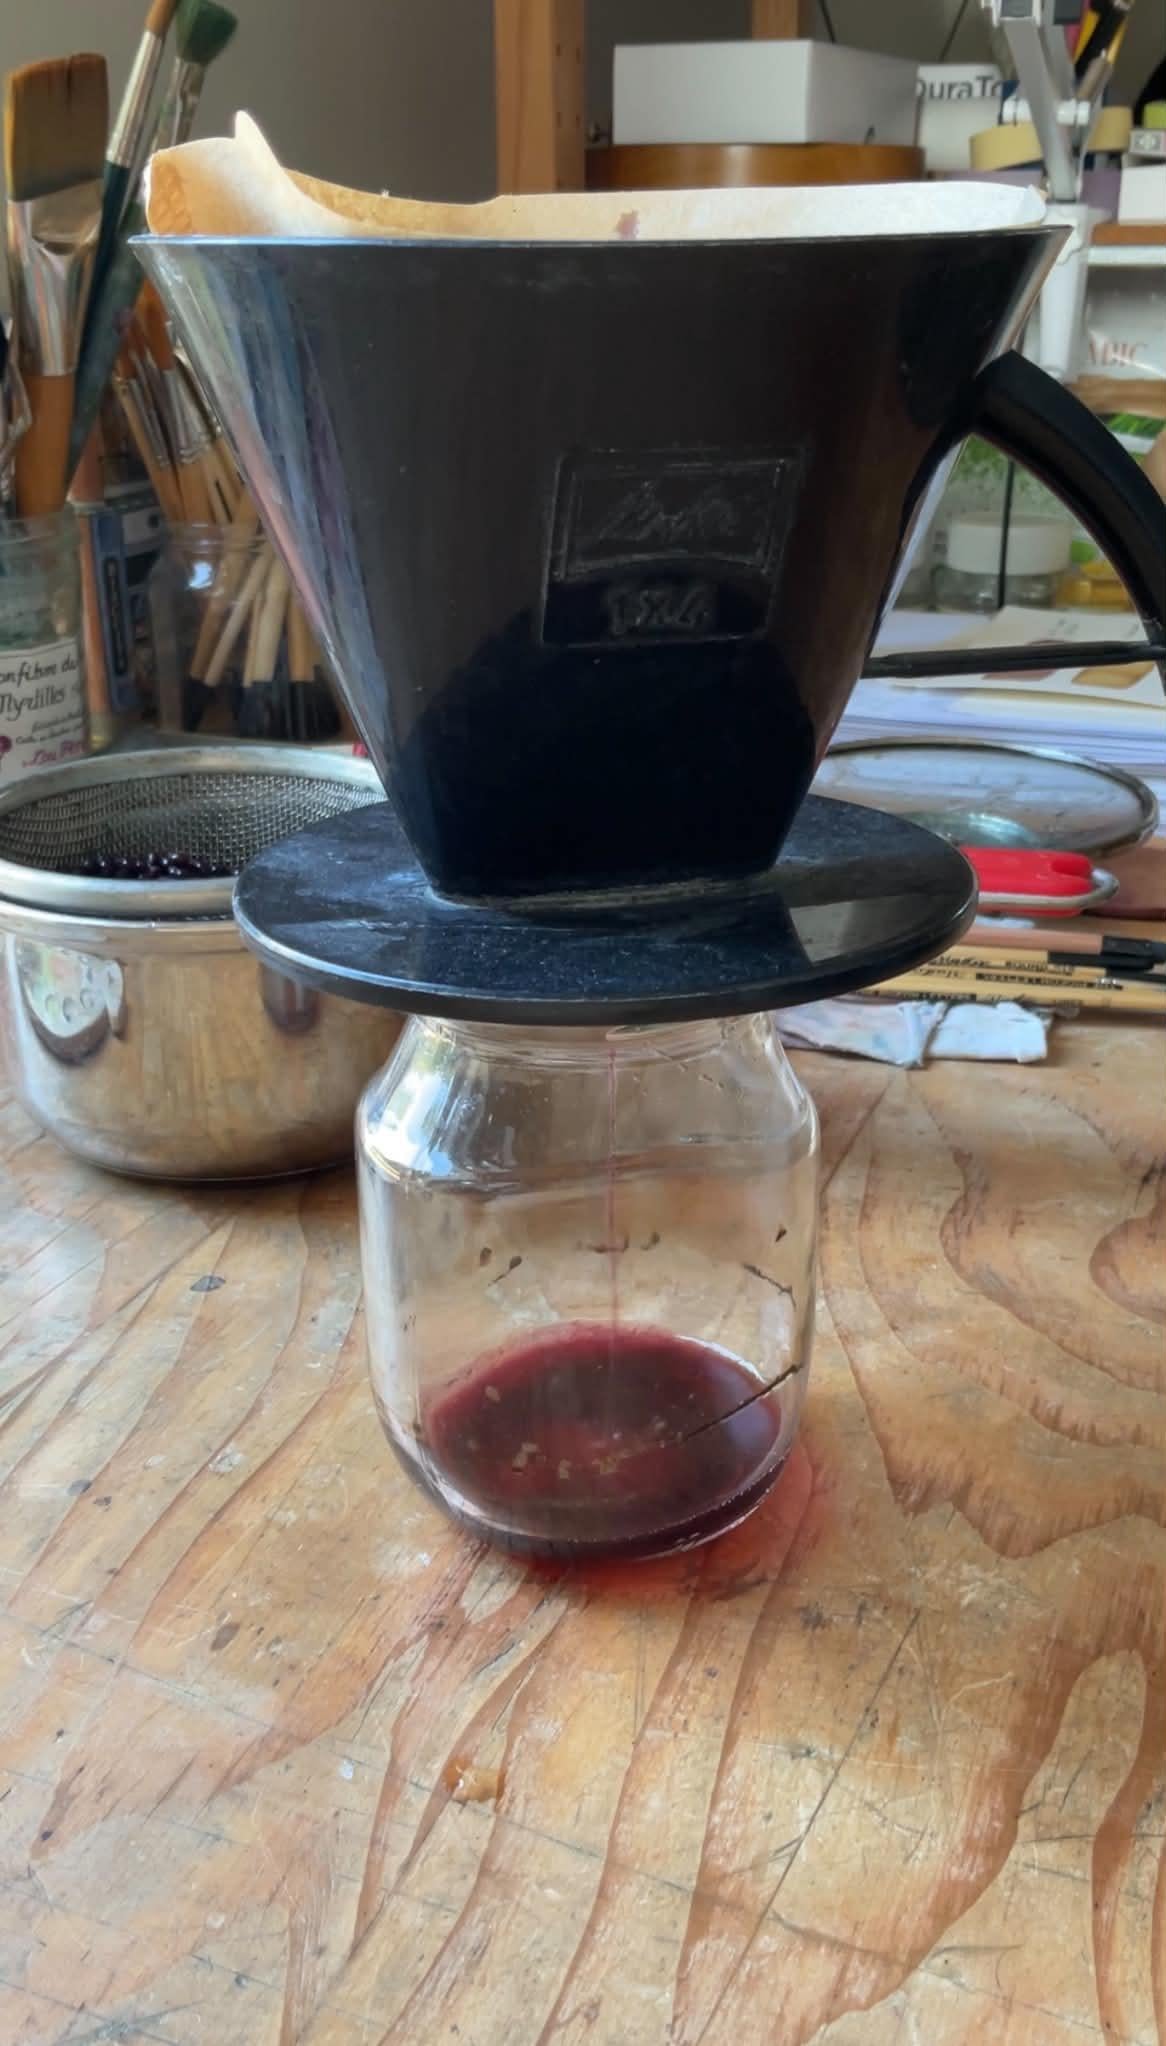
- Strain your ink through a coffee filter and let it cool completely.
- Bottle it in a clean glass jar, give your ink a name, and store it in the fridge.
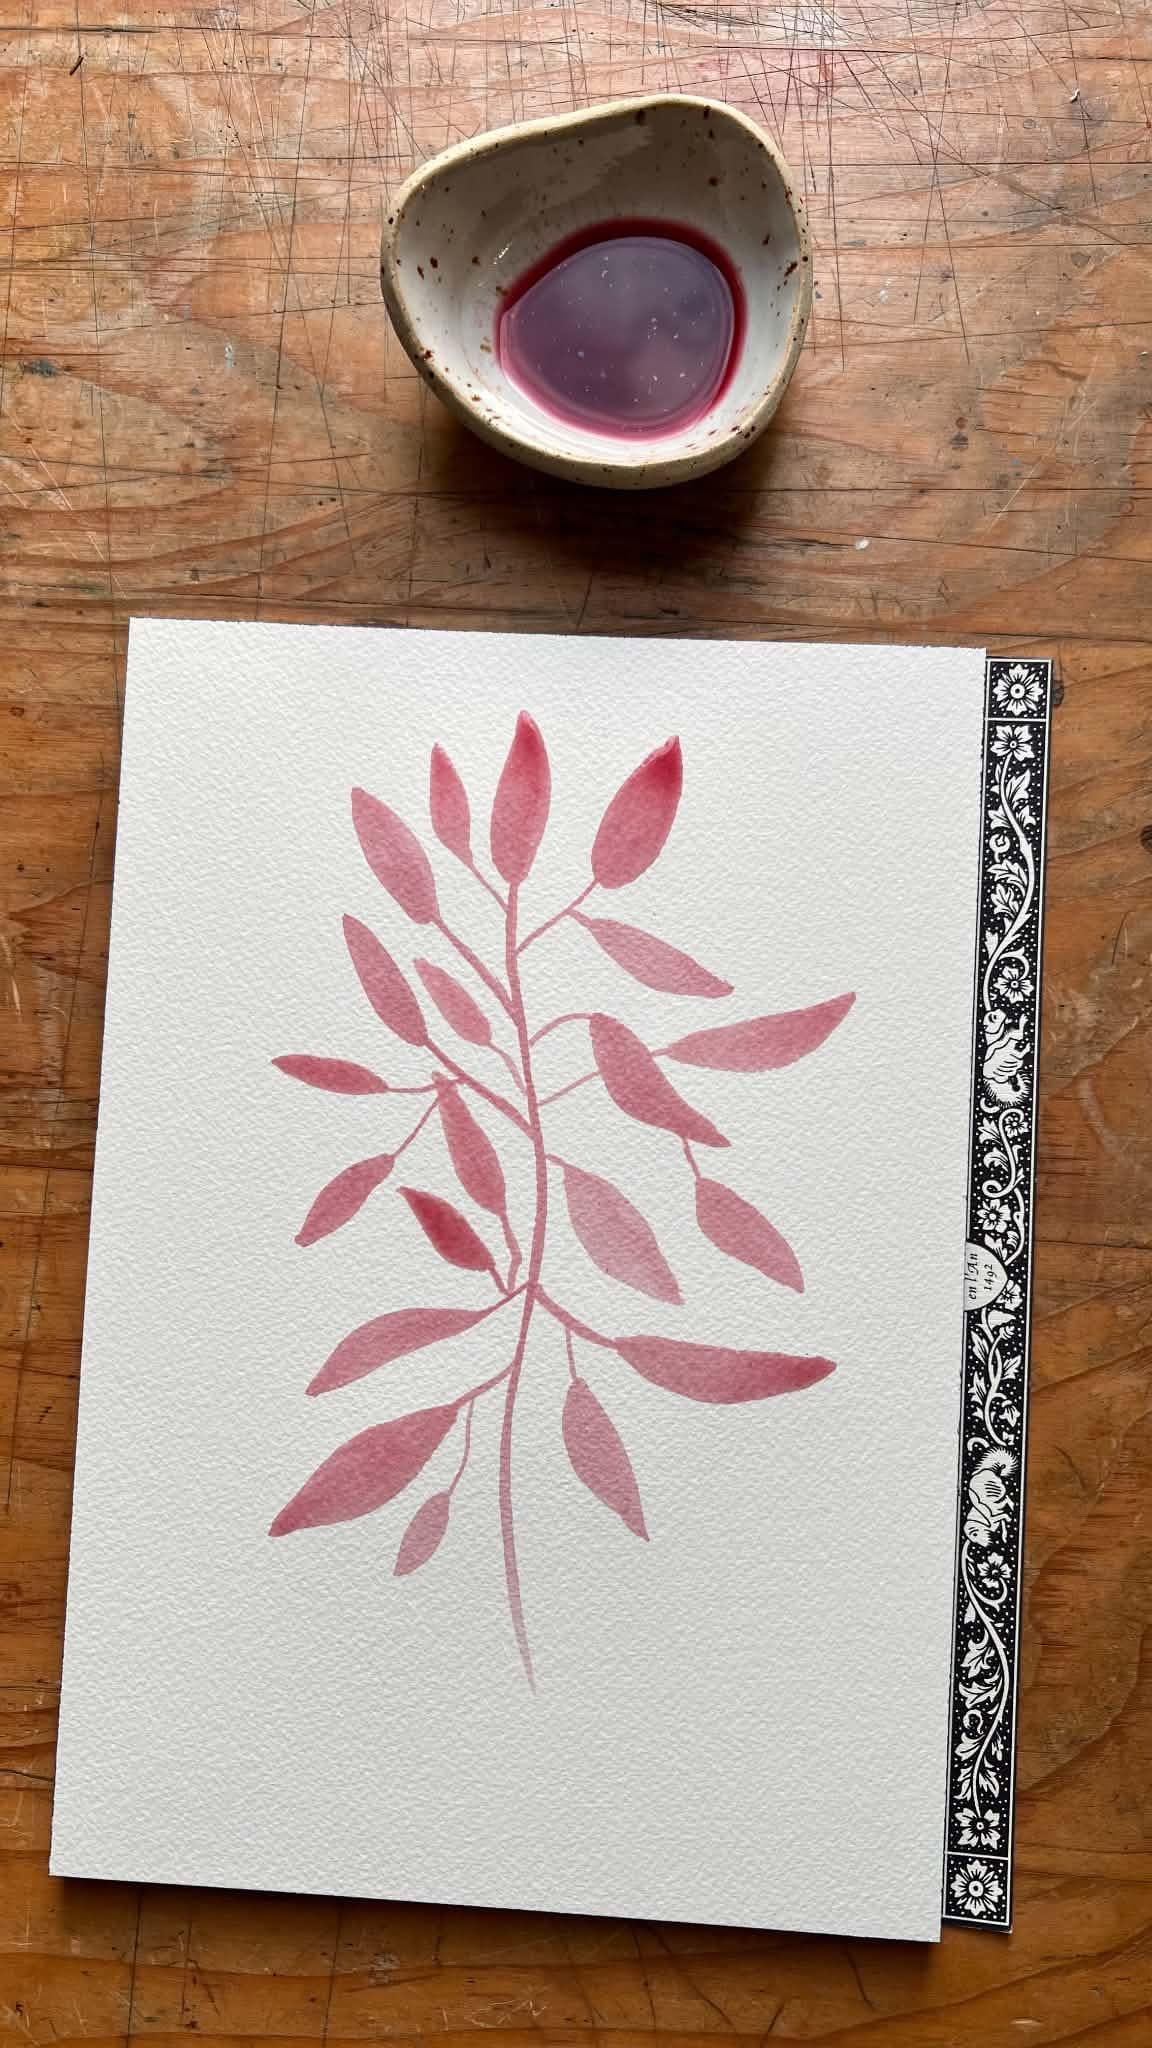
- Test your ink! Try it out with a pen, brush, or dip pen on a scrap of paper to see how the color and texture behave.
What to share: Post a photo of your finished jar of ink alongside a swatch or small drawing/writing sample made with it. I love seeing everyone's creative choices! If you experimented with the vinegar/salt ratio or tried a different berry, tell us about it in your project description so others can learn from your process too.
Class Ratings
Why Join Skillshare?
Take award-winning Skillshare Original Classes
Each class has short lessons, hands-on projects
Your membership supports Skillshare teachers
Learn From Anywhere
Take classes on the go with the Skillshare app. Stream or download to watch on the plane, the subway, or wherever you learn best.