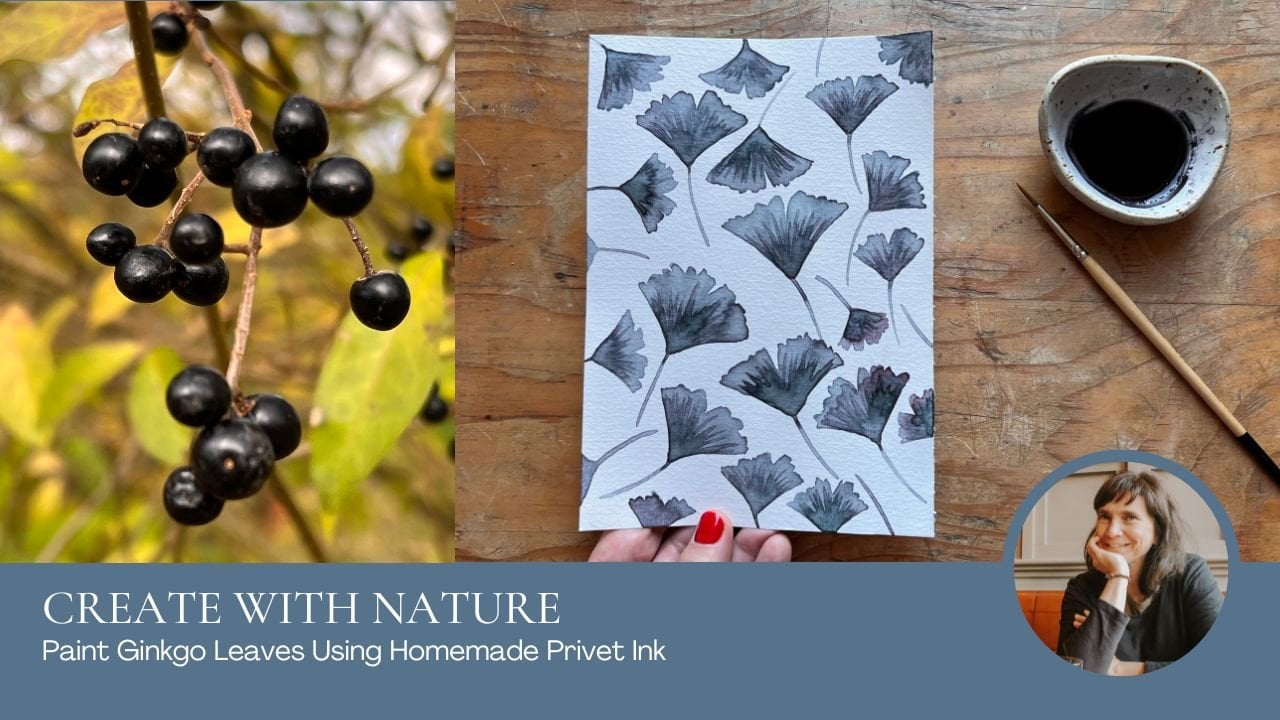
Transcripts
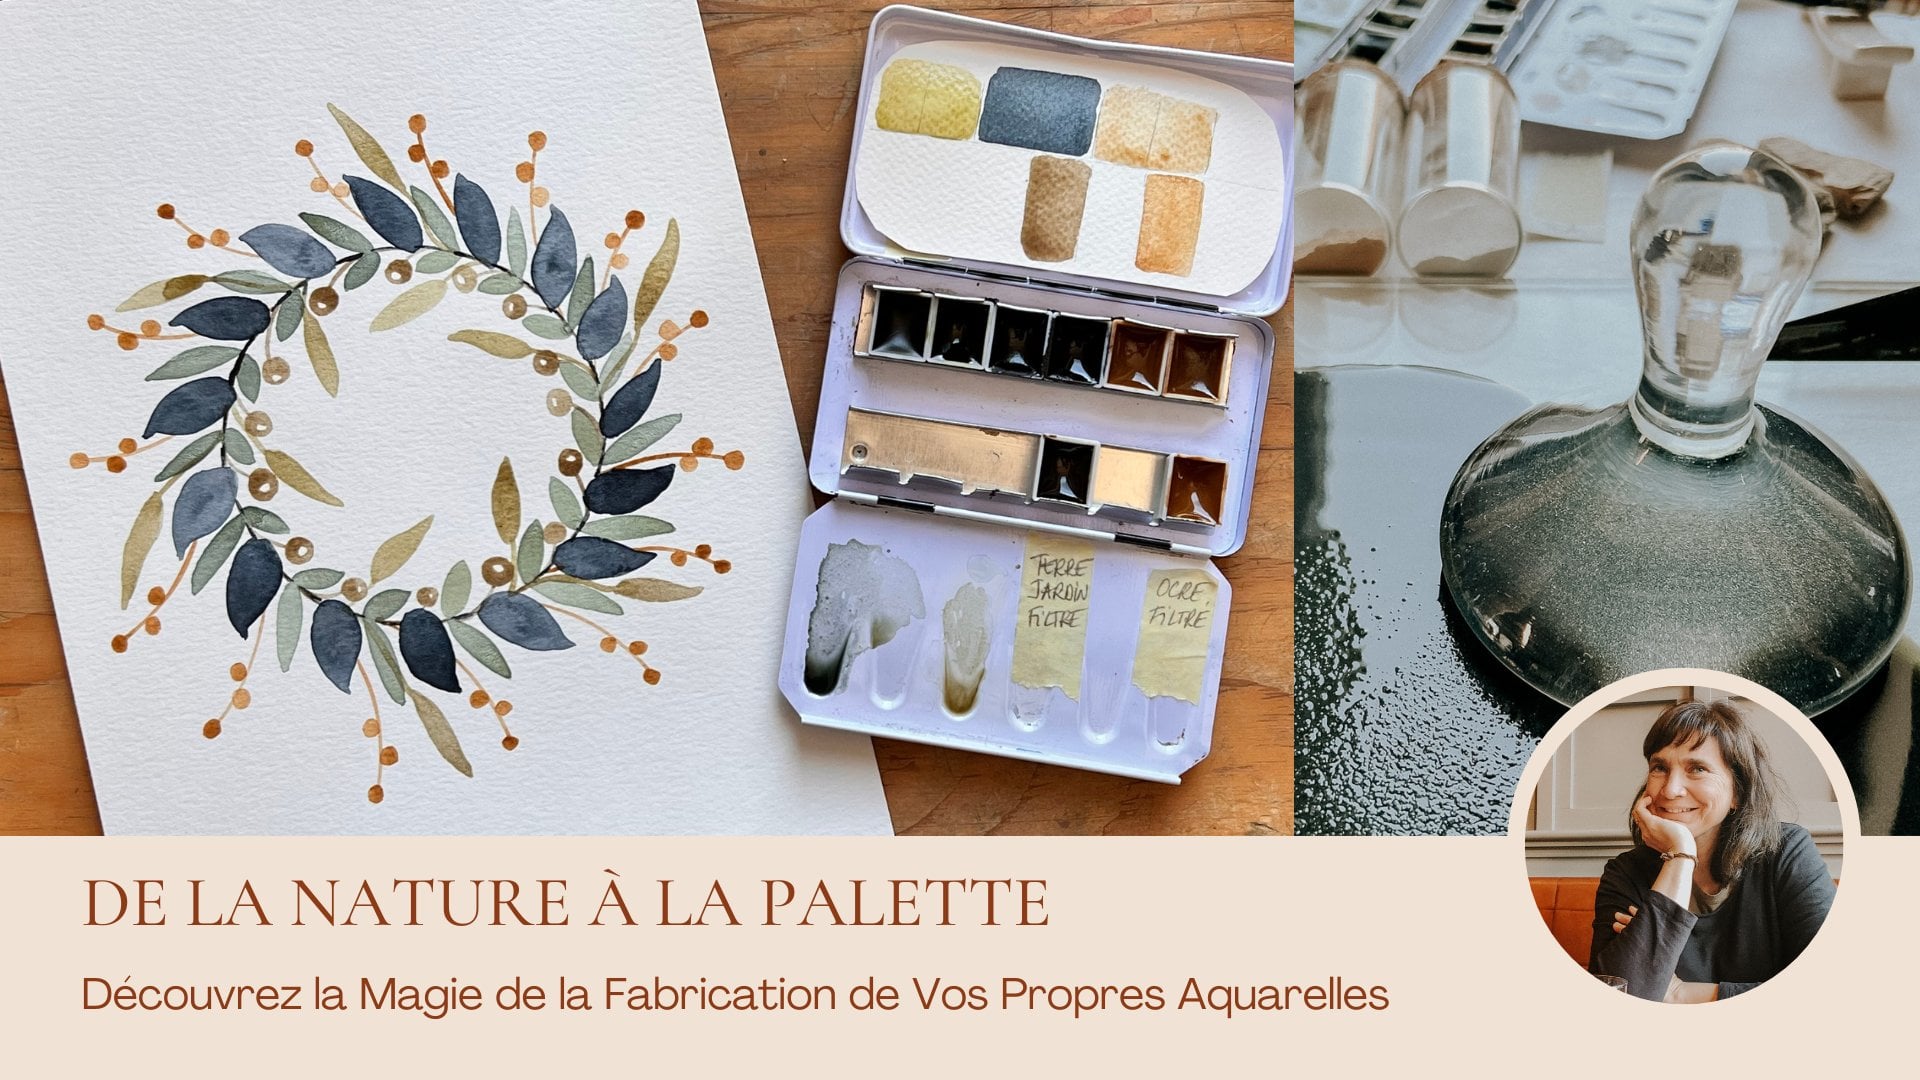
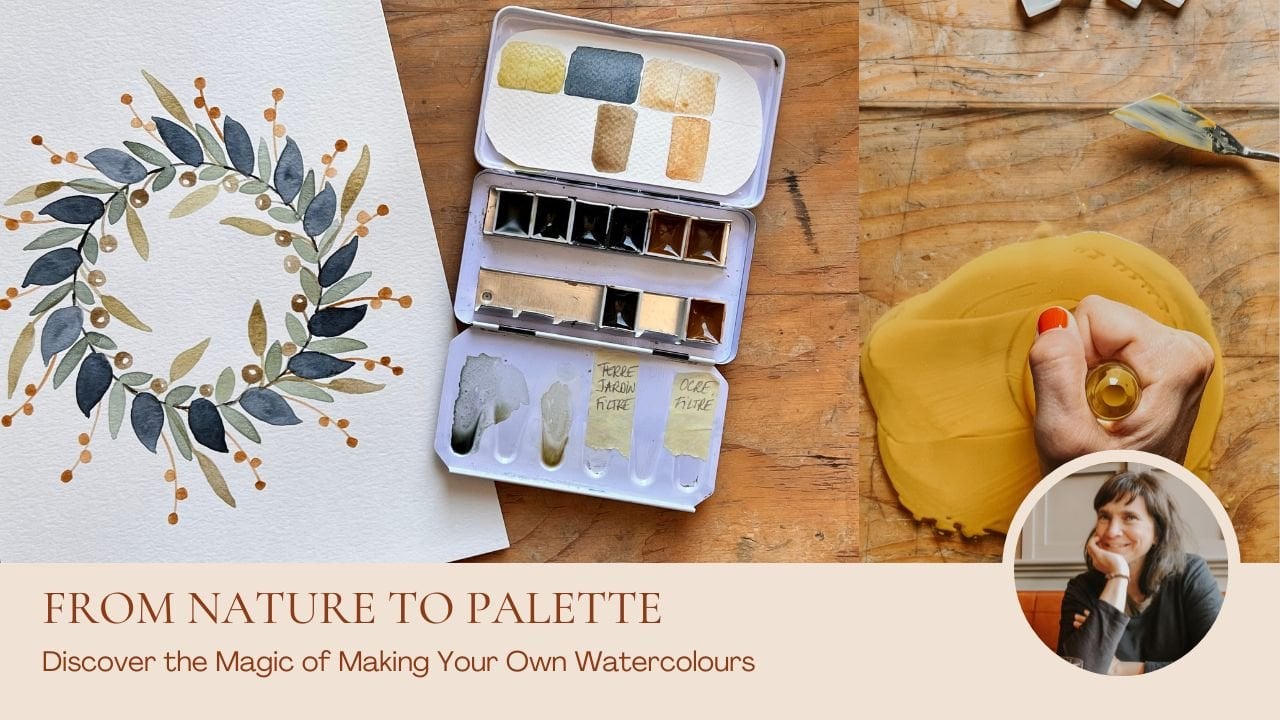
1. Introduction: Hello and welcome to this exciting course on creating natural
inks for painting. I'm thrilled to embark on this
creative journey with you. In this class, I
will guide you as we explore the wonderful
world of natural inks. Specifically creating
your own using beetroot. We will make raw ink directly
from the beet root and cooked ink with the
leftovers skin and pulp. My name is Adline Julie, and I am an artist
and a teacher. I love to paint landscapes, floral and botanical scenes as well as abstract watercolor art. I have a deep passion for
painting with natural pigments, and I create most of my inks
and colors from scratch. I embarked on the journey of crafting my own
colors because I wanted to infuse a natural cycle into my creative process. I wanted to connect with
the colors of nature, which serve as my primary
source of inspiration. This course is designed for anyone passionate
about art, colors, handmade and homemade, and
interested in exploring eco friendly and
sustainable alternatives in their creative process.
2. What’s Natural Ink?: Before we dive into
the practical aspects, it's crucial to understand
the essence of natural ink. I will provide you
with a detailed guide on what exactly
constitutes natural ink, and you can grab it
on this section. Natural inks are primarily
derived from plants, fruits, vegetables,
leaves, barks, flowers, roots, et cetera. These components contribute to the unique hue and character of the ink and are chosen
for their colors and can be processed
to extract pigrants. However, it's essential
to be aware that stability and longevity
of natural inks can vary, and they may fade over time more than some synthetic inks. The plant material is the color you use water to
cook the plant material, and if raw, you
don't need water. The natural
preservative is clove, essential oil and salt. The vinegar helps
secure the color, preventing it from fading. The binder is gum
Arabic and is optional. The color extraction
process involves extracting plant
materials using water, alcohol, or by extracting
the road juice. In this class, I
will demonstrate both the road extraction process and the water based method. This extraction is
often facilitated through the application
of heat or fermentation. We will use the heat
process in the class. To ensure the longevity
and usability of the ink, you can introduce
additives such as vinegar, salt, and clovescential oil. In terms of characteristics, natural inks often rely
on plant pigments. Flavonots create yellow,
orange, and reddish stones. Tocyanines contribute bluish, purplish, and reddish colors. Entra quinones
provide pink, red, and purple, blue indigo extracted from plants
like anti Fera. Tinctoria is renowned for its color fastness and has a long history in
textile dining. Chlorophyll, being a
green pigment in plants, contributes its vibrant green when extracted for
dying or inks, it imparts this green color
to the final product. As for the beet root, the red color is due
to the presence of a group of pigment
called Better lines.
3. Tools and Equipment: Now let's talk
about the tools and equipment you will need for
our natural ink adventure. You will need two or
three glass containers with lids, coffee filters, coffee filter holder, a fine mesh strainer
plant material. In this case, one big beet rod, water the binder or Gamarabik clove
essential oil vinegar. A joicer knife, a stainless
steel pan with a lid, spoons, one wood and one tablespoon
Sticker paper for labels, rubber gloves and
some rags to clean. The tools you will
need for painting are cold pressed watercolor
paper format five, a wash brush, one quill,
your homemade inks. Two pots with water scissors, masking fluid masking tape, hair dryer, which is optional. Now the fun part begins. We will start with easy and accessible recipes
To create your natural inks. We will explore the vibrant
use achievable through ingredients like red beads
both cooked in a row. This ends on experience
will empower you to infuse your artwork with
colors directly from nature. So let's go.
4. Making Ink from Raw and Cooked Beetroot: To make beet root ink, you will need a beet
root plastic gloves because beet root
can stain easily. A knife for peeling and
cutting the beet root. A stainless steel
pan with a lid, a jar of water, and
a cutting board. Additionally, you'll
need a juicer and a pot to collect the juice. What we are going to
do is on one hand make raw ink and on the
other hand, cooked ink. Put your gloves on and
let's get started. Start by peeling
the skin that you will use later for
the cooked beetroot. The red color of
beetroot is due to the presence of a group of
pigments called better lines. Better lines are water
soluble pigments that are responsible for the red and purple colors in various plants,
including Beats. The two main types of betelines found in Beats are betacionins, red violin pigments,
and beazantines. Yellow pigments. Interestingly, better
lanes are different from the more common red
pigments found in many other fruits and vegetables,
such as antocionines. The presence of better
lanes makes beets and a few other plants unique in terms of their
red coloration. Next, separate the pills from the pieces to be juiced and
place the peels in the pan. What I'm doing is keeping the tap root on
the side so I can juice it later and cut the
peel and put it in the pan. Once you've added and
cut the peel pieces, add a little water. The water will quickly take on color due to the
strong pigments. Move on to the juice
extraction part using the juicer trim pieces that are too large and press the beet
root, collect the juice. Once you've passed all the
beet root through the juicer, you will have the raw
juice in the juicer. You will also have the
pulp from the tap root. You need to add this pulp to the previously cut
peels in the pan. Add a bit more water to
ensure everything is covered. Then eat it to
medium temperature, setting tree on the stove, let it simmer for about an hour. During cooking, you can add a teaspoonful of vinegar
and a pinch of salt. While everything is cooking, let's pass the bow juice. We are ready to strain the ink
through the coffee filter. To filter the ink, you will need a coffee filter, a coffee filter holder, and an empty jar to
collect the filter ink, pour all the ink into the coffee filter and wait
for it to filter through. Wait until all the ink has
passed through the filter. The time it takes for all
the ink to pass through the filter depends on
the density of the ink. Take a moment to observe
the color of the filter. The beet, root peels
and pulp that we're cooking have simmered
for about an hour. Now it's time to strain them, to harvest the ink. For this, you will
need a coffee filter, another funnel, an
empty jar and sieve. Place the funnel on the
jar at the coffee filter. And position the sieve
above the coffee filter. Tip the pan and pour its
contents into the sieve. Help yourself with
the spoon to press the liquid that is in
the pulp and the peels. Make sure you are above
the coffee filter. Once you have pressed enough, wait for the ink
to pass through. Add two drops of clove, essential oil to prevent mold. If you want, you can always add the gumerabic
preparation in the ink. Put a teaspoon of gum Arabic. Once you have mixed
your ink with gamerabic label correctly what you have in your containers.
5. Tools for Painting and Practicing Drawing: Paint with your inks. You will need scissors and masking tape for the
edges of the paper. A quill for drowing
a wash brush, masking fluid, cold press
watercolor paper and your inks. First of all, I will show
you what kind of element we are going to repeat on our
paper with the masking fluid. That's why I want to
show you the drawing. As the masking fluid
is transparent, I draw a first
line for the stem. Then I sketch small cup
shaped twigs above the stem. For the top of the plant, it looks like flowering deal, but in a simplified form. Afterward, I finished
the small cup shaped twigs by drawing a
dot above the stems. Perhaps you can practice by drawing the design in
black and white on a rough sheet before
proceeding to the actual implementation
with the masking fluid.
6. Painting With Your Inks: We are ready to begin the experimentation
with raw beat ink. For this, I secure the
paper with masking tape and attach the tape aligned
with the edge of the paper, creating a border reserve where the paper
will remain white. Also, I wanted to mention
taking two pots of water, one to clean the quill and the other one
for the wash brush, so you don't put masking
fluid on the wash brush. Additionally, you will need
rags to clean and wipe the quill every time you are using the quill
and masking fluid. What we are going to do in this composition is
alternate layers of the simplified flowering
deal with the quill and masking fluid with flat
layers of raw beating. I start by taking the masking
fluid with the quill. I dip my quill and
make sure I don't have too much masking fluid to
avoid creating stains. I remove, if necessary, the excess on the edge
of the container. I draw the first stem, as in the trial on
the rough sheet, and then the cup shaped with the twigs from the
top of the stem. I make approximately
six to eight twigs. I finish by creating
dots above the twigs at the top To make these dots
go over them several times. They won't be perfect circles, but the accumulation of small strokes will create a
convincing illusion of dot, dip your quill in a bit of
water and rub the tip well. To remove the masking fluid, always make sure you close
the masking fluid well. Otherwise, it can dry quickly. To speed up the drying process, we can use a hair dryer. When you apply the
masking fluid, it will be opaque white
and as it dries it will become slightly more transparent and
somewhat yellowish. Verify that is dry by gently
running your finger over it. Then take your wash brush, dip it in the ink, and apply your
brush on the paper. The little bubbles you
see are there because of the clove essential oil drops we've put earlier in the ink. The first applied layer allows the drawing to become
visible from now on. Every time we apply
the masking fluid, there will be a colored
background that can help us see the
drawing better. Feel free to dip your
brush and go over uneven parts or areas
with brush marks. Apply your brush from
the top to the bottom, either from right to left
or the reverse in order to allow the ink to blend
as smoothly as possible. Dip your brush in the water
and take the hair dryer. Make sure the first uart is dry, and grab the quill and the masking fluid to
draw another flower. The idea is to
draw a new flower, but with an opposite
curve from the first one. Also vary the size of the stem. This one is going to be
smaller than the previous one. We draw the stem, then add cup shaped stems
on top and include small dots to make these dots go over them
several times with the quill. They won't be perfect
circles or round or dots, but the accumulation of small strokes will create a
convincing illusion of dot. Of course, if you want, you can add a last trick
to your second flower. Dip your quill in the
water and clean it. Wait for the masking
fluid to dry. You can use the hair dryer as earlier or wait for it to dry, but this can take more
than half an hour. Okay, the masking
fluid has dried. To make sure it's dry, I check with my finger and nothing should
stick to my finger. Now, we are going to add
another layer of ink. Dip your brush in
the ink when needed, and apply the color
equally on the paper. Remember to stretch the ink and to make an even
flat color layer. Rinse your brush well in
the water and let it dry. Restart the same process as before by dipping
the quill into the masking fluid and
drawing another stem that will be more or less
parallel to the first one. Draw the twigs in a cup shaped and finish
with the dots on top now that it's completely dry. Let's move on to the
third layer of ink. It may seem as though as you
apply successive layers, you are removing the
previous layer of ink. This is not a problem and is in fact quite normal to
solve this problem. Go over the same areas
several times to blend the ink with
successive brush strokes. Make sure you brush
vertically and horizontally, then leave to dry, rinse your brush well in
the water and let it dry. We are ready for
the fourth flower, which we will position on the left side to balance
the composition. As we are moving onto
this composition, I want to apply and explain
the rule of third principle. Instead of placing
the main subject directly in the center, we position several
twigs one to each other, but with various sizes
and orientation. This off center placement
creates a sense of balance, harmony, and visual interest. The Rule of Thirds is a
versatile guideline that can enhance the overall aesthetics and impact a composition
like this one. Here I'm going to add a stem, and the flower will
be outside the frame. We won't draw it, but it will create this
fissual dynamic. The idea is to balance the
dynamic and the composition. As usual, rinse and
wipe your quill. Well, let it dry or dry. With the hair dryer, we add another layer of ink. I emphasize that the layers of ink and flour
drawings you create, the more your final
result will give the impression of death effect. This is normal since it's these consecutive layers that
will create this effect. Rinse your brush well in
the water and let it dry. For this flour, I
want to make it bigger and almost
touch the top border. Repeat the same
steps as before to draw the cup shaped stems
and the small dots. If by chance you make
a stain on your paper, either wait for the
stain to dry and remove it before applying
a new layer of ink, or ripe it off directly
with your finger, you may notice a
slight discoloration, but if you apply additional
layers of ink afterward, it will not be visible. As I did previously, I will add a stem that curves outward and we won't
see the flower, but it adds dynamics
and depth As usual, rinse and wipe your quill well, let it dry or dry
with the hair dryer. You've understood
the process and we've covered everything
you need to know about composition layout using masking fluid and repeating
layers of drawings and ink. Moving forward, it's simply a repetition of what
we've learned together. I'm applying another three
layers of ink and two drawing. I must also mention that after eight to nine layers of ink, you may experience a loss
of definition in the Quill drawing because the ink
areas will become saturated. No matter how many
layers you add, they won't stand
out as clearly as the initial layers as
we've achieved before. I'm just speeding
up the process so you can see it and I'll meet you for the last part and the reveal of our
beautiful painting. Everything is dry. I waited for 24 hours for everything to dry. Naturally, you can speed up the process by
using a hair dryer, but I recommend
waiting patiently, because if there are
still damp areas, you might get ink smrgers on
your drawing using a rag. Gently rub the paper
with your finger and the cloth wrapped around it to remove any dried masking fluid. Be delicate in this process. Forceful rubbing may
risk tearing the paper. Repeat this across the
entire painting to reveal the pristine white sections and the now clearly
visible drawings. To ensure you've completely
removed the masking fluid, run your finger over the surface feeling
for any rough spots. Then gently rub with the cloth. Once the masking fluid is gone, it's time to delicately remove
the sticky paper outlines. Take care not to tear the paper. Once you've removed
the sticky paper, if you see any dust or
bits of masking fluid, gently rub and remove them. Finally, since we've created
two different colored inks, you can experiment
with the same kind of composition using
the cooked ink, just as demonstrated here.
7. Final Recommendations and Thank You: As we conclude our
artistic journey, I'll share some final
recommendations for your continued
exploration of natural inks. Here are my advice and thoughts on foraging and
harvesting elements. Familiarize yourself
with local plants. Identify local plants suitable for extracting
pigments for inks. Look for plants with
vibrant colors or those historically used in
traditional ink making. Always check the toxicology of a plant or material practice responsible and
ethical for aging, respect nature, and adhere
to local regulations. Collect plant
materials like leaves, flowers, berries, or roots, and be mindful not to damage
the entire plant and take only what you need leave enough for the plant
to continue growing. Store your natural ink in a sealed container away from light and heat to
maintain its quality. I am delighted to have
spent this time with you. I hope you enjoyed
it as much as I did. I invite you to share the colors you've created at home
through the project, allowing you to test the beautiful tones
you have created, all without the stress
of composition. Share your creations,
your achievements, and be proud of what
you have accomplished. Thank you for taking the course. I hope to find you
on social media. Don't hesitate to
tag me at a lying ill be on Instagram
and Facebook. I hope to see you in another
class on Skillshare. Goodbye and thank you.
 Adeline-Julie Bee, watercolor artist, pattern designer & teacher