How to Make Elderberry Ink: Create Natural Botanical Ink for Watercolor Painting | Adeline-Julie Bee | Skillshare

Playback Speed


1.0x


  • 0.5x
  • 0.75x
  • 1x (Normal)
  • 1.25x
  • 1.5x
  • 1.75x
  • 2x

How to Make Elderberry Ink: Create Natural Botanical Ink for Watercolor Painting

teacher avatar Adeline-Julie Bee, watercolor artist, pattern designer & teacher

Watch this class and thousands more

Get unlimited access to every class
Taught by industry leaders & working professionals
Topics include illustration, design, photography, and more

Watch this class and thousands more

Get unlimited access to every class
Taught by industry leaders & working professionals
Topics include illustration, design, photography, and more

Lessons in This Class

    • 1.

      Introduction to Elderberry Ink Making

      1:42

    • 2.

      Botanical Ink & Elderberry Pigments Explained

      2:36

    • 3.

      How to Make Elderberry Ink

      1:51

    • 4.

      How to Store Botanical Ink

      0:29

    • 5.

      Elderberry Ink: Final Conclusion

      0:40

  • --
  • Beginner level
  • Intermediate level
  • Advanced level
  • All levels

Community Generated

The level is determined by a majority opinion of students who have reviewed this class. The teacher's recommendation is shown until at least 5 student responses are collected.

9

Students

--

Projects

About This Class

Have you ever wondered how natural inks were made before synthetic dyes existed? In this class, you'll learn how to craft your own botanical ink from scratch using elderberries, a common, easy-to-forage plant found in hedgerows and woodlands.

We'll start with the basics: what elderberries are, the plant they come from, and the natural pigments (anthocyanins) responsible for their beautiful blue-purple color. From there, I'll walk you through my simple process; from cooking the berries down, to adding vinegar and salt to stabilize the color, to straining and bottling your finished ink.

By the end of this class, you'll have your own jar of homemade botanical ink, ready to use for painting, drawing, or inking, plus the knowledge to experiment with other natural pigments in the future.

Perfect for: beginners interested in natural dyeing, foraging or sustainable art supplies. No prior experience needed,  just curiosity and a love of making things by hand.

Meet Your Teacher

Teacher Profile Image

Adeline-Julie Bee

watercolor artist, pattern designer & teacher

Teacher
Level: Beginner

Class Ratings

Expectations Met?
    Exceeded!
  • 0%
  • Yes
  • 0%
  • Somewhat
  • 0%
  • Not really
  • 0%

Why Join Skillshare?

Take award-winning Skillshare Original Classes

Each class has short lessons, hands-on projects

Your membership supports Skillshare teachers

Learn From Anywhere

Take classes on the go with the Skillshare app. Stream or download to watch on the plane, the subway, or wherever you learn best.

Transcripts

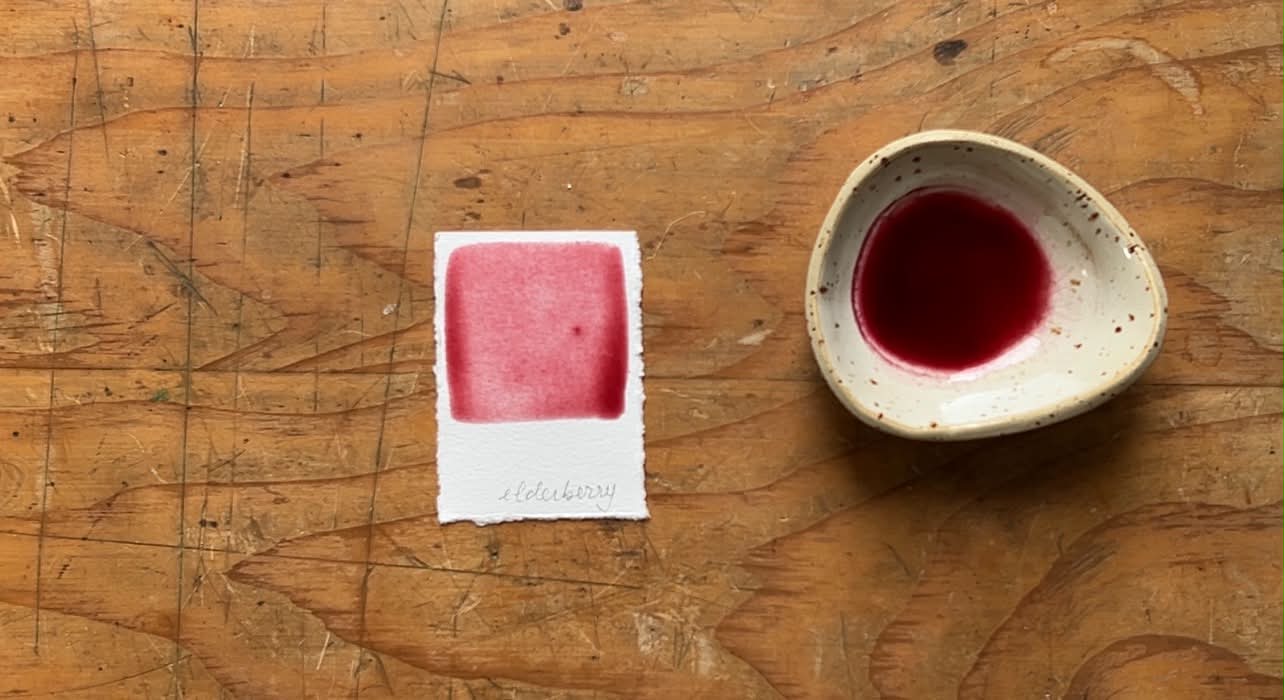
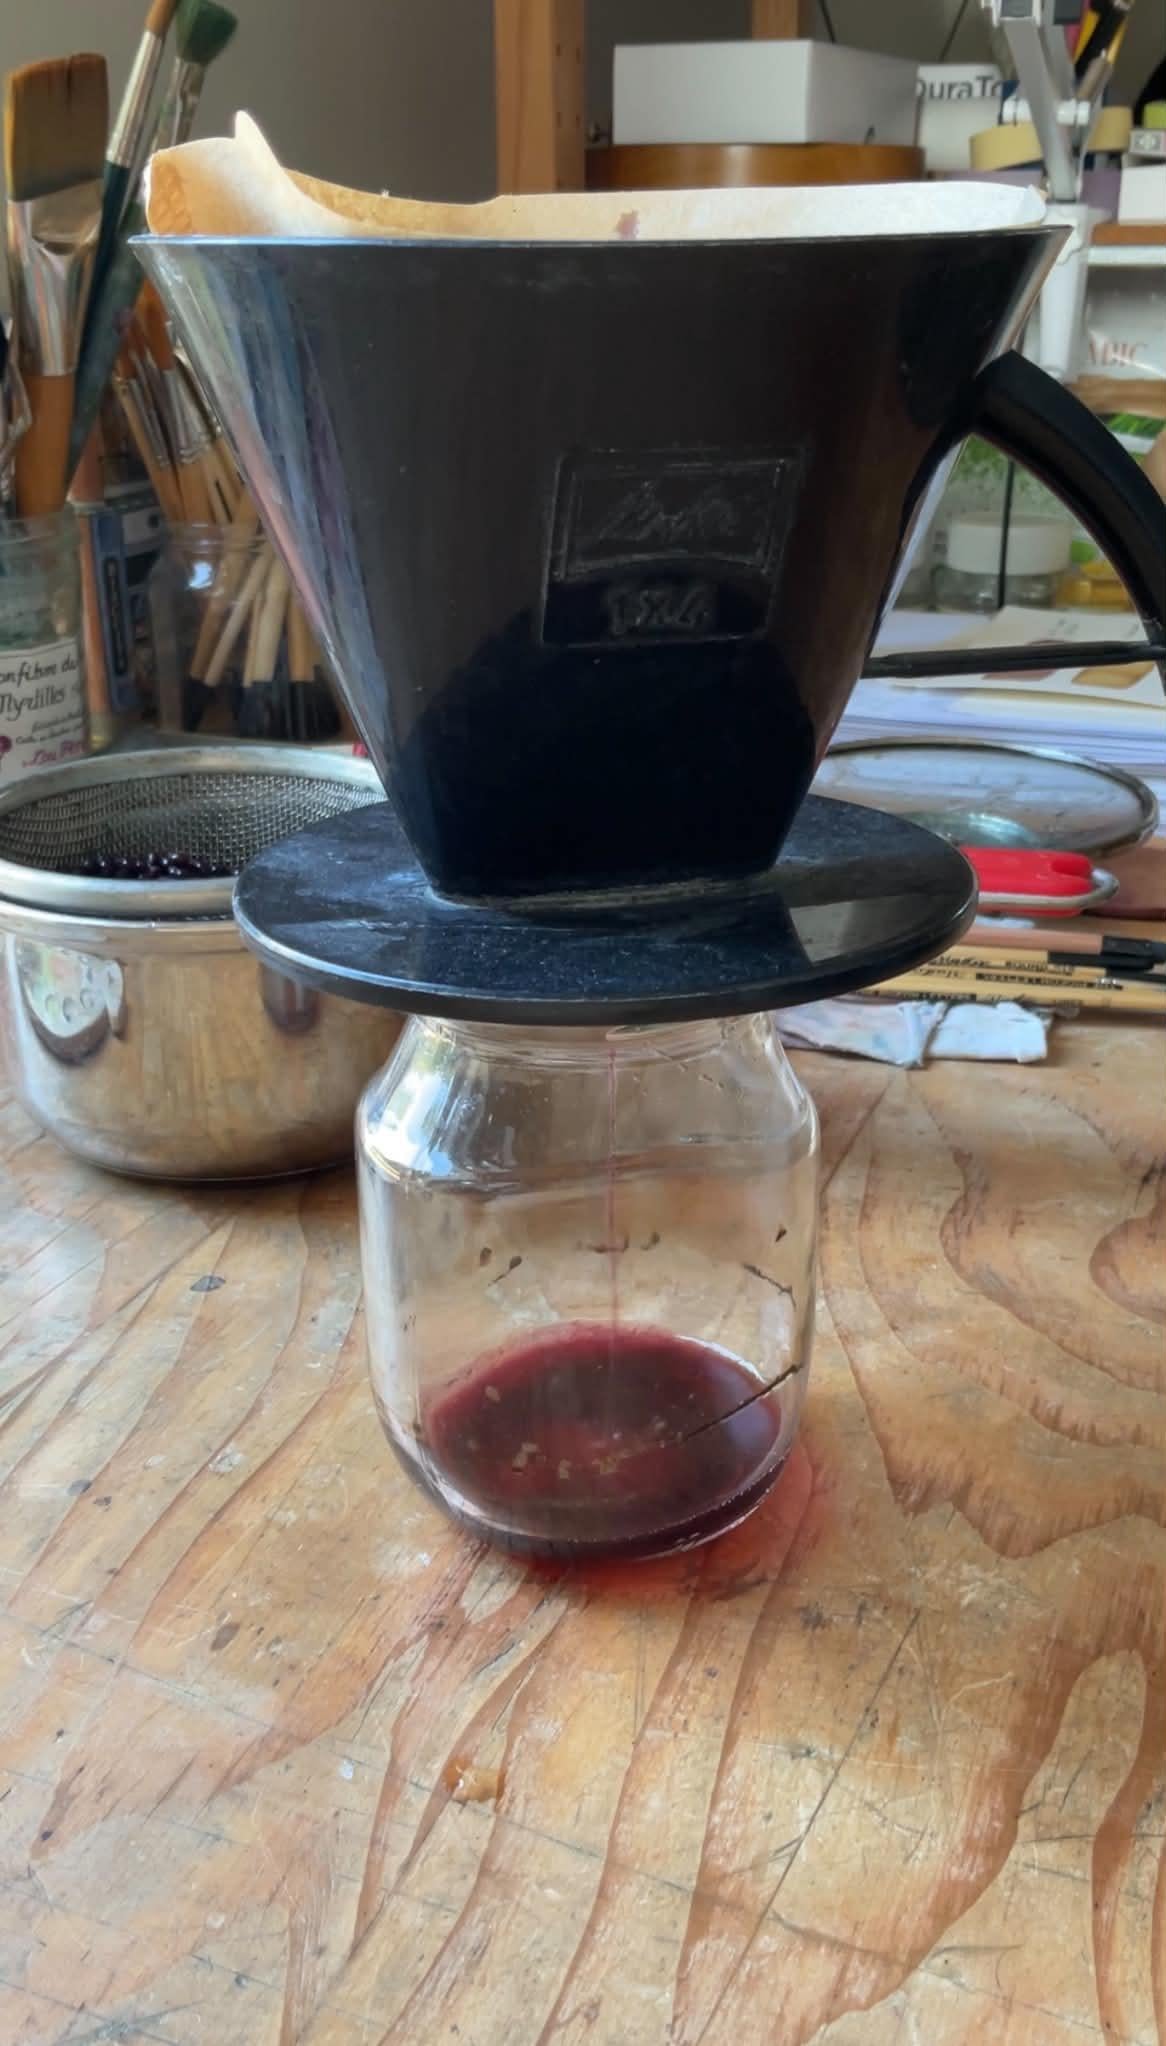
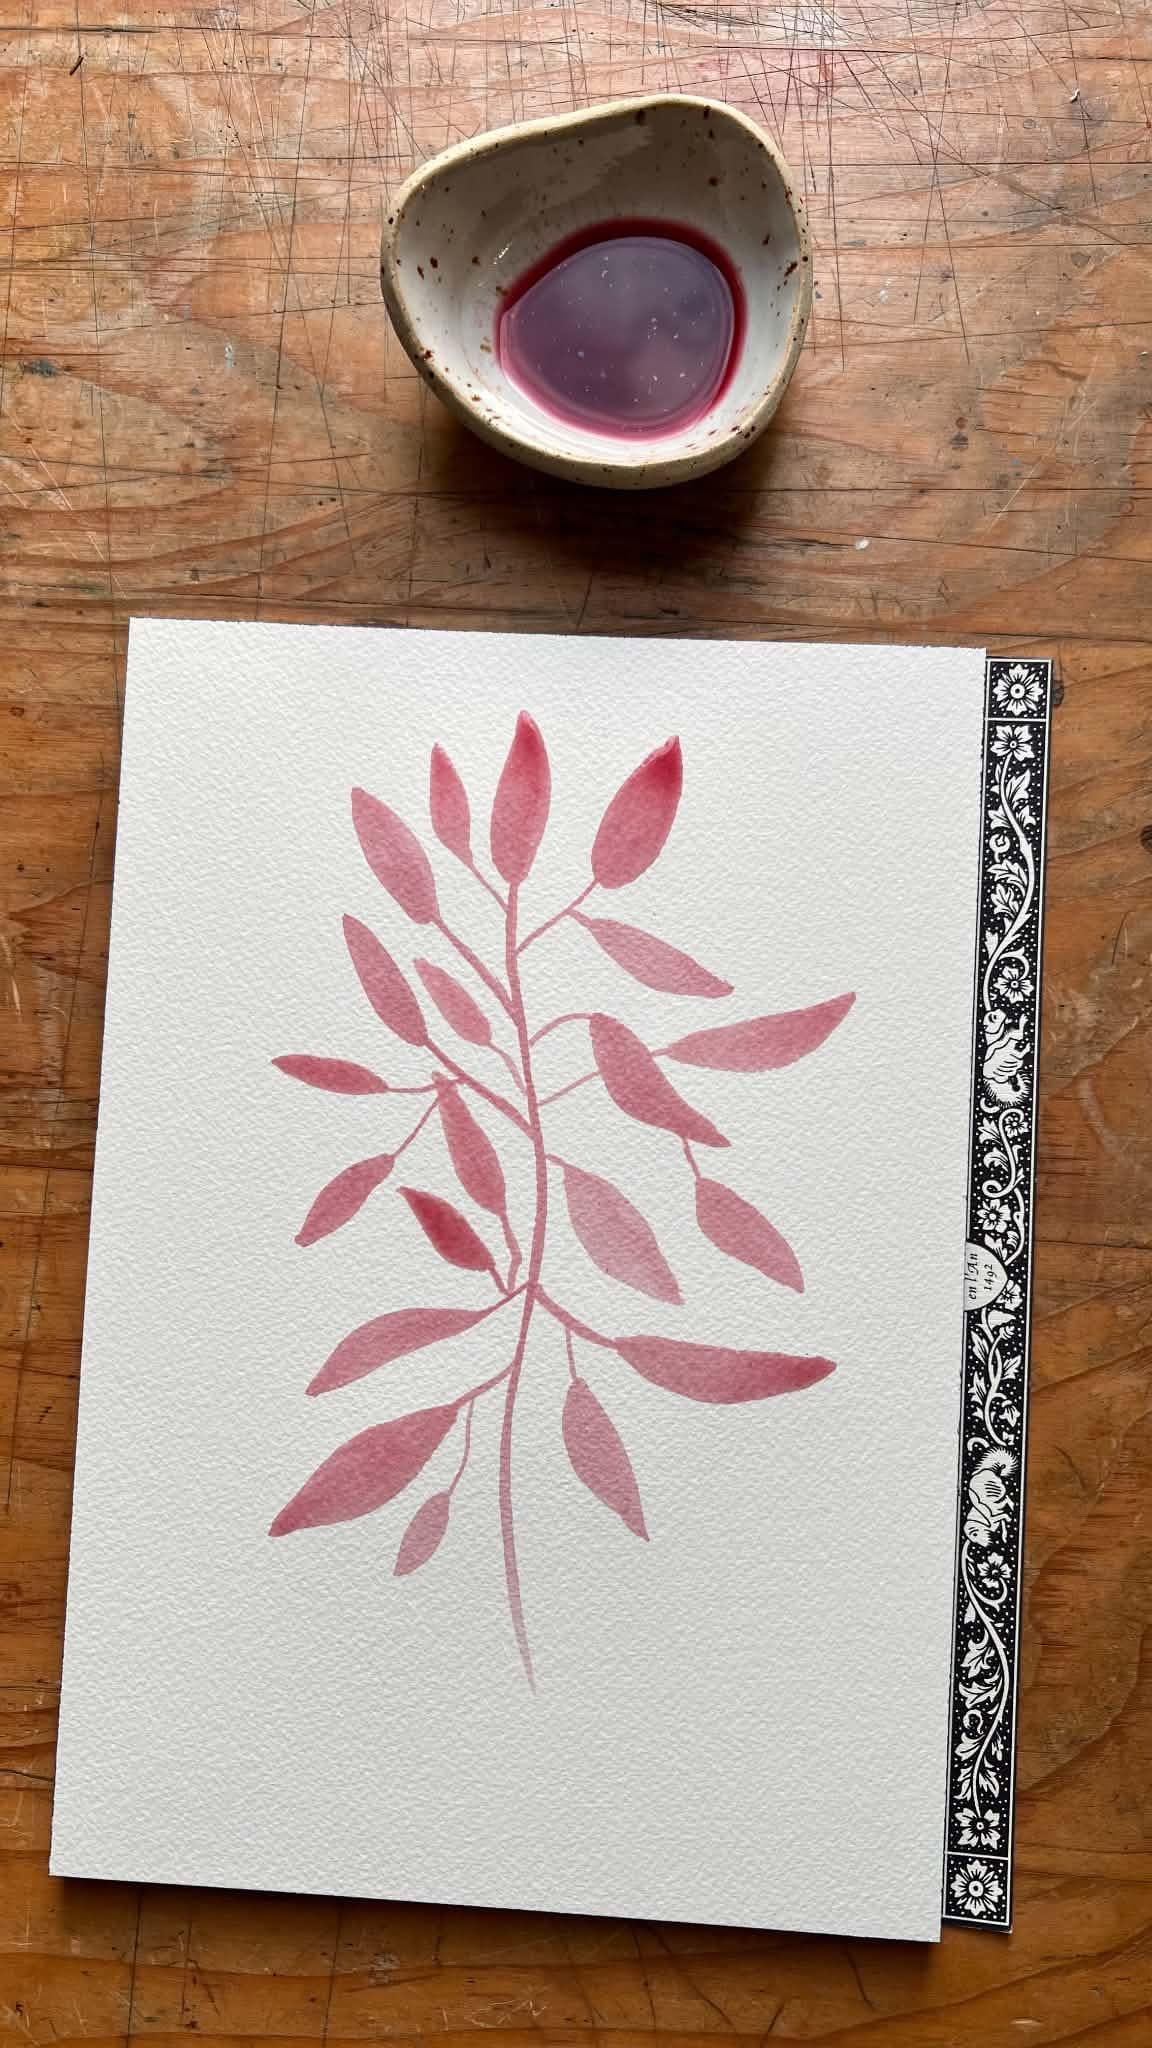
1. Introduction to Elderberry Ink Making: Hello, and welcome to this class on creating natural elderberry ink for painting. I'm so happy to explore this process with you and to share how you can turn a handful of elderberries into your own beautiful botanical ink. In this class, you will learn what elderberries are and where to find them. The science behind the natural pigments, how to safely cook and process elderberries into ink, how to prepare and treat the ink as part of the preservation process, how to strain, bottle, and store your finished botanical ink. My name is Adeline-Julie. I'm an artist, surface pattern designer, and teacher. I paint landscapes, botanical subjects, and everyday details from nature, and I also transform my watercolor paintings into surface patterns. Have a deep passion for working with natural pigments, and over the years, I've developed a practice of making many of my own inks and colors from scratch. I began making my own colors because I wanted to bring a natural cycle into my creative process. I wanted to connect more closely with the colors around me and with the plants, berries, and other natural material that inspire my work. This class is for anyone who loves art, color, and handmade materials and wants to explore a more natural hands on approach to their creative practice. Let's gather our elderberries and begin. 2. Botanical Ink & Elderberry Pigments Explained: What are elderberries. Elderberries come from the elder tree, a shrub or small tree. You'll find it growing wild across Europe, North America, and parts of Asia, usually along hedgerows, woodland edges, and riverbanks. In late summer and early autumn, the elder produce clusters of small, dark purple, black berries that hang in heavy drooping bunches. It's these berries we are after today. A quick but important note. Raw elderberries and other parts of the plant stems, leaves, unripe berries contain compounds that are toxic if eaten raw, so they are always cooked before us, which works out perfectly for us since cooking is exactly how we extract their pigments. Before we dive into the practical aspects, it's crucial to understand the essence of natural ink. I'll provide you with a detailed guide on what exactly constitutes natural ink. We'll explore the various components that make these ink eco friendly and sustainable, setting the foundation for our creative journey. Natural inks are primarily derived from plants like fruits, vegetables, leaves, barks, and flowers. These components contribute to the unique hue and character of the ink and are chosen for the colors and can be processed to extract pigments. However, it's essential to be aware that the stability and longevity of natural inks can vary they may fade over time more than some synthetic inks. The rich purple blue of elderberry ink comes primarily from anthocyanins, the same class of pigments responsible for the color in blueberries, red cabbage, and grapes. Antocyanins are water soluble pigments stored in the berry skin. Depending on the acidity of the solution, anthocyanins can shift from red to purple to blue to even green. This is also why the ink you make can vary slightly from batch to batch and why some ink makers experiment with adding a pinch of baking soda or extra acid to nudge the color one way or the other. 3. How to Make Elderberry Ink: Start by gathering your ripe elderberries. Look for clusters that are fully dark, purple, not green or reddish. Since unripe berries won't give you the depth of color you want, place your berries in a stainless steel pan along with water to cover them. Stainless steel is important here. Reactive metals like aluminum can interact with the acidic berries and dull or discolor your ink. Bring the berries and water to a gentle simmer and let them cook for about an hour. As they cook, the berries will soften and burst, releasing their pigment into the water. Your kitchen will start to fill with a warm, fruity smell, and the liquid will deepen into a rich dark purple. Once the cooking time is up, stir in one spoon of vinegar and a pinch of salt. The vinegar acidifies the mixture, which helps stabilize and intensify the antocyane pigments. This is often the moment you will see the color shift and deepen right before your eyes. The salt acts as a preservative, helping your finished ink last longer. Let the mixture cool slightly, then pass it through a coffee filter to remove all the berry skins, pulp and seeds, leaving behind a smooth pigmented liquid. Glass is ideal for storage, since unlike plastic, it won't absorb or react with the pigment over time. If you'd like to test the intensity of the color, dip a brush into the ink and make a small swatch on paper. 4. How to Store Botanical Ink: To keep your ink from spoiling, add two drops of clove essential oil to the strained ink. This natural preservative will help prevent mold. I can keep my inks in the fridge for a year or more without shifting the colors. Store your natural ink in a sealed container away from light and heat to maintain its quality. Label correctly what you have in your containers. 5. Elderberry Ink: Final Conclusion: In this lesson, we created our own homemade elderberry ink, preparing a beautiful natural color to work with. Feel free to explore other classes I've created, including making homemade inks and painting botanical elements. If you have any questions or feedback, don't hesitate to reach out. I can't wait to see your beautiful projects. Thank you for taking the course. I hope to find you on social media. Don't hesitate to tag me at Alan Juli B, and I hope to see you in another class on Skillshare. Goodbye, and thank you.