Transcripts
1. Intro: Hi, I'm Maya Favor. In this class, I will
teach you how to create a perfectly seamless played
pattern in Procreate. You will learn how to design a played pattern from scratch, including how to work
with diagonal stripes. We will also play with color to make your pattern
look cohesive, balanced and super cute. This class includes
free resources, including one procreatee brush and one procreatee
color palette. Join me for a fun step by step class where
you will learn to create your own perfect
played pattern in procreate.
2. Your Project: For this class project, you will create your own
plait pattern in Procreate. You're welcome to
experiment with the colors to make
the design feel uniquely yours or choose to use the downloadable
premade color palette. When you're finished, share your pattern in the
project gallery. I can't wait to see
your plait pattern.
3. Make Diagonal Stripes: So the very first thing
that we will do is to start with a pattern
perfect template, which is free to download for members
here in Pattern Rebels. You can check out the link in the description of this class
to download the template. And then I will turn
off the visibility of the guide layer and tap the
plus to add a new layer. And first, I usually just start with adding
a background layer. Let's do that for
this pattern as well. Background, and I would
choose white as my color, tap the layer, tap the layer, and that is our
background layer. We can leave that
background layer for now and tap the plus
to add a new layer. So the interesting thing about this pattern is that we won't
actually draw anything. We will work with
geometric shapes. The only thing that we
will draw are some lines. So the first thing that we will do is we can drag out
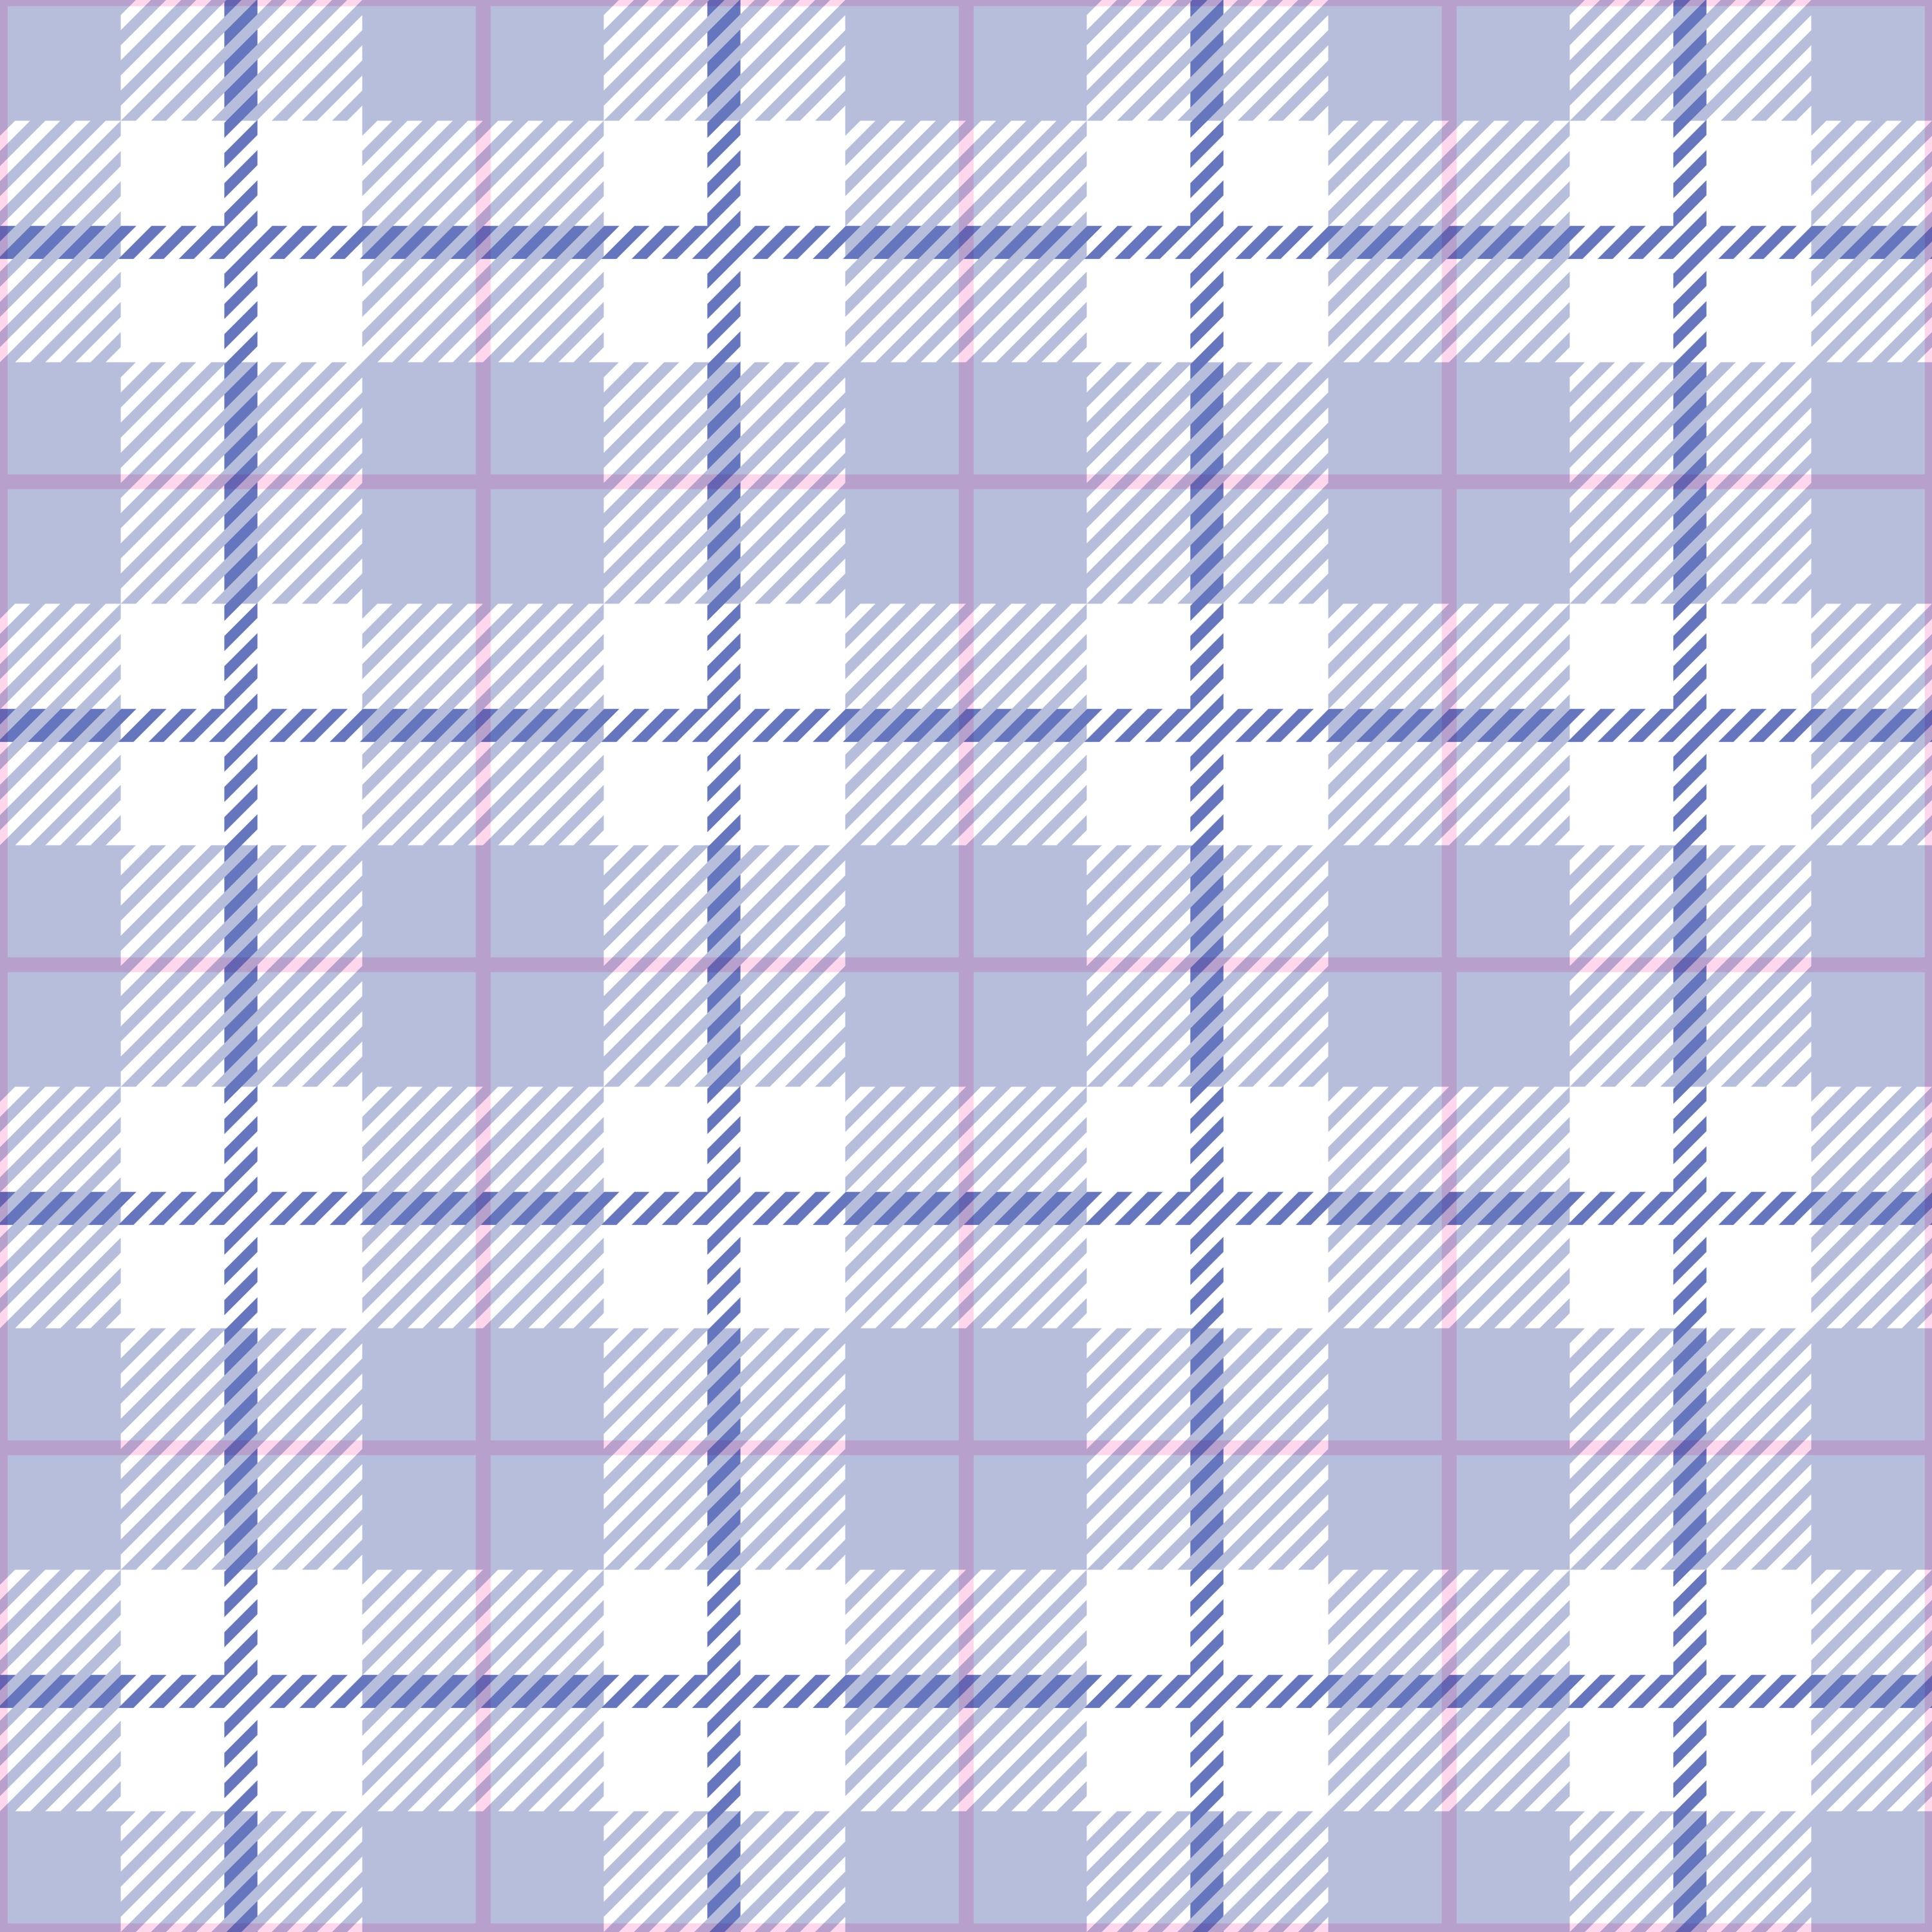
our color palette. It's a really simple
color palette. There's just two blue colors and one pink and yeah, the white. Okay, so the very first
thing that we will do to create this perfect
plates pattern with the diagonal stripes is to
tap the light blue color. And then I will tap
the selections to, make sure you have
rectangle selected, and I would just draw
a rectangle like this, tap color fill to fill
that with the color. What we want to do now is to flip this around
so that we create a diagonal line that goes
perfectly with the edges here. That is the first step. You
could draw a line as well, but that is a little bit harder, at least I think so to get
it perfectly right when you need to zoom in
and out and still maintain the straightness
of the line. I do it like this for now. Tap the transform tool, and I will have free
form selected here, and I will just pull out my edges so that I
get really long, and I will tap
rotate 45 degrees, so one, two, three times, I think I did so that I get this really long rectangle diagonal. I can match it in. I want to fill the whole
canvas down here, so I will just pull that out, and you can use
snapping and magnetics. For this, usually, when I place diagonal
stripes like this, it usually doesn't
work that well, so I will just turn
that off for now. And then I will zoom in. What I want is that the
dashed line, as you can see, if you zoom in really hard, is that the dashed line and the actually colored
line are different. I usually go for the dashed line because that is
where the object is, and I think it will work out and that the colored object won't be placed outside
of the dash line. We will see when we place it. So I will just zoom out,
and then I will zoom in Again, here at the top. Make sure that the dashed line or exactly at the
edge, and it is. So then I will just tap
the transform tool, and as you can
see, it's a little bit blurry, but that
doesn't matter. It's just because
we're super zoomed in. So now I've created this diagonal line,
or if you want to, it's also a triangle that feels half of
the canvas like this. So that is the very first step, and now we will create
diagonal lines of this one. So the next step is to swipe
the right to duplicate this so that I have four
layers that are the same. Then I will tap the
transform tool, tap in the top left quarter
node and type in 1,500. Make sure you have the
chain symbol tapped in. Then I will tap the next layer, tap the transform tool. Tap the right corner node, type in 1,500, tap
the next layer, tap the transform to, zoom out, tap the bottom left
corner node and 1,500, and then tap the next layer, tap the transform two, tap
the bottom right corner node, and type in 1,500. So now you have
these four squares, and we need to flip
them because we want this line to be filled. So what we do is that
we turn this one, the first one in
our layers panel, the one to your bottom right, we tap the transform
tool and we rotate that Did I do that four times? I think so. Four times
until you reach this line. And then I will tap the top one. Is this one, tap
the transform tool, and rotate that until you
create a white line there. Okay, so that is the first step, and now it's time to
create even more lines. So what I will do is to
swipe these together. These four layers, I will
swipe them together, and then I will do the
same process again. So swipe to the
right to duplicate it so that you have four layers, tap the transform tool, tap in the top left corner
node, type in 1,500. Loops. That was a mistake. I had two layers selected. I only want one layer selected, tap to transform to, tap in the top left
corner node 1,500. The next one, tap the top
right cornonode 1,500. The next one, tap
in the bottom left cornonode 1,500
and the last one, the bottom right
cornonode and 1,500. So now you get smaller
diagonal lines. And then you just keep going
like this until you get the amount of lines and the thickness of the lines
that you want to have. We will do them a bit smaller. I will just merge these together and then
swipe right again. So this process is something
that looks super simple, but until you kind of get
the hang out of it until you understood how you're creating this plays pattern in this way, it feels super complicated. But once you know it, you will see that it's
actually pretty easy. So tap the top layer, tap the transform tool, the top left cornond, type in 1,500, tap
the next layer, tap the top right
cornonde 1,500. And the next layer, the bottom left corner node, 1,500, and the next layer and the bottom right
corner node and 1,500. Okay, so this is more like it. I think we will go for one more or will we?
Let's try it out. I will swipe these together, and then I will just make a copy of that, I will duplicate that, turn off the visibility
of the first one, and then I will just make
this half of the size. So I will tap in one of the
corner nodes, type in 1,500. And that could work, but I actually want it to
be even smaller lines. So I will actually delete that, turn that one on, and
just duplicate it. So that I have four copies, tap the transform to
on the top layer, tap the top left corner node, type 1,500, tap the next layer, the top right
corner node, 1,500. The next layer, the
bottom left cornonode, 1,500, and the next layer, the bottom right
cordonode and 1,500. Okay, so this is more like it. Now we will swipe
these together. I will actually turn
on my drawing guide, tap the access panel
Canvas drawing guide, edit drawing guide, and I
want the grid size to be maximum under two D grid so
that I get four squares. That way, I can easily
snap my squares. Okay, so this is great. And the first thing
that we will do now is to if you want to know, you can save this
as the original. I was wiped the
drag to duplicate. You can save this
as the original so that you don't
mess with that. Then I can just
drag that beneath the background because we don't need it, but you
can just save it. If you want to
change things later, go back in your
process or create another pattern with diagonal
stripes, for example. Okay, so this is the
first one that we will
4. Place the Stripes: What we'll do is to place the diagonal stripes as you want them in
the places pattern. So I will tap that
stripes layer, tap the transform tool, tap in any of the corner nodes. I will tap the bottom left, for example, and type in 1,500. And then I will drag
that to the center. Oops. Now I want snapping
and magnetics turned on. So I want to turn on
snapping and magnetics. And I want this
perfectly aligned in the center that
you can see when you have these yellow guidelines
that are perfectly aligned with your kind of middle nodes there on the edges. And then I will tap to place
that diagonal lines square. The next thing is that
I will duplicate this, and then I will tap the transform
tool and I will drag it up until the edge snaps
to the original square. So if you don't understand what we are doing
here, that's totally fine. It's a process. You will see
the result once we're there. So just follow along. Then swipe to right on the first square that
is in the center, tap that layer,
and now we'll drag that one down over
there until it snaps, tap the transform tool, and then swipe to the right to duplicate
the original one again, tap and drag that one
to the side until it snaps and then duplicate
the original again, tap that one and drag it to
the left side until it snaps. Tap the transform
tool to place it. And for the original one, I will actually recolor
these blue lines to white. You will see why later on. But for now, tap
Avalok and I will tap the white color and tap the
layer and tap fill layer. So now you can't see
that, but you will be able to see it later on. So now what we will do is to also tap the plus
to add a new layer, and I want to fill this layer
with the light blue color. So I will tap that
layer, tap fill layer, tap the transform tool, tap in one of the corner nodes, and type in 1,500. I hope this isn't
going too fast. You could always take
lower speed in my voice. So in the video, if you think that
it's going too fast. So now we have a
square in the center. I drag that square up here. So now you might be able to
see the plate pattern form. So these are the first stripe. This is like the center, and here comes one
diagonal stripe and two diagonal stripe, one horizontal and one vertical. Okay, so that was
the very first step, and the next one is
to add a pink line.
5. Add Pink Line: So now we will add a pink line. I will tap the pink color, and this is one of
the two lines that we will use that we will actually draw. You don't
have to draw them. You can also use the
rectangle tool for this, but I will actually
draw mine with the mon line brush
and the maximum size. I have the pink line, and I will add a new layer so I can tap the plus on
top of the blue layer here. And on that layer, I haven't been that good at
naming the layers here, but it's just because
they are just diagonal lines and squares, and I don't feel the
need to name them. If you want to name
them, you can do so. But I will just go
ahead and draw. With the monoline selected
and with my pink color, I will go for trying to make
it even in the center here. For me, it doesn't matter if
it's not perfectly aligned, but it will still be seamless. I will tap and drag. And I will hold to make the
line straight and release. If you can't make the
line straight by holding, you would go to your preferences
and just your controls, quick shape, and make sure that you have
drawing holes selected. That way you will have
the same settings as me. Okay, so now you can draw another line or you can
just duplicate this, tap the transform tool rotate two times 45 degrees so that you get a perfect
line in the other direction. I will just swipe these
together to merge them, and then I will tap the N and
drag to multiply like that, and that is the first
step of adding the lines. So now you can
choose if you want the pink line to go like
this or if you want it to be kind of merged into the blue lines that
if you want to do that, you can tap the N on the blue lines layer and
also drag those to multiply. I will do that and we can always change this later on if
we don't want to keep it. But that way, you can see
that it really merges nicely over there and kind of
get this transparent look. So now it's time to
flip the pattern around and to add a blue line.
6. Flip the Pattern & Add Blue Line: So we will flip the
pattern around. I will. I don't want to
include this white. You will see why in a minute. I will just drag that
below the background. And then I will swipe to the right from the
background and up like that and group. And then I will tap the group, tap the selection tool. If you get this, that you
can't select the group. You will tap one of layers, tap your selection tool, and check color fill. Now you can tap the group again. Tap the selections two, save
and load selection eight, tap to transform to flip
rg confltHrizontal. Tap the selection tool again to deselect and tap it again
to select selection seven, tap to transform to, flip
vertical and flip horizontal. Then you can tap the
selections tool again, selection six, tap
to transform to, flip vertical and
flip horizontal. They can tap it again and
save on selection five, tap to transform to flip
verge con flip horizontal. Okay, so now we have
flipped the pattern around. And it's time to
add the blue line. So what I will do then
is just to tap on top of the pink line.
Let's try that out. I don't know the
placement of it, but I will try to do the I think that I will try to do
it on top of the pink line. So tap that a new layer and
tap the darker blue color, the monoline 100%, and I
will drag a line Oops. Over there. Like that. And then oops, it was
on the wrong layer. Tap to add a new layer, Monoline taped to hold. And then swipe right on
that layer duplicate it, rotate two times, and here
you have your new line. Okay, so that looks fine. I'm not sure that I want to keep this kind of transparent
transparency. As you can see something
happened here with the lines. I will just tap that and
make sure to pull that out, have freeform selected,
and pull out that line outside of the canvas to make sure that it
repeats perfectly. I will do the same
with other one, just to make sure that
it was long enough. Like that. And then I will
swipe those layers together. So now it depends if you want these lines to be
transparent or not. So let's have a look and
see how it looks if it's not transparent, normal, normal. Normal and normal. I feel that looks good. We might want to pull out the pink line on top
of all of the lines. That way we kind of get
the same effect here. But instead of making all of the lines multiply
blending mode, we just did it with
the pink line. I think that this looks better, so I will keep it like this. But now, for a plates pattern, there's usually stripes in the center here as
well, or there can be. I wanted it to be, so
I will pull this one, our white stripes layer
on top of our blue line. As you can see, something
already happened. And I usually feel that
it looks better if it's not in this direction,
but I would tap that one, tap the transform tool, rotate 45 degrees four times, so that you get it like this. Like woven or
something like that, that it looks better,
at least. Okay. So that was everything. So now it's time to
test the pattern.
7. Test the Pattern: Time to test this pattern out. So this is actually the pantile. So I will just swipe
down with three fingers. Swipe down with three
fingers, tap opio. We can shut down
the color panel, swipe down with three fingers, tap paste, and I will just pull that one on
top of the group. And then I will tap
the three little dots, split view, Safari, and
here I will tap and drag. To my pattern tester on my
website and drag up and down, and you can see that
you have created a perfect plates pattern. So now we can head
back into Procreate and duplicate this so that
you have four copies, tap in the top layer
and the transform tool, the top left cornonde,
type in 1,500. The next layer, the top right
cornonde, type in 1,500. Next layer, the
bottom left cornonde, type in 1,500 and the next layer and the bottom right cornond
and type in 1,500. Then we can swipe
those together. I will also turn off
my drawing guide, so actions panel Canvas, turn off my drawing guide. This is your repeated pattern, and this is your pattern tile, and you can, of course, also repeat it again. If you want to see how it
looks inside of Procrites, I will duplicate so that
I get four more copies, and I will just continue
because I think we are more used to seeing these plates pattern
in smaller scale. I will just continue, tap the transform tool, tap in the next layer, 1,500 in all four corner nodes, just as we did previously to get kind of a repeated
pattern again. This is your repeated pattern, and this is your tile. You can rename it, and this is your repeat mini or
something like that. Okay, so here is
your pace pattern repeated and your pattern tile.
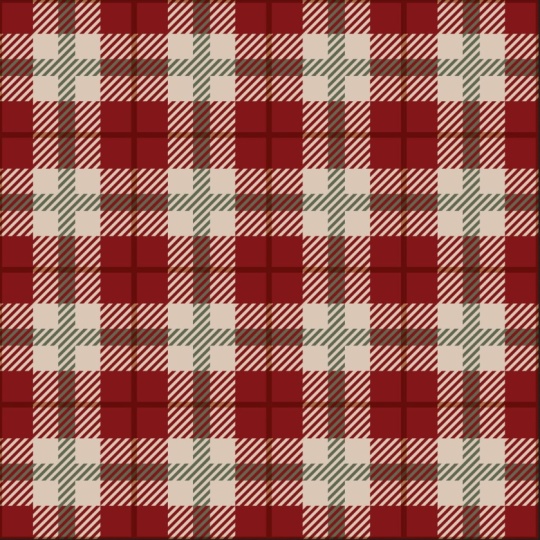
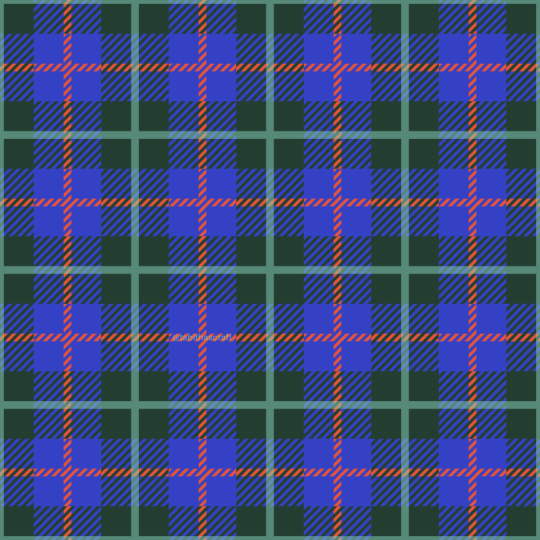
8. Recoloring: Let's have a look at
recoloring this pattern. So what I would do if I want to recolor is that I would tap. Let's just create a copy first. So I would tap gallery, tap the file, tap duplicate, and then I will tap
into the new file, and here I can recolor. So tap the layers with the
blue color, for example, apalok the lighter blue color, and let's just recolor it
to, I don't know, green. Fill layer, and then turn off
the visibility of the tile. And you can, of course, recolor it to many
different colors, but I will do all of the blue. The same color now. So Alphal on all of those
layers on fill layer, and then I can recolor
the blue line to maybe I want that one to
be orange or actually, maybe I want that one to
be, like, dark green now. So feel that layer, and
maybe I want the pink line, phallo on that to be
purple and fill layer. So that is how you
recolor the pattern. Let's just try that out in
the pattern tester, as well. So swipe down with three
fingers tap Copile, swipe down with three
fingers tap paste, go to the pattern tester, tap and drag your pattern. And here you have your green. Perfect tape pattern. I
always like this better. So that is how you recolor your.
9. Export the Pattern: So now it's time to
export the pattern. I will head into
my original file and I can turn on the tile, tap actions panel, share, JPEG, and save your image to cameral and you can turn on your mini repeat
or your repeat. I will just turn on
the mini repeat, taped actions panel, share and
JPEG and save it to Cameo. I would love to see what you
have created in this class, so make sure to share your patterns here in
class or in the community.
10. Next Step: Grab Your Free Starter Pack: Before we end this class, I want to give you
something extra. If you enjoy this
class and want to keep building your
pattern design skills, I put together a free Pattern Rebels starter
pack just for you. Inside, you will find two mini classes,
procreate brushes, a playful color palette, time saving templates, and
even a procreate mockup. All designed to help you create beautiful patterns with more confidence and
less overwhelm. It's a real taste of the classes tools and
resources that you find inside the Pattern
Rebels membership without the commitment. No credit card, no
deadline, no catch. Everything is yours
to keep forever. You can grab it
right now through the link I've shared
here in class. Just click Sign up and you will get instant
access to everything. It's completely free. I can't wait to see what
you create with it. The link is in the
description about this class. And if you're excited
to dive even deeper, check out Pattern Rebos
my membership program. Inside, you will get
monthly classes, resources like brushes,
palettes, mock gaps, and pattern layout templates, plus design challenges, feedback sessions,
and Q&As with me. You can learn more at
pattern rebels.com. Finally, thank you so
much for watching. If you like this class, you
can hit the follow button by my name so you don't
miss my future classes. You can also tap my name to see all of my classes
here on Skillshare. If you have any questions, drop them in the Discussions tab and feel free to leave a view
if you enjoy this class. I would love to
hear your thoughts. Don't forget to upload your
project here in the gallery, and if you share
it on Instagram, tag me with Maya Faber. I would love to see
what you create. Thanks again for joining me, and I hope that you
enjoy this class.
 Maja Faber, Surface Pattern Designer