Transcripts
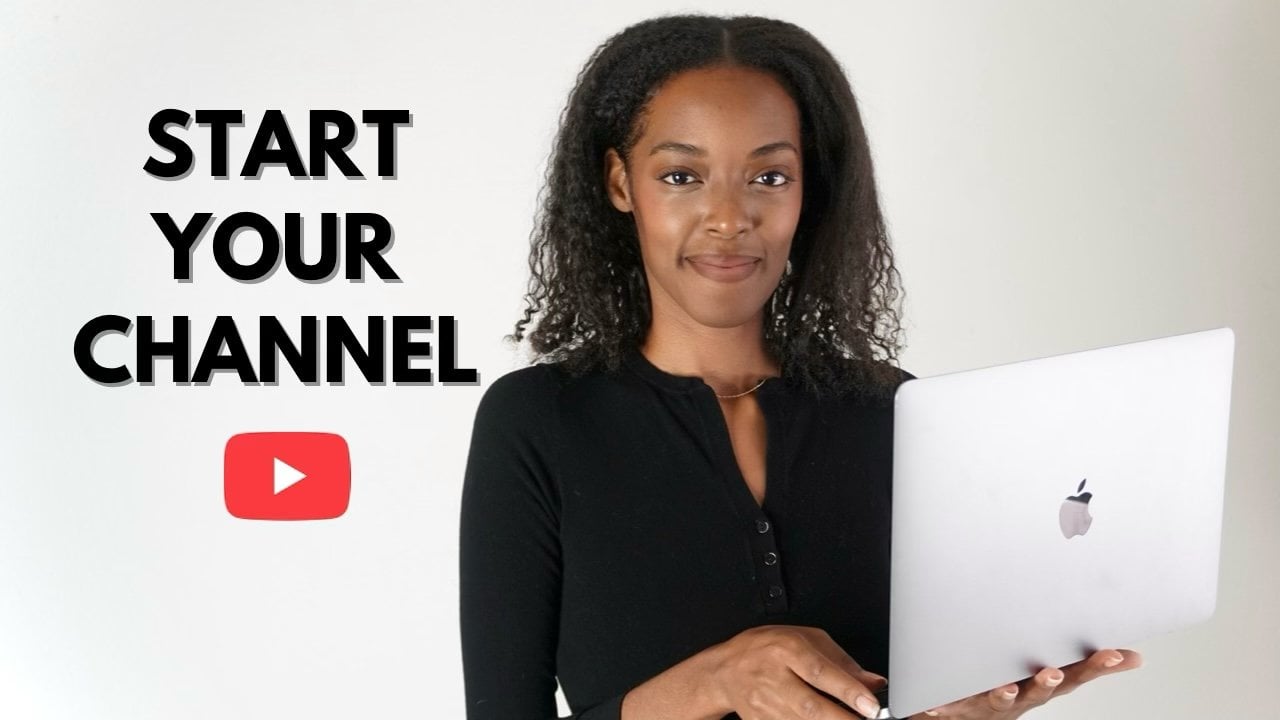
1. Introduction : In this class I'm gonna
be teaching how to edit YouTube videos
in luma fusion. Luma fusion is an
app that helps make video editing easy,
fast, and fun. The skills that you're going to learn in this class is going to help you to create
quality videos, which is going to help
you grow your audience. We're going to cover the
whole video editing process from start to finish. You'll learn how to
start a new project. Import files, color, grade, cut, and arrange footage, add music and B-roll, and how to export
high-quality videos. This class is for anyone who is a beginner in editing or if you are just new to the
luma fusion software when it comes to video editing, there are so many
different cool things that you can do to make
your videos better. And luma fusion
certainly has a lot of features and effects
for you to explore. I'll be teaching the
basic foundations and then you can build on that, developing your own
video editing style as he make more videos. So I hope that you
are ready to create some awesome YouTube videos
using the luma fusion app. Let's go ahead and get
started with this class.
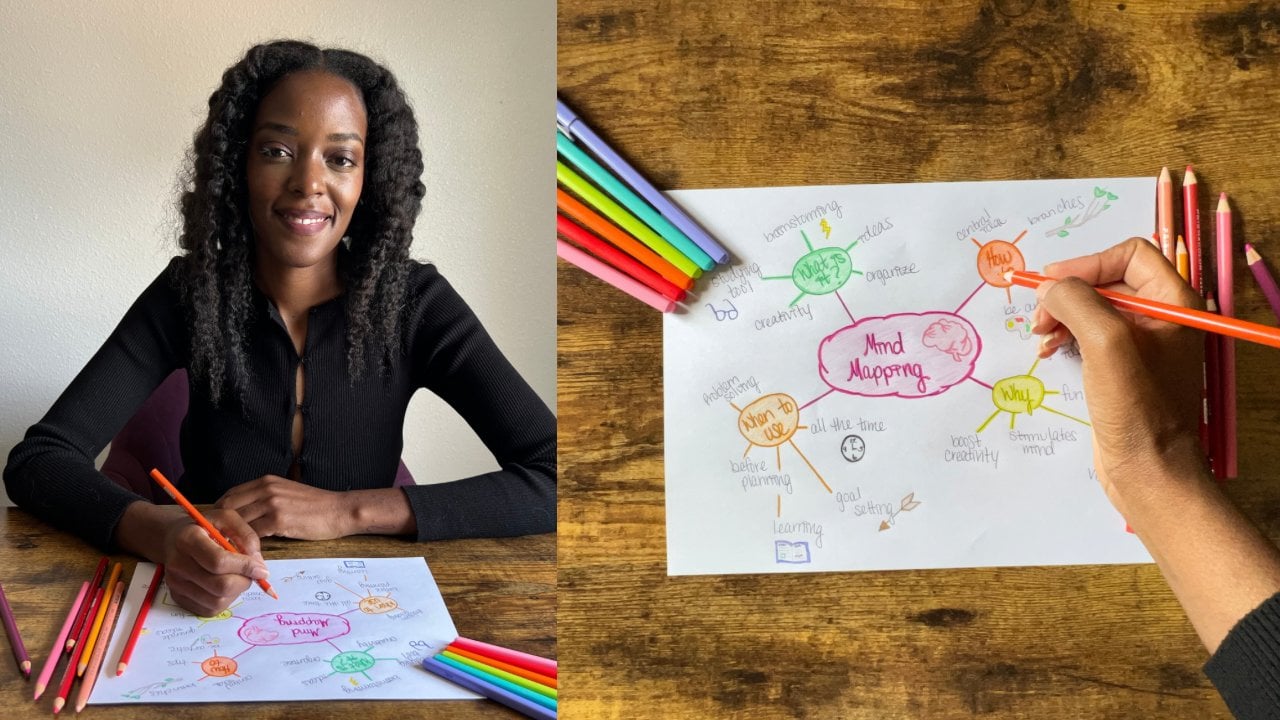
2. Class Project : For the class project, you are going to create your own video using the skills that you
learn in this class, you can make a video about
anything that interests you. If you struggle to come up
with ideas for your video, then think about what kind of videos do you enjoy watching, and then make a video similar to that niche or with that
type of filming style, you can make a talking
head video which is like what you're
watching now is just me talking to a camera or
you can take your camera out and about with you and
make some type of log. The possibilities are endless. There are so many
cool things that you can choose to
make a video about. The thing that I would
say here is don't spend too much time
thinking about what you want your video to be about. The main goal for this
project is to actually get started and finish a video
project to completion, there will be many
opportunities in the future to
create more videos. So just pick something
that you think you might like and stick with it. And I'm going to really
encourage you to participate in our class project because by
actually posting your video, you'll be able to get
feedback from myself and other members of the
Skillshare community. And of course, feedback is always going to help
you to be able to create better videos in the future to complete
the class project, I suggest that you watch this class all the way
through so that you have a good overview and understanding of what
will be required. Then after filming your video, I would recommend watching
the class a second time, following along
as you go through each step in your
video editing process. Once you've completed
your video, go to the Projects
and Resources tab, then click Create project. Here you can give your project
a title and description. Then you can upload
your video or copy the link to your video
from your YouTube channel. So now that you know what you'll be working on in this class, Let's go ahead and open
up limb effusion and get started with
our first lesson.
3. Starting Your Video Project: To get started, I'm
gonna go ahead and open up the luma fusion app. And then you can ignore all
of this information here. This was from a previous project to get started on a new project, you want to go down to this icon here in the bottom left corner. And then you want to
hit the next icon that has a plus symbol in the square, then you can go ahead
and name this project. Before you hit this button
to start the new project, there are a few
other customizable options that you can do here. You can go in and change the frame rate or
the aspect ratio. So if you were trying
to make a tick tock real or Instagram stories, you could change it to
portrait instead of landscape. But I just leave
everything on based on first video clip added
and then I hit this plus, now that I have a
fresh timeline, I'm ready to add in some video
clips to import new files. You're just going to
hit this file folder in the top-left corner. If your videos are already
saved on your iPad or iPhone, you can just hit this
little flower icon here. And that will open up all of the photos and videos that are already saved
on your device. If you had to import those files in from an SD card
from your camera, then you just click on imported, and then you're going to click this circle with the three dots in it and then hit
Import Media iOS. And then you can browse through your folders and find the
video clips that you need. Once you've selected your clip, you can see that it's now
here in the Media tab. If you want to preview this clip to make sure it's the right one, you can just click
it one time and then it will show
up for you here. And you can just
play it to make sure that it is the clip
that you want. If that's the clip
that you want to go ahead and add to your timeline. You can just click
it and drag it over. One really cool thing about
luma fusion is that you can change the way
your layout looks. Right here in the middle
you can see there's a sideways T-shape and you can drag that over to make your
media tab bigger or smaller. You can also change
the layout by clicking these little squares
down here in the bottom, there are lots of
different layouts that you can use once
you're done with this media tab and
you've entered in all of the clips
that you want to add. I just like to make that
go away and just have my playback screen
and my timeline here. And that makes it really
easy for me to edit. And again, you can just use this little line here
and make your playback bigger or smaller as you need throughout your
editing process. Now I have the cliffs added to my timeline and there
may be a few things that I want to change
before I start cutting and moving
my clips around. In the next lesson,
I'll show you how to edit your video clips.
4. Editing Clips: You're gonna have a few options for editing your video clips. And I'm briefly going
to go into each and show you how they
can be useful for you. From here on my timeline, I can double-click on the clip that I'm working on
and it will take me into the next screen where I
can edit each specific clip. And then down at the
bottom you see all of the different things that
I can do with these clips. So we're just going to
start from the left side, which is to frame and fit. This is where you'd go
to frame your project. And you can even test out some of these
different options. You can zoom in or
out of your footage. I'm just going to hit Undo
because I don't need that. There are a lot of cool
things that you can do to change the position
of your frame, to change the size of it. So you can just play around with it and see what you like. The next thing that you can do to edit your clips is you can change the speed of your clip. So obviously you can make it faster or you can
make it slower. I also like to hit the Audio tab and play through my
clips and just make sure that it's not too loud or too soft before I
start cutting up these clips is just a lot easier if I fix the audio right here. And you can do that by going
up or down on the gain. And you'll see this
line goes up and down with the volume. This is also the same place
where you would come to edit the volume on the background
music of your videos. These edits are pretty
straightforward, but the next tab, color grading, is a
bit more conflicts. So meet me in the next
lesson to see how I changed the colors of my clips
to make them look better.
5. Color Grading: In color grading gets
its own lesson and probably deserves its own
class because there's so many things that you can
do to change the colors of your clips to give your
videos a different mood. Some editors like
to do this step at the very end of their
video editing process. But for me I find it
easier if I do it in the beginning before I start cutting and moving
my clips around, let me just say that
I love color grading because it instantly makes
my videos look better. So don't skip out on this step, even if it seems a little
difficult at first, I promise you'll
get the hang of it. Color grading is going
to be very simple. And luma fusion, all
you need to do is go back into the clip. Then you want to hit
the star icon with the rectangles around it
for color and effects. To begin your color grading, there are gonna be a lot of other presets that
you can use here. However, I just
recommend going with the original and then
editing it from there. When it comes to color grading, you just want to start
playing around with different things and
figuring out what type of edits look best with your aesthetic and with the way that you want your videos to look. The main thing I'd say about color grading is
that less is more. I just like to make
subtle changes that will improve the
quality of my image. I like to make my video clips look a little bit more soft. So that's why I usually
turn down the contrast. But I also like a lot
of color saturation. I love shadows in my
images and I like to have an overall feeling of warmth and like a calm chill kind of vibe. So just take your time and keep practicing
with color grading. Eventually you'll
develop your own style. Now that my clips have been
edited in color graded, I'm ready to start
cutting in arranging those clips to make my
video more engaging. If you are ready to cut out all those unwanted parts and arrange your video
in an engaging way. Then I will see you
in the next lesson.
6. Cutting, Moving and Deleting Clips: Another, the clips have been
edited and color graded. It's time to start
cutting the footage. And this is where I take out all the boring parts
and any mistakes. And you definitely want to
make sure that you cut out all the ums because
it makes it more difficult for your
viewer to follow along if you have a bunch
of non-words in your video, keep in mind that on YouTube people have a very
short attention span. So as you're editing your video, if you come across a part
that seems boring to you, then it's probably going
to be boring to others. Make sure that you delete
it out of your video. This part may be a
little bit tedious, but it's also very, very simple. Let me show you how I do that. When you go to your timeline, you'll see this
blue bar that has your audio and video combined. If you want to separate the
sound from your video clip, all you have to do is click
on the timeline and hit this button down here that
has the little sound waves. And that's going to separate
the audio from the video. That way you can
cut out parts of the audio would leave parts
of the video or vice versa. I like to do this process with my audio and video
combined on the timeline. So I'm just going
to hit undo one of the biggest tips for
cutting down all of those unwanted parts
out of your video is to edit to the sound waves. You can clearly see
there are places where there's no talking here. And I know for sure
that I'm gonna have to cut out that part
of the video by editing to the sound
waves is going to help make your editing
go a lot faster. Let me show you what
I mean by that. The one I'm ready
to cut something, all I do is literally
makes sure that the blue line here is
where I want it to be. And then I hit the
scissors and it cuts the part that
I want to cut. I just have a really long pause that needs to come
out of the video. And I can just until by the sound waves when I
start talking again, I can move my cursor over here
to where I want it to be. Hit the cut again. And now I have a chunk of
video that I can delete. There are two ways that
I know of that you can delete a clip. You can either click on the clip and flick
it out of the video. And that is a really quick
way to get rid of it. Or you can just hit the
Trash button and try to always remember that if you accidentally delete something
that you didn't mean to, you just always can
hit the Undo button. And there it is again, let's say I have a
clip at the end of my timeline that I would like to move to the front
of the timeline. One thing that I can
do is just click on the clip that I
want to move and hit this little plus
icon here that'll make a duplicate of this clip. And then I can hold this
with my other hand. I can drag it over to the front. And if I want this to be a part of the beginning of the
timeline right here, I can drag it and drop it. When I see that
little yellow cursor, I could also move it
and just keep it on top of another clip by just
placing it right over this. You can either move
your clips into the timeline when you see this
little yellow Kurt cursor, or you can move it on top of your original timeline
to make it like B-roll. And I'll talk more about B-Roll later on in one of
the next lessons. So this is the part of editing
that takes me the longest. So I'm going to finish cutting
and arranging these clips. And then I will see you in the next lesson where
I'll be showing you how to add text
to your videos.
7. Adding Text: So text is super simple
to add to your video. All you're gonna need to do
is to drag your cursor to wherever you want the text
to be in your timeline. And then you're gonna come down to the bottom and hit this plus symbol with the
circle around it. And you're gonna hit
Overlay title here. You can drag your
title out to be as long or as short
as you want it to be. And to edit the text, you just double-click it, change it to what
you wanted to say. Then I can change the
font to whatever I want. I can also change the
size and the color. I can also move it
around anywhere. I want. Another cool thing that you
can do with luma fusion is that you can add a
shape behind your text. You just hit this plus
symbol right here. And then you click on shape. I can drag it down. Change the position
to go backward. And we're going to need to
change the face color of that. Now you have text over
your video clips. But what about adding video
over your video clips? In the next lesson,
I'll show you how to add B-roll to your videos.
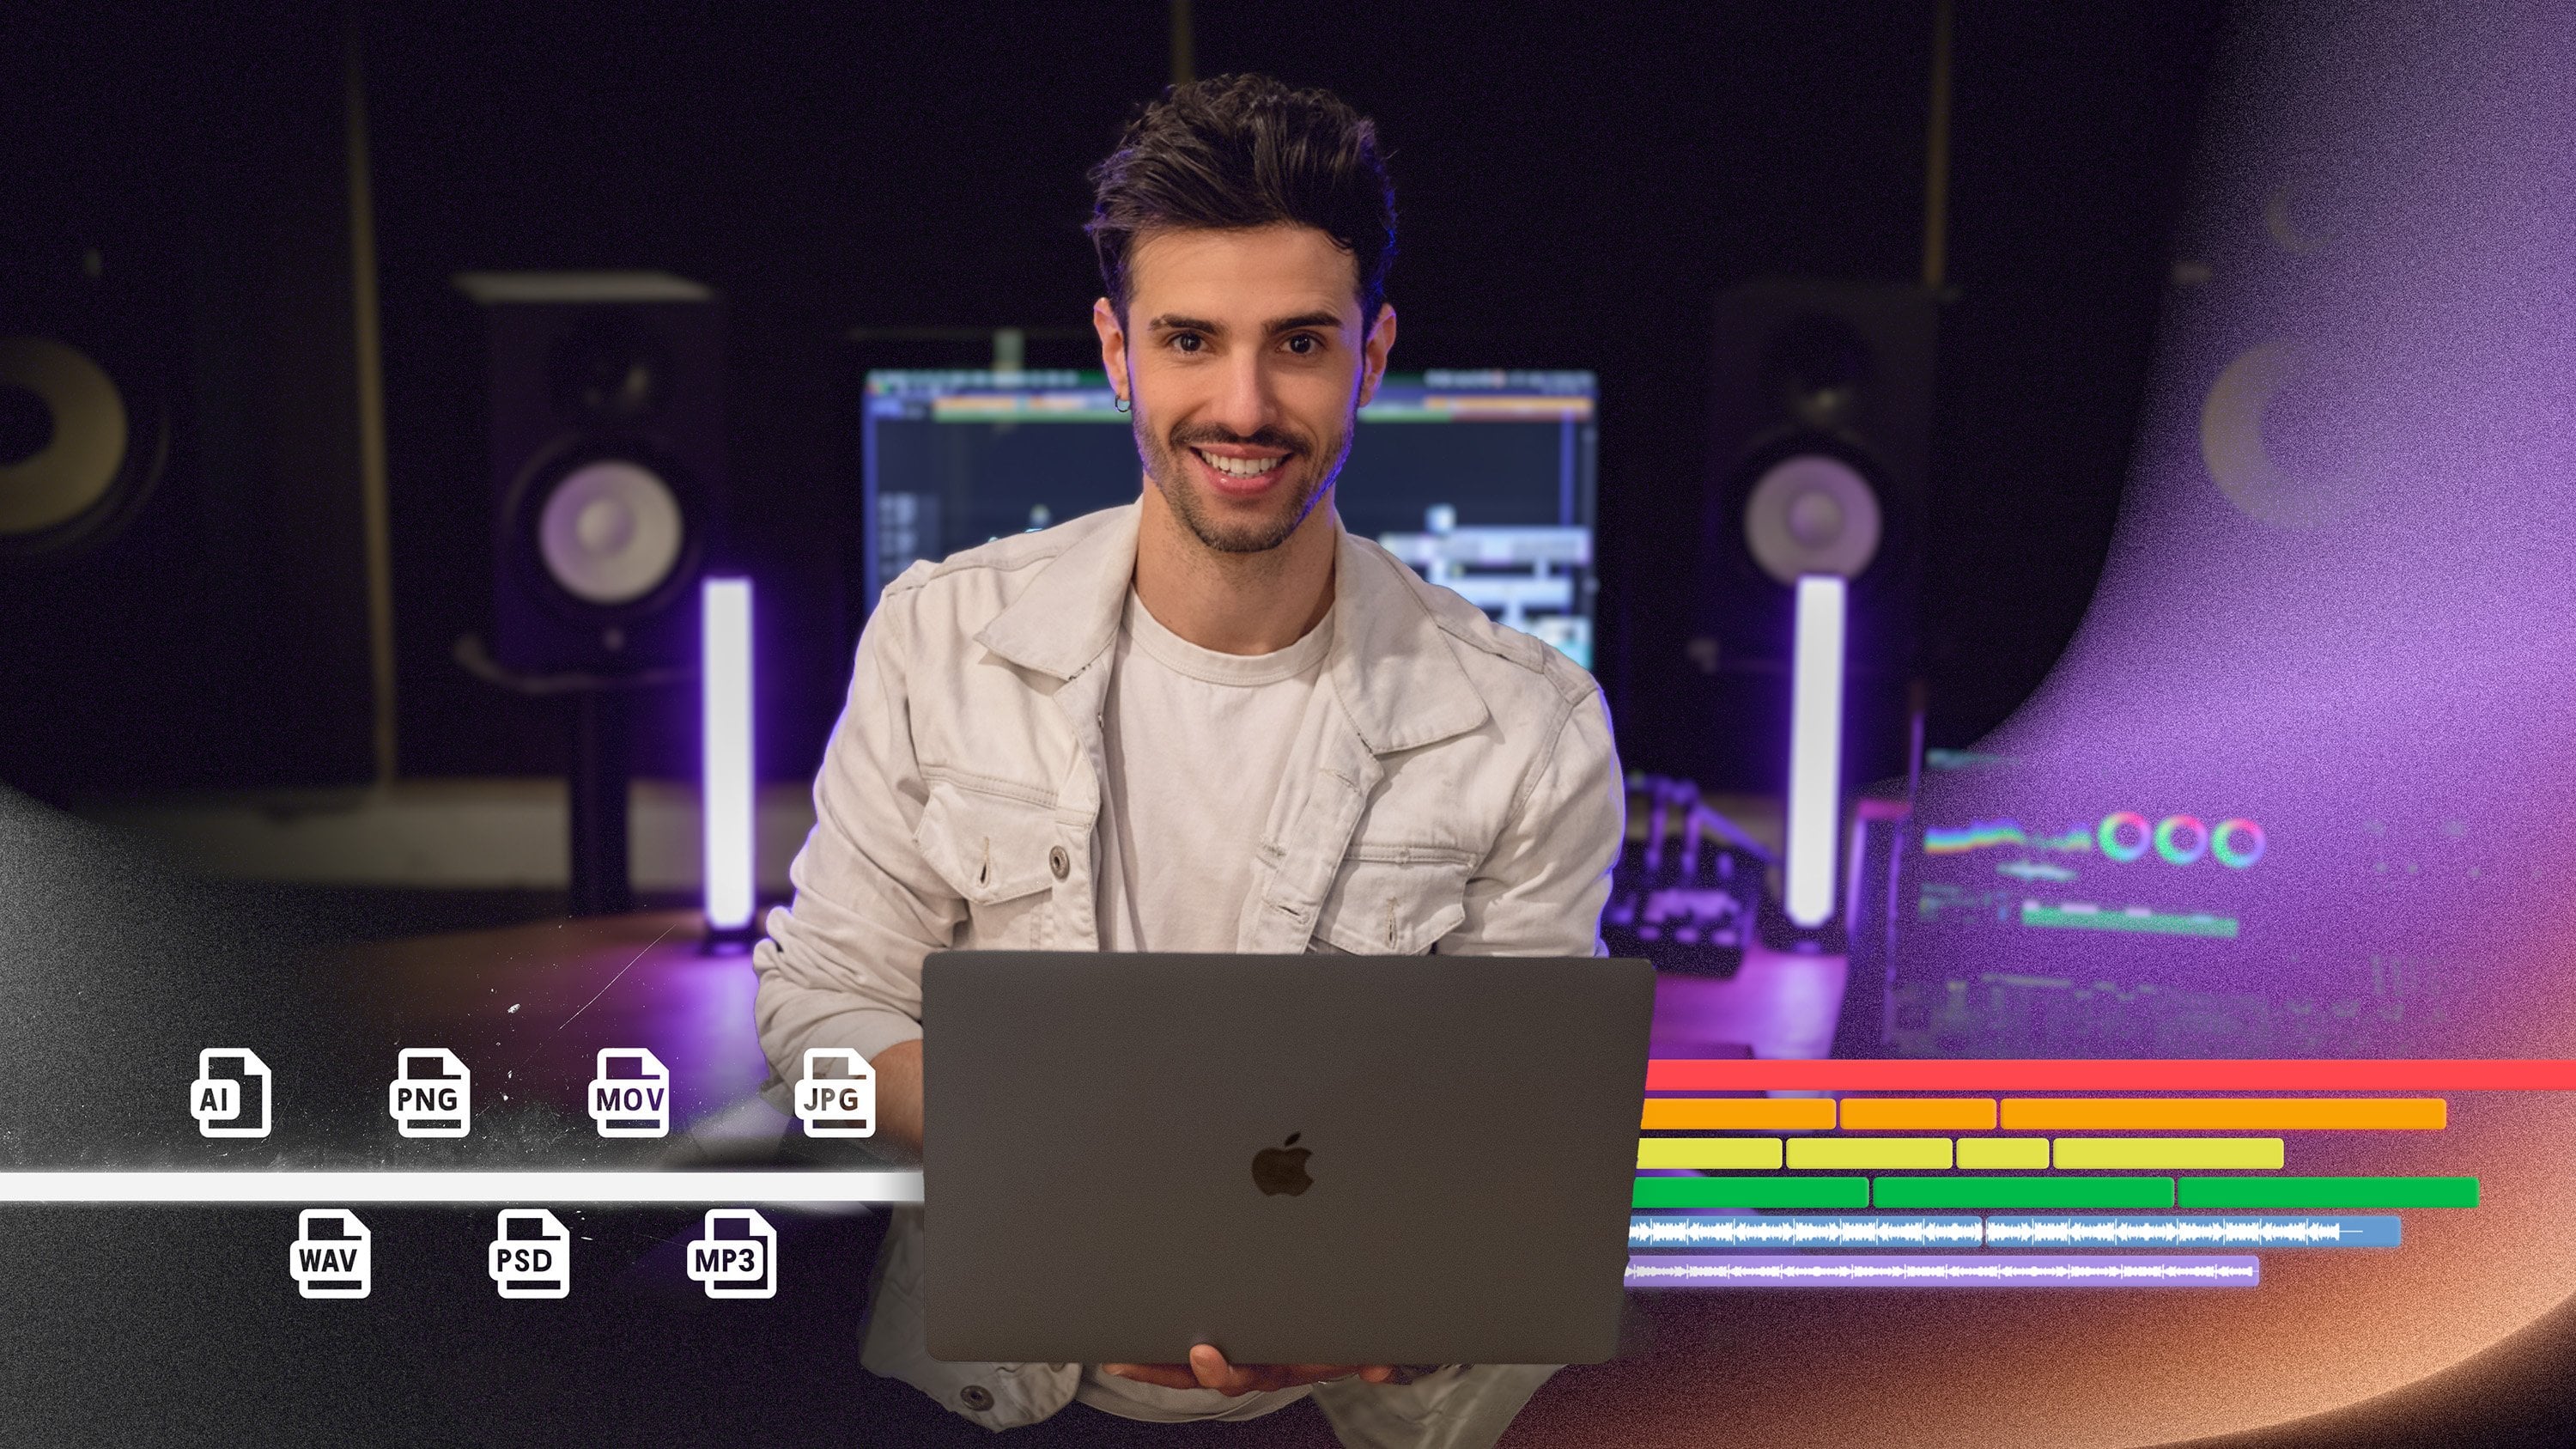
8. Adding B-roll: B-roll is a secondary
footage that you can use to make your video
more interesting. It helps you to
explain your ideas better and tell better stories. It really helps to
keep your audience more engaged in your video, which is going to help you
have a better watch time, which is what we
are all seeking. If you are a video
creator for videos, just keep in mind that it's
always better for the viewer If you are showing them the
process versus telling them. To add B-roll, I'm gonna need to add in some more video clips. And so to do that,
I'm just going to go back to where I can
see the Media tab. I'm going to go
through it and try to find a clip that I
would like to add in, then you can just add that clip to the end of your timeline, collect the parts that you want, and then make sure you delete the extra parts that
you don't want. And then I'm just
going to take the clip that I want it to move and I'll drag it over to where
I want it in the file. Now that the video
is almost done, I can finally have
some fun with it by adding music
and sound effects. So if you're ready to add
some music to your video, I will see you in
the next lesson.
9. Adding Music : I'm always excited when I get to this step and maybe
it's because I know that I'm almost done with my
video music and sound just really adds the final finishing touches to your video. And I like to find
music that matches my personal vibe along with
the mood of the video, music is like B-roll in the
sense that by adding it, it can help with your
audience retention music and also drastically changed
the field of video. Once you have your music and
sound effects downloaded, then you can import them
into your media tab. Music and sound
effects is definitely going to make your
video a lot better once I've finished adding
all of my music and doing those last final
touches of editing, I'm finally ready to export my video to see how I export my videos in
the highest quality, then meet me in the next lesson.
10. Exporting : By now, I've probably watched this video a dozen times and I'm sure that I ready to export it and I'm
finished with editing. So let me show you
how I do this. You want to hit this icon
here with the arrow. And then you're
going to hit movie. I like to save my videos
onto the actual device. So I'm gonna hit photos. This is where you're
gonna be able to change the quality of the file
that you are exporting. The first thing
that I always look at is the video quality. The highest that you
can do is ultra. I've made videos using the standard quality and
it was still very good. You can also change
the audio quality. Again, the highest quality is going to be down here at 48. I always make sure that
the file format is MP4, if it is for a YouTube video. And this codec, H.264 is the one that I
always use as well. Keep that in mind when you are exporting the highest quality, it is going to take up
more space on your device. So it's always best to export in the highest
quality possible, but it's okay if you need to adjust once you have the settings the way
you want them to be, then you just hit this arrow
here and it's going to start writing your movie
or rendering ear video. And once it has finished, your video will be ready to
be published on YouTube.
11. Wrap-up: Now that you have the
tools for editing your YouTube videos
and luma fusion, I have a few other remarks. I want to take this time to encourage you to get
started with creating your own video project because self-discovery and other
abundant opportunities may exist on the other side of you creating content and
posting it on YouTube. And if you enjoyed the process, then keep making videos
until it gets easy. And eventually you
will learn how to make the videos that you like. Video editing is a very
powerful skill to have, whether you are making vlogs or any other type
of YouTube content. There's so many
types of creators in different types of content
that you can make. And I know that the
world can benefit from seeing what you create. And that's all the more
reason to keep learning about video editing and learning
how to make better videos. I hope that that inspires
you to get started. I can't wait to see
your project and I will see you in
the next class. Thank you guys so
much for watching.
 Terran Dailey, Content Creator