Transcripts
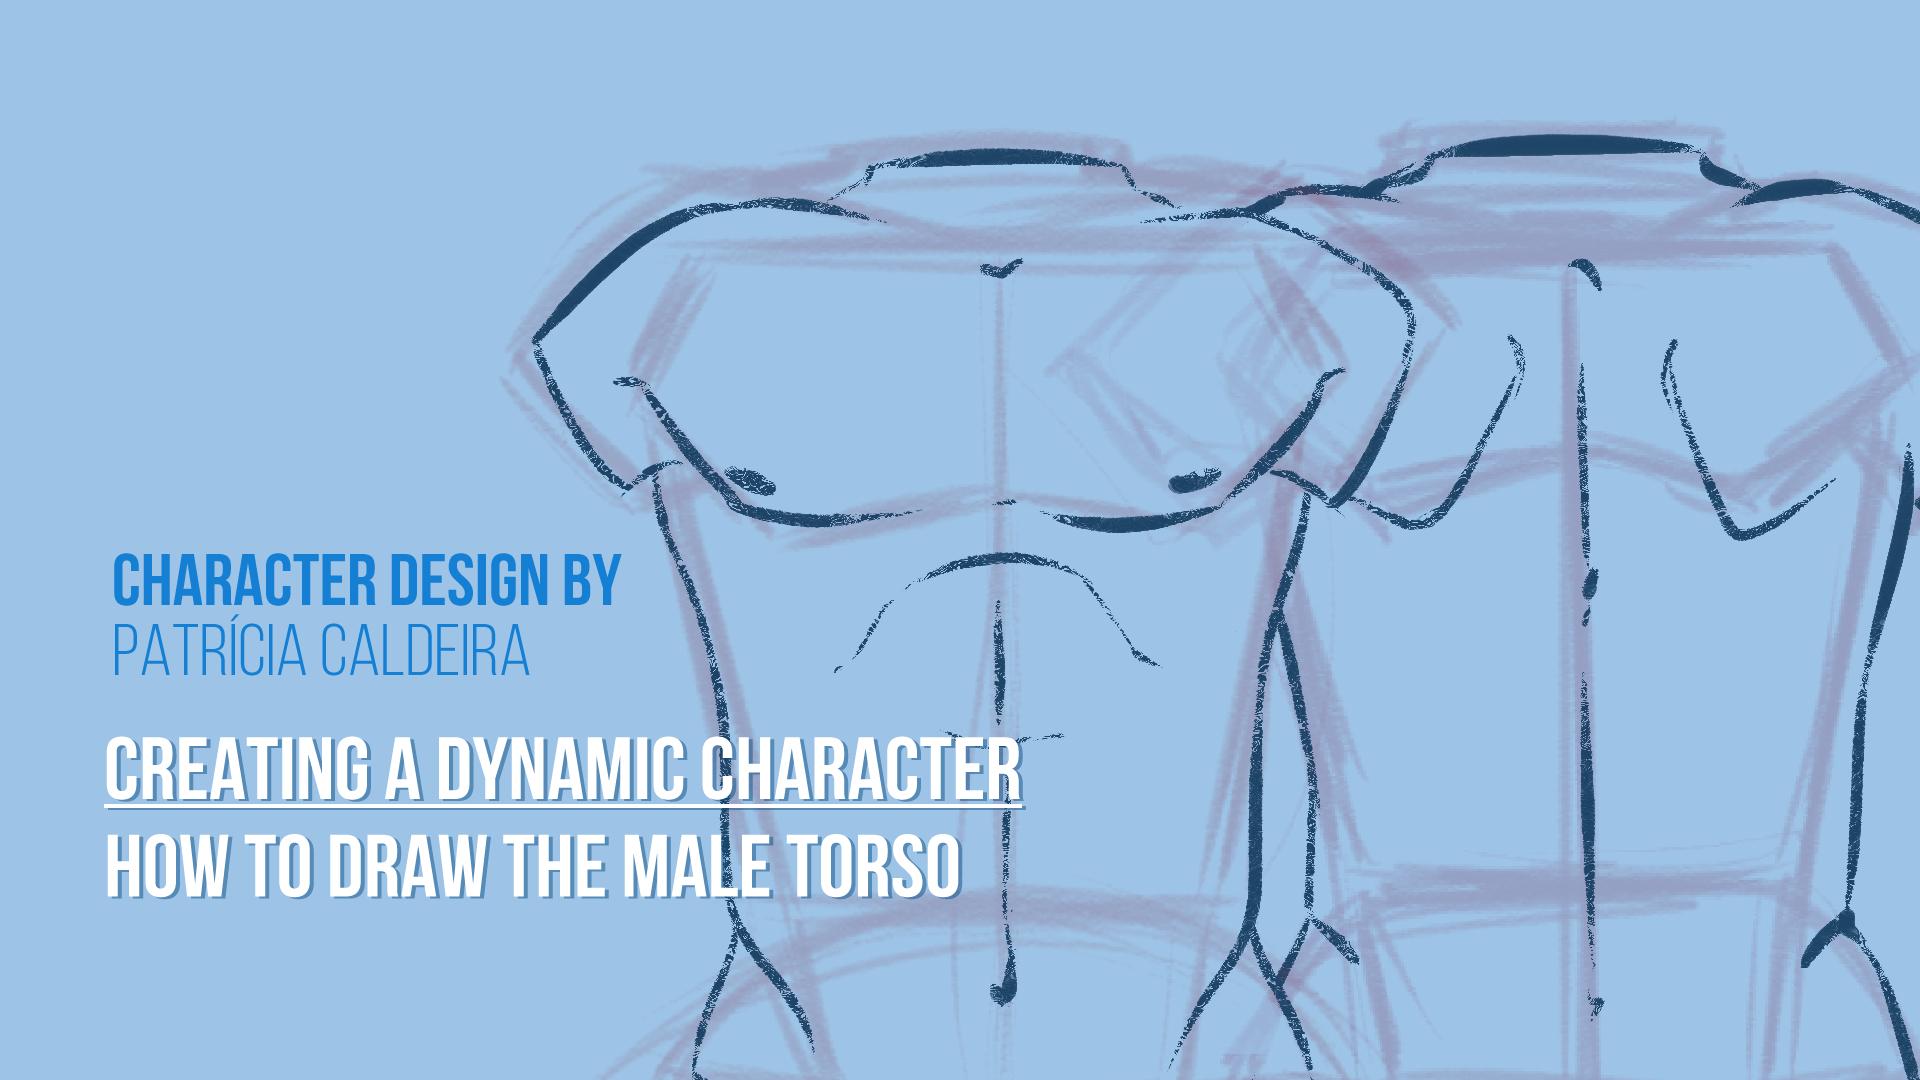
1. Introduction: Hello and welcome to the class here. I'm going to teach you how to draw a very important part of human anatomy. We're going to draw the social. This is a very important subject for any artist system. Torso is the core off the body, so it helps to judge the balance off your character for discuss. You only means a pencil and a piece of paper or sketchbook. Or, if you prefer to do this digitally, the drawing tablets and software of your show. It's like photo shop game mongoose to do whatever you like. I'll take you step by step in, drawing the torso in different position so that she can. You can draw your torso in any position you want. I'll also include an assignment at the end so that you can practice right away what you've learned and shared with us. I can't wait to see it and are you ready to begin? Let's get started
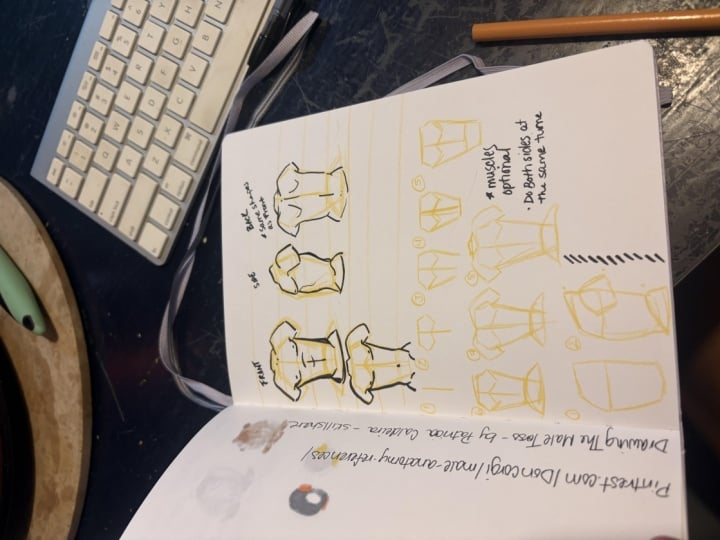
2. Course Overview and Something For You: Welcome to the class. I'm very happy to have you here. And I hope you learn a lot with me. If you have any questions, feel free to post its in the discussions below. And I'll forget to do your assignments at the end and posted in the projects section. I'm always happy to see your drawings. And I love them. So, uh, very quickly, I'm going to break down what you're going to do in this class. So we're going to start trying out or so in front of you. And if you watched my other glasses, you know that I always start with sketch lines and then we clean everything up with final lines and finally Regala it. So we're going to do this in process here. Then we're also going to draw orders on this site and back position so you can have a good turnaround off the torso, and it's mainly it Now, before we begin, I just want to give you some reference images. So I have this pain tree sport that I've made for you that you can use to practice your drawings. So do uses images for reference. That's what they're here for, for you to learn and improve your drawings. So now let's get to the drawing parts. Let's begin
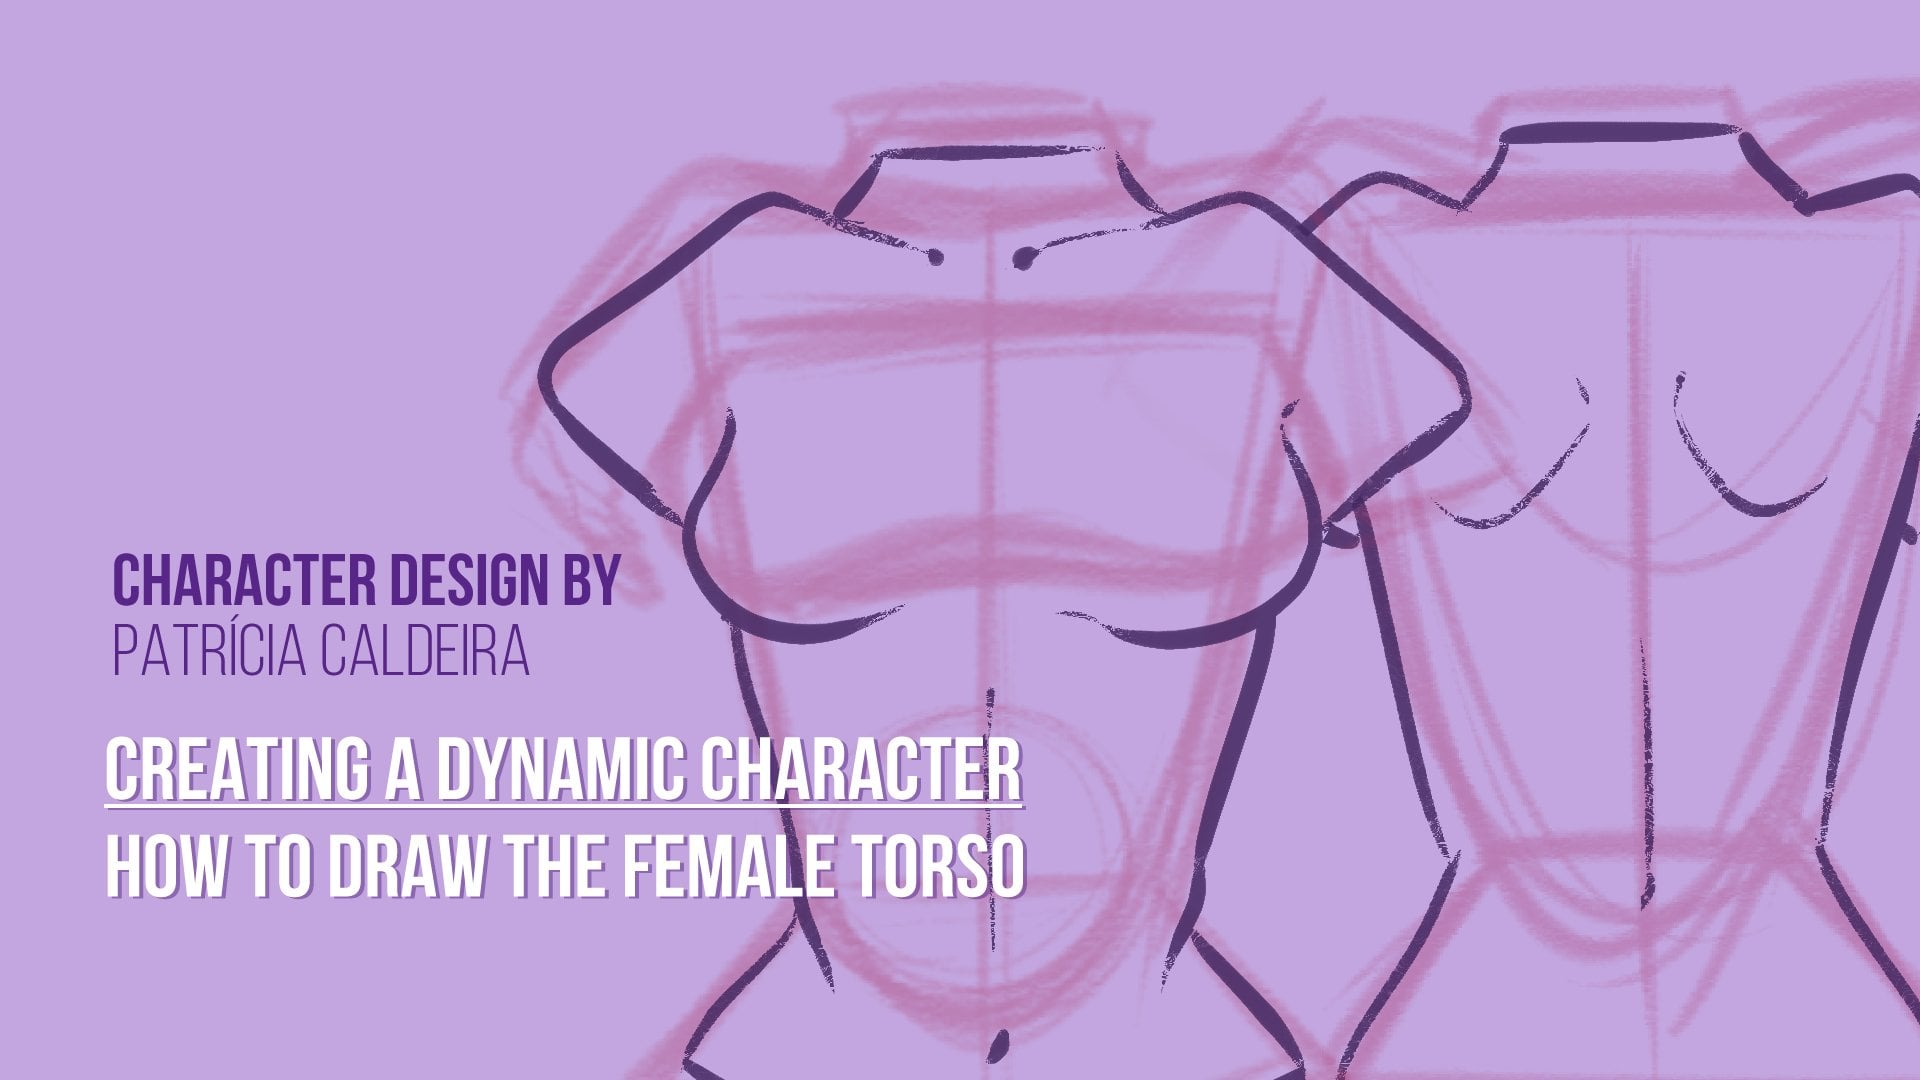
3. Male Torso Anatomy Front View!: Hello and welcome. So after all this talk, we're going to start drawing or totals. We're going to start with the male torso, and we're going to be doing a front view, side view and then the back view. So we're going to start with a front for you here. I have some guidelines here to help us know where everything is going to be, and we're going to start with our shapes as always. So let's start first of all, with the line going down a vertical line, try to make it a straight. It's possible rip. It is a many times, as you needs market that school. Remember, if you're doing this digitally, you can also, You can always just press shift when doing your line, and you can control where the other point is going to be. But I think it's a good practice, for if you do it manually, we have here our lines. So now we're going to make a shape like this symmetrical. It's possible, but this is just shapes. Don't worry too much about it, so okay, this is the breast area, and then we're going to have a shape going down like this try toe always do, like both both sides is at the same time. So you can have things pretty balanced and more or less symmetrical. Okay. And now another smaller shape here. So this is that the rest a bit off are off the wastes, and this is the belly area or abdominal area. And to help you, you can make an arch here, so we know where our where the waste is going to be. We are mostly done. So the only thing we're missing is we can make some bits off shoulder here and a bit off the neck. Just so the art or so isn't just hanging here in the middle, just loosely in your documents. So from here we have our bit of shoulder, and now the other side, the same, a little bit off the neck. So there you go. We can already see. We already have some visuals off. How or torso is going to look like. And you can already see that when drawing the melt. Or so. It is a lot about the straight lines, and everything has the same weight and the same palace, and you're going to see that when drawing a female body, there's going to be some contrast. It's going to be very different now that we have our shapes done. We can go and start doing our sketch or of sketch before going for or final lines. I usually start here, so focus on doing straight lines. We are now going to build up our store so and our details. But once again, you don't need to worry a lot about your minds who was just doing a sketcher of sketch even if he wants. You don't need to make final lines. If you're just practicing, you can just you can just leave it as a sketch. So run. Here we have this bit of a curved line where some off the muscles are going to be in. We can see them a bit. Just some details that you can adds. You don't need to make it very complex. I tend to simplify a lot with this kind of details here And of course, here, around here we have or belly button. So we have somebody does. We can come back to them later. Let's now just toe the rest of our torso here, so it comes from here, so it comes from behind our arms and we have a bit off some curves here, not a lot, and not has noticeable as when we're doing a women's body. But we still have some. And of course, this is all according to what kind of body you want to draw or what is your style. Because this is not a strict role. You could make it a scurvy as you want and or is bulky and straight. It's all upto what kind of character you want to do. So when you come up here around the line where we see are all waste, we have a curve going inside our body. Here it's that line that men have at her waist. And then from there we have the waste here. This is one of my favorite parts parts to draw in the member real like this. This part here I think it's very beautiful. So there we go. We have here are sketch four on my body. So now all you're missing is our final lines and some color and some shadows. So I'm going to make here and you layer for my final lines. I'm going to pick up my brush, and I'm going to start drawing my final lines so I usually start with this area here. But feel free to start wherever you feel more comfortable, or you feel that makes more sense to you and just go with it. It's mostly just going over the purpose lines. Sometimes you can change some some of your lines that you did before. You can change some things that you don't feel were good enough. Just remember, try to do both sides at the same time, so jump from one side to the other, just so that everything looks more or less symmetrical. It's easier that way than doing one side and then the other. So just like I'm doing. And as always, this is a process that has a lot off repeating movements and beating lines. That's fine. Just relax with its and have fun. So it's all about straight lines, so try to to make continuous lines. Don't be afraid. So as you can see, I still draw my melt or so kind of curry going to the curve aside. So don't be afraid off experimenting and try different types off bodies. It's a fun exercise and it's something riel. And even if it's not, it's a drawing. You you have freedom to do what you want. So practice these drawings. Practice your tour. So So here we go. Now all you're missing is having some color to reads. If you want to. Of course. If not, you can just continue practicing your lines, your male torso. But coloring can be fun. And it's something that I think you should try as well. So yet our skin color here pick any that you would like. And now we can just add here some bits of shadows, and then we can go and toe the side view for our male torso. You don't need to do a lot here, just some shadows. There's no need toe complicated right now. So there we go. We are done with our front. Reworks a male torso and next we're going to draw out or so in the sides. You
4. Drawing the Torso from the Side: All right. So welcome back. We are now going for the second part off our mile torso. We're going to draw Milt Larsen a side view. It starts as always, read or shapes. And we're going to start with something like this. And now another shape going down and now, finally, almost like a mountain shape here. I know off course. Here. Our shoulder. We're not going to focus on this lot. This is just as a point of reference. So I'm just going to make this a little bit bigger, so you can seem better and same lines as the rest. And now we can make our sketch lines. So we have your shoulder and the neck and not here. Oh, shifts. No epic upside right here. Front side, weeds, some bits off curves here. So we have a notion off muscles here, So there isn't needs toe exaggerate a lot that it's still here a little bit. And also here we can see some fallen for the belly button. And now we can just add some some details like we did before. This lines here. Not a lot. Just a little bit if you like, or if you prefer, you can add some more details and very, very mosque, Elated or so, but I like to keep it simple. Unless I really want to make a strong character like a superhero. So it's totally up to you. You can try to explore that a bit more. Now we're going to go for our final lines, and now you can take is much time issue needs. Try not to worry too much about your lines. Just go slowly and not in the race. Take a much time as your needs until you're happy with your lines. You see me repeating my lines a lot, and I've been doing this for a lot of time, so just continue and don't get frustrated with with it. This is all part off the trades. Just be patient and above all else, have fun. So now yes, we're going toe. Adhere our color. I'm going to pick the same tone we use before using my bankbook goods and then just filling in the rests and then some shadows. Like we dudes, there's not needs to exaggerate just some bits of shadows here in there. There we go. I am done with it so next we're going to go over the backside, just going to be very similar to the front side, but with a little less details. But the shapes are mostly the same.
5. Drawing the Back of the Torso: All right, so let's go for the less parts of our melt or so. So now we're going to draw the back of our male torso. So once again, I'm going to pick up here my usual pencil brush. Feel free to explore a display. This part here, the materials that you have, either if you're doing this traditional way or digitally, there's always a lot of materials you can explore and try, and you never know when you're going to find something that you prefer to work with. For a long time, I did use just a regular pen brush for my sketches until I noticed that I actually prefer this bestial textured brush that it's pretty similar to really life pencil. I usually do my sketches, we the red pencil. So I ended up doing the same in here. So to try your tools and different ones, see whatever you prefer, you never know when you're going to find another thing that you like to use better, so we're going to use. As I said before, we're going to use more or less the same shapes we did. We the front view so online, going all the way down on top of it and horizontal line. And then here, dis chest Terry. Although we don't really have a share, Syria or we don't see the schist area. Um, the shape is still quite useful here, so I prefer to draw it the same way in this few. And when I'm when I go to the sketch, it's going to look a bit different. So we're doing. As you can see, these are the same shapes we did before. So you already know how to do this. Don't worry. If your lines are very messy right now, it's fine. This is just the shapes. This is just, ah, a guideline for you to know where everything is positioned so that now we can go and make a rough sketch and we are not as lost as before. So let's see, Then I'm going to start here. So right now we're going toe. Ignore this shape because we don't have it in here. You're not going to draw the signs. Although this lands, you are going to be quite useful for us to draw the blades off our shoulders. But right now we're going to go over here first. Some very faint curves here, but in general everything is very squares and straight. So there we go. We have already half of a job done here. So now we can just come over here and to this lines that are also a point of reference here in this case now, already missing is our details. So here we're going to have some FinePix off the marks here nearby where are but begins. And now we can make not a complete line for our spine. And finally, I quit talks about the blades so very simple. We don't need to make them going out a lot right now. We can see them a lot, but in the final lines, they're probably going to be less visible off course. Once again, this really depends how muscular you want your character to look like. So I'm doing things pretty natural here, and you can exaggerate as much as you want now for our final lines. Now we just need to go over them. It's just the repeating game. Just go over the previous lines, making things a bit cleaner, change anything you feel that should change in your drawing so us again. I'm not worrying in lots about this shoulder part here and arms because this is really secondary here. I don't forget if you want to keep things pretty symmetrical results using a copy based method to try to do both sides at the same times, like at the same time like I'm doing here. It's easier to make things similar because my hand has already made a movement a few seconds ago. And if we do just one side and then to the the other, it's a bit more difficult to think to keep things similar and symmetrical. Okay, so and then here in my lines and now we're going to call them. So, as always I use I went book it Now I'm filling up the space is and we never undone just at some shadows. So let's see here once again that skip this very simple and we are done. We have here tree views of our male torso
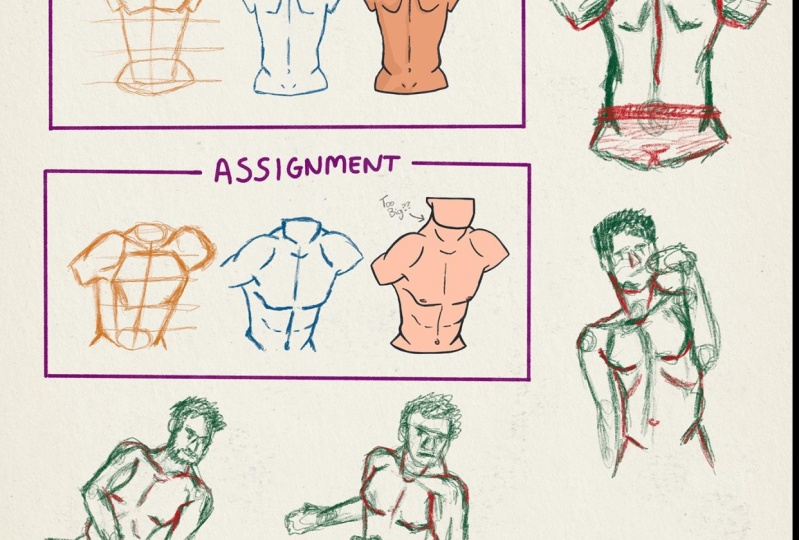
6. Time to Practice!: All right. So let's get on with the assignment. This will be helpful to you so that you can grab what you learn and use the rial life example To improve your drawing skills. I'm giving you these referenced images for you to use. Simply grab one off them and draw it. Use everything that we learned, starting with the base shape, sketching it out and then cleaning up the lines and coloring. I think as long as you need, there's no timer here. Once you're done posted up. I was shaking it out as soon as possible. I can't wait to see your drawings. Now go do it.
7. Conclusion (for Now!): Hello again and thank you for taking this class. I hope you've learned a lot about drawing to the and that this has been helpful for you. If there's something you think I could do to make this class better to let me know And if it like, leave a review, it really means the world to me. And I'm always looking for feedback. All right, that's about it. Thanks again for watching. And if you haven't And you're interesting drying other parts of the human body animals and other things to shake my other classes, and I'll see you soon.
 Patricia Caldeira, Illustrator | Digital Artist | Designer