Transcripts
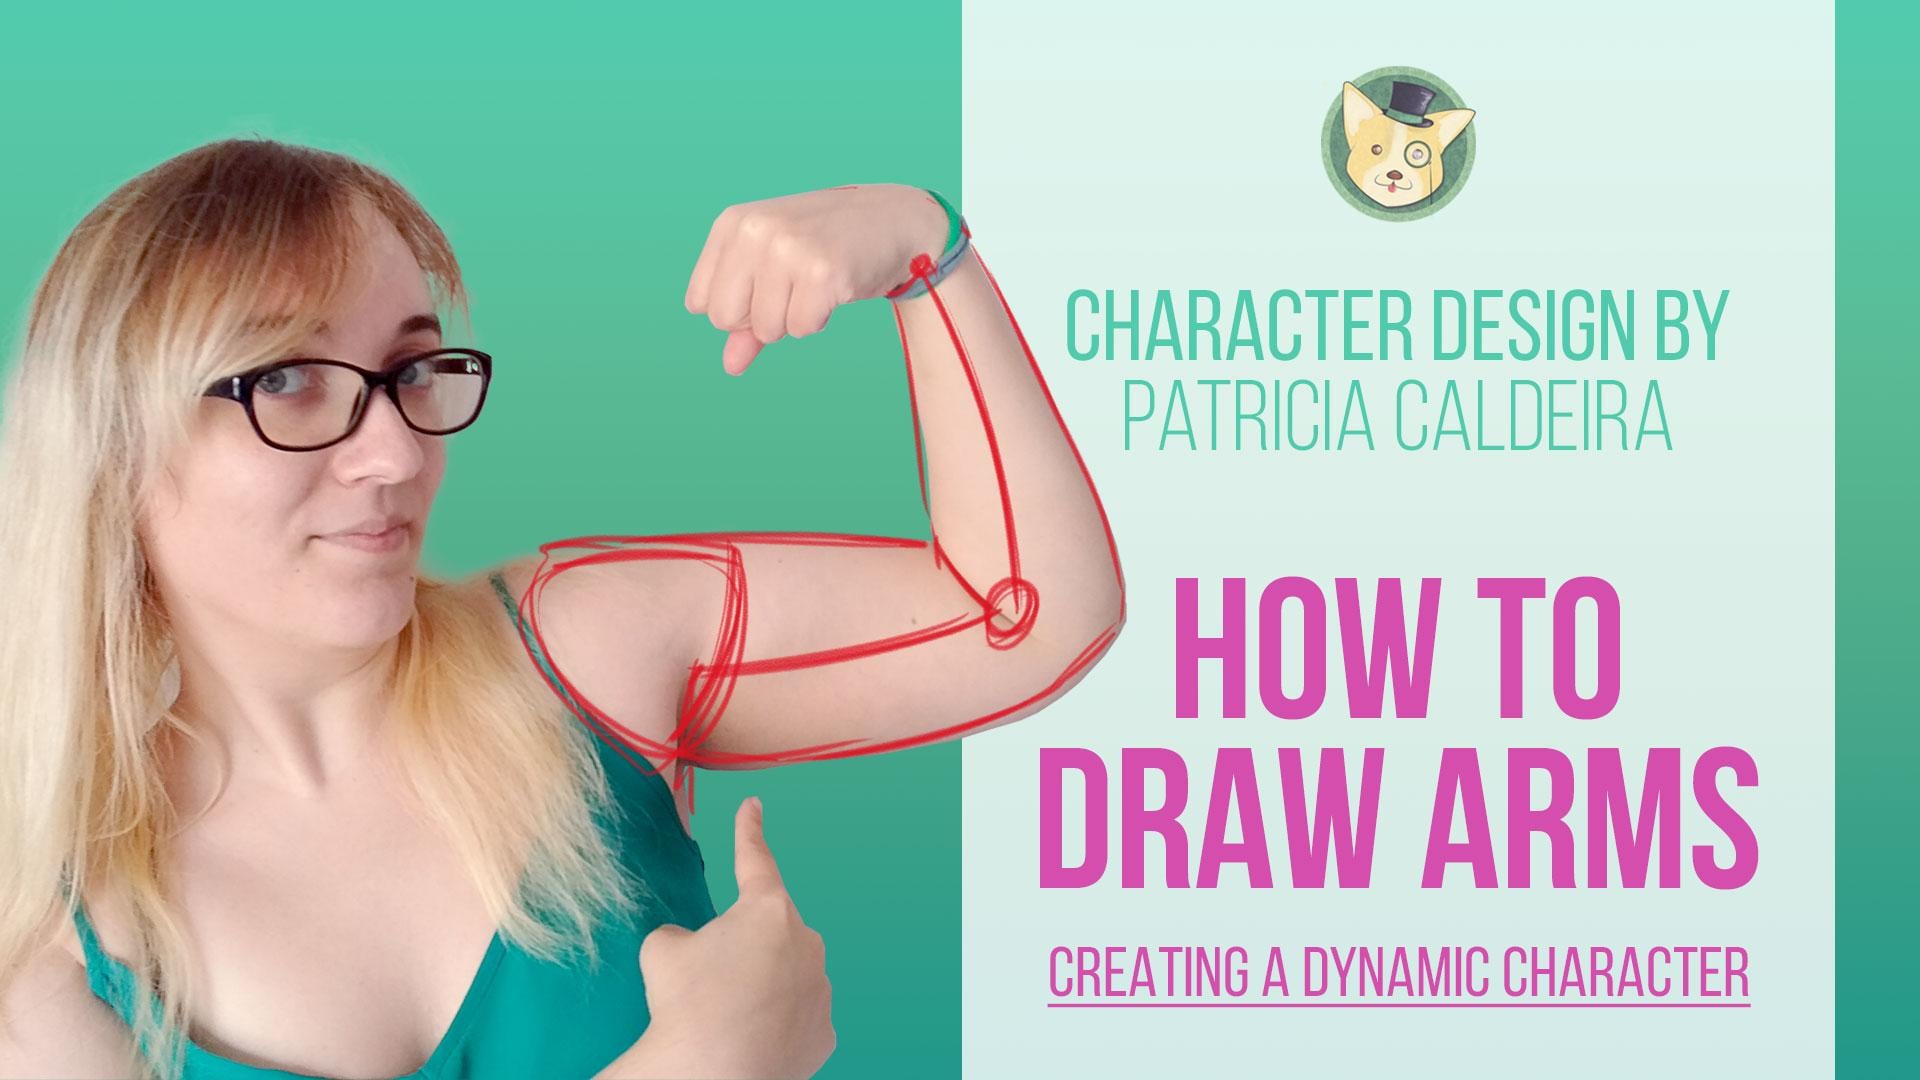
1. Introduction: Hello and welcome. My name is statistical that and to then disc less. I will teach you how to draw arms step by step. And in a very simple way. The arms are very important, especially when you're drawing poses and they can make all the movement and dynamic on your drawings and in your characters. So let's see what we'll be doing here. And what's we need for disc lass. For this class, you'll need a pencil and a piece of paper. Or, if you prefer to do it digitally, you can use a drawing softer off your choice, like for the shop creature or Munger Studio, along with a drawing tablet. First off, I'm just going to give you some resource is so you can use for your own practices. After that, we're going to talk a bit about male and female arms and their differences all the simple and with some examples to help you understand and visualize everything better. Then we arrived to the actual drying part. We learn how to draw male and female arms into positions extended and flexing again. We'll be doing all of these, which for two references, and you can practice with me as you watch the videos at the end, You also have on assignments so you can put everything toe practice right away. And, as always, feel free to share your work with us in the project section. Well, are you ready to begin? Let's get started.
2. Helpful Resources and References: hello and welcome. And before we start, I just want to show you some resource is and give you some image references for you to use in your own practices both for arms, but also the whole body, the whole anatomy if you want to. And the first place is, as always, Pinterest. I have quite some boards for you that you can go and use for your own drawings. For when you're sketching. Are you doing studies? So I have here one off male anatomy references. That isn't anything there specifically for arms. But there's a lot of things, for example, this one here that you can use to study arms and to draw the arm so you can come up over here, this one as well. You can safety image, or you can look right here for from Pinterest. You open the image and you troll while you looking at it are you can save the image, and if you prefer to Onley, draw arms or a specific part of the poly, you can always open it in some software that you have selected arm and erase everything else. This way, there's nothing in the way to distract you and you can on Lee draw your arms. So I have the male anatomy board, and there's also a female anatomy board something here. You can use any of this for your own drawings for you to practice, and once again, you can use for the hopefuls or just for arms. There are some pictures that you can see very clearly the arm, and it's really good for that as well, So to come, to pay interests, you can come to the sports that I have made for you and use them for your practice. Others and this I discovered dues. You took channel, which is mostly for animation, but it can be used for drawing, even if you're drying poses and you want to portray some action. This is really good for that. If you want to draw your character moving, this is a very good place to go. So each will. You has and portrays an action, and you can just choose one. There's walking there, some jumping, dragging furniture. Um, there's a lot of things with different people, so that's also interesting. So if you want different body types, there's also some of that here and you can come up over here and watch the videos. You can draw as you watch the video, or you can pause it, take a screenshot, for example, or just leave the videoing balls and draw the arms or the whole figure. There's lots of actions here. There's lots of movements and poses. So I do really recommend this place. And this is for was something I'm going to start to using as well to do some studies. And what else? Oh yes, A. Nothing that I discovered is that a good place, especially for arms, is closing catalogues. So if you do have some of those at home, well, take a look at them. They can be very useful for arm, especially the category off swimsuits and underwear, because you can really see the arm clearly, and although it doesn't have dynamic poses, the the arm will probably just stretched. It can be a good place for you to get your basic shapes and the stretch arm in that relaxed post nail down. So I think this is it for now and next we're going to talk about the differences between my arms and female arms, so I'll see you there
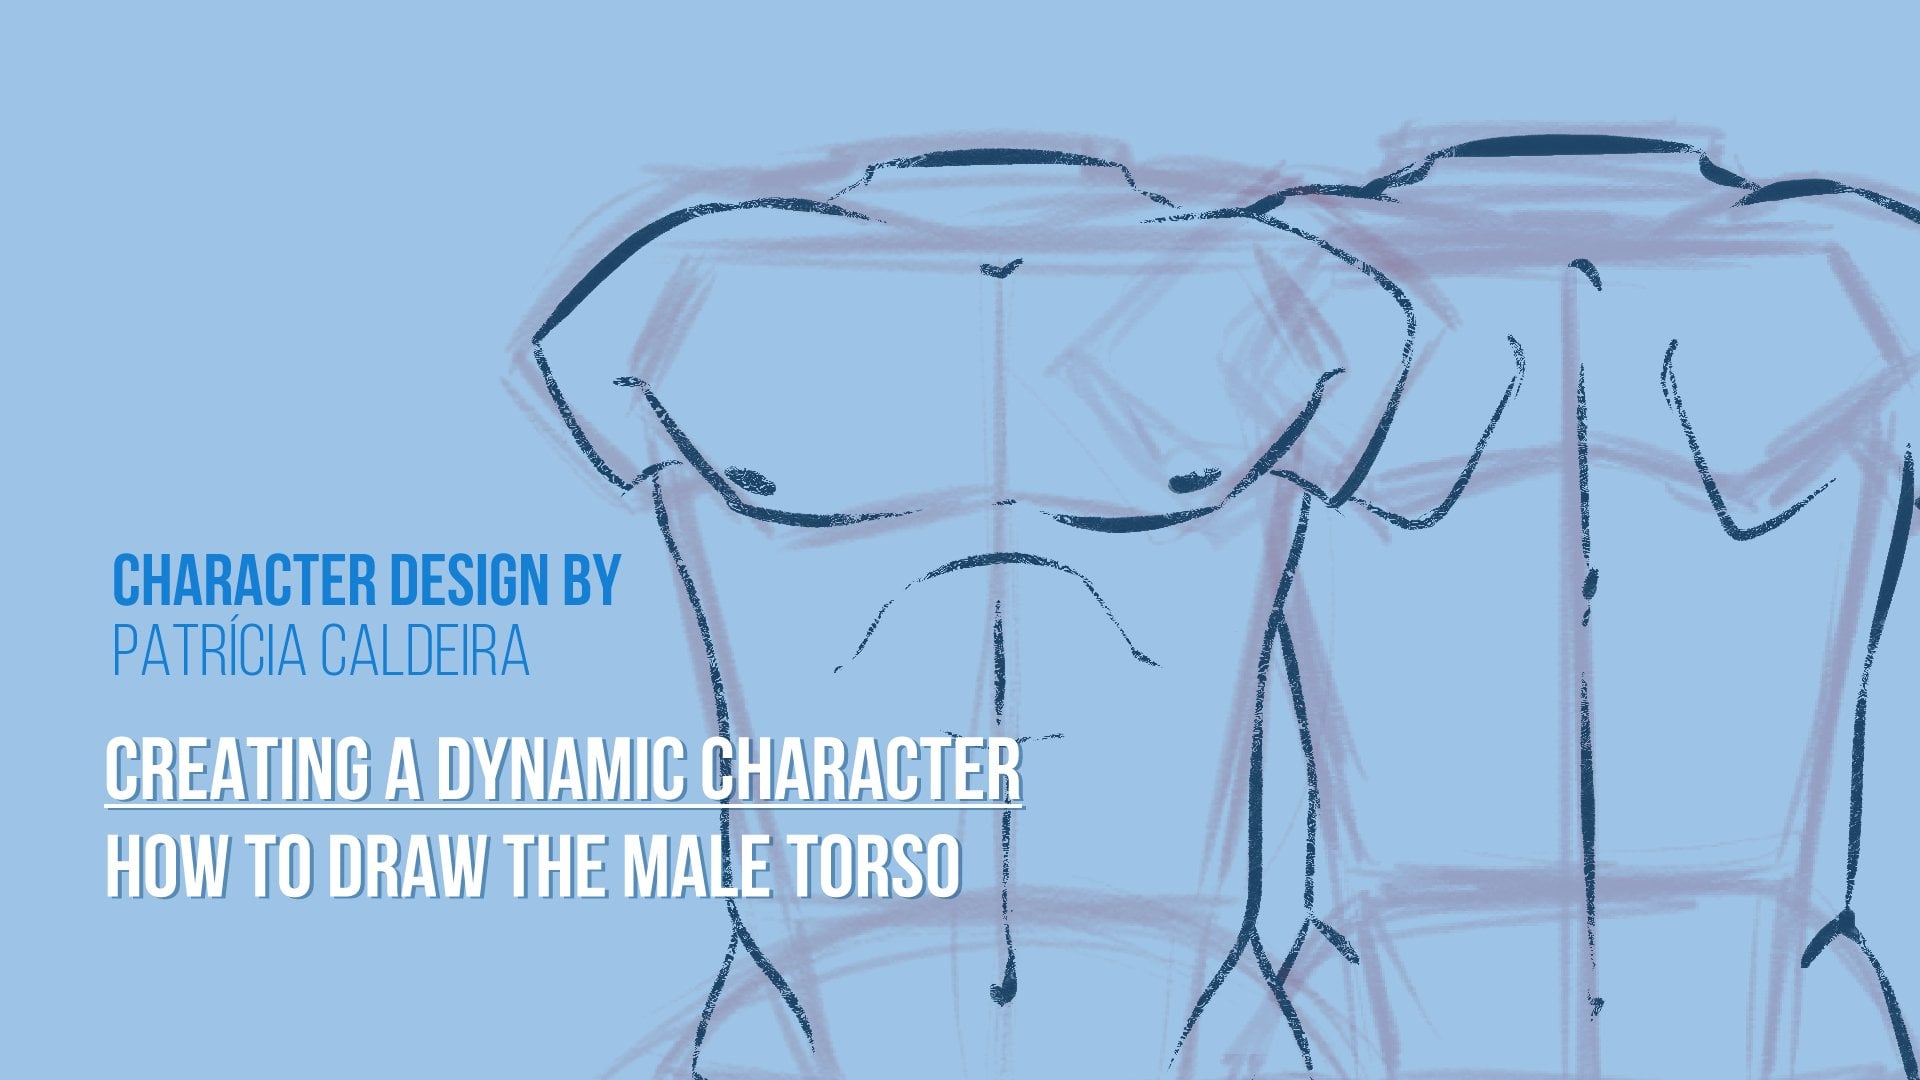
3. Male and Female Arm Differences: all right. So before we jump into drawing, I just want to talk to you about differences between my arms and female arms. Even though it can have different types of arms in male and female, both can be very muscular, and both can be very seen. Usually we go for different types if you're during a man or a woman. So I have here some examples from some cartoons or games. And my first example is here from Hercules. And it has a very good example off male and female arms. So Everlys is very muscular. The arms tend to be bigger. We tend to see more Muskal a times. As for shapes, we usually use more coastlines. And as for female, we have seen arms. Usually they are thinner. There's not as much definition. And while this is very clearly shown in here, so I just want to show that we see what is a good color to show you here. So, yeah, we have here. So especially if you're drawing more, um, or musk alarm. We tend to use a lot off circles for base shape. So, as you can see, we have here the two men shapes off the shoulder and part of her arm. And even here there's some course, a lot of them off course that in animation we tend to your in cartoons. We tend to use very curved lines. But you can really see the differences here that we have mostly circles for our mail arm here. But for make Here is something very simple, and we have straighter lines. So we have this shape here and then this one. So usually what you want when drawing a man is bigger arms, they are seeker. Maybe you can see some Muskal and also you. If you do want to draw some muscles, they'll be a bit more curved. Teoh. You'll use some circular shapes and very curved lines. And for female, you don't see a lot of definition in their arms. They are very thin waiting there than when drawing a man and, well, this is mostly it's. Well, as for female, though we tend toe draw less definition, their arms, they are thinner, they have straighter lines, but we can also give them some muscle. So don't forget that I have here an example. It isn't a very strong example. I didn't want to show you something very muscular. But as you can see from here, we do have some definition in the first character. Overall, we can see some muscles in her, not only the arms with also here in this in the torso and in this one not as much so as you can see there still a lot off straight lines. But here we do have some definition, some musk ALS. So there's always space for you to mix and match different types off arms and work with that. If you want someone who has a bit of my skull, you can do that as well. But as you can see with studios, quite a lot of straight lines here and in this example, well, it's very straits, and that isn't a lot off arm definition or muscle definition. So it's very when you are here, and this is mostly what I wanted to talk to you about now, just very quickly. If you want to draw Children and Children arms, although we're not going to do that here, we tend to draw them Chevy or so I have here, this example from Dragon Ball Kid. Goku has always really shabby arms and you don't see a lot of definition in them is really don't see Muskal. They are very round and very sherry, something with this example from Miller's Stitch. Lilo also has very shabby arms and Rome arm. So if you want to draw Children, take this in consideration. It makes them look cuter. So if you're going for ah, a carton style show the arms for Children. Men tend to have seeker arms and with more muscles, and women have thinner and with less definition arms as well as with straighter lines. So this is it, and I'll see you in the next video.
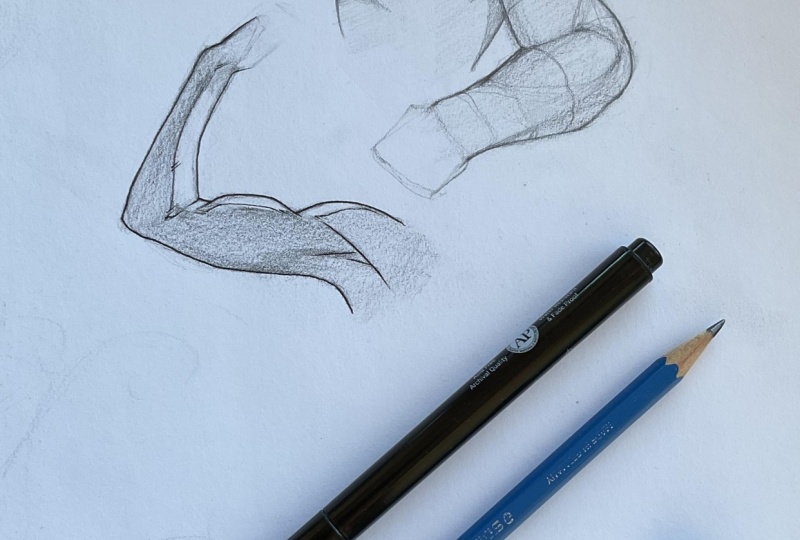
4. Basic Male Arm Shapes: so, as promised final, we're going to start to drop. So we're going to start with a very basic and neutral position, a stretched arm, and we're going to start with the my one, so a bit more muscular. So first off, we're going to start with our shapes. So I pick here my basil brush, the one I use for my sketches. And when learning something new when learning a new subject and you're using image references, good thing to do is to draw your shapes on top off the drawing. This way, you can understand them better. Sometimes you might be trying to draw a new subject and you don't know, or there's something off about your drawings and you don't know what it is. You can always draw the shapes on top and the lines on top of it so you can understand what is off about your drawing and what you need to change. So we're going to start here one circle here. Then we have here another one, and now we have the rest of arm and this weird shape. Weird Kurds shape right here a bit, Elon gated. But this season, mostly it's now you can repeat this shapes as much as he wants and as much as you need until you are confident enough in them. And then after that, we're going for our sketch. So for the sketch part, I picked a darker tone and drawn top off my shape layer. And while looking at my image, I'll try to sketch out my arm So these must go Here comes a bit inside, so I'm going to do a little bit of debts, and then we have. And of course, you can take this moment to exaggerate a bit more than muscles or not or turn them down. However you prefer also take noticed here that we have the chefs coming in front off the arm. Then we have the arm and finally the rest of our torso. So the attention to that when you're drawing sometimes, if the drawing looks a bit weird, maybe it's because of that. And remember, because this is something very easily for gotten. Sometimes even I end up confused about it. Where is that part of my arm? Where should I move it to, or how should I draw it? So I have here a quick sketch. Take as long as your needs make the changes that you feel that you need to do. There's no rush. Now hear this part of the arm and the Muskal enters here inside the arm, as you can see. So we're going to replicate that obits that this whole parts is on top of this one. This is almost like a braid to the arms work, almost like a braids. So we have this shape than this shape and this 11 on top of the other. So I think we are done here, and now we can do our final line. So whenever you're ready, we give a bit off the experience e here we create a new layer. I'm going to grab here my lineouts brush, choose a black collar and now we can start doing our lines. Now, remember, to dis might sound weird are very difficult to do. But trust me, with time, you learn to be more comfortable. But do try to stay as relaxed s possible. Why? Because when we're trying something new and I do realize is about my drawings as well. When I'm trying to throw something new, my lines sometimes get too stiff because I'm to dance. I'm trying to understand how to do it, and my lines end up being too stiff and well, I don't want that because I'll see that and I'll get frustrated about my art. So let's try to keep our lines very loose, even a bit messy, if needed and as relaxed as possible. So as you can see, my lines here aren't perfect. I'm just having some fun here. I'm trying to do my arm and trying to understand my my lines here. So try. And if you need to repeat your lines, it's completely fine and normal. You'll see me erasing and redoing lines constantly. And if you want, we can do this part off the torso here just so we know what everything is. But we're not focusing on that right now, So here we go. Our arm here is done, So if you're using image references, keep them or keep it nearby. You so you can always look at it if you have any doubts on when or how to draw something. And I think this is it, we are done. So now all we're missing is the coloring. So Let's add some color here very quickly. I'm going to pick up color dealing directly from here. And now we can do some very simple Carl coloring and shading. You don't need to if you don't want to. So this is how I go about trying arms. In truth, this is how I go about trying anything. I'll get my reference and I figured out the shapes and practice a lot until I am confident enough in them. I'm confident enough on the ships I want to use. And this is it. So here we are. We are finished here. Now we're going to do the similar post, but with a funeral arms. So something that is Stiner and with less definition.
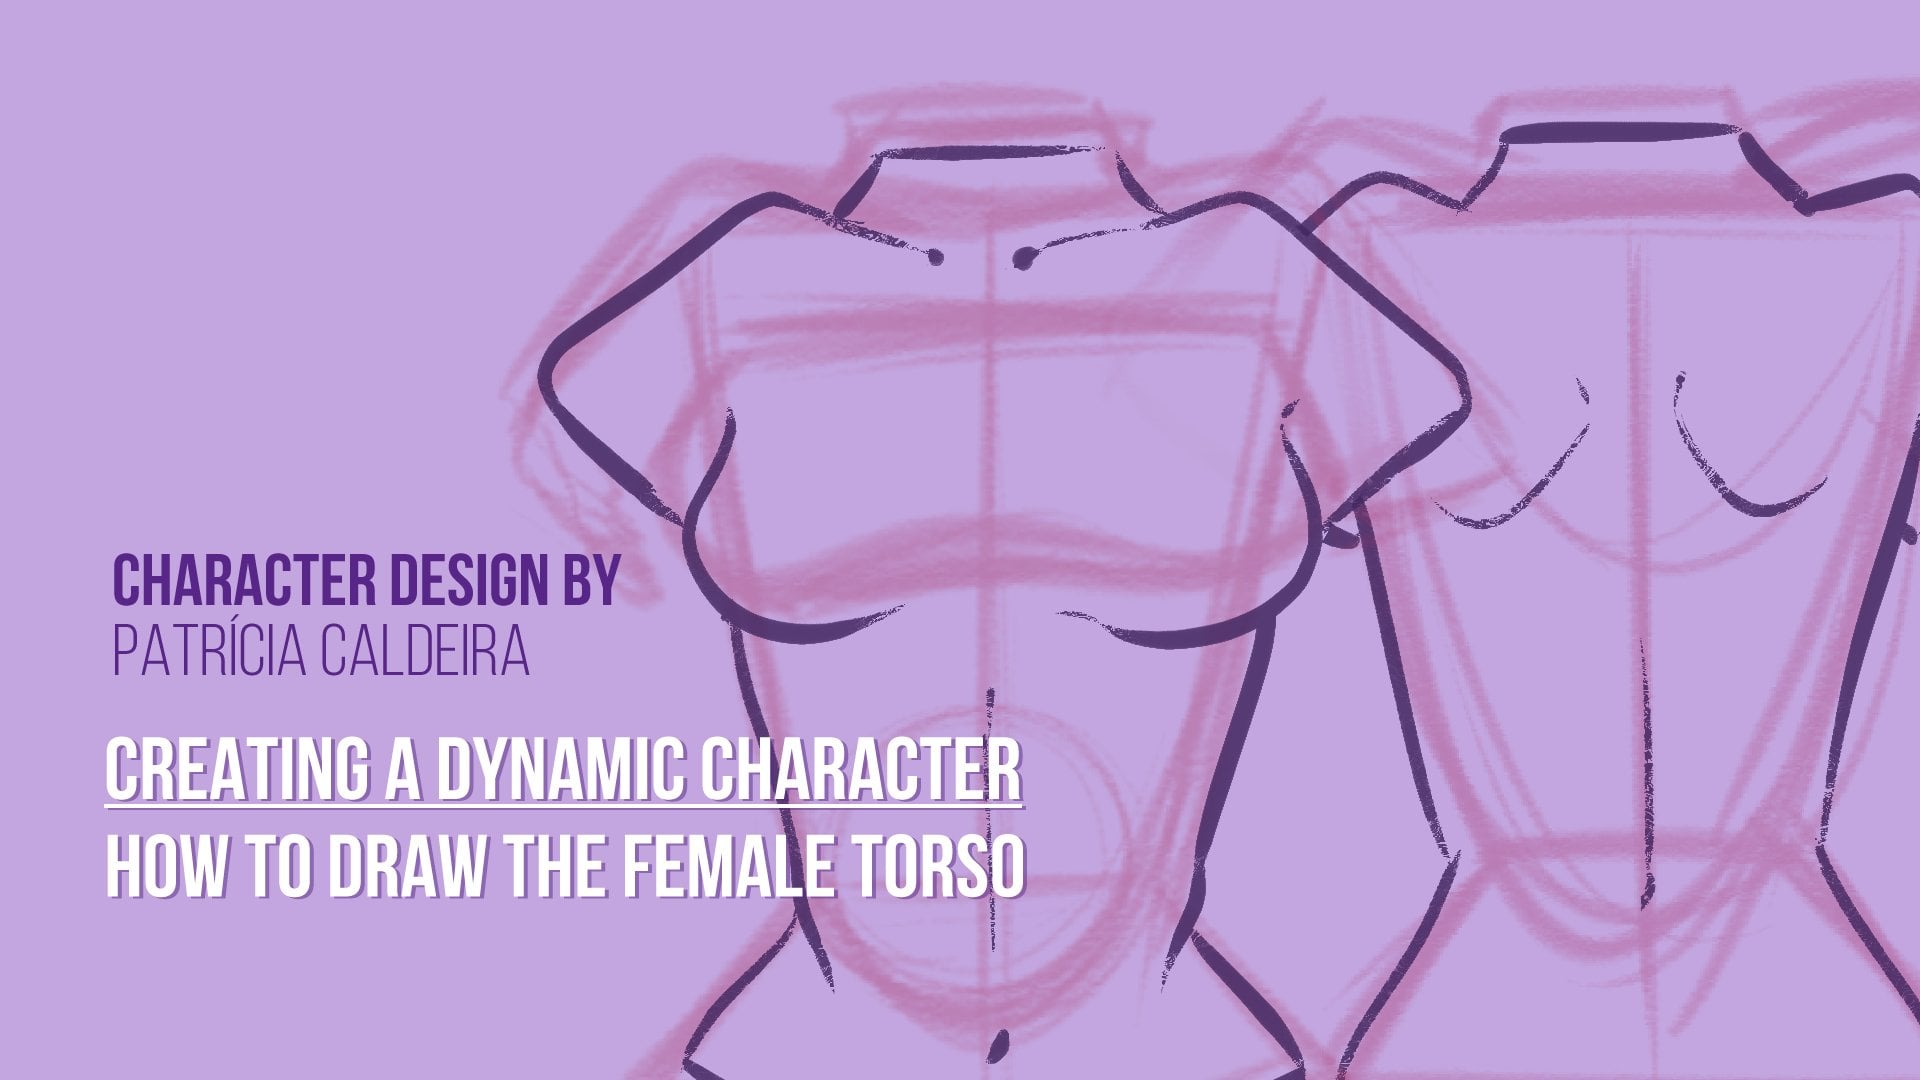
5. Basic Female Arm Shapes: hello and welcome back. So we're going to do our female version now. And I have here my image, my reference image. And I think that just by looking at it, we can see major differences from the our first arm to this one. So it's almost like a straight line going down from both sides. So once again, we're going to start. We'd our ships. So let's start right here and on top of our image, remember, there's no wrong way to go about it. Even though I'm doing these shapes, this is to guide you and maybe you'll find better shapes to help you Watts, which you're trying so going down here and then here we have a bit off occurred. But not as a situated off course. Remember that if you're doing something more if you're doing something more cartoony, I'm sorry. So remember that if you're doing something more cartoony, you can exaggerate a lot. For example, I tend to to my arms very geometric. So for example, I have discovered here. So I'll go something like this and then go an exaggerated shape a lot. So I draw my arms in this shape a lot for example, and because I do really like to explore the geometry off the anatomy on our body. So this is also good exercise. Once you get your basis down and you know how to do them, try and practise to exaggerate them and explore the styles in what you can do with them. So okay, we have here our shapes, very simple shapes. I hope you were able to follow easily. There isn't much to greet once again. If you feel that you want or you need to repeat this shapes a few times until your confidence feel free to do so. And when you're ready, we're going to do our sketch lines. So I'm going to give some conspiracy here once again, a new layer, a darker tone. And now we can doh our skitch. Remember to have your reference image right by your side, in case you needs to take a look at it once in a while. So you're sure about what you're doing once again Here, as you can see, the torso or the chest comes in front off the arm. And then here we have mostly a straight line going down. So it is you can make some, uh, a bit of a curve here, but it is a very simple ship. So there we go. You could see that it's very different from the one with it before it's much dinner are shapes are very simple, and we use most of straight lines, which is actually the opposite from anything else. When we draw a torso, we tend to have straighter and book your lines in Mile, while in female, our lines tend to be curve here. Same thing with the face. Everything is more squared with a man and with a female faced with an to use more cars. But here with the arms is actually the opposite. So that's that's interesting. So yet we have our sketch here. Very simple, I'm not sure. Maybe I'm more used to drawing women, but I do feel that drawing women arms are easier and faster. I don't know. Tell me what you think. Remember, Try to keep your lines smooth. We're going for a final lines now, and this is the moment where we want to perfect things and have everything how we want it. So take your time as always. So let your ones be smoothed and relaxed Are curve here is very smooth. We don't notice that curve allots also, don't worry. Fuel lines are too messy. Maybe that's your style. You learned that as you go and as you alone you learn What is your silent? How you like your lines. So Okay, I think this is it. That isn't much more I can do here. So take your time. Don't rush it. And remember that when you're doing the final lines, we are mostly copying our sketch lines. So most of the job you already did the hard part was your shapes and the sketch. Now this parts is easiest. So have fun with it and take your time. This is the part where we with legs because you've already done your job. So when you're finished with your lines, once again, we just need to do our coloring and a bit of shading. So very simple. We can do the same that we have in your in our image. So that isn't a lot to it. And this is it. I think I'm going to keep it like this. Very simple. And we are done with our female arm so we've done our stretched and neutral position. Next, we're going to see how the arm behaves when we are flexing it when we are flexing a bit or arm once again both the mile and more muscular and the female so else you next.
6. Male Muscle Flexing: All right. So let's go to the second part off learning our arms. So, like I said, we did our stretch home. I have a tear so we can look at it and see the differences. And now I have here a new reference image. So we have a bit of a muscular arm flexing, so we're going to do the same steps that we did before. So first, we're going to do our ship for going to discover our shapes here. Once again. I think that right As you look at it, you can see that a lot of our ships are going to be curved and circular. So let's start right here. Maybe even a bitch all month shape. So something like this going to repeat them so they aren't as messy. So something like this. There we go. This is better. So now here we have another circular shape. So, like I said, get your images and your resources and figure out your shapes may be the way I'm doing my shapes isn't away for you. There are no wrong way to go about it. Each one sees things there on ways, and you might think that's another matter. It is better for you. Maybe you prefer to go with lines for example like this And then you have here another. Maybe you prefer to go. This matters which is perfectly fine as well. So follow these steps tryouts this way. And from then you develop your own style in your own way of doing things. So now you have here this part off the arm, going here. So they're ago? Yes. You reality the hand. But we're going to ignore it for now. Today we're on Lee doing an in disgrace with Onley doing arts. So don't stress about hands right now. Don't think about them right now. So here we have our shapes. Very simple. I really like this shapes. I really like the shapes in the movement that we see when we're flexing our our arm think they're they're really dynamic and fluids. I'm really a fan of it. So we have this here now I'm going to hide This one's here so we can move our image to the side and we can continue our drawing here So we have our shapes and we're going to do our next step, which is the sketch. So a darker tone right here and now we're going to make things a bit more details with the more final look. So line here. Here we have a flexed Muskal this Lincoln go a bit in like we see here. You can do here some lines from the torso and the line that comes from our chests. Now remember that here we have our arm. This part off the arm comes right here, answers in size. So it's on top off the rest and in a straight line down with a bit off occur. But the very smooth occur. We don't see it a lot. And here we see also bit off the muscle. And there we go. So very simple. We basically just followed the altar lines over shapes. So even when we do our shapes here awful, so work is done, then we just need to clean everything up and adds one detail or another, and you're good to go. So once we're finished with the sketch, so I'm going to give a bit conspiracy so you can see better the sketch. Once you're done with it, we can do our final lines. So, as always, relax. Take your time doing the final lines if you need. If you want to be drawing at the same time as I do this, Paul's your videos for a bit if you need to and repeats the shapes or the sketch as much as you want until you are happy with it. So I am doing here my lines very smoothly. Like I said, try to relax as much as you can, because if you're to Steve, not only your hands are going to start to hurt and that's not good. But your lines will also look tense and stiff. We don't want that. We want our drawings to look fluids and comfortable we want. That's the people who see our drawings to feel that we were very Lex doing this and feeling good about it. So it's very simple. Lines here, off this bits off torso and chest. Sweden. I need to focus on them right now. Okay? Yes, remember, Look at your image if you need to. If you have any doubts, look at its once in a while. So bit off a curve here and then straight line. Yeah, So as you can see, I do make mistakes as well, so don't get frustrated if you have to repeat your lines, this happens. It is normal Now. Here we have bits off curve going up here. Not as much. Maybe there we go. What's Nope. Now straight. Going a bit straight. Going down and then a bit of a curve. Too much dare ago. Terry, go. I'm very happy about this lines. So here we have our flexed muscular arm. And now, once again, all we need is to add some color to it. I'm going to cope Iwas now. Honestly, I'm going to copy. Here are color, so we have the same times. It makes things easier for us. Remember that if you want to make this coloring part of it faster, you can always use your paint bucket. You can come up over here. Oops. Remember to heights your other layers, So yeah, there we have it. We can come up over here and do this so it is faster. If not, you can take your time and color as you want. And as you prefer, take your time as well. With its and relax. Not sure I'm going to keep this lines here So even when you're in your coloring parts, it is quite normal. If you feel that you need to make some changes to young lines, feel free to do so like you see me doing here. All right, so that's it. Once again, remember that we're not focusing on the coloring, But if you do want to take some time with it, feel free to do so and to practice. So now our shades are shallow right here. I tried to follow your image reference. If you're not sure how to go about your your shadows, you can always just look at the image and try to replicate them. So I'm keeping things very simple and very sketchy as well, A bit messy. Even. I like to explore that that silo art Israel lots. So always take time, especially if you're learning something new to explore new things, to explore new in different styles. And maybe you'll find out a new way off coloring our off drawing that you might like and do my preferred and what you've done so far. So this is it. We are done with our flexing arm here, so we have both our versions here uh, to tell me, which one did you prefer to draw? If you had more fun with a stretch on, then Whoops. Stand the the flexed version I really prefer and liked to draw the stretch arm. I feel that we have more, uh, more possibilities with it. We can have more fun than even score even more with it. So do tell me how you feel about it, and I'll see in the next video.
7. Female Muscle Flexing: Hello and welcome back. We're going for or less drawing video before our assignments. So this is the last arm we're going to learn and we're going to draw. We're going to draw also flexing arm, but we eat a more thinner shape. So female arms. So I have here my reference image we have here are stretched arms so we can compare it and as always, we're going to start with our shapes. So let's start doing that. So let's see. We come up from here we have our first shape and now a bit off a rectangular shape coming rights here and then we have quite a similar one to when we did the might One just 10 there . But it is very similar. So there we go. So we have we can even to this we have this very weird shape. Bit of a rectangle with the pointy end. Then here we have We can even really make a rectangle here. So something like this. And then we have these weird Elon gated shape that we've been doing Sister beginning even with our first stretch arm in the mile version, we had something like this. So we have our shapes. Now I'm going to hide this one and move our image to the side right here so we can see them both and we can look at our image as we go. So now that we have our shapes done, we're going to go over here to a new layer and we're going to do our sketch. So we start here. We have quite a rounded line here like this and then straight right here. Now here we have a bit of a curve, so something like this. So I'm looking at my picture here and drawing as I go. And no, here the usual. We go down with a bit of a curve to the inside like this, and then an arch here, here, Tienda for arm and once again, almost a straight line going dark. So there we go. Very simple. Take your time. And of course, as you can see, my lines aren't is second the same as the image. I always try to adapt things to my own style and how I do my lines so you don't need to go super realistic with it. It's all about how you like in your text. If you do, I want to do something realistic off course girl for AIDS. If not, feel free to explore and the different things and do your own style. Like I said, I tend to do things with a lot off geometry. They always look very geometric. Eso yes, we have Here are sketch, and now we're doing the final lines as always. So pick up your brush or your pan, and now we just need to draw on top over a sketch lines. Remember that if you're just starting with digital arts, it might take you a time or sometimes toe adapt and took accused to using a brush, any kind of rush, maybe even finding one that you like. So don't feel frustrated. It's all part of it. And it's also part of the fun. Discovering new things is discovering different brushes in different ways. Off drawing. It's so part of the fun. So there we go. As you can see, I was very happy with my sketch lines there, and I mostly drew on top off my sketch lines. They are basically the same as you can see. So there we have it now, as always, we're going to ads are coloring, so I'm going to pick up here the same colors before. And now I just add some week calling. Once again, you can use the paint bucket if you wish to, to make it faster. If not, you can just take your time adding your collar. Remember, that's if you feel that you are. If you don't feel happy about what you did, it first try. But it's more than normal. You're getting used to a new subject and you're drawing subject. So do give it some tries. Practice the Muslim person thing. Withdrawing is practice. If I show you my first drawings ever, you probably won't like them either. They're terrible. I won't like them either. But it's we learn, and it's really good to see the difference in the cross in our in our art, in our drawings. So look forward to deaths. Two. In a few months, even after you start drawing and you see your old arts or older arts and you see the progress and how better you are. No. So I'm adding very simple, shaving once again, I'm I'm following it beats the shading from my photo. There and I'm going to keep it very simple like this. So this is it. We are done with the arms. Now follow me to the next video where we're going to talk about your assignments. So, like I said, practice. So we're going to do this. Go to the next video. I'll see you there and have fun.
8. Practice! Assignment: All right, so let's do our assignments. We finished all the teaching and learning, and now it's time for practice. This is a very simple exercise. I'm giving you this reference images for you to use. Now you just need to choose one android like we did in this class. Yes, everything that we'll learn, starting with the base shape, sketching it out and then cleaning up the lines and coloring. Take as long as you need. There's no need to rush. Do it slowly and repeat as much as you want, as long as you're having fun and learning with the process. Now, once you're then posted up, I will be shaking it out as soon as possible. I can't wait to see it. Now go do it.
9. Conclusion and Thank You: Hello again and thank you for taking this quest. I hope this was helpful for you and that you learned a lot and has fun with it. If there's something I could do to make this class better to let me know and to consider living a review, it would mean the world to me. And I'm always looking for feedback. All right, that's about it. Thank you again So much for watching this class and do check out my other classes. If you're interested in drawing other parts of the body are lending how to draw different animals and even other subjects, so hopefully I'll see you soon.
 Patricia Caldeira, Illustrator | Digital Artist | Designer