Transcripts
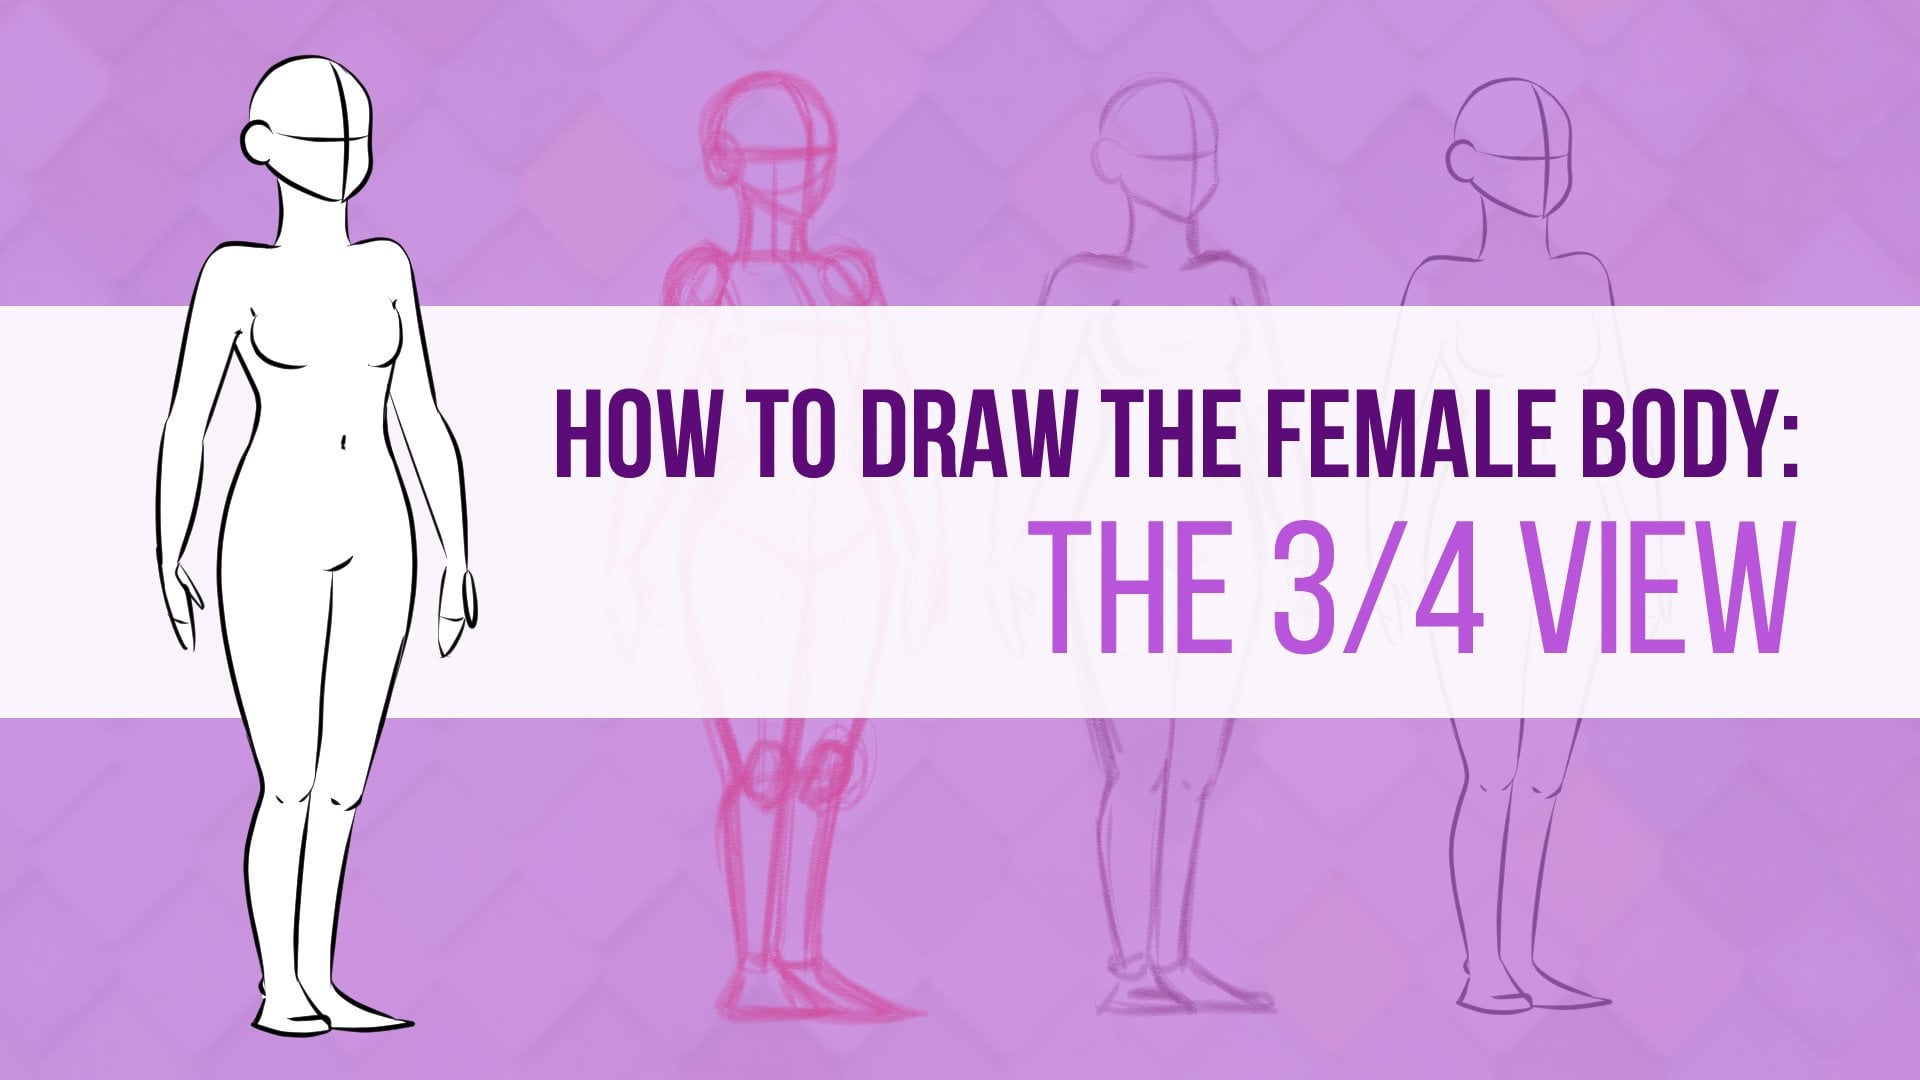
1. Intro: It's time to draw that three-quarter view. It's one of the hardest points of view to draw the human body. But I'm here to make it much, much easier for you. In this class, you must have drawing the three-quarter view of the male body, as well as get some handy resources to help you along the way. We'll start by talking about different body types, from curvy to sleep and everything in between, as well as finding some useful references to help you out. And then we'll get drawing first by choosing the exact proportions you want your drawing to be. Then drawing every body shape one by one. Not only that, but we'll clean everything up at the end of the class. Showing you the exact steps that I go through when working on my own illustrations. And remember, this is a practical class. So you bill going through the exact same steps that I go through. And you'll have a complete finished three-quarter view of the male body at the end of this class as part of your assignments. So I ready to master the three-quarter view once and for all. Then let's do this. I will see you in the next video.
2. Body Types And References!: Hello and welcome. Here we're going to be learning how to draw a body in a three-quarter view. But before diving into that, let's talk a bit about bodies in general. If you look at people in your everyday life, we're all very different. For that reason, our bodies can be made out or drawn out of different shapes and sizes. Some people are quite short, others tall. Some are rounder, while others are linear or even muscular. You can clearly see these differences in real life, but it's especially exaggerated in cartoons. So body shapes are really important when creating new characters or when drawing anatomy. For that reason, it's also important to search for good references and look for the body shapes. I even recommend you to search and draw those shapes on top of your references. This way, you're sure you're using the right shapes and it's easier to learn them. For example, heavier bodies will use more round shapes and we'll have more cups. On the other hand, generally skinnier bodies will be all about long and thin shapes, like rectangles and triangles. They also tend to be less curvy. A very muscular body will show lots of muscle and tends to be squared. As for the heights, it's fun to play with the size of the legs. For example, even if in real life we're always very proportional, we tell our people It's almost like the legs are bigger than the torso. For shorter people, everything looks more compact. Another thing to have into account is that a male body tends to have fewer curves. These means the budget tends to be a bit squarer then when drawing the female body. But of course, not every man looks the site. So it's something you can play with, exaggerate as much or as little as you want. It all depends on what type of body you want to draw. And this is why it's so important to find good references. So you can learn how to build and draw the body, but also, so you can learn about different types of bodies with real life examples. For that reason, I am leaving you a few links for you to use whenever you need some references. So we have pinterest.com, unsplash.com, Pexels.com, and finally, x sub I.com. I also have a Pinterest board full of my references and living you the link so you can use this on your own practices whenever you need. All right, this is it for this video. Thank your time. Searching these websites may be saving a few references for yourself. And when you're ready, I will see you in the next video.
3. Different Proportions For The Body: Hello and welcome back. We've talked about different body types and how important references are to learn how to draw them. So now, let's see more in depth how we can split the body according to the character's height. A technique I like to use is using the head as measurement of the body. But what do I mean by that? We start by drawing a heads, in this case a circle or an oval, to be more precise. Now you can draw these heads as big or as small as you want. It's all up to you as long as the whole body fits the page. Now you'll want to repeat that head until we have the complete height of our body. With that said, if you want to draw a character with an average height, we usually use seven or eight heads. In this case, I'm going with eight heads here, like this. Now, if you divide this, we have the heads, then one head that goes from neck to chest, and other from chest to belly button. One head for the waste too, has that go from the waist to the nice. And finally, two heads that go from the knees to the feet. So according to our first example here, that means that if you'd like to draw a smaller or tallow character, the amount of heads you use will be different. For example, for a shorter body, you can go with seven heads distributed like this. You already know where to put everything because of the default reference. So now you just need to draw the body accordingly. If you want to occur to be even shorter, then adds even less heads for the telecenter, you will increase the number of heads. So you could go with nine heads, for example, something like this. The principle is the same. We're just changing the height of the character and drawing the body accordingly. This is a very simple method. You don't need any crazy measurements nor any other complications ever in doubt about the proportions of the body are drawing. Just use this method. Use the head as measurement distributed along the body's length. And this way, you can check where you went wrong and fix the body to be more proportional. I'm going to leave you a template so you can use as reference and practice disproportions first before diving into the three-quarter view as a warm-up. So if you want, don't forget to download it and use as reference. All right, with all this theory out of the way, we're going to put into practice everything we've learned so far while drawing a three-quarter view of our male body. So I will see you in the next video.
4. DrawingThe 3/4 Body Shapes: Hello again and welcome back. So we talk a lot about bodies, different types of bodies, and its proportions, right? So now it's time to go in and start drawing. We're going to be drawing our male body in a three-quarter view. So I have here some guidelines and references to help me out. So this is basically what we just saw in the previous video. So the body proportions right here. I'm going to be using this as reference so I know where everything is going to go, but draw the body in the proper perspective. So in the three-quarter view, I'm going to give you this template as well so you can use it in your own practices. So don't forget to download it, so it'll be a bit easier for you to work with. I'm going to go in and draw some shapes, but before that, I want to talk to you about something. So I talked about before. That's a way for you to find the shapes, is to draw on top of references. This is perfectly fine for it to do. Don't be afraid of doing this. There's this taboos sometimes about tracing or drawing on top of references. And as long as you're doing this for learning purposes is perfectly fine. I mean, I'm not tracing anything here. I'm just finding shapes. Right. There we go. I have here a trapezium shape, a square. Now we're going to have kind of a triangular shape right here, right? And so on and so on. So a good way for you to practice your shapes or to know what kind of shape to use when drawing your body is to go into your own reference images and droughts on top. However, avoid doing something like this. Going around the body and finding those lines. These ones really help you a lot. You want learn a lot with this. So a good thing for you to do, to start with instead of just going in and draw the body right away. So instead of I'm, let me make here a new layer. Instead of just going here and tried to draw a body, write something like this. This is how a body looks like. First, find the shapes, find the whole depth of the body is going to be much easier for you. So that's what we're going to be doing here. I have here a new layer. I'm going to grab my pencil brush right here. And now I'm going to start drying. Now the brush you're using, It's totally up to you, whatever you feel more comfortable with, and you can even do this traditional. All right, what I'm using here, you don't need to use the exact same tool I'm using. So I'm going in and we start with the head. So a circle right? Now, since we're doing three-quarters, I'm going to be drawing my body turning to this side. I'm going to go here and draw another line. So this is the middle of my head. So now I can draw the rest of it. There we go. And now here, the line for our eyes and a circle for the year. Now this isn't totally necessary right now we're not going to draw face features, not anything like that, but it's good for us to situate ourselves and know where we are and what we're doing. Now, as you can see here, held the line for the neck that goes up to this line, right? I'm always going to be using this one as a reference. And now we have the chest. So again, I'm going to make here the line for the middle of the body. And now I can draw my shapes. So we have one right here for our shifts, right? We know that our chefs goes up to this line. Now since we're drawing this in a bit of a perspective, instead of drawing flat shapes like this. And like this, we can draw them with some treaty to them. So stuff like this. This will help you have a better notion of the Treaty of the body, of the perspective. So I'm going to go here and draw a box. There we go. So as you can see you using very squared shapes for the male body. The male body doesn't have a whole lot of curves and it's all about straight shapes. Of course, as we've seen before, it all depends on the type of body withdrawing. We're doing something very default here. So we're drawing a very squared body. So here we got another box for the waste areas. So as you can see, it doesn't have a whole lot of a curve here, but there's still a little bit of it. We're not eliminating curves from our bodies. Alright, so half of the body is done. Next we have our legs. So legs is the same thing. Very squared shapes, something like this. Another block right there. So half of the leg goes up to that line. And here we got another one. There we go. Almost rectangles for the legs right? Now for the knee, I'm going to draw a circle. I like to use circles for the knees. Now, of course, the shapes I'm using for you, this might not be the shape, so I do recommend you always two experiments. So first try these shapes I'm showing you here. And then as you do your own sketches, as you experiment with staff, try out different shapes. If you feel more comfortable with them, maybe you feel more comfortable with another kind of shape. For me, this is what works best and I think it's great to start with. So I recommend you starting your drawings with this shapes. But maybe as you learn and as you go, you'll find different shapes that work better for you. So there we go. We have here the rest of our legs. Again, almost a rectangle right here. And now we got to fit something very simplified. I'm not going to focus on adding details to the feet or the hands here. We just want to know how to draw the body. We just want to know what are the best shapes for it. So now all we are missing is the arms. So I'm going to go with sort of circles right here. It can also be like a square, a rounded square, something like this, right? Also don't be afraid for this face to be very messy. As you can see, my lines aren't perfect. My drawing in general isn't perfect. But it's fine because this is a time for it for us to be messy, to try out things. So now I'm going to draw here another rectangle for the rest of the arm. This is just a sketch, a very early sketch. We are going to be going over other phases of this drawing. So it is fine for our drawings to be messy. Image just redo this arm here. This is of course, a very stiff pose. I'm not trying to have a very dynamic balls here, not anything because I just want you to learn the shapes and the body. So let's not over-complicate things. We were very detailed and complex poses. We just want to have the basics here. So here they are. Here is our body. I'm just going to tilt it a little bit because I feel like my man is falling a little bit. There we go. So now when you finish your shapes, you can move things around. So if you think that's something that doesn't really make sense, you can move it around until you have a better sketch. So this is it, This is our shapes, as you can see, very simple. I'm going to leave this like this right now for now. So again, very squared shapes. All we got here is basically rectangles and squares and one or two circles, very few circles here, not a lot of curves. Of course, you can exaggerate these shapes as much as you want. Now, I'm going to leave you with a base template for you to draw on, but I'm also going to leave you each step of this process so you can look at it whenever you want and use as reference. So this is our shapes. I'm going to leave it just like it is right now. And on the next video, we're going to work on our male body a bit more. So I will see you right there.
5. Cleaning Up The Lines: Hello and welcome back. So here we are. We have our shapes right here. And now we're going to clean things up a bit. Now how are we going to do this when drawing something? I always like to divide everything into small steps. So I start with my shapes. Then I'll do a more detail and clean sketch, and then I will clean everything up with my final lights. So that's what we're going to do here. So I have here my shapes, and now I have a copy of my shapes so that I can draw on top of them. So I'm going to bring them a bit more to the side. I'm going to add some transparency to them, something like this. Now, I do recommend you to always have your first sketch right beside you so that you can have some reference. And I know this can be a bit harder to do when you're drawing traditionally, but see things this way, you get to practice even more. So you drew your first shapes, then you draw those shapes right beside those all over again. And this way you get more practice in, and you'll memorize even more easily all these shapes. I'm going to add a new layer on top. I'm going again to grab my pencil brush. Again, it's totally up to you what kind of tool you're using here. I'm using the ones that are more comfortable with. But to you, it might be something else. So I'm going to use a darker color. And now I'm going to start to go over my shapes and try to clean things up a little bit. And also, this is why I like to have this middle step between shapes and final drawing. This is a time where I can fix everything I think is not good enough. So I'm going to go over here. I'm going to start just add some water spirits. There we go. I'm going to start draw the overall outline of the body. Just adding these guidelines. Now here we only have this middle line for the neck, but now we're going to properly draw the neck. Now with men, if you're drawing some, someone that is a big muscular, you're probably going to have a bit of Moscow right here we go. Now, we got our arms. So as you can see here, the arms shoulder was were too high up. So I'm fixing that right now. Now we got the rest of our arms here adding just a little bit of muscle mapping, mileage. And finally, just a very simple hand shape for the heads. I can even do maybe something squares, so a bit more, it fits a bit more. Our body here, there we go. Now here we got our chests right? So in general, men don't have a very permanent chest. So something very, very soft here to this lines here. There we go. We've got our chest right here. Right, we've got the other arm right here, right. Our belly button goes right here in this line. And now we go down and draw our legs. So here the arm goes a bit in front of this leg. So we draw the rest of the leg right here. And that's again, a very simple redoing this line here. See if I'm not happy with something, I'm always in time to fix it as I want. That's another new right here. Then the leg goes inside and then goes out again for the foods. There we go. Even if you are drawing traditionally, you're always enzyme to fix things. If you need to redraw it, then redraw it, it's perfectly fine. And the good thing is that you're going to add more practice. The more you do it, the better you'll be at it, right? I think I am happy with this, and I think we can go in and draw our final lines. So whenever you happy with your sketch, just go in and start drawing our finalized. So how am I going to do that? Now? I'm going to go over here. I'm going to hide my shapes layer right here because I don't need them anymore. Now I'm going to add some transparency. Here we go. And now I'm going to add a vector layer on top. Now I'm using clips to your paint in this course, other softwares might have this option as well. But the reason why I use a vector layer instead of a normal layer is that I can move things around as I want. So I can go over here, start drawing lines, and then I can resize them as I want. Resize them, move them, move them around. I can do whatever I want and I won't lose any quality to my lines. So again, this is a preference of mine. I'm just explaining to you why I'm doing this so you don't get a bit lost with this, but using a normal layered is perfectly fine if you're doing this traditionally, I recommend you to, again, make a copy of this sketch, of this clean sketch, but draw that copy very, very lightly with your pencil. And then when you go on top of it, you can use a banner, use another pencil, whatever you prefer. And then you can draw as you usually do with as much pressure or there's less pressure as you want. And when you're done, you just need to erase That's light sketch that is beneath it and you're done. So this is how I'm going to do it. I have my sketch right here. On top. I have a vector layer. I'm going to use the black color. Let me see if this is a good size for the pen. It looks like it. And now I'm going to go over all my previous slides. This is very simple. You have everything there already. You fixed as much as you want. And sometimes even during this cleanup phase, the last cleanup photos, you might need to do some fixes. It's perfectly fine. You can always fix anything. Just take your time. I'm not going to take a whole lot of time with this because you don't need to be looking at me while I go over my lines over and over because if needed, I'm going to spend a whole lot of time in this phase, drawing the line art is probably my favorite part of drying, so I really take my time with it, so I recommend you to the same. However, I'm going to not do very perfect lines here. I'm going to try and rush this a little bit. Just so you have an idea of how your drawing is going to look like in the end, when you finish everything, this is basically what you're going to end up with. So as you can see, I'm just going over every single line I just drew. Also, as you can see, I'm not adding a lot of details here, just the basics, just what I need for you to recognize. The body. Straight and squared lines here, not adding a whole lot of curves. Of course, it probably will look much better if I spend more time with it. But you don't need to be looking at this video for half an hour. So this is how my body is going to look like just a small fixes here and there that I'm not happy about or that I think can be better. Take your time. Don't rush this. This part of your drawing. This is it. Take your time to these as many times as you need. Just don't rush it and whenever you're ready, follow me into the next video. I will see you right there.
6. Your Turn! Assignment Time: Hi and welcome back. We just went through the whole process of drawing a male body from a three-quarter view. It's always a more challenging to draw. But as you can see, if you break things into smaller steps, everything becomes much easier to draw. So now it's time for your assignments. I'm giving you three images, all of them from the same view. All you need to do is pick one of them and draw it. Just follow every step we went through in the previous video. Start with the shapes, practice them as much as you want. And then when you're ready, clean everything up. Once you're done, feel free to share it. I always love to see your assignments. This is it. Take your time and I will see you in the next video.
7. Final Thoughts: Hello, and thank you for watching. I just want to say a few words while you watch this quick speed painting in the background. By now, you have probably learned quite a bit about growing the three-quarter view. So remember to practice the shapes a lot and don't be afraid to use a bunch of references to help you out. Re-watch the videos as much as you want and don't give up. You've got this. I hope you've enjoyed the class and it was helpful for you. Do consider leaving a review so more people can find it. It also really makes my day reading the feedback from my students. I read every single review from you. Now this is it, have fun and as always, keep on drawing.
 Patricia Caldeira, Illustrator | Digital Artist | Designer