Transcripts
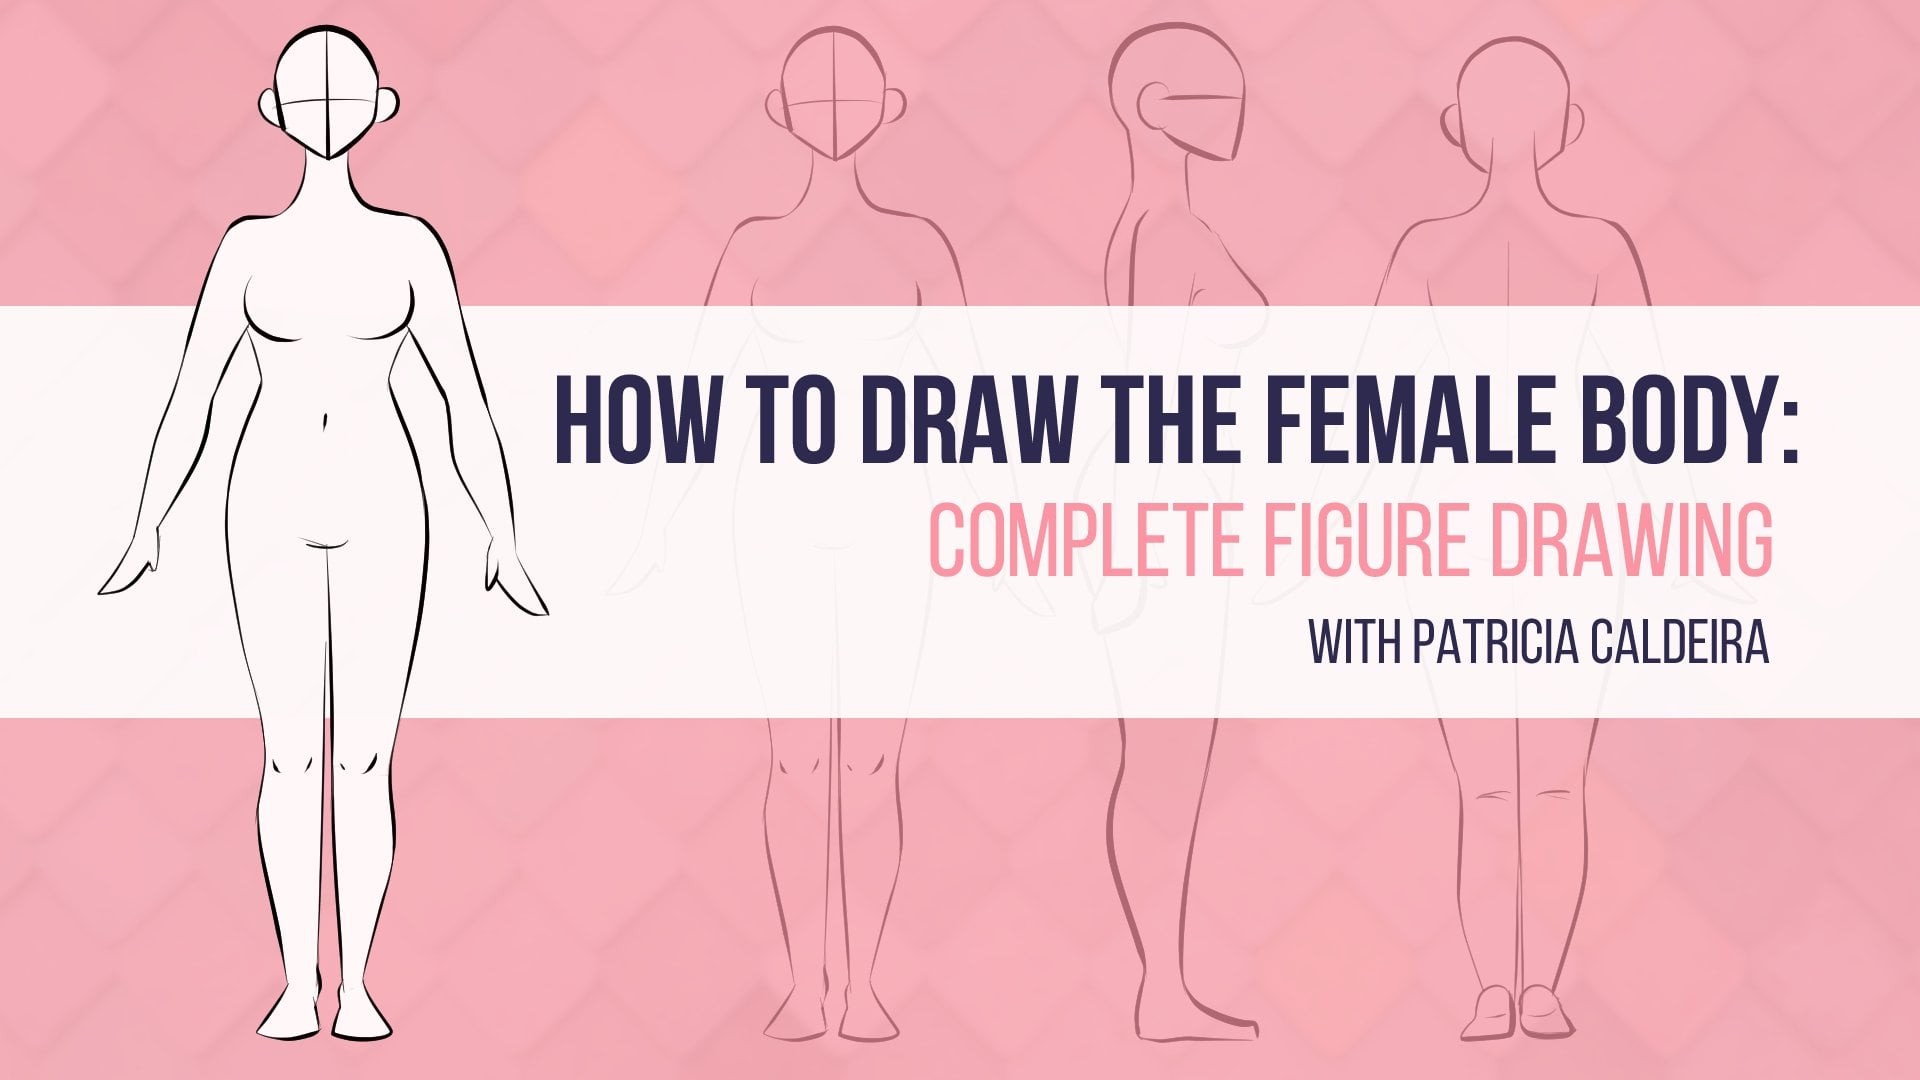
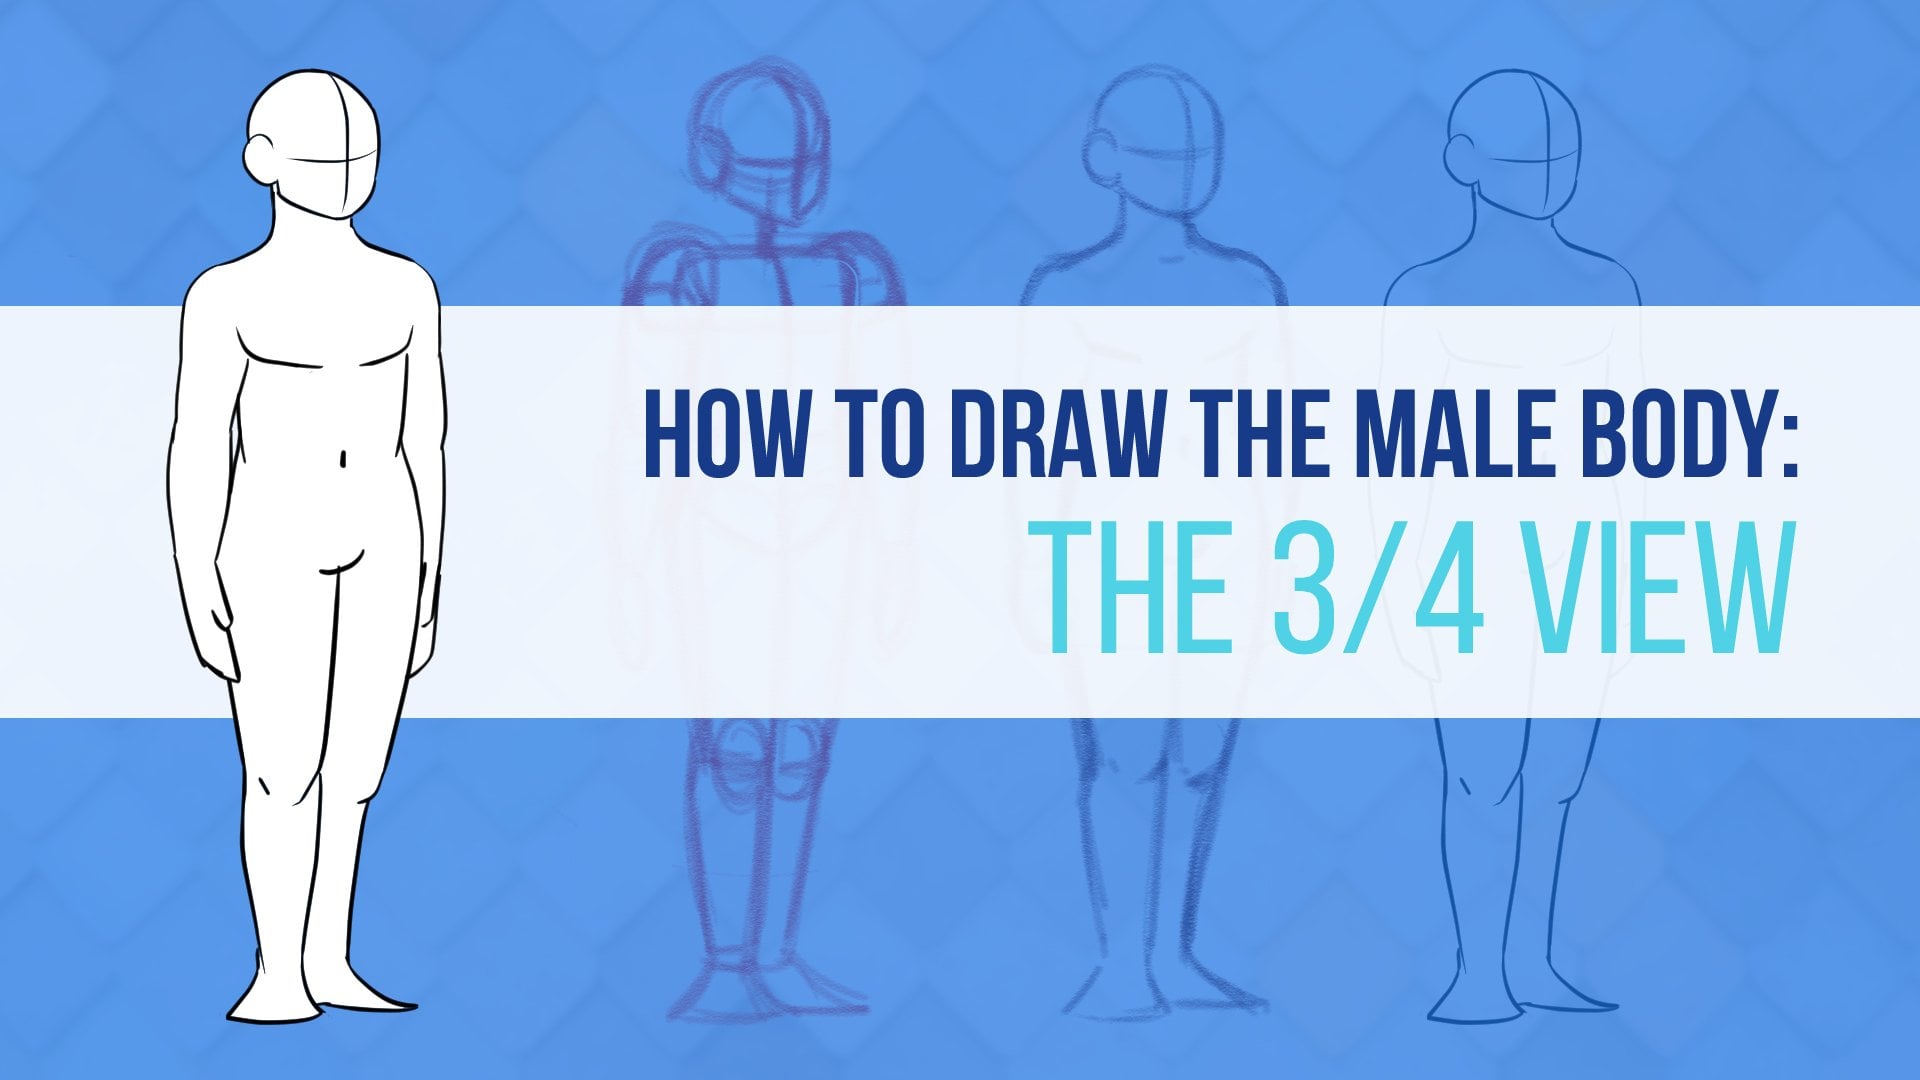
1. Intro: It's time to draw that three-quarter view. It's one of the hardest points of view in drawing the human body. But I'm here to make it much, much easier for you. In this class, you'll master drawing the three-quarter view of the female body, as well as get some handy resources to help you along the way. We'll start by talking about different body types, from curvy to sleep and everything in between, as well as finding some useful references to help you out. And then we'll get drawing first by choosing the exact proportions you want your drawing to be. And then drawing every body shape one by one. Not only that, but we'll clean everything up at the end of the class, showing you the exact steps that I go through when working on my own illustrations. And remember, this is a practical class. So you'll be going through the exact same steps that I go through. You'll have a completely finished three-quarter view of the female body at the end of this class as part of your assignments. So I ready to master the three-quarter view wasn't for all. Then let's do this and I will see you in the next video.
2. Body Types And References: Hello and welcome. Now before starting to draw, let's talk a bit about bodies were all made differently. And so our bodies can be made out of different shapes. Some people are short, and others are tall, some are rounded. Well, others take a more rectangular shape. You can see these differences in real life, but it's especially exaggerated in cartoons. So body shapes are really important when creating new characters. It's important to search for good references and look for the body shapes. For example, heavier bodies will use more round shapes and we'll have more curves. On the other hand, Skinner bodies will be all about the long and thin shapes like rectangles and triangles. And they also tend to be a bit less curvy. A very muscular body will show lots of muscle and tends to be squarer. As for the heights, it's fun to play with the size of the legs. For example, even if in real life we're always very proportional, we tell people it's almost like the legs are bigger than the torso for shorter people, however, everything looks more compact. Another thing to have into account is that when drawing women within to use more curse, female bodies are quite curvy, so you can play with that as well. But again, some women have markers than others. It all depends on what type of body you want to draw. That is why it's so important to do some research first, so you can learn the basics. It's always important to find good references to our practices. And my go-to places for this are pinterest.com, unsplash.com, Pexels.com, and finally, pixabay.com. You'll find lots of great photos in here to helping your practices. So whenever you need some references, these are good places to go. All right. This is it for this video, explored those websites for a BET, few ones. And I'll be seeing you in the next video where we're going to talk about proportions.
3. Different Proportions: Hello and welcome back. We've talked about different body types and how they can be tall or short, heavy, or slim. So now let's see more in depth how we can split the body according to the character's height. Usually, we use the head as a measurement of the body. That says, if you want to draw a character with an average heights, we usually use seven or eight heads. So let's go with eight heads here, like this. So we have the heads then one head from neck to chest, another from chest to belly button. One head for the wastes, two heads that go from the waist to Denise, and finally, two heads that go from the knees to the feet. So according to our first example here, that means that if you'd like to draw a smaller or taller character, the amount of heads you use will be different. For example, for the smaller character, you can go with seven heads distributed like this. You already know where to put everything because of the default reference. So now you just need to draw the body accordingly. If you want your character to be even shorter than, as even less heads, for a taller character, you would increase the number of heads. So in this case, you can go with nine heads for example, and it will appear something like this. The principle is the same. We're just changing the height of the character and drawing the body accordingly. This is a very simple method and you don't need crazy measurements nor any other complications. If we're ever in doubt about the proportions of the body are drying, just use this method. Use the head as measurement distributed along the body's length. And this way, you can check where you went wrong and fix the body to be more proportional. You can also use this method to play with heights and proportions. Remember that both experimentation and exaggeration is very important when creating characters. So start practicing realistic proportions, like we're going to learn here, and then play with them. Why not a character with very long legs, for example, anything is possible. So have fun. This is it for this video. And next we're going to start drawing our body in a three-quarter view. So I will see you right there.
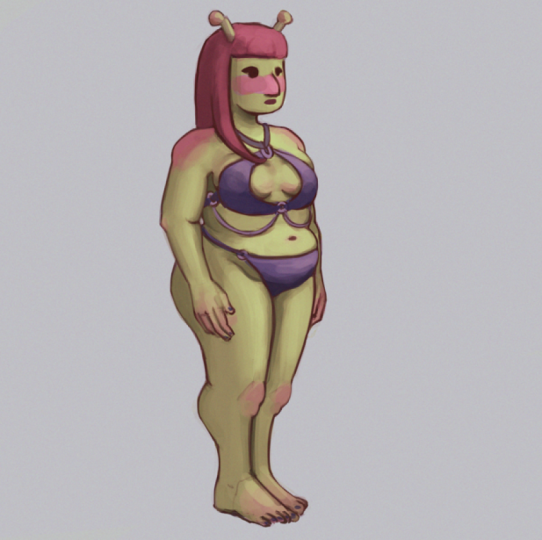
4. Drawing The Shapes Of The Body: Hello and welcome back. So we're finally here. We're going to start drawing in this video. So for that, I have here my reference, it's the same one I showed in the previous video. This is just so I know where everything goes. I have some guidelines right here. Again, they're very simple and as you can see, it follows the size of the head. And then we have some extra ones right here for some places that don't really follow the head structure. And then finally, I have a set of heads right here to help me out a little beads on building this body in a three-quarter view. So for this video, we're going to start very simple. We're going to start by drawing shapes. That's it. The only thing we are going to be doing is drawing the main shapes of the bodies. So I'm going to start. I have here a red color. I have my Bessel brushes, the brush I usually use for sketching, but feel free to use where ever you want or whatever feels more comfortable for you. So we're going to start with the head. The easiest way to start with, I think. So. As you can see when we're drawing from the front, everything is right here in the middle, right? It makes things a little bit easier. The problem with drawing in three quarters and why so many people have some difficulty with it is that we are drawing in some perspective. So in here, instead of having things centered, we're going to have our body turn a bit to the side. It's not completely a side view. It's something in-between the front view and side view. So there we go. We have here ahead. I'm going to make it a little bit bigger. There's had seems a little bit there we go, something more like this. All right. So next we have the neck, and as you can see, the neck goes from here to this smaller guideline right here. So neck right here. Then we got the chest, right? So let's see here the shape we're going to use. I'm going to use something like this. And as you can see, since everything is turned a bit to the side, something that might help you is to create a 3D shape, a bit of a 3D shape. It doesn't need to be perfect or anything. But I find out it tends to help a little bit. Just so we have a better idea of depth there and how the body works. Then we got here, we go downwards. Belly buttons, so the shape closes a little bit. Then we've got this bit here as well. I'm going to complete here our next shape. There we go. All right, so we have our belly button right here, right now for the waist and the hips. So we go out a little bit again. Then inside that we have here this line that defines everything that we go out here I can. So for me, these are the shapes that I see. Of course for you, it might be something different. Remember that we all kind of work a bit differently and see things differently. These are the shapes that helped me out building the body, but feel free to experiment and see what works best for you. So now we got here a leg, right, and we saw that the knee is somewhere here. And another leg right here. Right here. Right? So all we gotta do now is the shapes. Like we talked before. The female body tends to have quite some curves. So feel free to exaggerate that. I'm going with something very default here, but as you can see, there's some curves right here. Now the rest of the leg. Now another leg right here. And here I'm going to have the leg a little bit termed as well. Same thing here. The legs turn a little bit to the side as well. We'll make this circle here a little bit better so you can understand it. All right? And now the feet, so we have one foot side and the other one is a bit too. So all we are missing right now is our arms. So one thing to have into account with the legs, for example, that the Insight tends to be straight line. And then the outside, we have some markers. Again, this is all a matter of style. Of course, if you look at the human leg, you'll see that there's always a little bit of curves on both sides. But in general, the outside of the leg is always more. Go. Alright, let's go for our arm stand. It's the only thing missing. So we go back to here and we see where the arms are going to be here, no reference. So we have our shoulders types right here, right here. Right? Now, we have a shape going down to here. We have here an arm. And now the other side of our rhythm. Again, I like to keep one side straight and the other we have some curve a little bit of a good. And then we have our hands. Let's keep it fairly simple. There we go. Right? Not for the other arm. There we go. We have it here, one side of the arm, and then the other side. And we have our hand right here with our thumb. There we go. We have all our shapes. For our three-quarter view. Once you got the shapes, everything else becomes much easier. Now, all we need to do is to practice the shapes over and over until we are comfortable with them and they make sense for us and wants to do that. Follow me to the next video where we'll be refining, destroying with a more detailed sketch and finally cleaning everything out with some final lineup. So I will see you right there.
5. Cleaning Up The 3/4 View: All right, Here we are. We just learned our shapes, maybe practice them a little bit. If not, that's fine as well. And in this video we're going to be cleaning everything up. So I have here my shapes, the ones I did in the previous video. And now I'm just going to copy them and move it to this side. I want to keep here the original one so that we can look at both versions side-by-side and see how different it will look after we do our more detailed sketch. So I'm going to create here layer on top. Now, I'm going to keep my pencil brush. Again. This is the one I use for sketching. I feel that having different brushes for sketching and then for the line that helps a little bit just so you don't get confused with anything. So feel free if you're doing this digitally or even traditionally. Feel free to try different mediums, different brushes, and see what you like to work with. So we're going to start again. I'm going to start with the head, basically, which is going to be going over all these shapes, creating it up a little bit, right? A bit too messy right now. So I'm going to go over all of these. The head, I'm going to keep this guideline is right here. Then we got our neck and our breasts. Then we continue going down, then out again. We have our belly button here. Now here on this side we see the torso behind the breast there because the breast sign the front right. But the torso goes usually goes a bit beyond the press six appears behind them. Of course, it also depends on their size. But if you're looking at the body from a three-quarter view, you always see the dorsal picking right here. The arm goes in front of this part of the torso right here. So this is the time when we're doing this. It's a good time for us to fix any mistakes we might have done during the, the first sketching phase. And I'm going to keep the hands fairly simple. We're not focusing on trying this kinds of things. So I'm just going to keep them as shapes. So I'm just refining my shapes here. All right, so now we have our legs. So like I mentioned, I keep one side of the legs pretty straight there and the other side. I got some good. As you can see, I'm just going over all my lines. Sacred time. There's no need to rush. It's also a good time for you to practice your lines a bit more. Again, go over everything you've done so far, see if there's any mistakes and fix them. So I think we're all set. Once you're used to these shapes and trying in this field, it's time for you to go in and experiment with different types of bodies, different types of shapes. What do you like the most work with? I think they had was a bit too much the sides, so I moved it a little bit. And now everything seems like it's in the right places. So once checking this, you can go and start drawing your final lines. So that's what I'm going to be doing right now. I'm going to copy this one again. I think it's better. So we can keep looking at our sketch and we can see the progress we did from one drawing to the next. So now I'm going to add some transparency here. Adds, this time I'm going to add a vector layer on top. I'm using here eclipse paints. And they have the Vector Layer Option. And the wisdom I used to vector layers for my line art is because you can edit, move it around, you can resize it, you can do whatever you want, do your lines in this layer, and you want to lose any quality. So this is an option I would really like because I tend to move things around a lot. And this way my lines will always keep their quality. So now I'm going to use a pen brush to go for my line art. Again, feel free to look around your software of choice. Or if you're doing this, what kind of tools you like to work the best experiment with them. This is a very important part of your art journey is figuring out what kind of tools you like to use an inside those tools, there's always so many options that it's always worked to explore them, experiment with different things until you find those things you really like. We're always learning. And the tools should you choose right now might change in the future. You might find something else you like using in the future. Be always on the lookout for new stuff for you to try. Is she need to repeat your lines over and over. That's fine. It's part of the process. As you can see, either the same, a lot of times, I'll just draw your lines until you are happy with them. I'm going to keep the hand-shaped very simple because we're not focusing on this part of the process is fairly simple. We're going over our sketch lines, cleaning everything. Also, your lines can be as messy, as pretty as you want them to be. It's all about style and your own preferences. So that's something you can experiment with. As you do these practices, as you learn new things. Don't forget to experiment with your lines with the way you call it things. Even if you're working traditionally remembered this always time and space. To fix things. You don't need to do everything perfect right away. You can always fix your drawings. All right, I'm happy with the result. As you can see, all the proportions are dare, even when you're cleaning, tried to focus on the overall figure, on the overall body. And as you'll feel more comfortable and confident than you can start adding white details and refining everything as you go. So in general, I would say to keep the body pretty simple at first, practice those things, and then you can do whatever you want. You can add some hair to your character, you can add some clouds. You can have all the hands and fingers, all that tells all the feeds and anything else you might want to add. This is it for this video, we have a full female bodied drawn in the true quarter view, but don't go yet. We have some more videos, so I will see you in the next one.
6. Your Turn! Assignment: Hi and welcome back. We just went through the whole process of drawing a female body from a three-quarter view. So now it's time for your assignments. I'm giving you three images, all of them from the same view. Now, all you need to do is pick one of them and draw it. Just follow every step I showed you in the previous videos. Start with shapes, practice those shapes. And then when you're ready, clean everything out. Once you're done, feel free to share it. I always love to see your assignments in. I can even give them some feedback if you want. So this is it for this video. Take your time and I will see you in the next one.
7. Before You Go: Hello again, and thank you so much for watching. I just want to say a few words while you watch the squeaks, speed painting in the background. By now, you have probably learned quite a bit about drawing the three-quarter view. So remember to practice the shapes a lot and don't be afraid to use a bunch of references to help you out. Re-watch the videos as much as you want and don't give up. You've got this. I do hope you've enjoyed the class and that it was helpful for you to do consider leaving a review so more people can find it. It also really makes my day reading the feedback from my students. I do read every single review. Have fun, and as always, keep on drawing.
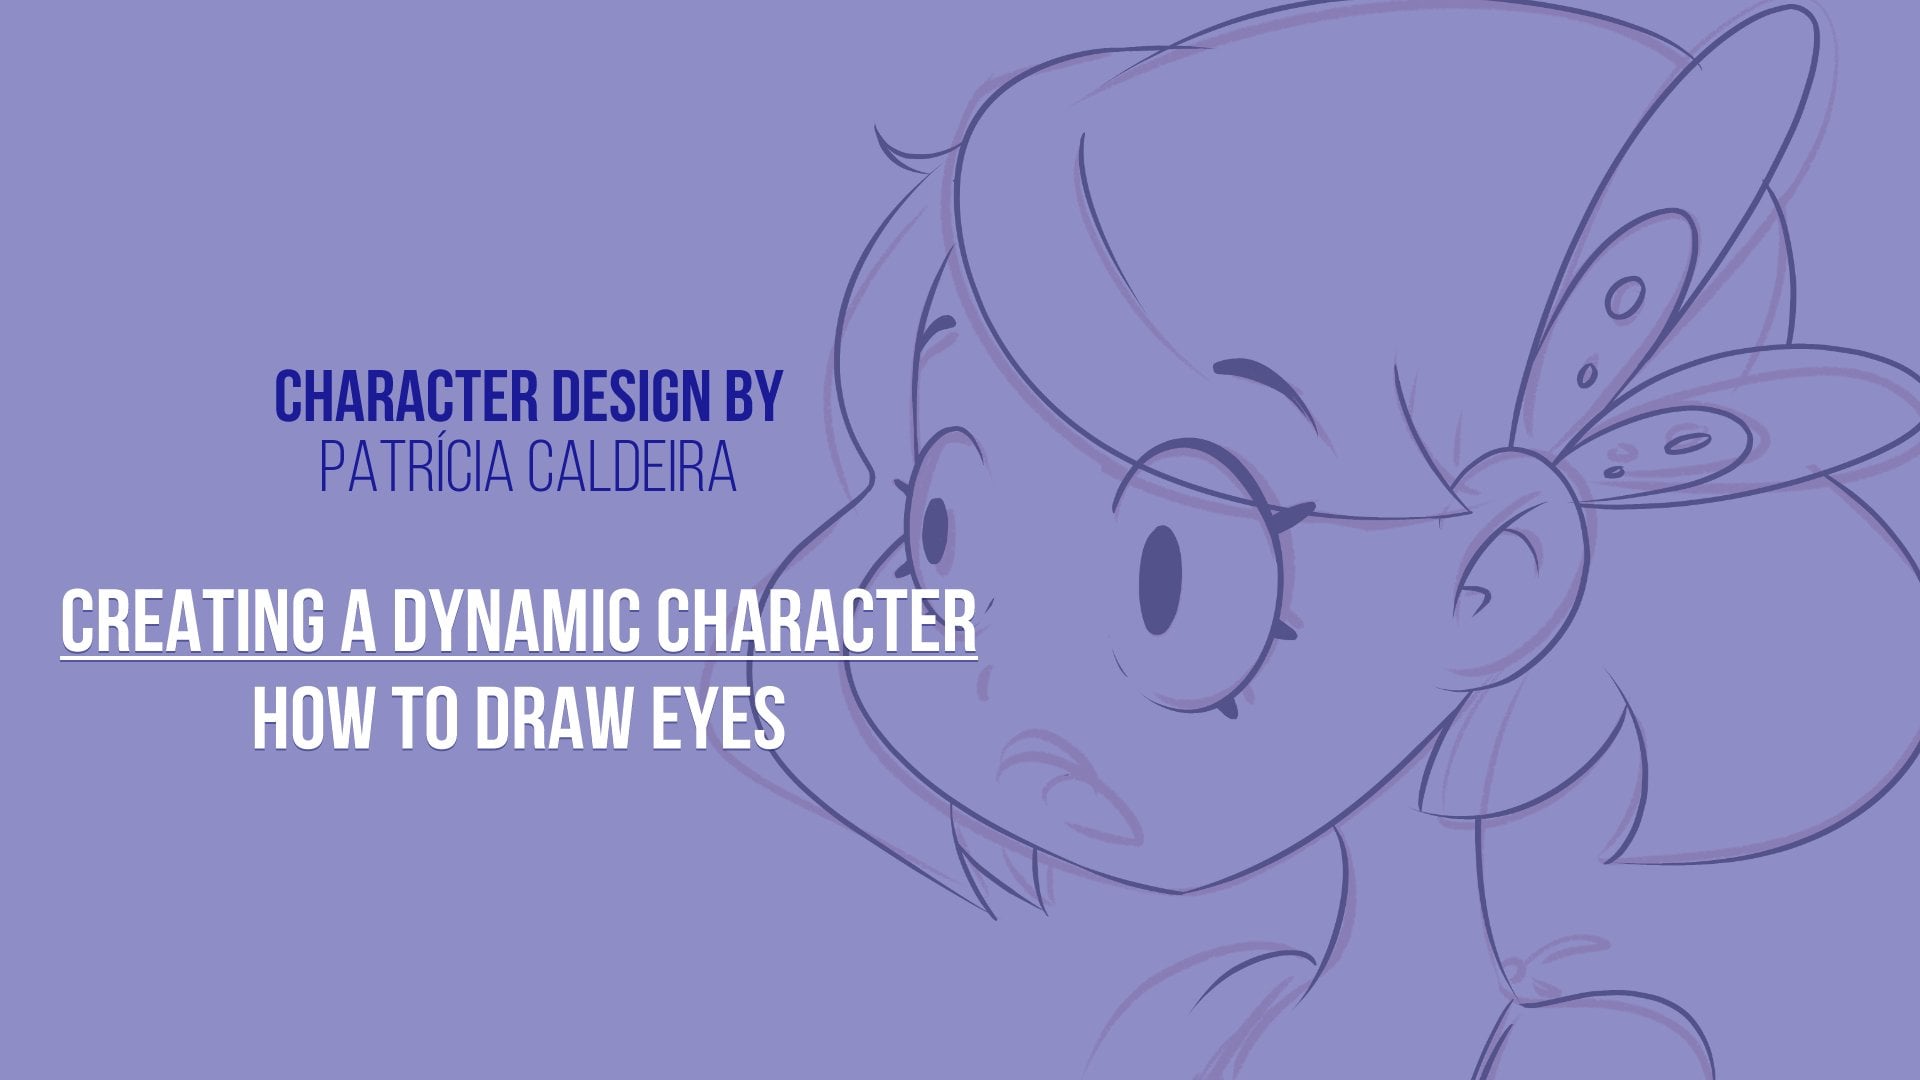
 Patricia Caldeira, Illustrator | Digital Artist | Designer