Transcripts
1. Intro: Hello, fellow artists,
and welcome to this class on drawing
cute eyes on Procreates. Now, this is a very short class, and at the end, you will have some very cute eyes to
draw on your characters. In this class, we'll start
by talking about references, and then we'll start
actually drawing. So we'll start with the base
sketch and simple shapes. Then we'll go through
a more detailed sketch until we have a final drawing. I will give you
references for you to study and use for
your practices, as well as a template
for your assignment. In this template, you will have a character
where all you have to do is draw your own
version of your ue eyes. So are you ready
to start drawing? Then join me and follow
me to the next video.
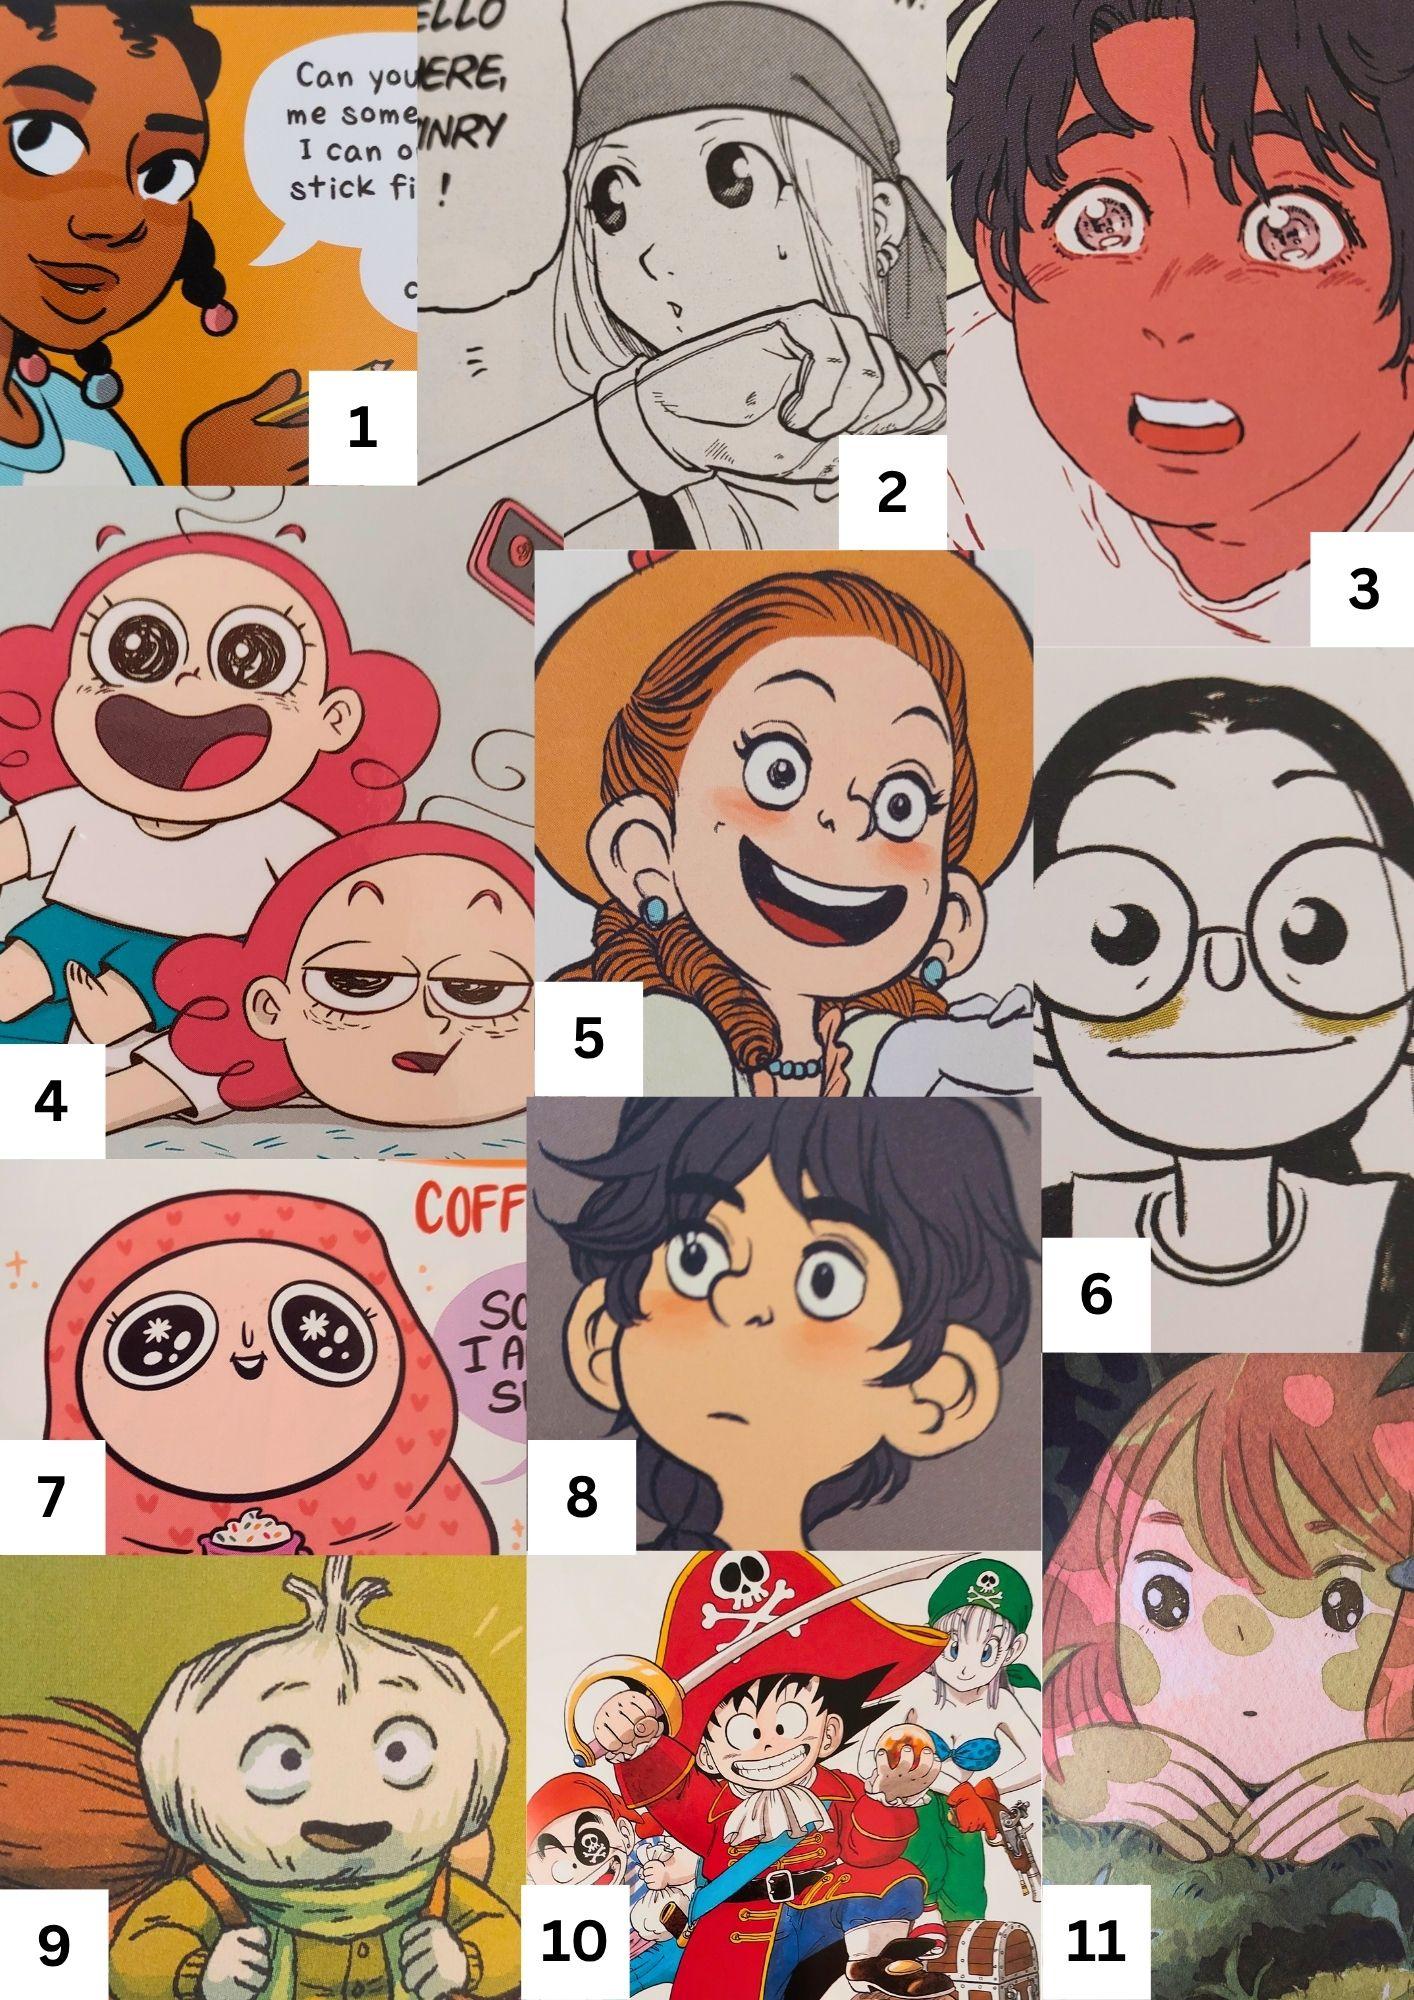
2. Adorable References: Hello, and welcome. Now before we start drawing, and I'll promise we'll be
doing that very, very soon. I just want to give you a few references that we'll be using
throughout this class, as well as a list of where
all of these are from, which books, which
artists, and so on. So you can download those if you want to use them for
your own practices as if not, you can also look
for your own references, search for the artists
that you love, books, movies, video games. Anything serves as reference. And mostly this is it
for this video just to talk about these references
that you can download, and I will see you
in the next video where we start all drawings.
3. Let's Start With The Base Sketch: Hello again, and welcome
back. This is it. We're going to start to
draw this time around. And first of all, I got
here my references. As I mentioned before,
you can download this to use as
examples if you want. And as you can see, we
got here some variety. So we have some simpler eyes, for example, this one, this
one as well, and this one. And both of these are also quite simple and the
garlic one as well. So very simple, not a
lot of details there, but then we also
got something more complex or with more
details such as these ones. These are also a bit different, more anime eyes that
sometimes can be very, very detailed, like
both of these. So yeah, these are
just a few examples. But as you can see,
when drawing cute eyes, at least for me, it's
all about round shapes. So as you can see, all of these are drawn mostly
by using circles, ellipses, and anything in that range of circular
or round shapes. So yeah, we have
these references. And the first thing I
want to do first is explore what kind of cute
eyes we would want to draw. So I will try and draw. Based on this that I've seen, I will go in and
draw a few shapes. This is going to be mostly it's very simple shapes, no detail. So I'm going to add
here a new layer. And then I'm going to
grab my pencil brush. What is it, or right here it is. And what I'm going to do is just start with
simple sketches, just focus on simple shapes, but explore different designs, let's say, explore
different styles. So let's start with the circle. So we have something like this. And we can have the inside
of the eye quite big. Another option is to have
our eye still circle, but make the inside
a bit smaller. Another one I like, I like the
idea of having the circle, but it's not complete. So we omit here some areas or we do thicker lines than others like this,
so we can try that. I'm going to keep the circle, but very likely I won't apply
too much pressure here. And now I will draw the top line and the bottom
one, and I will circle. This is usually my favorite way to draw cute eyes very round, but instead of the full circle, just the upper and
the area below. So basically the area where our eyelashes are
something like that, we can even go over here
and add some eyelashes. But let's explore other shapes. Let's see an ellipse. So we got something like
this with the inside, right? We can also do this. So something like
this with the eye, but only a part of it and
add some eyelashes as well, for example, let me
see what we have here. We also have this
very simple style. So again, the ellipse, but we have here, and then just the
eye, very simple. So we wouldn't draw this area. And of course, we
could do, for example, this ellipse this way, or even this way, perhaps, let's try half circle. So something that we would
see with anime, right. So something like this and
like this, this can also work. Let's try something
similar again and now apply more
pressure to one side, and then our circle for the eye. These are a few
examples, and of course, we can try and make a
smaller I like this one, something like this,
that could also work. Now, I'm not adding
any details such as those bits of
light in the eye. Now I just want to explore here the shapes
and the overall design. We'll take care of details
in the next video. But, yeah, I think
these are enough. We have quite a lot of
different designs here. So for me, these
are the main shapes I would use for
drawing cute eyes. I think that the round they
are the cutest it will be. So these are my shapes. These are my explorations
of different styles, basing myself here on the
examples I have here to decide. But once again, you can
choose other references. But the important
thing is to explore. Just to explore
different things. It can be more than this. It can be less as well. That's fine. But explore different designs. And then just take your time. And once you're ready, I will
see you in the next video.
4. Add Details - Detailed Sketch: Here we are welcome
back once again. And now that we explore different designs and
different styles of cute eyes, it's time to choose one of them, our favorite, and then work on it a bit more
adding more details. So for me, I like something
between these two. So I'm going to use this one. And then add the details I want. So I'm going to copy this. So I went for my selection
tool over there, use the free hand option, make the selection I want, and now I tap copy and paste. And now I have here the selection
I just did and copy it, and now I can just hide this
layer and we have this one. I'm going to go to
my Transform tool and make it a bit bigger, right. Now I'm going to
lower its opacity, create a new layer on top. Pick up here another color. This is mostly preference, and you might prefer
doing things other way, but I like to have different
colors between my sketches, so it's easier to identify them. So right. I do like this shape, so half a circle shape, something like this, perhaps. Now, I like it to
be a bit rounder. Yeah, more like this. And now I want this area to
be a bit thicker. So where the eyelashes
will be, right? This is still a
sketch, by the way, so you don't need to
be too detailed or too perfectionist with
this part. All right. Now I want to add
a few eyelashes. So just two or three quick
and small strokes like this. And now the side of the eye going to be very
loose with this right now. I don't even need a perfect
circle right at this moment. There we go. So as for details, I like to keep
things very simple. So the three eyelashes
are enough for me. Now for the tiny bits of light inside our eyes
where the light reflects. And usually, I would
keep things very simple and just do something
like this. That will be it. But for this class, I want to perhaps
explore this a bit more, just to make things
a bit more fun. So let's see here what we have. So we have this example here that has lots of bits
of light in there, which is really
cute and I like it. Then we have simpler
ones like this. I also like this one. We have the bit of light, but also these bits here, these blanks that are
caused by the brush itself, by the texture of the brush, that kind of adds more to it. That's fun. What else? I really like this one,
and I show you this one because I like the idea of
having different shapes. Instead of doing just a dot or something like that,
explore the shapes. I think that could be
really fun. So let's go in. I'm using an eraser here. But that's mostly by preference. I want to remove instead
of adding more stuff. But you can actually
just use a brush, pick the color white and draw the shape you want or
the kind of light you want. So let's see if I made a star. I think a star will
be really cute and maybe a dot or two
here and there. So adding lots of
cute dots in there, I think it makes it even
more cute the whole design. So yeah, I think this
could work really well. But let's explore other shapes. For example, we
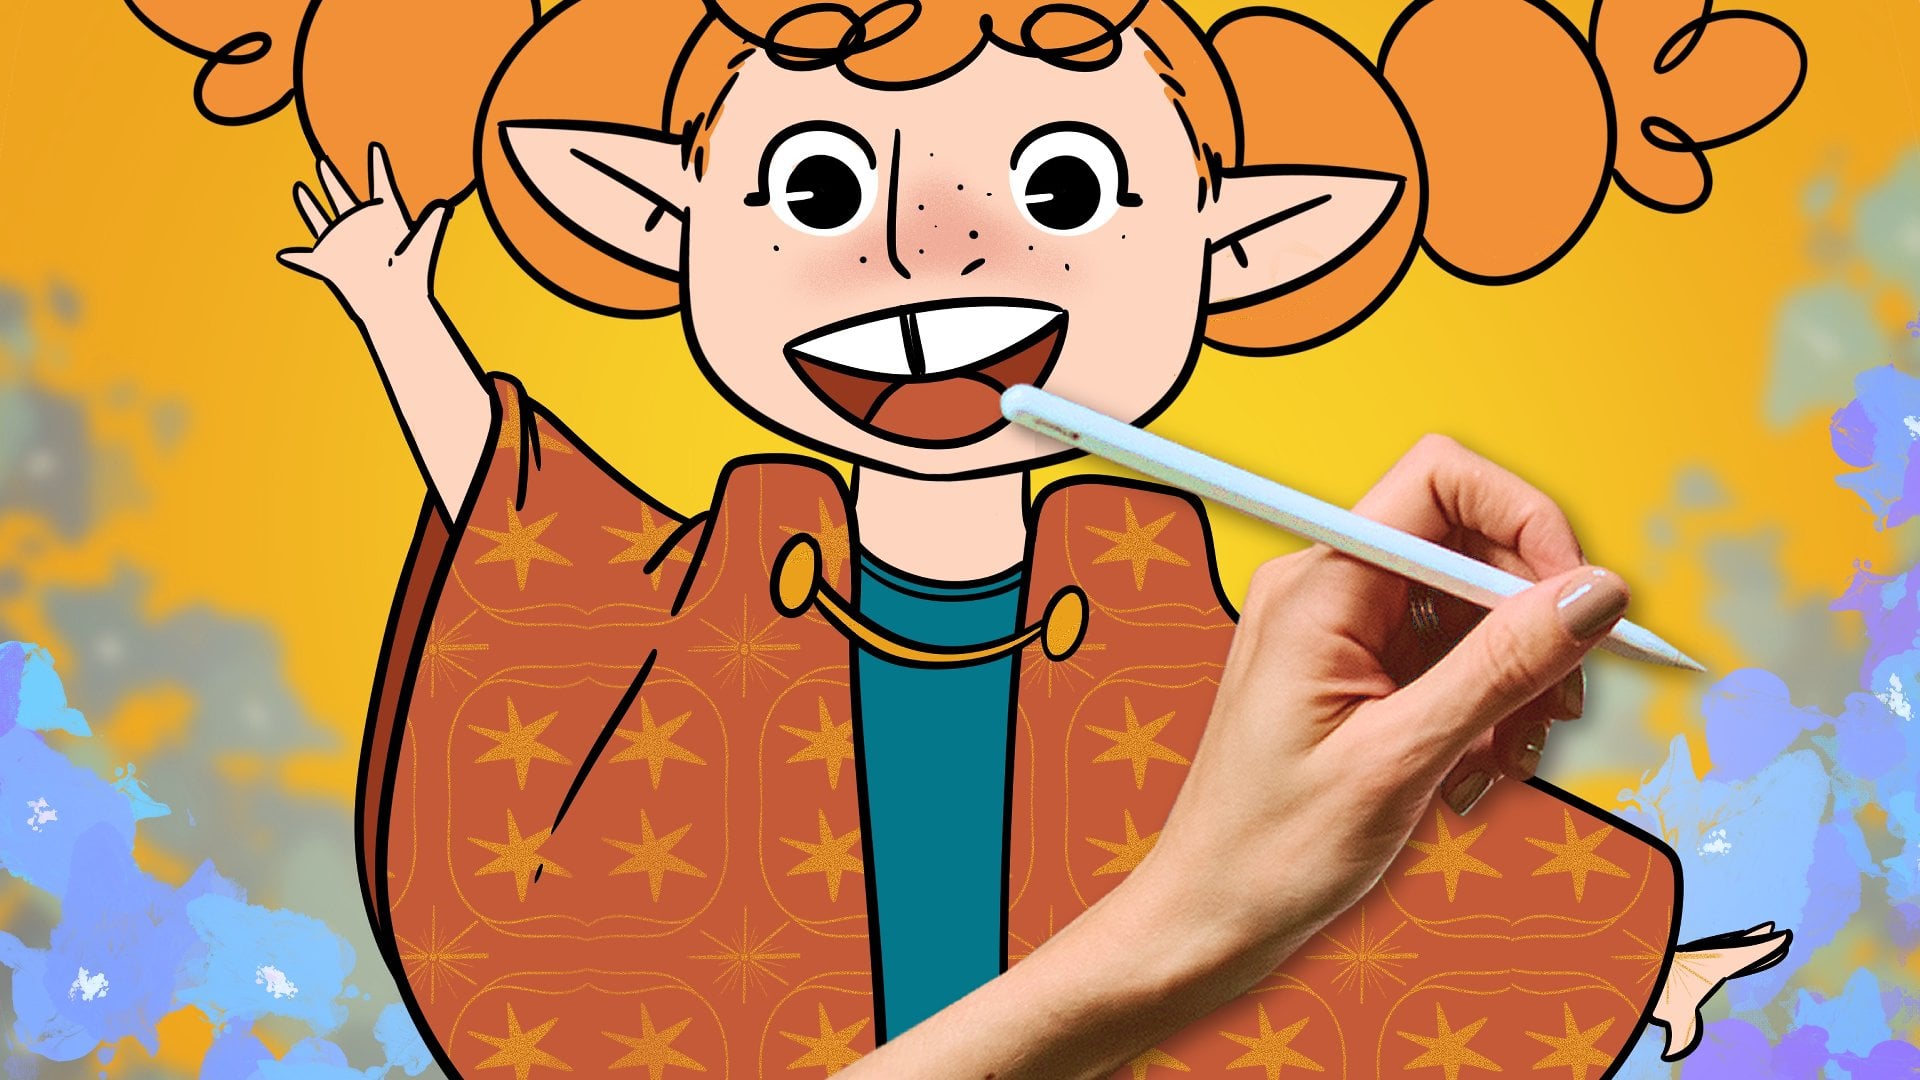
can do a triangle. Triangle works. I don't know if you've seen the movie Nimona. They do actually do
that in the movie, and the characters have
different shapes on their eyes. That's really fun. Like
some have a square, others have a triangle. And I think that's
really, really fun. Maybe a los angle,
like exploring shapes, going a bit out of the box with this and make
things a bit more fun. And this way, you'll
also be creating a character that is a
bit more unique, right? It has something
different on them. They look a bit
more magical, even. So yeah, explore that. I like the star.
The star is cute. And that's what I'm going to do. But once again, explore
different things. I like using the star, but complementing it with a few dots here and there,
something like this. I think this looks really good. And when we have them both eyes, I can't wait to see
how it will end up. But yes, this is it. This is our second phase. Refining our sketchy bits, adding those details
you want to add. Of course, you don't
need to add details. I mean, we have this
example right here. It's just the eye, a black dot, the upper part of the eye, the lower, and that's it. That also works. So that's why it's important to explore and try
different things. But I like this style for now. So for this video, this is it. Take your time with your sketch. You can even try different
sketches, different styles, different eyelashes,
different bits of light on your eyes. I don't know, whatever you want, you can just explore that. And I will see you
in the next video.
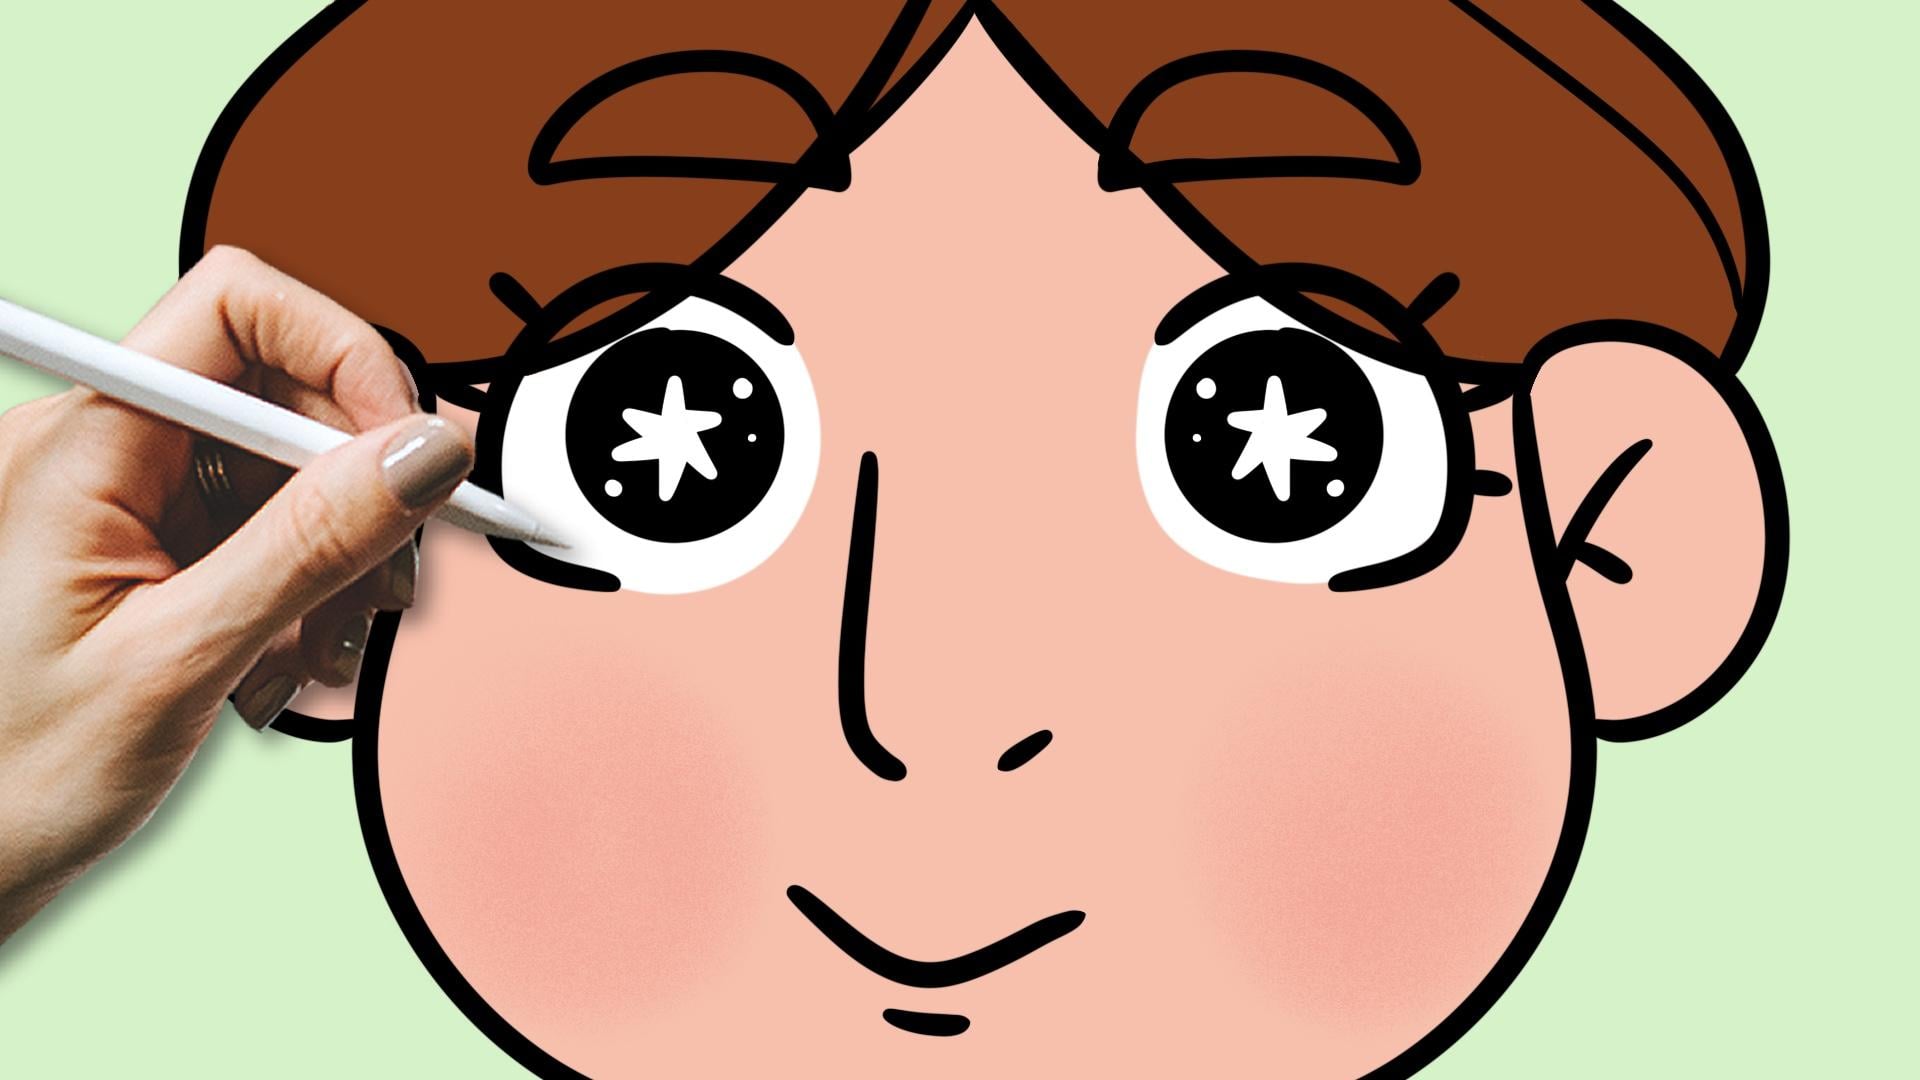
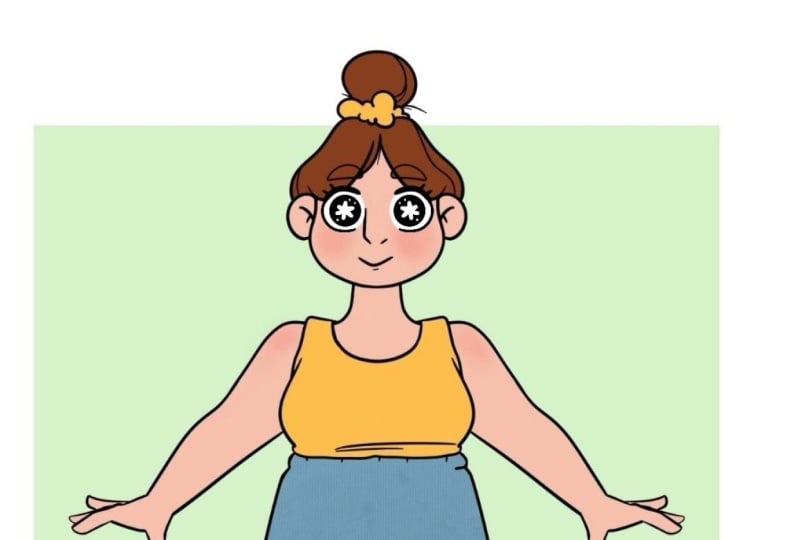
5. Finishing Your Drawing: Now, our sketch is done. Now what we want to do
is finalize our drawing. And for that, I have
here this image, and this will be
your assignment. I have this template
for you to download, and what I want you
to do is download this and then draw the
Is on this character. So the drawing you just did, will then move it to the
face of this character, refine it and
finish our drawing. So this is it, download it and draw the eyes, and once you're done,
share it with me, post it, so I can see it and give you
any feedback you want. If you want, you can use
your own character as well. You can draw your own character. That's totally fine, and it will make things even
more unique for you. So you can do that as well. And with that said, first, I'm going to hide this layer, duplicate this one, and I want to scale it down to
fit my character. So I'm going to go over here to my transform tool or scaling tool and resize
it, bring it here. Let's see. Okay,
I like it pretty I think I like it
pretty big this size. I think it would look
cool. I could go. I could make the eyes
smaller like this. But I do like going big. Sometimes bigger round
and really big eyes going bigger than everything else in the face can make
things even more cute. As we see, generally, I think that both
manga and anime, even hibi characters
translate that very well. So we always have those really big eyes that
make things cut. But sometimes the
opposite can also work. That's why it's so important
to explore things. But I think I'm going
to leave it like this. Now, I'm going to use a bit of a shortcut to make
things quicker for us. All right, so now
what I'm going to do, I'm going to
duplicate this layer. For my second eye, I will go to my transform
tool once again and then choose flip horizontal and
move this to the other side. Now, I will merge both of these together and I can
do that by either tapping the layer that is
above and then tap merge down. Or I can just make
this pinch move, this pinch gesture
in both of these, so they are together.
There we go. They merge together
just like this. Now I can move things around, see if they are positioned
as I want them, and I will lower the opacity. There we go, and create
a new layer on top. And now this is the
layer where I will draw my final lineart. I will pick black
as my line art, and I will grab my favorite
the Lin art brush, which is this one,
the studio pen. Let me see the size. No, that's way too
big, smaller perhaps. So it fits the rest
of the drawing. There we go. That's perfect. And now I will start.
I will just go over my previous lines and start my line art.
All right, perfect. Now I want this area to
be a bit thicker, right. That's what we did in
our sketch, there we go. Now some eyelashes, one, two. Now I have to be careful here so it doesn't intersect
with other lines. So this is something
you might want to pay attention to as you draw. Maybe we can keep
it to otherwise. There's a lot of lines in here and that will look a bit weird. Let's keep it to two
eyelashes here at the top. And now, finally, for the
inside part of the eye. Now, if you want to
draw a perfect circle, you can just draw your
circle and that's it. But if you want a
perfect circle, what you can do is
make the shape, keep your pencil
down on the screen, and then an option
will appear to you. So I will show it to you.
It there, there we go. See now I have here an ellipse, and we have this option, tap the arrow and then
move to a circle. And then you can move it around as you want it, and there we go. Once you're done, just tap
here the transform tool, for example, and we have
our perfect circle. Now, I will just add
the colon inside. There we go. I'm
loving it already. And now let's pick
here the white. This time, I'm going
to use the brush, it's time to add
those bits of light, right? Here we go. Now want that here.
Another here. Do I want another?
Yes, I want another. I want to go a bit
overboard with this. And there we go. So
now, I would say, and I think this is really
important if you're a beginner artist and
you're not yet to used to doing this to draw both eyes because it's not easy to draw
both eyes the same, and it's something
that is good to practice and get it more or less right because truth
is you will never draw both eyes exactly
the same by hand. That's basically
impossible unless you're some kind of genius. But it's good to practice and have that
learned, let's say. However, if you
really want things to be symmetrical,
very symmetrical, or if you just want to
quicken things a bit, to process a bit, what we can do is do the same
thing we did before. So I'm going to
duplicate this one, go to my transform tool, and then flip it horizontally and move it to the other side. We even have these
snapping lines here to help us have both eyes
at the same level. Now, once again, I'm going
to merge them together, and I'm just going
to move things a little bit around like this. So it is centered, there we go. And I'm going to hide my sketch below because
I don't need it anymore. Now, this is an option. It's a bit of a shortcut. And if you're drawing every day and doing your work
or whatever it is, it is something that
you will use a lot. But yeah, this is
almost finished. Now, what I like to do, and again, this is preference, I don't like to have
the inside of the eyes, the part behind the
color of the skin. So what I do is I go below
it and paint it with white. So I'm adding a layer below
my eyes, and with my brush, I'll go in and paint this whole area like this and do the same
on the other side. For me, doing this helps
the eyes pop up a bit more. So this is how I like
to have them and look at my character.
She looks so cute. This is it. The whole process
of trying some cute eyes. Don't forget to download this template for your
assignment. Just have fun. Take your time. If
you change your mind, you can change
your mind and draw the eyes some other way. But yes, just take your time and I will see you
in the next video.
6. Conclusion - Before You Go!: Hello again, fellow artists. So first of all,
fantastic work and congratulations on
finishing this class on drawing some cute
eyes on Procreate. Now, don't forget to download the template and do
your assignment. Once you're done, don't
forget to post it, so I can see it, give you any feedback you want or answer any questions
you might have. Also if you enjoy this class, I would appreciate
if you could leave a review so more people like
you can find this class, and so I can keep on making
more classes for you. Thank you so much for watching. I hope you enjoyed this class. Feel free to watch
all my other classes. And remember, keep on drawing.
 Patricia Caldeira, Illustrator | Digital Artist | Designer