Transcripts
1. Class intro and tools: Hi, everybody. Welcome to
another step by step Tutorial. This is, and today, I'm going to teach
you how to draw going from the anime HantaHanta. First, we start by sketching, then we'll move on to inking
and finally coloring. So by the end of this class, I want you to share
your drawing as well, and I will give you my feedback. So without further ado,
let's go down to business.
2. Drawing Gon using alcohol based markers: As you can see, I already
drew a perfect square. Each side is force inimter, but you can draw it in
any size you want to. If you'll check the
description box, you can see all the materials I'm going to use
for this tutorial. Of course, you don't have to purchase all the
materials I'm using. As long as you got an HB two
pencil, we are ready to go. Okay, so first,
I'm going to start by drawing the
shape of the face. This is going to be
a free coded pose. Next, I'm going to
draw this guiline in the middle to mark the
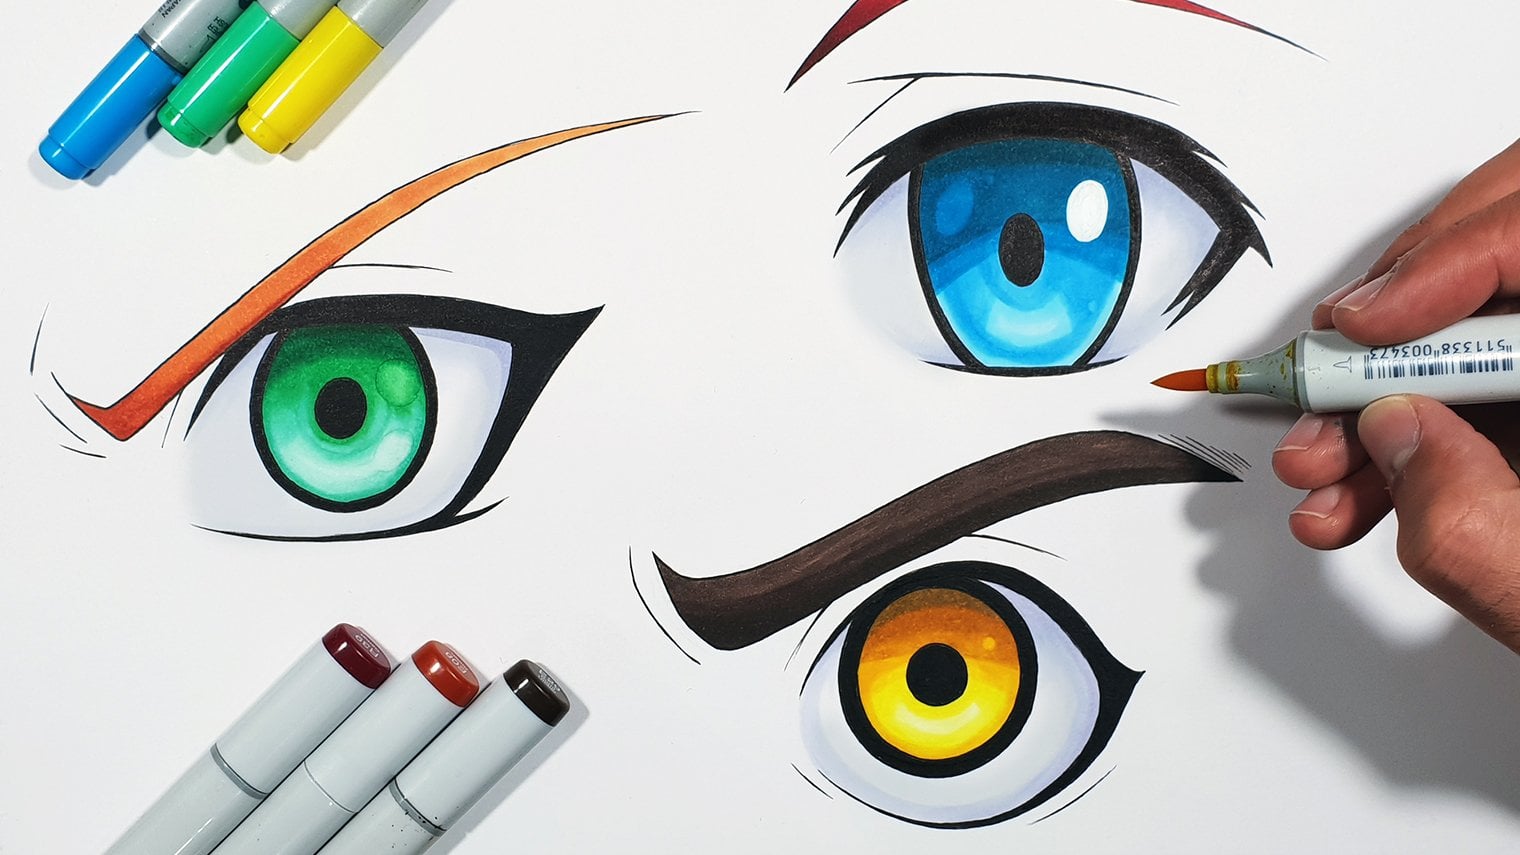
center of the face. Now I'm going to
draw the shape of the eye and I'm going to place the eyeball
right above it. It's going to cross it actually, and I'm going to give it
some thickness at the edge. Next, we are going
to draw the iris and the pupil in the center. It's going to be slightly
to the right though. I'm going to give some thickness to the eye lashes as well. Now, the left eye
will appear a bit bigger because it's going
to be closer to our eye, and we are basically going
to do the same process. If you want, you can start with the eyebrow and
then draw the eye, whichever suits you best. Awesome. Next, I'm going
to draw the nose simply by drawing two curves
parallel to one another. Make sure to draw the
nose really pointed. And we'll draw the mouth right here about the center of
the bottom rectangle. We'll add his bottom lip and make sure to
erase that part. That's just their drawing style. Awesome. Now we can add the ears so you can
follow these steps. First, I'm going to draw
the shape of the ears, and then I'm going
to add the detail. And just like before, his white hair will
appear smother. Again, because of the distance. Awesome. Now we are going
to draw his hairline. So first, I'm going to mark
it by using this guideline, and then I'm just going to add some triangles. Awesome. So once we are done with that, we can draw the
rest of the hair. So first of I'm
going to start by drawing two spikes,
one on each side. Then I'm going to
draw this guideline. I'll use it to keep
the right proportions, and then I'm going to
add five more spikes. So we'll do it like that. One big, one small, one really big, one
small, and one big. And then I'm simply going
to mark the highlights. Awesome. So now that we
are done with the face, we can focus on the torso. So first, I'm going to
start by drawing the neck. Then I'm going to mark
the shape of the torso. And now I'm going to refine
it by adding the details. So we start with this color, and I'm going to add some
creases to the shirt. I'm just going to refine the
color and add the details. Awesome. So we are done
with the sketching, and now all we have to do
is ink this entire drawing. I'm going to use a 0.5
black pen for that, but you can also use
0.1, whichever you have. The reason I'm using a
slightly smaller tip is because I want to be
as accurate as I can, and I can do that
with a thinner line. And while you're doing
the inking process, make sure to rotate the page so you can have as much
comfort as possible. Don't go against your
natural hand movement. And before we proceed, I forgot to add the pockets. So just draw two
rectangles just like that. And I'll do the inking as well. Awesome. So we are done
with the inking process, and now I'm going to remove
all the unnecessary lines. I'm going to use the notorious
charcoal eraser for that. The reason I use this eraser
is because it doesn't erase much of the ink as opposed to regular
normal erasers. And then I'm going to
use a finer eraser for the stubborn areas. By the way, I ordered the
refill for my eraser stick. It's supposed to arrive
two weeks from now. Awesome. So once we
are done with that, we can start using
the Copic markers. So if you are not familiar
with Copic markers, those are alcohol based markers, which means they can
blend very well. They have a variety of colors. If you'll check your
top left of the screen, you can see the exact number
of copic I'm going to use. I'm going to start by
coloring this shirt, and I'm going to use four
tones of green for that. We'll start with
the brightest one, that will be Y G 23. As you can see, the light will
come from the right side. Then I'm going to use a
slightly darker tone GO five. Next, I'm going to use a darker
tone than that, Go seven. Now I'm going to
do some blending. So to do that, I'm going
to go to the brighter tone again and then add the mid tone, And you can also use
the colourless bender if you want to soak more ink. That way, we'll get an
even stronger highlight. Awesome. And now I'm going to use the darkest tone that will be G 28 for the
most shaded area. And I'm going to
do some blending once again with Go seven. Awesome. So I'm going
to do the same process for the left side and the color. Awesome. So once we are done, I'm going to use two colors for the straps and the pockets. That will be yr07
and orange tone, and then I'll use EO eight
for the shading. Goods. And once again, I'm going to blending with the
brightest color. Awesome. So we are
done with a torso and now we can
focus on the face. So I'm going to start
by coloring the eyes. I'm going to use
four tones for that. Gone has brown honey type
of color for his eye. I'm going to start
with YO eight. That will be our brightest area. Then I'm going to
use a darker tone. Then even darker tone than that. And even darker tone than that. And we'll do some blending
just like we did before. I think I'm going to
add an even darker tone of brown, a really dark brown. Now we color is purple
simply with black. And I'm going to do some
more blending for the iris. Awesome. So it looks smooth
and now we can proceed. So for the skin color, I'm
going to use three tones. We'll start with E 51. Then I'll use a darker
tone for the shaded areas. And I'm going to
do some blending, again, the same method
just that we did before. Now, if you want to
get a solid look, you can color with circles. That way, the ink will
be absorbed better. But for areas that sticks
out more, for example, the bump above his eyes, I'm going to use this
type of coloring. That way I'm flicking
the brush and I get a very bright
area right there. Awesome. So next, I'm going to add more layer with
the same color. Just to create some shade. And now I'm going
to use the Ducreton again to get a deeper shade. I'm going to do the sine of
the neck and I'm going to add one more tone for
the darkest areas. Awesome. Now we can
colour the hair. So for the hair, simply use one color that's G 28 and
just fill this entire area. As you can see, I'm rotating the page that's much more
comfortable like that. Awesome, and now we're going
to use the black color again and just fill
all the blank area. Of course, make sure to color with the direction of the spike. Next, I'm going to
use the green color again for blending. And I left some blank area. I'm gonna fix it real quick. Awesome, so the hair is done. And now all we
have to do is take the white pen and just add
the highlights to his eyes. And the quick tip, if
it's not bright enough, you might want to
add more layer. I actually did it after
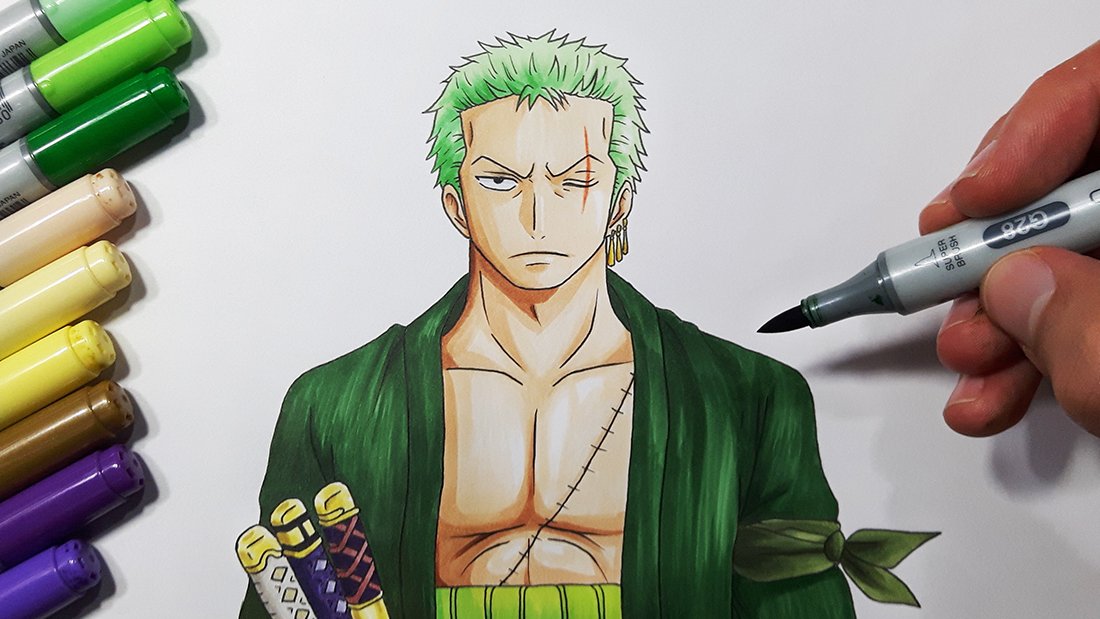
I finished the drawing. And we are done, everybody. This is how you draw go
freaks from Hunter Hunter. I hope you guys and girls
enjoyed this tutorial. Let me know what you think about it in the comment section. That's it for today, everybody, thanks a
lot for watching. Keep being awesome, and I'll see you on the next video. Peace.
 Yair Sasson, Artist