How To Draw Anime Characters: Saitama from One Punch Man | Yair Sasson Art | Skillshare
Search

Playback Speed


1.0x


  • 0.5x
  • 0.75x
  • 1x (Normal)
  • 1.25x
  • 1.5x
  • 1.75x
  • 2x

How To Draw Anime Characters: Saitama from One Punch Man

teacher avatar Yair Sasson Art, Artist

Watch this class and thousands more

Get unlimited access to every class
Taught by industry leaders & working professionals
Topics include illustration, design, photography, and more

Watch this class and thousands more

Get unlimited access to every class
Taught by industry leaders & working professionals
Topics include illustration, design, photography, and more

Lessons in This Class

    • 1.

      Class Intro & Tools

      0:17

    • 2.

      Drawing and Shading Saitama

      9:51

  • --
  • Beginner level
  • Intermediate level
  • Advanced level
  • All levels

Community Generated

The level is determined by a majority opinion of students who have reviewed this class. The teacher's recommendation is shown until at least 5 student responses are collected.

2

Students

--

Projects

About This Class

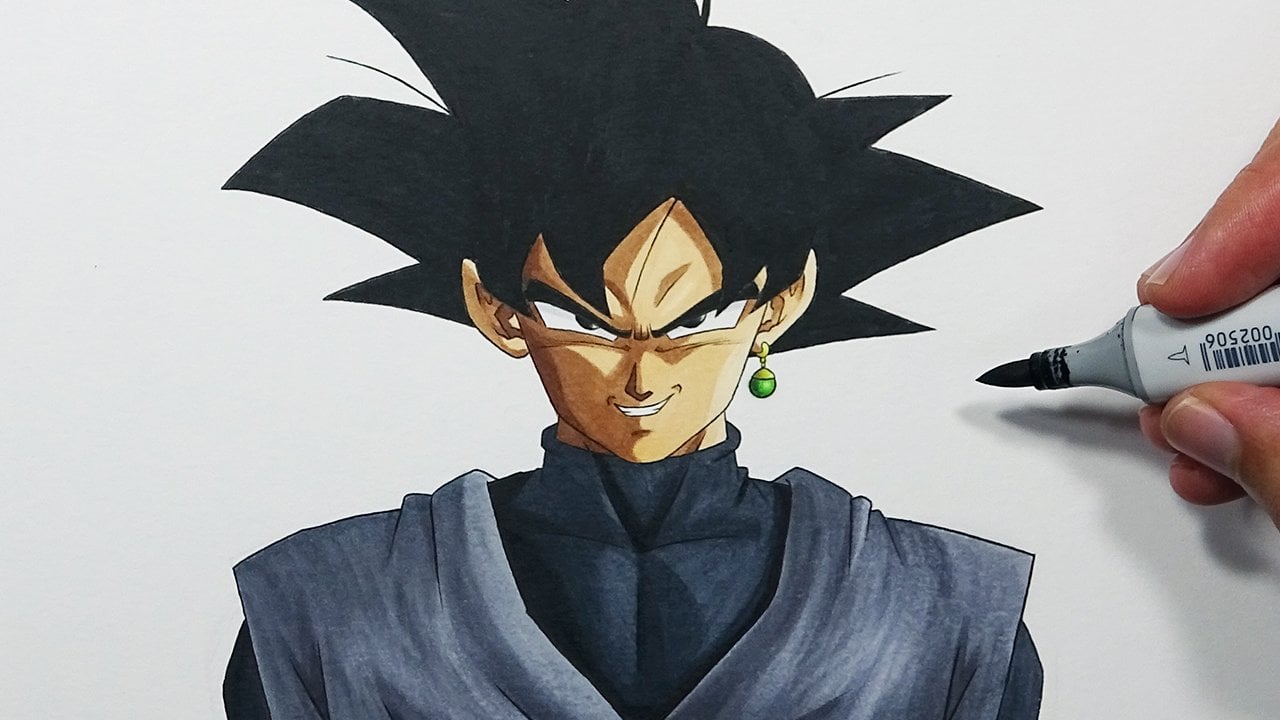
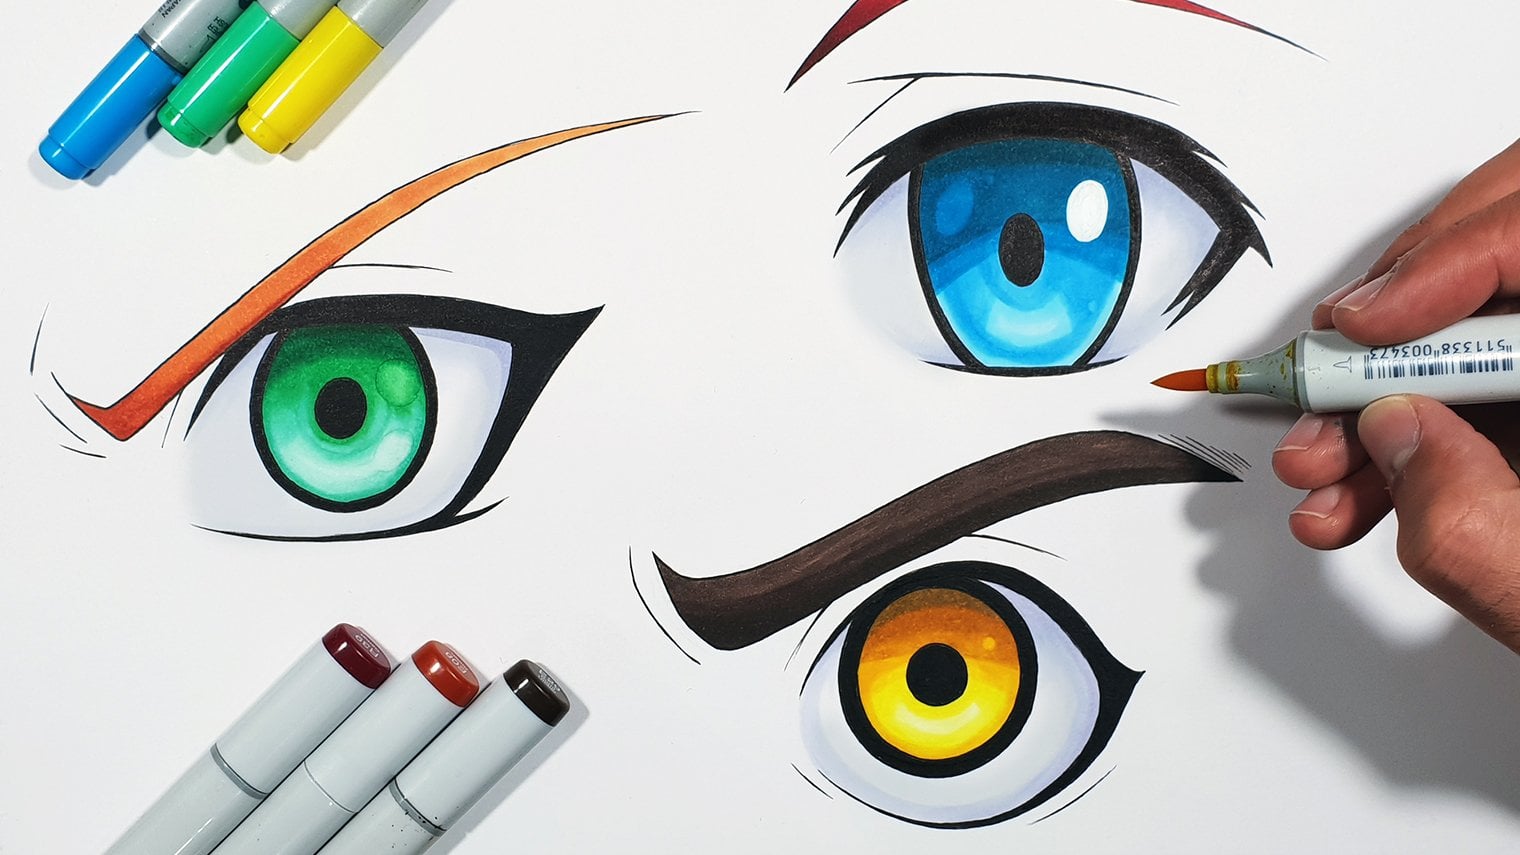
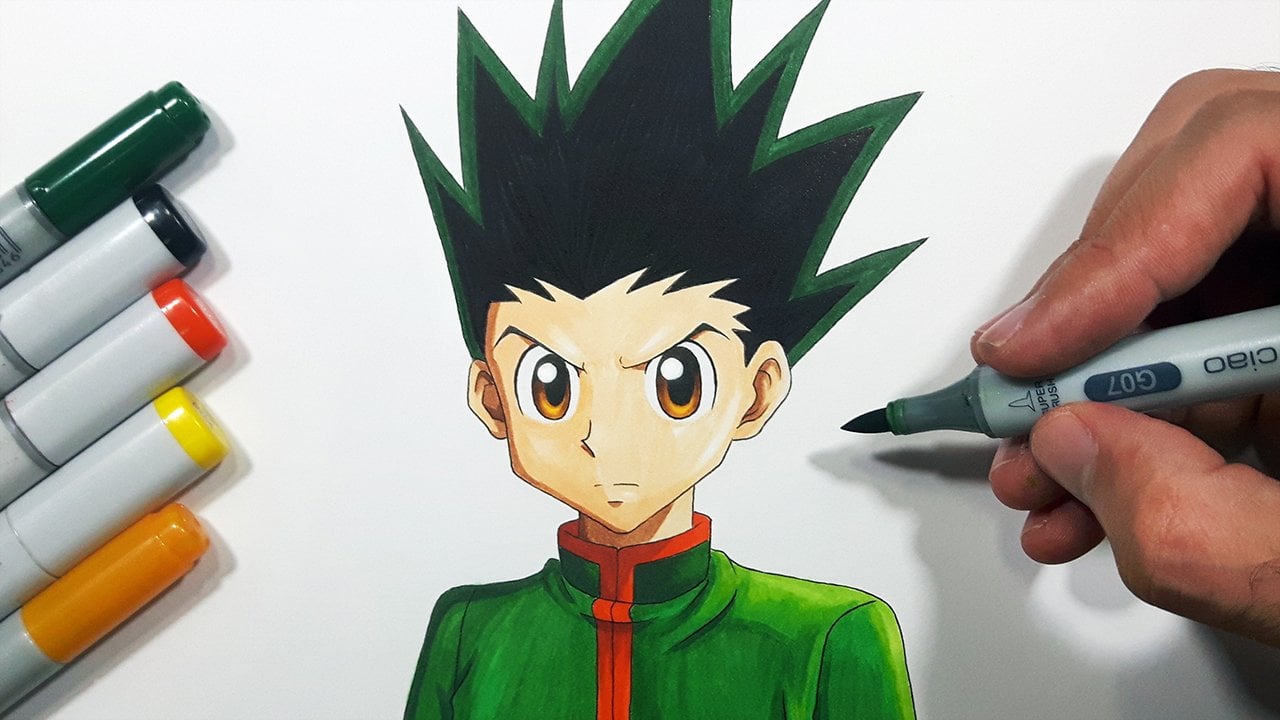
In-depth step by step drawing tutorial on how to draw and shade Saitama, from the popular anime "One Punch Man".

TOOLS NEEDED

1. Mechanical pencil / typical modern-day pencil

2. Your everyday Eraser

3. Black color pencil

4. Sharpener 

5. Paper: You can use your everyday paper printer but for better results, I suggest a paper over 200g.

Meet Your Teacher

Teacher Profile Image

Yair Sasson Art

Artist

Teacher

Yair Sasson Art - Professional Artist, specializes in traditional art, Animator, Illustrator, Teacher to over million followers across the social platform, and Father of Pitzi (My majestic cat).

See full profile

Level: All Levels

Class Ratings

Expectations Met?
    Exceeded!
  • 0%
  • Yes
  • 0%
  • Somewhat
  • 0%
  • Not really
  • 0%

Why Join Skillshare?

Take award-winning Skillshare Original Classes

Each class has short lessons, hands-on projects

Your membership supports Skillshare teachers

Learn From Anywhere

Take classes on the go with the Skillshare app. Stream or download to watch on the plane, the subway, or wherever you learn best.

Transcripts

1. Class Intro & Tools: What's up, everybody? This is Yi. Welcome to another step by step tutorial. Today we are going to draw Citema from one punch man. And for this tutorial, all we need is a simple HB two pencil and a black colored pencil. So without further ado, let's get down to business. 2. Drawing and Shading Saitama: Okay, so today, we are going to draw Stama from one punch man. As you can see, these are the materials we'll use for this tutorial. But basically, all you need is an HV two pencil and the black colored pencil. So without further ado, as you guys can see, I started by drawing a perfect square. Each side is 5 centimeters, but you can draw it in any size you want to. We're going to start by drawing Stama's face. Next, we're going to draw this guy line to help us draw the eyes. Next, we're going to draw the eyebrows. As you can see, they get thinner towards the edge. And then we are going to draw the I by using four lines, four curved lines and then draw the pupil on the center. We'll do the same process for the left side. And then we'll draw his nose by using two lines. And then we'll draw two more lines to create the mouth. As you can see, these are two diagonals. Also, next, I'm going to refine the jaw a bit, just make it a bit wider. And then we'll move on to draw the ear. So first, we'll draw the shape of the ear and only then we'll add the details. Next, we're going to draw Stama's neck. Then we'll draw the color of his shirt by using four curves. And then we'll draw the cape with dynamic lines. As you can see the lines are curved. We want to make it seem like it's blowing in the wind, create all those nice creases. Next, we'll refine the cape by drawing those two black circles that hold the cape. And then we are going to draw the zipper. We'll do that by using geometrical lines. Then we'll give the lines volume by drawing the same shape, but only smaller. And just add one hole right there. Also, next, we're going to get rid of all the lead, and then we'll take the black colored pencil. Make sure to sharpen the pencil because now we are going to go all over the lines. And as you can see, I'm holding the pencil closer to the tip. That way I can have more control. I can be more accurate. I'm rotating the page so I can have my NHM natural hand movement, and then simply go all over the lines by pushing or by pulling lines. From time to time, you want to sharpen the pencil to make those lines look sharp and smooth. So once we are done with that, we're going to take the HB two pencil or the mechanical pencil and we'll mark all the shaded areas. This process is called cell shading. For this drawing, I want the light source to come from the right side, which means that the left side will appear darker. H. And now we can start the shading process. So as you can see, I'm pulling and pushing the pencil, adding more and more layers, and I'm doing that in the direction of the shape. By adding more layers, I'm getting a darker tone. And once we are done with that, we are going to add another shade. This will be our darkest tone. And for that process, we're going to hold the pencil closer to the tip just like before, so we can have more lead on the paper and then get a darker tone. Next, we're going to hold the pencil closer to the eraser and we want to shade the brightest areas, so we don't want to apply too much pressure on the pencil because we want to have a bright layer of lead. And next to get a nice highlight, we'll use the eraser just to make the bald head, just to make the bald head shine. Awesome. So this is the process, and we'll do the same for the cape. Again, shading in the direction of the shape. For the color, I'm barely using any pressure just because I want to keep it bright. And for the zipper, as well, I'm leaving some blank areas to get a nice highlight. Next, we're going to color the pupils, and as you can see, I'm leaving a blank spot on the top right again because of the lighting. And we'll use the same black color to shade those 2 stones. As you can see, I'm also using it to create more shade on Stama's neck just because that area gets a lot of shade from his head, so it's supposed to be a bit darker. And then gradually, I'm creating a gradient on those stones. Awesome. Next, we're going to refine the drawing, get rid of all the lead around. We're simply go to add some shade right below the nose. And now just lower the volume a bit or turn it up if you get the bulge. A the whe pan. Everybody, this is how you draw cytema from one punch Man. Please. Let me know how you did in the comment section, coming down below. That's it for today. Keep being awesome and I'll see you on the next video. Peace. Oh