Transcripts
1. Introduction: Hey everyone, in this course I'll be teaching you how you can draw, create realistic neon are using procreate. Some things you'll learn in this course include using different blending Modes, join with different brushes that are included in procreate, how to create realistic NEA, lighting and so much more. Let's get into the first lesson where I show you how to add a brick background and to procreate.
2. Adding A Brick Wall : First of all, you want to add a brick background photo. To do this, you can go to pixels.com and search brick wall and then download it. Pixels is a great website for free stock photos for commercial impersonally use. Now in procreate, tapped to wrench button, then tap, add, then tap Insert photo to add your brick wall. Next step is to adjust the brightness and saturation, tap the magic pen button, and then select the top option. Now what we want to do is bring down the saturation and brightness bit on this wall layer. So the next step is to tap the Layers panel on the top right and slide left on the brick layer and select Duplicate. Make sure the duplicated bricklayers slugged and they go back into the adjustment panel. We're going to bring down the saturation brightness even more on this. Now make sure the top layer is selected and tap once and then tap mask. This creates a Layer Mask. Next tap on the brush panel. This takes us to the brush library. Select airbrushing, then go down to soft brush or soft airbrushed. Now I'm going to start brushing our pain that's centered that brick wall, this is going to expose the brighter part or the brick wall. You can adjust, they'll pass the brush size on the left-hand side. And if you need to, once you have completed the step, you can head on to the next lesson where we can draw out a donut and create the neon effect.
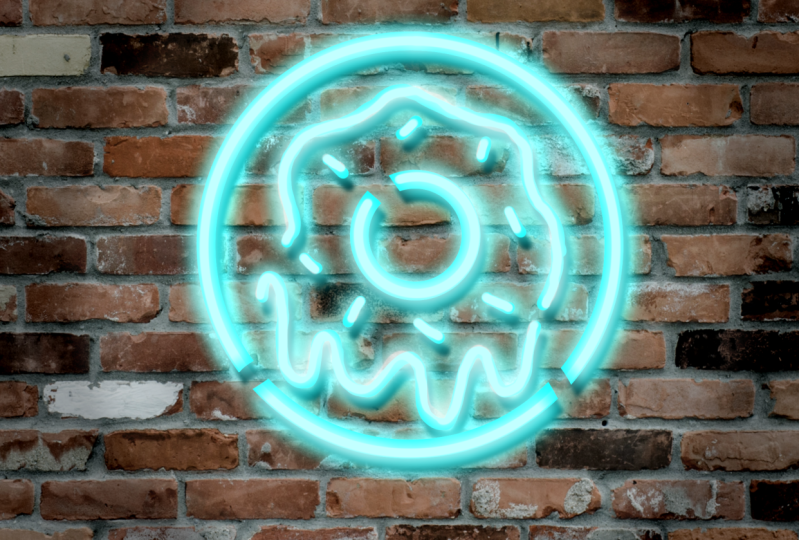
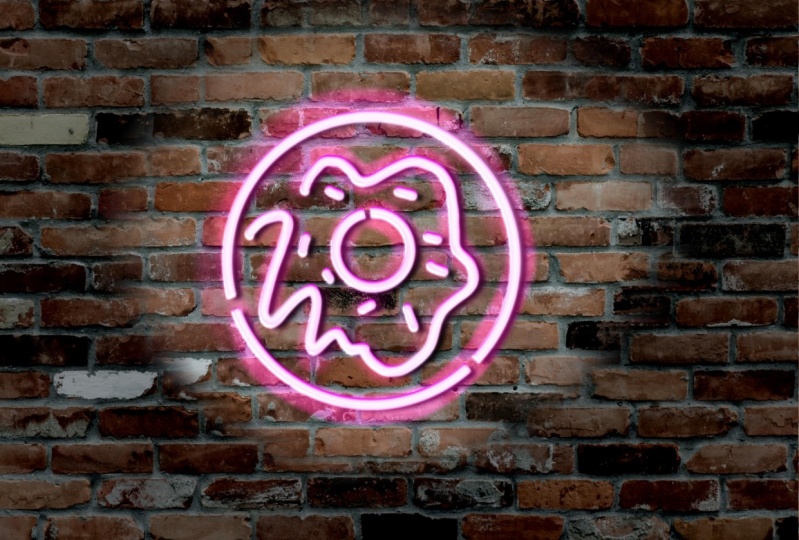
3. How To Create Neon Art: Now I'm going to draw my doughnut. You can draw donut if you'd like or choose something else to draw. To draw this doughnut, I'm going to tap the Layers panel and add a new layer. Now I'm going to go to the brush library tab calligraphy been tapped. The monoline brush on the upper right corner is where you can change the color of your object or text. I'm going to choose the color pink. So I'm going to have a baker brush size for this in to make a perfect circle, all you have to do is draw out a circle, then tap and hold down the screen with your finger. To give this neon doughnut a more realistic neon tube effect, I'm gonna tap the eraser tool and start erasing away parts of the donut. So using the same layer, I'm going to draw the center of the doughnut with the monoline brush. Do the same technique by drawing a circle and then hold down with your one of your fingers on the screen to create perfect circle. If you wanted to undo something in procreate, all you gotta do is just tap the screen with two fingers. Now I'm going to paint on the proscenium dropping effect using the monoline brush. I'm also going to Johnson sprinkles on the frosting area. Once again, if you mess up, you can just tap the screen with two fingers and it'll undo. The next step is to create a shadow under the doughnut. To do that, tap the Layers panel, select the doughnut layer and swipe left and tap duplicate. Make sure the bottom donut layers selected. Now tap the cursor tool and move your bottom layer down a bit. And now we want this bottom layer to be dark. So to do that, tap the adjustments panel then tap hue and saturation. Now to make this layer dark, wanna bring the brightness all the way down as well. The saturation actually might bring the brightness down to about 10%. But you can ingest it however you'd like. So next step is to blur the back layer with the gods employer. All you have to do is go to the Adjustment panels and tap Gaussian blur. Now all you have to do is take your Apple pencil or your finger inside writer lab to adjust the blur. Next step is a tab on the top donut layer and swipe left to duplicate it. The top layer selected tab where it says the letter N. Then change the Blending Mode to add. So now we're gonna do, is do the same thing as we did with the shadow. We're gonna ship that layer down a bit and add a blur. Next step is to go to Layers panel and make a new layer. Now go to the brush Library and select luminance, then the light pen. This creates a really cool neon effects on the color wheel and select a wider paint color. So using the light pen you can adjust the size and the opacity. And now all you have to do is just trace over that donut shape, the entire donut or text or whatever you use to create this neon effect. Make sure to race any parts to create that neon tube effect. The light pen is a little bit too strong. So to adjust that, I'm just gonna go to the Layers panel, tap that layer, tap the letter N, then bring down the opacity of the next step is to select the shadow layer and then tap the plus sign to add a new layer. This new layer should now be above the shadow layer. Would that layer selected go to the brush library, choose airbrushing, then select soft brush. Go back into the Layers panel with that layer selected, tap the letter n in, hit bad. So using the airbrushed, start brushing away that center of the doughnut right behind all those layers. I am going to use a darker pink. This creates a really cool glowing effect off the brick wall. So I'm going to turn down the opacity of it. To do that, I'm going to tap the letter n on that layer and slide down the opacity. Now you're in neon art should look realistic. I really hope you enjoy this course for the class project, create a neon object of your choice. Ease the techniques you learned in this course to create cool neon art piece. If you enjoyed this course, you can check out my profile and follow me for more updates on new courses. Thanks for watching. I'll see you next time.