Transcripts
1. 1 Intro: Hi, I'm Bill Singleton. I've been painting for probably about 50 years. I started out in oil paints, and, uh, I gradually moved into acrylic says I did a lot of commercial illustration then a lot of airbrush were. And then I started doing a lot of photo shop work, work for publishing companies and stuff and work in a photo shop for probably about 25 years. And lately I've been for the last two or three years, I've been using procreate probably 90% of the time for my commercial artwork. And just for fun. And today, what I'm going to show you is basically how to get started procreate, even if you don't know anything at all. So all you need is just an iPad. That'll run. This is my granddaughters. IPad, that will run IOS 13 point to anything that will run. Procreate will work. And, um so I did the demo in this. This is what we're going to do today. I did on this little ipad with just this cheap little, like, 99 cents stylists and I wanted to do it on this to show you that you don't need to have an iPad pro or an apple pencil to do artwork, procreate, although if you want to do really good artwork, uh, that's what you need. That's what I use. I use the iPad pro an apple pencil for almost all of my commercial artwork. But for this demonstration, I want to show you that you don't need the high end stuff. Just do it on the basic step and procreate. It's such an easy, easy program toe learn. I mean, you could learn literally everything about it in a day or two, but I'm gonna show you. And I think this took 38 minutes for me to paint this. It's just a quick little demo just to show you some of the basic tools. And what I like to do is instead of like, dryly explaining like, you know, this told us this. This is this. What I like to do is show you as I'm going. So I start out drawing this, start out with the sketch and start showing you each tool as I'm going along, the rushes, erasers, this much tools, everything that you're gonna need to know. So let's get going
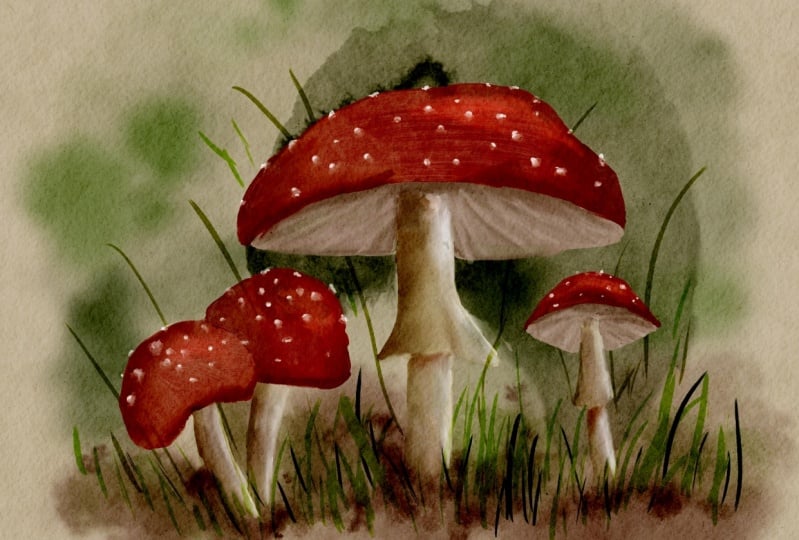
2. 2 Sketch: Okay, procreate. Let's check it out. So when you first open the program, you're going to get this with these air. Just sample, um, images that have come along with it, and you can import pictures or photos or whatever. But this little plus button allows you to create a canvas, and it's got different built in sizes that you can use or you can make a new. And if you click this, you can set your own measurements and everything. But for now, we're just going to use this screen size. So basically be the screen size of this iPad. So let's get going. I love procreate. It's such an easy program toe learn and use. So right here, This little tab here is your layers, and that's where it gives you layer one to start with. And then you have your background color. And for me, I like to start with a neutral background. So let's go, like over here, say something like that. Done. Okay, now we're gonna layer one. So what I like to do is start with a sketch and that for that I'm gonna select this tool right here is the pin tool. Are your brush tool, and these are all your brushes here Under, we'll start with sketching. It's got sketching, Anqing drawing. There's there's different ones under each category here, organic. We're going to use some of these what we're going to start with sketching, so I know where they call us peppermint. But let's try this brush that Woods has already selected. If you click on the brush further than you can get, you can do modifications to the brush. But we don't want to do that. And then right here is your color. This little area right here is your color picker. So let's pick sort of, Ah, a number color here. Think that's good. All right. Now make sure we're on layer one, which we are, and we can get going here. So I thought it be fun just to do something really simple. So let's do some little cute little mushrooms here, so I think we'll do some, like fly a Gerrick mushrooms. So I'm just sketching real quick here. I think I can. I've done images like this and about 20 minutes, so let's see if we can do a 20 minute when it's gonna be a little bit longer because I'm going to stop and explain stuff. A Zago somewhat. Anyway, so let's say make this a little longer hair, okay? This is just a rough sketch. Really. Let's make this a little bigger. Let's give a little bit curl to this. Okay? Now, right here is your eraser tool. And the cool thing about the erasers you can pick the same brush is that you have for the regular paintbrush. So I'll just leave it on that one right now. So we're gonna race some of these lines that, uh, not gonna be using here. You're perfect. Let's go back to brush. Now, let's make this a little more Curly here, okay? I think that's good. We'll have some grass coming up through here. Maybe a background. Okay, that looks pretty good. So, you know, I don't like the way this is getting a little too close to the top of the campus here, so that's I'm on this layer here. We can go over here to this tool, this arrow tool, and that helps you move things around. So it gives you different options. Right now, I'm going to use the uniform when which is just if the uniformly scales it down so I can scale it down and move it if I want to, I could do the free form one, which I could stretch it out, you know? Anyway, I wanted to, You know, if I want to, you can grab this little thing here and tilt it if you want any direction. But for now, I think, uh, that looks pretty good right there. I think so. This is just our sketch. And I think that's all we need for the sketch. All right, so now layers here lets out another layer. So on this layer, this is gonna be the background and the cool thing about layers they're called, like tell you layer one and layer to that kind of stuff that you can totally rename them as you're going. So if you wanted to rename the layer here, uh, you can click on it. Seeing was because when background, you don't have to do this. Is this totally it already said it. It's done. All right. So now that's a background layer. So we're in there. We'll tap that just to get this guy out of the way here.
3. 3 Painting the Background: here. Now let's start putting some background stuff in. So let's do some kind of like water color type stuff. Like, let's try this wet sponge apps. Only that, huh? Interesting color. Oh, by the way, these air your undue buttons and your redo buttons. So if I do this and then I hit this little button here, it'll end. Do it if I hit this button here and redo it, And I don't know how many times you get but gives you quite a few time. So So let's, um, let's go down here. It's but this for some ground here. Maybe a little bit of grass just kind of indicating this stuff here and, uh, maybe some background trees and things. Let's make them a little more faint. Sentries in hair. It's maybe a little darker here and there. We're just putting in a quick little background. Happy little trees. See a little bit more green little dabs. Oh, and this right here is your breast size so we can make it smaller here. That's too small there. That's pretty size here. So I'm just dabbling this in here, and then this other button. So this is your brush size over here. This is your intensity, or you're a pass ity. So let's slide this down. See it it marks, but it's it's less opaque now, so you just kind of put some of that in. All right, So since this is background, I think it should be a little blurrier than this. So let's go to this here, this button here, this, like, magic wand on it, and it'll give you different things. I capacity, Gaussian, blur, motion blur all different kinds of things. But right now, what we're gonna do is ghazi and blur. And what you do is you select that and then you can slide here, depending which way slide the the, uh, cursor. Let's do it like that. I think that looks pretty good.
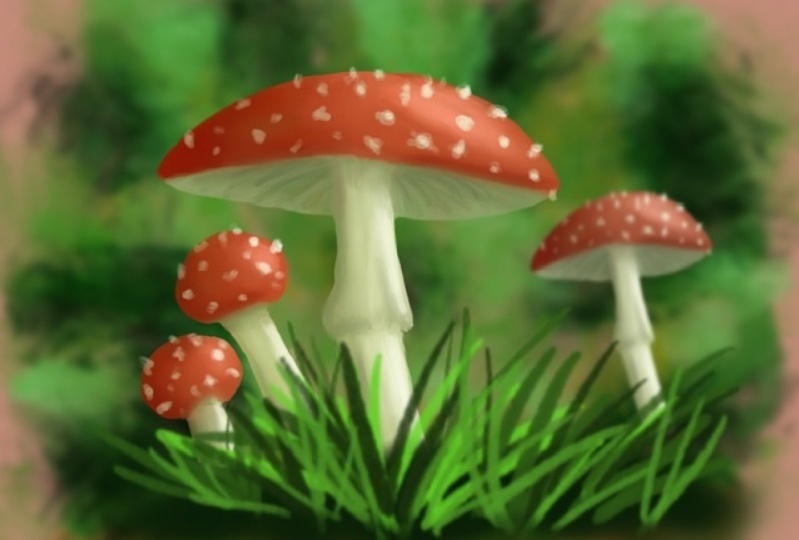
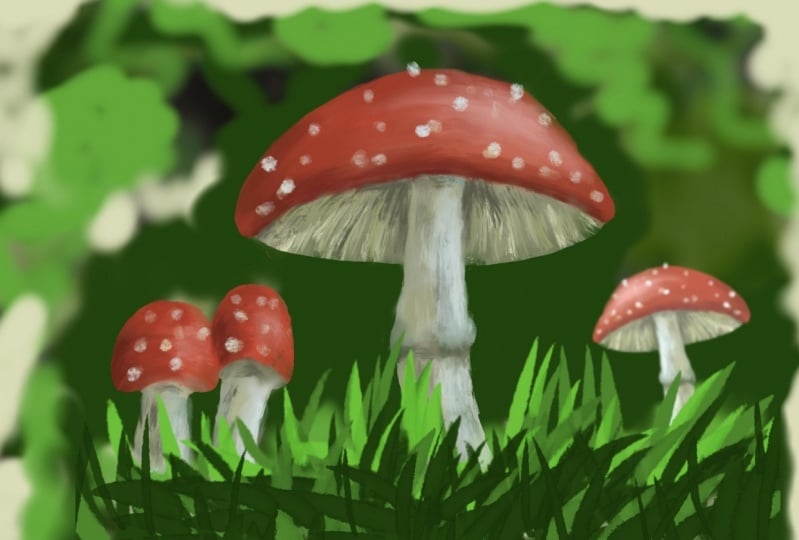
4. 4 Painting the Mushrooms: So now we're starting to lose our lines here of my sketch. So the cool thing about these layers is you can click and drag it. So now they're click and drag it Now my sketches on top here so it doesn't get lost. By the way, this sketch layer here, I should I should name this So we know Skitch. I'm probably gonna throw this away. I just returned from Prior going to throw this away once we're done. So, um, let's add another layer. So we got the background here. Let's start doing our mushrooms. So we'll click this background layer, and here's a plus right here. So whenever you have a layer selected, you had a plus. It'll create a layer right above it. And by the way, the these layers air our layer just like they would be like. This layer is on top of this layer, etcetera. So? So this layer three. Let's call this a mushroom layer. Shrooms return. Okay, so now let's pick some different painting brushes this time. Let's Sears oil pain. Uh, different ones. A Krulik flat round. Let's trade the acrylic. See how that does so, By the way, all these brushes that I'm showing you here, all brushes that come with procreate. You could make your own, too, and I'll show you that in another class. But let's start with the straightest acrylic one and let's go for kind of white for these stems here. And let's make this a little bigger. It looks a little too green to me. So in this color picker, I should show you wherever you go in here that picks the color. And then once you're in here, this is the most intense color, and you'll see it right here. And this is the darker color. And then this is your intensity from light to dark. And then it goes from intensity toe less intense to gray. So we want sort of, ah, basically a white color there. So, yeah, that looks about right. Get some stems on these mushrooms, then let's go a little darker for a shadow area. So this little bit of shadow on the mushroom stems here, I said, This whole thing is not going to take very long at all. Let's do a little bit darker on the very edges here, So you notice I'm not being too careful about my lines. It's pretty sloppy because we don't need to be too careful at this stage. We're just kind of blocking in stuff. Besides, we can come back in a race whenever we need to. So I think that looks pretty good for that. Let's do the red caps now. Maybe I should do a little bit of, uh, this color in here underneath. All right, let's do the cap. So let's go to over here to read. Let's do like an intense red. I think that looks pretty good. Steve. This so I'm still using this acrylic brush here. Seems to be pretty good. I'm just blocking this whole area. And you see this cursed room He's is just a cheap little cursor, and I just want to do this. I usually use an apple pencil in my iPad pro iPad pro, but I'm just doing it on this one. To show you is the beginning classic. You don't need to have the top of the line tools. All you need is basically an iPad that that's at least IOS, I think 13.2 in order to run procreate and if it runs procreate all you need's a cursor and you're set to go. So there's that read. That looks pretty good. Now, let's you sort of the shadow area. So do a little darker red. It looks didn't look intense enough about this. Looks pretty good. Okay, let's do give it a little modeling here. So we're like I said, we're just landing basic colors. Another really cool to actually show you. Is this little button here? If you hold it with your finger, it'll give you see, this mother's ring popped up. Wherever he's put this ring, it will select that color. So now I'm painting with that color. Just selected that color right there. Some painting underneath here. So this looks a little too blue. I think I'll make it a little more towards the yellow. Yeah, I think that's a little closer to nature there. This has a tiny bit more yellow in it. Okay. Just blocking that in. All right, Now, let's Ah, let's hit this again. It's a little finicky. Sometimes there goes is waiting for me to click on there. So I clicked on this red, so it picked up the red and I can tell what color it is by looking over here. So I got this red here. It's It's, uh let's do this one more time ups. Undo that. Come on. There it goes. So we got this red now, But now let's make a little bit of a lighter red where the light's hitting it. So maybe you're, like, right in here. I didn't hear a little bit for the lights anymore. Okay? Now, we sort of just blocked these colors in real roughly, but we need to kind of smooth them together a little bit. And this is where I use this is the smudge tool, this one that looks like a little finger pointing here. And the cool thing about this much tools you can pick any of these same brushes that we just used for, um, the paint tool. So let's try the turpentine. England. Let's see. May put the intensity up in the size up a little bit. They can see him starting to smear these colors together a little. And you know what? This, um, sketches kind of in my way. Now, I don't think I need it anymore. So if you notice there's a little box with a check on it, and this is my sketch layer, and if I just click it here, it disappears. So I don't need to see that. In fact, any of these, if you want to turn them off and on, are visible or not visible to this little box here. There's the background often on and the highlighted blue colors, the one you're working on. So right now we're working on this room's layer. So let's go back to that. And we're using a smudge tool here, and we're just kind of smearing this pain around. So I learned how to paint with oil paints, and this is basically like a blender brush for oils, this smudge tool. So I learned a paint in oils, and then I went to acrylics for a lot of years when has done a lot of commercial artwork illustration and also airbrush? Then I started painting and photo shop when that came out, and now I'm doing most of my illustration and procreate. I'd say over 90% of it. All right, that's looking pretty good. That's kind of smear these in a little bit. Here, get this toe look like it should see. It's already starting to take shape. It's looking pretty good. Now we can kind of clean it up a little bit. So I've got the eraser tool was right here. This one here and the same thing with this much tools you can pick any of the brush tools to use for your racer. So sees says medium hard airbrush issues. That one that out of work. So now I'm just kind of going to clean this up here, clean it up a little bit. Some of these edges just kind of going where I get out of the lines earlier. Booked. It's picking up because my palm is resting on it. Okay, get some of these little details. Kind of cleaned up a little bit. You can do stuff for poem resting on it. And I can show you that in a different video. But with this one just going to go with this is starting to look pretty good. So the cool thing to if you want to zoom in on something, just do this with your fingers If you need to turn it. If you want to do a brushing will, certainly you just click and turn it. Zoom in zoom out. So let's go in a little bit tipsy. I race it right there. Extent, Lee. It's undo. Let's zoom in here and let's do a little bit finer brushwork. So to make sure we're in the right layer, we're still in this room's layer. All right, so let's, uh, go in with that. That's the red. Let's go a little bit darker for some of these edges here. And that's a little big, I think. Let's go like this. Just make it a little darker in here. Maybe along in here, too. That's looking pretty good. Not for this White. Let some there. I hit that and then but that and it gave me my eye dropper selection toe. So I want to go a little bit darker white. So let's go. Let's try this one. So it's a couple of shades darker. It's a little small, and I could give some of these little lines in the bottom of the mushroom here, So this is a beginning class. I'm showing you the basic basic stuff, and I wanted to do something to show you. So that's why I'm doing this illustration. Just a simple little quick illustration because it's a really good way to learn. And I mean, I hate justice. Have somebody say this tool does this. This tool does that. That's just really boring. It's much better if you can actually do something or what somebody do something. You can see the tools they're using exactly. So so see, there's that. I think I'll do a little bit in here. And then I think I'll go just a little bit darker to the next next brush. Here, you can see this is already starting to take shape, and it's going to really pop in a minute once we clean it up a little bit more. Okay, that now let's go, I think just a shade darker, some doing my color selection tool and then the school just a little darker here to try that tips. Treating my palm there So there's a way to select your D selector palm, and I'll show you that one. But probably not in this lesson. Let's, uh, but this shadow area here but some of these in here and this in here where the shadows a little stronger. Same here. Sorry for this thing jumping around. It's cause it's reading my palm here. Okay, let's do this. All right. Now, I think we're ready to start smudging a little more. So this time for this much to let's do, um, it's costo airbrush tool. Let's do the soft airbrush. See how that does. Well, that's too big. See how big that did? See if I feel like that, that's what the airbrush will do. It's some smudging it with that airbrush field ambulance lower this size. And actually, I think I lower the intensity a little bit. See how this does? So that's maybe a little too intense. Let's make a little less intense there. That's starting to work pretty good. Oops. Switched over. Have you noticed it switched over to the paint tool there. Not want to do that. So now I'm just blending in some of these colors Here. It's Blend this in here. So this is the smudge tool, and I'm using the airbrush with the smudge tool. So if I want, I can go a little less intense, but maybe a little bit bigger. Let's see how that works. This is working pretty get doing pretty much what I wanted to dio. All right, That's looking pretty good. Let's see. Let's go. You don't want to clean this up a little more. Get this. But first, let me turn off his background secon. See? Yeah. Now I can see a little more clearly what I need to erase here. See, like this came out a little too much here. This should taper down here That went over the line a little bit, so just cleaning it up a little. It's kind of fuzzy right here on this edge. It's sharpen that up. I want these two kind of pop here. Okay, that's coming along. All right. I think I'm gonna smudge us a little more in here. And then let's go in with a little bit darker color here. So it's hit my color picker. There goes it. Picked that color right there. And then let's go a little darker here. So let's see how this does. Yep. I think that's pretty good. So this is a little bit of a shadow on the stem here in this area here, a little darker across here, crossing here, us here. And let's make it a little darker here. Let's make this a little bigger. That's here too. I think this is, uh, taken pretty good. Said, I'm just doing this quick. If I was doing this as a commercial illustration peace, I'd spend probably couple hours doing this. This one's gonna be literally minutes, so I think the color again. Come on. There it goes. All right, that's looking pretty good. Let's give a little bit more smudge these colors in Turn up the intensity a little bit so you can adjust these as you're going more intense, bigger size. However, you need Teoh so we can hit this area a little bit here, all right.
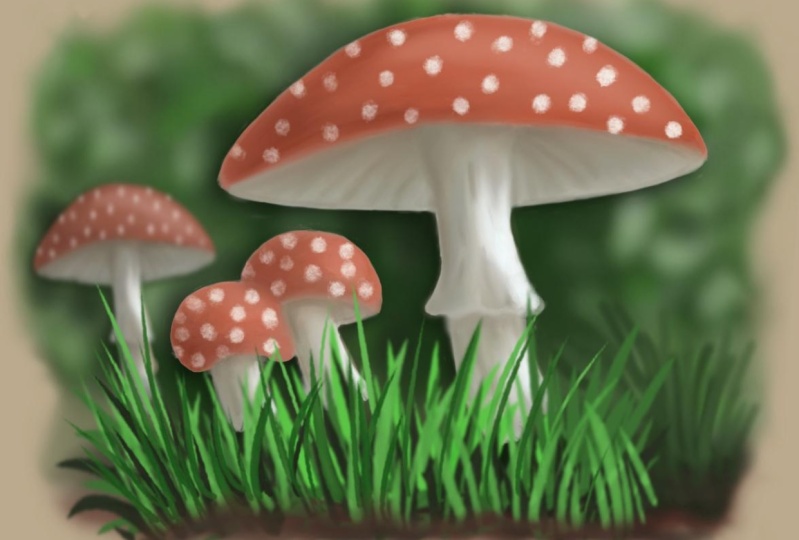
5. 5 continued: All right. Looks pretty good. Let's Ah, put this background back. Now. I think Is this gonna be the background? I think it should be a little darker. So let's select the background layer. Let's go to this tool here. Suggest mints tool. And here we can do this. Hue, saturation, brightness. That's got the sliders. So let's make these a little darker in here. Oh, yeah. So that really kind of makes it pop a little more there. Now I can see where I should clean up the edge on this, too. And you can also do the saturation on this. Make it less saturated more. I think we'll just leave it right about there can also change a few, which we don't want to dio. But let's go back. So this is starting to take shape, starting to look good here. Now, let's clean up this mushroom layer just a little bit more. Send me going here with my eraser. Kind of clean this edge up here. This edge here. Okay, maybe a little bit right here. You can change the size on this to you need to get into really tiny little details. So I think that's looking pretty good. All right. Now, let's but some of those white speckles on the mushroom here. So we're still in the mushroom layer, Uh, except kind of kind of white. Let's see how this way looks in it. Which pressure? Leasing. Let's do something A little Sears oil pain, right? Thinking, painting, textures, char coals, industrial, organic. I don't think you want any of those. All right, let's just stick with the painting ones here. We tried this wet acrylic. Let's see how that does. All right, so there's these little white speckled things. I shouldn't make this a little bigger. Maybe a little smaller. So this is the stuff. I think that's left over from when, uh, the mushrooms opening up. So I'm doing a kind of, ah less intense white to start with, because that's what's going to go in the shadow areas and, uh, the bottom of the white areas. You'll see what I mean in a second here. Okay, Yeah, let's go toe really white weight and let's let's cool it down a lot of it. But that blue, even though it won't show, is blue. It's, uh, Now we're going to get these little white smudgy things here and the white ones. I'm just going to do right where the light's hitting it more. It won't be in the shadow so much so I could put him here and here. It's looking pretty good. Let's put a few hard highlights right in here. Kind of help this pop out a little bit, or the lights catching that right there. Okay, lets just smug that in just a little. It's a little bit harsh there, right? But those highlights all rights coming together now. I think what we need is some more stuff in the background. Here. A little bit are maybe some foreground. Let's try the foreground first, so this is a shrewd Let's add a layer. So I hit the plus button lips. Hit it twice, So here's a way to get rid of a layer if you want. If you don't want that later there you can get like this and hit delete, and you can also duplicate layers to you. Let me just show you that real quick. So we got a shrew Malaya hair. So let's say we want to duplicate it. So now I've got two of those you can't see it here, though, because ones right on top of the other one. But if you hit this move button, you can see. So maybe we could put some off in the distance here, Maybe a little further back if you make him a little taller here. All right, Since we don't want it to look exactly the same, let's a race. A little bit of that. So many. In fact, you know, let's just keep the big one. Let's get rid of these little guys here. So this is that duplicate layer it just made. Okay? And now you see it, It's It's it's rooms also. So let's, uh I just sat a little bit That's back here and let's make it, um since it's gonna be further back, let's blur it a little bit. Let's go to this adjustment tool here in the Gazi and lower again, and then I can just blur it just a little there. That kind of puts it back. And also, let's drop this saturation and brightness a little bit on it, so that will also kind of help it go back into space a little. Here we go. Okay, so this will be behind. They're not that it matters, but OK, now let's do a foreground layer. So there's nothing in this layer for, well, colors, foreground. You don't have to name these. It's just for you to help, to help you, to keep track here for ground return. Okay, now it's getting Let's get a nice, crisp brush here. I might have to be an inking brush. Try this Mercury one. All right, then let's go to some bright green. Let's put some bright green grass in here. It's a little big. Here we go say, Maybe that's a little too bright to start with. Start with this. So you see, I selected the that darker green below it with the I drop her, too. So this is the eyedropper tool here. And then let's do it again with this screen. It's decent. You screens here, all right, that's looking pretty good. But you know this four grounds kind of overpowering everything. So it's like this again. Let's go to the school. The Blair. Let's blur the foreground just a little bit. There we go, and then it puts these and focus here. So right now let's do a little composition. So I think Let's move these main mushrooms to the metal here, middle of the composition, and then this other one here, let's kind of move him back a little bit. Maybe over here. They're so pretty, kid. All right. Now, I kind of got this area here where nothing's happening. Let's put a little bit of, ah, dark aerial. So let's go to this for background area again. And then, um, choose an airbrush soft airbrush and let's but some do. That's a bigger brush. Don't do that. That's a little too big, I think, you know. Yeah. So it's going here. Here, Cem. Oh, see, I'm painting out what would layer Meyer. Oh, I'm on this room, layer. I do not want to be in this room layer on, Do I do? But I do want to move it. So we do. So I want to go this background layer. You see, I didn't even notice it till I started painting over it, and I'm like that shouldn't have been being painted over. So now I'm kind of going here, and they're this kind of makes these pop a little more here. Sarah, brush to me in the eye dropper to all right. It's looking pretty good. Now let's let's blur this a little bit again. Ghazi and Blair just drag there. I think that's starting to work. Alright, what else we want to do? Maybe this foreground area. Let's make this a little more compact. Here, there we go. Like these. They're just kind of popping out of this little a group of grass here. They're think that looks pretty good. And you basically learned how to use the brush tool, the smudge tool, the eraser tool the layers. You learn about the select tool, how to move, how to transform it and how to duplicate stuff in layers. You learned about the adjustments layer, the Gaussian blur. So and this is just scratching the surface. And this is just to show you with that, just knowing a few tools you can already create pretty cool artwork in procreate
6. 6 Wrap up & Review: So, um, see, here's my sketch layer here. It's still here, but I don't need any more. So turn it off. So there's my foreground layer mushroom layer. Second mushroom layer, my grand layer. Now let's say for some reason, I wanted to combine these two these mushroom layers so I could just hit this one. And if you click on it, it will give you. There's a lot of different options you can do here, and one of us called Merge Down. So now emerged down. Now these mushrooms rolling one layer and you can tell by clicking it off. Let's say I wanted Teoh move them over or something. Maybe you make him a little taller there. There you have it. In a nutshell. Just a quick little lesson just to show you the basics. The very, very basics of procreate without hardly any knowledge at all. Just knowing a few tools, you can create some really cool stuff. So I hope you like this, and I'm going to do some further tutorials. Other classes on procreate. This is just the very beginning, one for total beginners, Total novices. So we'll see in the future. Thanks
7. 7 Saving Images and Videos: okay. There's one other thing I wanted to show you. I switched over to my big iPad and different illustration here. I want to show you how to save images so we could go toe this icon right here, which is your actions palette. And you've got a few things on top here. One of the first thing we're gonna do is share. So you see this little square with the arrow pointing up? Click on that and you've got a lot of options for metric and share. You could say that Save it is ah, shared is appropriate file which will keep of, ah, layers intact or photoshopped file, which will also keep all the layers can save it is pdf a J. Peg, and so on what we're going to do most of time. I used JPEG and explored in the last year where you want to save it to, and I'll just hit save image and that's it all there is to it. Now, if you want to, uh, do a video me show you There's a button here called video Missile Arrow here and you'll notice this toggle switch here. If this is on, then whatever you're doing in this illustration will be recorded and later on you can export it as a time lacks lapse video. So right here is the button here into hit replay as you're going or you can export it. You knew the full length video or the 32nd 1 So let's do the full length. Just see it's really quick, and then I'll ask you where you wanted to go. I'm just gonna save it here onto my iPad, and that's really all there is to it. Pretty simple, so really easy to do.
8. 8 Bird of Paradise Time-lapse: Okay. This is the bird of paradise illustration that I did in procreate. That's the final. And now I'm going to share the time lapse of how I did it. So start out with a quick sketch and the sketch is usually just kind of my roadmap get the main parts in place here where I'm going to go. So that kind of moved around little now I made a background layer and I'm painting end now . The schedule notice. Look, lighters because I changed the color of it because it was getting lost in the background. So now I've got a layer that I'm doing the vegetation on the flower petals, the limbs and branches and stay mons. Just blocking in colors pretty quickly and getting a smudge tool smudging in colors here and there. But in lights, shadows all around, mostly on that layer. Okay, it's just refining it. So I went back to the background. Cool thing about procreative. You do things in layers. You can just work back and forth between your foreground and background. So right now I'm putting in, uh, just somewhere leaves and things in the background just to make a little richer kind of fuzz amount a little bit, but more in here and there. Some brighter ones now trying to get that Simpson sense of depth in the background there. All right. And cool. Thing is, you can resize stuff, so I resized it cause I'm gonna put text up here, put some splatters down the bottom. And how did my text? And that's the time lapse video of this.
 Bill Singleton, Illustration & Fine Art