Transcripts
1. Welcome to the Class: Hello and welcome to this class in which you are
going to learn how to create a nicely looking
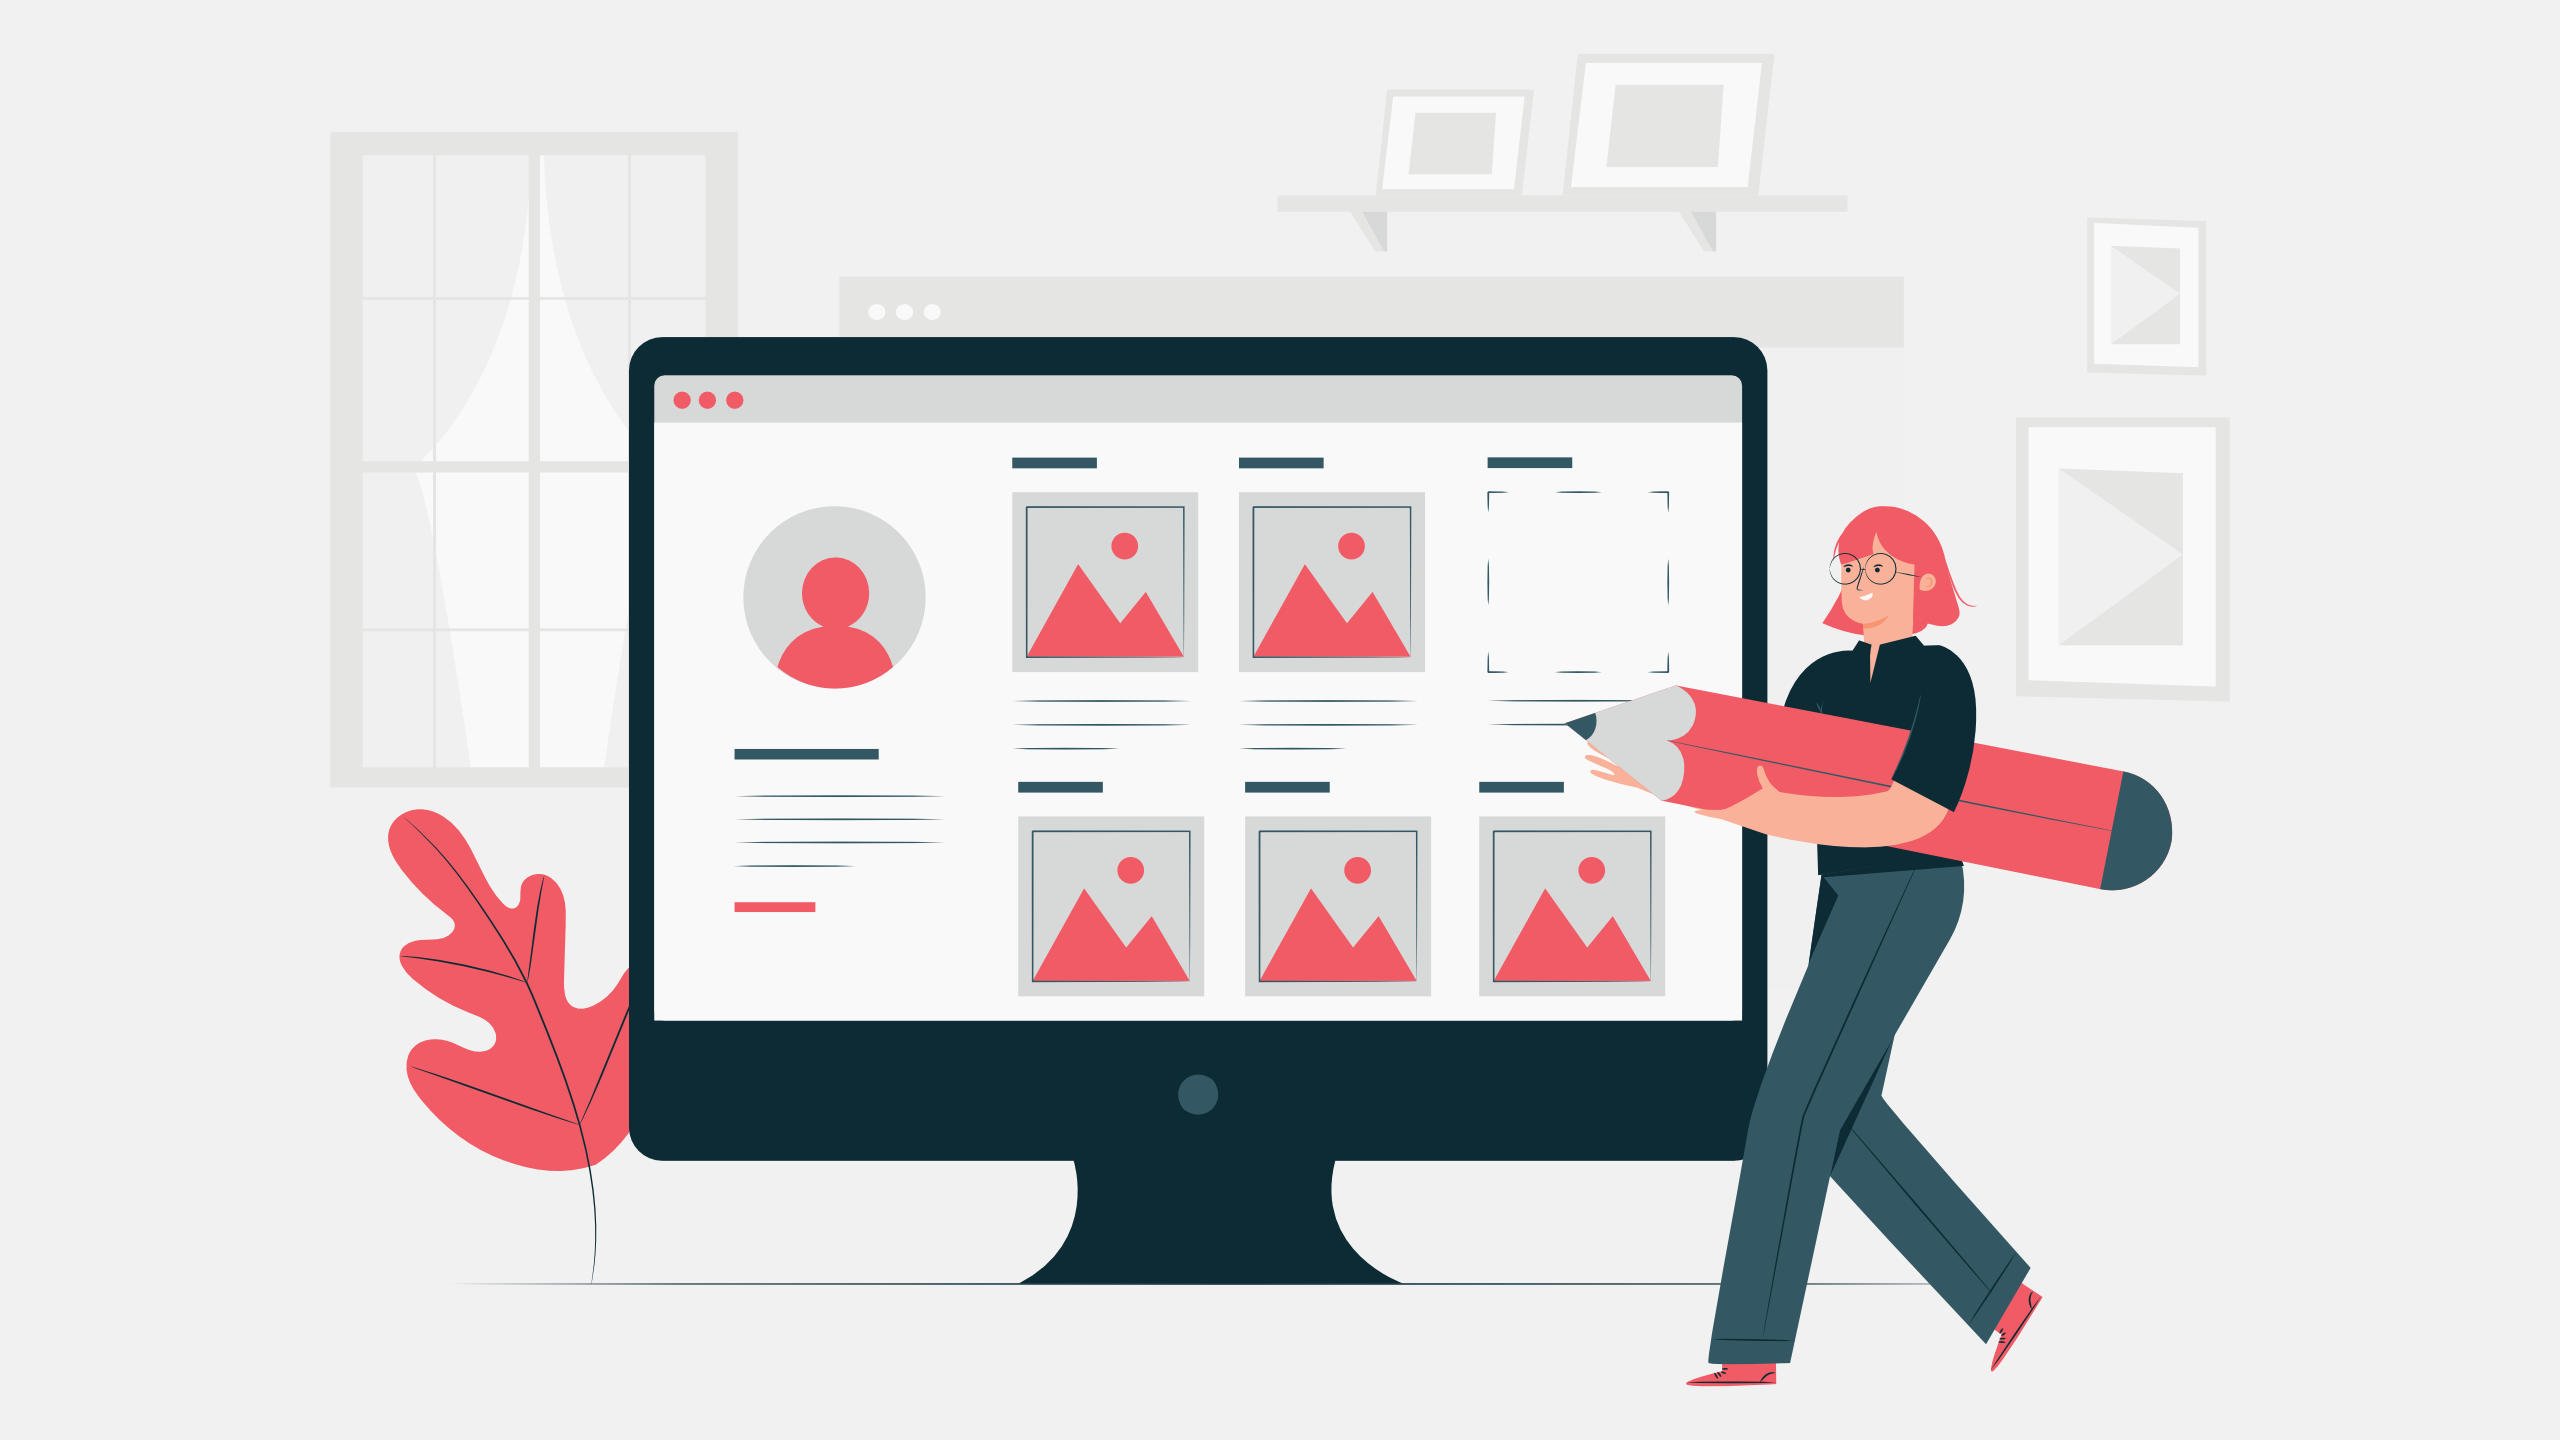
professional resume here inside the canvas. So in this class we
are going to create this CV that's divided
into two columns. And along the way, you're going to learn some
nice Canva techniques on adding images
in the background, adding images in frames, and even creating this kinda
like a long shadow effect. But also you're going
to learn how to create your own typography or higher when creating more like print oriented
projects like this one, like this resume project. So as you can see, this CV
is divided into two columns. On the left, we have the main information
about our candidate, the contact information,
and some about me, a text and on the right we have the main sections that hold that some business
experience information, certificates, education,
technical skills. Then also, we will
add a second page. Here on the right. We're
going to simply add a nice, like a cover letter just to add some more information
about the candidate. So all in all, it's a
pretty simple design, but that will allow you to
understand a lot of firm important information
that you need to be aware of when designing
resumes like this one. And if you're not
familiar with Canada, I definitely encourage
you to take a look at my Canvas course that is also available here
on Skillshare. So without further ado, let's just jump in
and start our design.
2. Your Project: So now I strongly
believe in learning. By doing so, I highly
encourage you to create a class project and
to submit it in the class project section
of this, of this class. And if you don't
know how to create a project here
inside Skillshare, let me, let me show
you how to do it. We're gonna do it together. Of course, in this class we
are going to create this CV. And if you want to share it in the community, Here's
what you could do. Let's go to the Share tab. And here let's go to
the download option. And Canva is going to suggest that we could use
the PDF file type because that would be a good
file type if you want to actually share your
actual CV with someone. But for our purposes, so we can simply use
a JPEG file type. I'm just going to
download this file. And now we can simply
call our file. Let's call it my resume
project. Just like that. I'm going to save it. And then I'm going
to go to my class. Here inside the class we got this Projects and Resources tab. And here we got
this green button that says Create Project. So I'm going to click on it. And the first thing
that we can do here is we can upload a cover image. So I'm going to click on
the Upload Image button. And this is this
file right here. And the thing is that here
we should add a horizontal, horizontal, final
horizontal design. But we don't have it. We have a CV that by
nature is vertical. So what we simply
could do is we could crop this guy to
something like that. This is going to be
our cover image. And then we can just hit Submit. This is gonna be our cover
image for the project title, I'm going to type in something
like my resume project. And for the description
we can type in something like here's my resume project I made in
Canva or something like that. It's just a matter of
adding a few words of a few words describing
your project. Now what we could also
do is we could add an image here inside the
project description box. So if we click on
that and grab our, my resume project
or this file right here is going to be uploaded
to our project description. And now we can see this
whole project like this. So if you want to
add your own resume, Be my guest if you
want to do that. Although I would, um,
if you wanna do that, I would highly advise you to like cover all the
sensitive data, like your maybe
your email address or maybe even your
social media links. But I think it's better to stay on the safe side and just use like dummy content here to create this resume
that you would want to share with the community
here inside Skillshare. So you can make your project
private if you want. But I'm going to keep
it public because I do want to share it
with the community. So once everything is ready, I'm just going to
click on Publish. And once that's done, you can see that
we've got my project. Will I get my project here? So this is, this
is this project. If I click on it, you can
see that I'm gonna be, I'm gonna be able to preview
this project right here. We've got this cover
image and we got this full resume
down, down here. So I would be great if you
wanted to add your project, if you wanted to just show that you actually
learn something. And maybe if you want, I could give you some well on some feedback on on that design, if you wish to, you can always just type that in inside them, the project description.
But there you go. This is how you can create a class project here
inside the sculpture. And again, I highly encourage
you to do so just to, just to practice your skills and actually have something to show for once the project is done.
3. Let's Add the Left Column First: So for our next project, I've decided that we might create something like a resume. I know it's a very popular
design among a lot of people. So I thought that might be a good idea to just
learn how to create a resume that's both like
conveying professionalism, but is also pleasing to the eye. So let's start with again. I am on my desktop
version of Canva, so I'm gonna go, we'll go ahead and click on
this plus symbol. And I'm just going to
type in resume like that. And I'm just going to click on this first project that
we can see on the list. Of course, as you see here, you will find lots of
different examples of resumes. And like a lot of them, maybe even most of them
have one thing in common. They of course have a photo. But as you can see,
not all of them. Sometimes you don't need to
put a photo inside a resume. But a lot of them are like divided into two
columns as you can see, like this one right here, this one right here, or even this one right here. And it might look really
well if you're just willing to create
like a like a single, single page resume
because it allows you to I had a lot of information
on just one page, but again, make it easily distinguishable and
just to make it look nice. So that's what we're
going to do here as well. Now, before we start, we need to also think
about whose resume. Now this is going
to be because it may affect like the color scheme that you're going to go for. If I'd say resume for
like, I don't know, like a business analyst or a marketing manager
know someone, let's say like professional, then you would want to tone
down your color scheme. But if it's for a
creative person, you can be a bit more
creative with your resume, but you always have
to remember that you are creating this resume
for people from HR. So people who are just going to be looking for like the
most important information, they're not gonna be looking for creativity or any
like flashy things. So that's just something
to keep in mind. So let's create like
a professional CD, but that's going
to also look nice. And I thought that
we might create a CV or resume for business analysts. And I'm going to create a resume that's gonna be
like divided into two parts. The left one, the left
column is going to be, well, it's just gonna be
like basically a photo like the personal information and maybe it's like a piece, something like about me. And on the right we're going
to have the work experience, maybe education, like skills certifications,
things like that. So I'm going to start with
the adding the left bar. Let's call it a bar. I'm gonna go to elements. And I'm just going to grab
the simple rectangle. And I'm just going to put it
somewhere here to the side. And I'm going to
make it span across the whole page from
top to bottom. Like something like this. This should be okay. I don't want it to
look like this gray. I wanted to make it I want to
have like a bigger contrast between the left to Barlett left column
and the right column. And like the most professional
color I guess would be, would be dark gray or navy blue. And since I prefer navy blue, that's the color I'm
going to go for. So I'm just gonna
go to my shapes, I mean to my colors. And I'm just going to try to
find the navy blue that is going to look something like
that may be a bit darker. This should be okay. At the same time, to make
it a bit more interesting, I would just like to maybe add something like a business
photo like in the back. So I'm just going to
make it a bit bigger. So let's go to our
elements, but let's go to, let's search for something like a simply search for
an office like that. And let's look for photos. And from here, maybe
let's just grab, maybe let's do like this one. And what I wanna
do right now is I want to simply put
it in the back. Of course, it needs
to be a lot taller. What maybe it would be
even better if you search for a vertical photo,
vertical office. So let's do maybe
like this photo. It should be okay. So I'm gonna put
it somewhere here and I'm going to make it
significantly taller. And what I wanna do now
is I want this like this, this bar right here to act like a clipping mask like in a way. And I want to put this
guy like behind it. So the first thing
that I'm gonna do is I'm simply going to maybe put this part right here, this photo right here. And I'm going to simply crop it to the side, to the right. And now we can, when we
double-click inside, you can see that we're now
able to like maybe crop it. So it looks more
or less like this. And of course this guy needs to go all the way to the back. So I'm gonna go to position
and I'm gonna go backward. And I want to make this bar
a bit like see-through. So I'm gonna go here to
this transparency option. And I'm going to lower down the transparency
ever so slightly. So it looks more
or less like this. Now, if you want, of
course, you can still play around with this,
with this color. If you want to make it darker, you can still do it. If you want to make it
lighter, you can do it. But I would just go with like a very neutral neutral
navy color, navy blue. So let's make it a bit darker. Maybe like vet, this
should be enough. So our next order of business
would be to actually add a photo of our well know
the person, the candidate. And then maybe add his name. And maybe social
media icons link, social media links as well. And as I said, maybe like
an About Me section. But let's start doing
that in the next video.
4. Let's Add the Portrait Photo: So since we are I mean, we were searching for photos. Let me just maybe clear
out these filters. And let's now search
for like a simpler, like a portrait, for
something like a portrait. And let's go to photos. And I guess this
portrait is nice, or maybe this one is also, it looks pretty professional
and unlock the background that is come matching our background right
here, these blue tones. So would this photo we can
do basically two things. We can simply grab it like that, Put it like here in
the top-left corner. Simply make it smaller. And basically we're good to go. Now, this is our,
this is our photo. And it's simply, it's
simply would look good. But there's also two things
we could actually do. Now, the person is
that if you want to go for this composition,
I don't know. Maybe to my taste, maybe like the photo
in the background with this woman right there. It might be a bit
too distracting. Maybe if we just
had like kinda like a simple office photo
without any people in it, maybe it would be
class distracting. So if we were to grab, like maybe this simple photo and also maybe I can just
remove this guy from here, move this guy to the side and do the same thing
as we did before. So move this guy to the side and then I'm just going
to crop it like that. Then double-click
and move maybe like this computer here
somewhere to the center. And then we can simply move this guy all the way to the back. Maybe now it's a little bit
less like less distracting. So that would be one thing. But the other thing is that we might know it looks like
the composition is okay, but it might look a bit
boring right at this point. I mean, this photo right here. So what we could do
is we could simply instead of searching
for an office, we could type in frame and
grab an elliptical frame. And here inside Canada, these frames simply work
like clipping masks. So now if we grab this photo
and move it over our frame, this photo is going to get
clipped to that, to the frame. We're going to make
it a bit smaller, maybe even smaller than this. Put it somewhere here
in the center and it looks maybe a bit
more interesting, but still kind of boring. I think it's looks
kind of boring. So what we could do is we
could go to our elements. And let's go to
lines and shapes. In here. Let's try to
find something like a, um, I don't know how
to call it the shape. It's like a combination
of an ellipse here and a rectangle. And what I wanna do is I want to match it with our ellipse. Make this guy something
like a long shadow effect. But in order to make
it more visible, we need to change its color. So I'm gonna go to our colors and I'm going to make it
significantly lighter, some thin like this. And now if we move
it over our ellipse, we can now try to, try to match its size
with our ellipse. I'm going to make it just
a bit bigger like that. Move it a bit up, like so. And I'm going to move it
a bit too to the top. And of course we need to send it a bit to send it backward. So it looks something like this. If you want, you can always grab this element and rotate
it ever so slightly. So it looks like more
or less like this. And I'm going to reposition this guy and
make it a bit bigger. So as you can see, we are
simply trying to like, create this long shadow
effect that you might sometimes see on different,
different designs. Now, I think that it's simply makes this design a
bit more like dynamic. It looks a bit more interesting, but it still looks, it's still looks professional. So next step, I think
that we could start simply adding some text here on the side,
maybe the icons. And we have to decide
what kind of light like typefaces we are going to
be, we're gonna be using. But let's start doing
that in the next video.
5. Let's Add the First Text and Start Building the Type Hierarchy: So what's the most
important in terms of topography when you're
creating your resumes. It's basically it's two things. Two things are most important. So the first one is to
choose the font that is legible, simply legible. And the other one is
remembered to create a specific or like a good hierarchy with your,
with your typography. So what do I mean by that? I think that like readable
topography and readable fonts, it's well, let's kinda
self-explanatory. But when you're creating a hierarchy with
your typography, you need to remember which, like which pieces of texts, our most important
or more important, which are less important, which are even less
important and so on. So the more important
things would be written in bigger and bolder fonts. And less important pieces of information would be written
with smaller fonts, right? So I've decided to keep
things really, really, really simple here and to go
with just one type phase, which is called Latane. And it's just an alkene, very classic, already classic font and very readable font. And what I'm gonna do is
I'm simply going to go to my text and simply
add a heading. And from our font library, I'm simply going to
look for Lato Bold. And I'm gonna make it not
simply just plain white. Now we have to come up with
a name for our candidate. So let's do like Jane Johnson. And I know it's really generic, but, you know, it's
just a generic CV. And I'm going to make it
significantly smaller. And I'm going to spell
it correctly like that. So this font maybe let me just zoom in a
little bit closer. This font is written
with the lotto. What would the bold
version of the font? I'm not sure if it
has to be that big. Now let's do something
like maybe 20. And let's put it somewhere to decide maybe somewhere here. This should be okay. Now what I wanna do is
I want to add like her, like general position and also let's say that she's
a business analyst. So what I'm gonna
do is I'm going to maybe at a subheading, again, go with lotto, but this time, Let's go
with lots of bold as well. But let's make it significantly
smaller, smaller. Let's do like 18 points. And let's type in business
analyst like that. And let's see how
that's going to work in relation to our
main piece of text. So first of all,
it's way too big. So we gotta make it smaller. So let's do something
like maybe, let's do something like
12 points like that. And now we have
to decide if it's simply no looks okay if, if we like the fact that these, both these elements are
written with a bold font? Maybe not necessarily. We could maybe even go with plain Lato regular
just like that. It's a bit lighter, you know, and since it's like a
subheading is like a subtitle, I think that it's simply
looks just a bit better. Now we can move on
to creating two, adding the most
important information. So when AN like an HR
person sees the CV, he or she is going to be appreciating the fact that it's easy to find your
contact information. I think what I would do is
I would simply search for, I'm gonna go to Elements, search for maybe like
some social media icons, or maybe let's start
with the telephone icon. So let's do telephone and
maybe let's grab this one. And let's definitely
make it white. Let's make it
significantly smaller. I'm going to zoom
in a little bit like that and we're going
to put it somewhere here and maybe even
smaller like that. So now what we have
to do is we have to simply add like pieces of
information and the icons. So we can simply just
grab this bit right here, because this basically would be our main font, Lato regular. So I'm just going to
copy and paste that in. And I will just type in some
fake phone number like that. And maybe we could even
make this guy just a bit smaller and try to
align it with our icon. Then we could maybe add like
an email icon. There we go. Maybe let's go with this one
and let's make it white. This envelope icon. Let's make it significantly
smaller, something like that. And let's put it somewhere here. And again, we can
just copy this guy and type in some email at, I don't know, email.com,
something like that. And let's put it somewhere here. Now we can just zoom out and
see how it's playing out. I guess we can maybe even
make this font just a bit smaller, like nine points. Maybe that's gonna be okay. And let's see what
it looks like. Maybe let's add some more room like between these elements. And now we can simply just add maybe like an LinkedIn icon. Linkedin icon like that. Maybe let's go with this one. Let's make it white as well. And let's make it smaller. Significantly smaller. So it looks more
or less like this. And again, just copy paste. And let's type in
like linked in.com. And let's do ally
colonel name like that. And let's put it
where it needs to go. So somewhere here. And maybe last icon. Let's do, let's do
Instagram icon. And let's add this guy. And let's make it white. And let's make some smaller, like significantly smaller,
something like that. And let's put it
where it needs to go. And again, let's copy paste. And let's type in Instagram. And let's do maybe here
like a profile and, or something like that. So now what we have to
do is we simply need to make it look like
clean, you know. So we would have to
grab all of these, like both these elements. So the graphic element and the text element
go to the position. And to make sure that they are nicely aligned to the middle, then we would do the
same with these guys. So to the middle LinkedIn
group, Let's go again. So Shift-click in position, middle, Shift-click
in position, middle. Then let's grab all of
these icons and let's align them and maybe let's align them to the left. Like that. Alice do the same with
our pieces of text, so position align to the left. Now we can grab
these elements like again the graphic element and the text element
and group it. So I'm Shift clicking on these
elements. Press Control G. Then shift clicking on these
elements, press Control G. Shift-click on these
elements, press Control G. And again with these guys
and I'm doing all that just to be able to then shift click on all
these elements, go to the position
and then to simply space these guys evenly,
vertically like that. So we can be sure that right now all of these elements
are nicely aligned and there's nothing more
professional or like projecting professionalism
than nicely aligned pieces of your texts and your graphics. Lastly, we can grab all of
these elements and go to position and align them
to the left like that. So now we can be sure that everything is looking,
looking really nicely. Of course, if you
want, you can just, you know, maybe play
around with the spacing. So give, give this guy is a
bit more, bit more space. And as you can see right now, Canada is what these
dynamic guides, these dynamic helpers
is showing us that the distances between
these, all these elements. So the photo, our
name, and the title, and then our social
media or contact information links that
the spaces between those guys are even and
that's what we want. It's simply looks nice. And the last thing
that we could do here is we could simply grab this business analyst subtitle. And let's move it just a
bit up to somewhere here. And I'm just going
to type in something like about me like that. And maybe Let's do a
lot of bold this time. So it's simply looks
a bit different. And let's move it to the left. So what I wanna do here is
I simply want to add like maybe two or three simple
paragraphs of text. So let me just quickly
grab some Lorem Ipsum. We might remember from our previous projects
that we can use this corporate ipsum
text generator to simply add some
corporate Lorem Ipsum. And in this case, we can simply just generate these three paragraphs and then copy all of these elements
and go back to Canva. And here inside Val is just grab some body texts like that. And I'm going to
just paste that in. And let's change the
font to lateral. Again. Let's just select
everything and let's do latter. Procedure needs to be aligned to the left and it definitely
needs to be smaller. Let's do something like
ten pixels or ten points. But I think it would be
a good idea to check this size of this font
and it was, it was nine. So we can try even
go lower to nine. And let's change the color. So now we can simply
just make this guy, this paragraph a bit smaller. And let's actually remove
some of these paragraphs. Let's remove these guys. Because what I wanna do
is I want to just keep the paragraphs
really, really short. So I'm just going to add some paragraphs here,
maybe one here. And may be one somewhere here. There we go. So we would basically, we could basically
create this like a very, very simple left column with all the required
pieces of information. I think it looks
neater. Think it looks clean and professional. Of course, if you want,
you can maybe like grab some pieces of texts
and maybe make them bigger. For instance, maybe this guy is just a bit, maybe too small. But when you do
decide to do that, or maybe even bigger than this. But of course, if we change
some aspects of about like text or piece of
text, like right here. Remember what I said
about hierarchy? We need to, now we need to
make sure that we are yes, showed what is more important
here in terms of our texts. But we also need to
keep things consistent. So I think that if
we are gonna be like increasing the font size
of this guy right here, it might be a good idea to increase the font size
of these elements. So you could, for
instance, on group this guy and let's just maybe make this guy just a
bit like this paragraph, this text box a bit bigger. So now when we
increase it to 11, we can actually
accommodate that text. And maybe I'm going to have to move these guys just
a bit to the bottom. And let's just ungroup
all of these elements. So again, this guy
is going to be 11 and let's make it
bigger like that. This guy 11 as well,
make it bigger. And this guy 11 as well
make it bigger like that. And again, we would have to grab these elements and
position them properly. So let me just quickly do that. Right, so we get
everything nicely aligned. We've got the icons, we got
our not like pieces of texts, but most of all, what we did here is we created a hierarchy
here with our texts. So of course, the most
important piece of information here is the
name of this person. So this is written
in the biggest font and bold version of it. Then we got like less significant
pieces of information, which is the title, but it's still important
and it's a subtitle. So it goes, the relation between the title and the
subtitle is important. Then we got our pieces of
pieces of information. We got the telephone and all the links that we need for social media
and for the e-mail. So that's written
in a smaller font, the same font as
this guy right here. But this about me, this like
a metal title. I guess. It's it's written like the same font size
as our subtitle, but I've decided to
just leave it as well. Like bold version to it, just to make it a bit
more prominent here. So it's nicely separates this whole part from the
top parts right here. So we got these guys created. So now I guess we can
move on to add in like a, like, well, basically the
right column, right here. And of course this
will be mostly taxed, but we are going to
be adding just a bit of graphic elements just to make this part a bit more
like easier to read.
6. Let's Add the Main Information: So what we basically need to
do is to add like sections that are going to contain the most important
pieces of information. So what we could do is we
could simply grab like this part right here, this name. And I'm simply going to copy and paste it and put it over here. And let's change the
color of this guy. I'm going to make it very, very dark like simply black. And we can maybe make it just a bit smaller to
something like 18 body. Still want to keep the
bold version of the font. And let's type in something like business experience.
There we go. And I'm going to
align it to the left. And this guy will be like a
section divider, so to speak. And maybe I'm even going to
make it just a bit smaller. So 16 points should be enough. So basically what
I wanna do is I simply want to add
like a background to this guy that's
going to span across almost this whole column
here on the right. So for that, we can simply go to the elements and we can go
to our lines and shapes. So I just need this guy, this simple square right here. And I'm gonna make it gray. Let me just check this grid. This one might be
a bit too dark. Let's try something lighter. This guy's gonna be
even too dark as well. So let's do something like extremely light,
something like this. So what I wanna do
is I want to move this guy all the
way to the back. So it sits nicely like this. And now we can simply
make this guy just a bit taller and move it
all the way to the side. So this slide, this divider
looks something like this. And maybe I can even make
this guy just a bit smaller. And this should be alright. So this guy is 14 Points,
lateral 14 Points. Now what we're gonna do is
we're gonna be adding like pieces of information
about this person. So like business
experience, right? So what I would do is I
would say we could simply grab this part right here. And I'm going to simply copied pasted and of course
make it darker. So here I would just type in something
like, I don't know, maybe like 2015 to 2022 and
like name of the company. And maybe like a position,
something like that. Pause. There we go. Let's align it to the left. And I would just simply move it somewhere here to the side. And then we can simply
grab this, well, these basically these corporate
mumbo jumbo paragraphs and copy them and paste them
and move them to the side. And of course they need
to be dark as well. And of course we don't
need that much text. I'm just going to grab one paragraph and let's see
how it's going to play out. Basically, what I want to do
here is simply add alike. Just like some, some texts, there will be no way to describe this person is like
responsibilities, duties at this company. It can even be maybe
less than that. Maybe something like this,
this should be enough. Then what we could do
is simply just copy these elements and align them nicely or
something like that. Then let's here type in
maybe like from 2010, 2015, I know it looks
really generic button. We are trying to simply make it readable, legible for everyone. And we're trying to make
it look, look nicer. The most important takeaway from this part so far is that we are building
a hierarchy here, mainly with the type,
with the typography. So we got this guy like this, like section title
is the biggest. So it's written with the
bold font and the 14 Points. But it's also has, it also has this
background element here. That's also like
creating this kind of a section titled
experience, so to speak. So then when we
could simply do is just to maybe know what, let's just add another one
and put it somewhere here. And let's do something like, I don't know, 2000 2010. There we go. And then we could simply
just grab everything. And I'm gonna hold
down the Alt key and I'm going to click. So I can simply close this guy down to maybe somewhere here, or maybe even let's
push it down to here. And this time, let's type
something like iron or certificates and
training like that. And let's just add let's change the dates
to something like that. Now, it's it all
it all are fake, fake dates, fake names. So all we have to do is to just create like a
placeholders here. So name of the training or
something like that here, name of the certificate. And here let's do name
of the training as well. There we go. Now we could also do, again, I'm clicking and just pressing and holding
down the Alt key. We could do something
like maybe education. I guess that would be important. And we don't need that much. Let's just do like a, like a college education. So let's say that
from, I don't know, 1995 till I don't know 999, something like that
name of school. There we go. And maybe the last bit
would be something like, I don't know, It'd be
like technical skills, you know, something like that. So let's do technical skills. So let's say that here we
would simply add information about the pieces
of software that this person can, can operate. So let's just maybe
remove this guy. And the way I would go about
this is I would simply create a simple list
of pieces of text. We could maybe let
me just zoom in. So we could maybe like one. Maybe let's do like to. Yeah, and that robust synapsis is going to be the last one. I'm just going to select
everything and go to this list button here and simply click on it
to create like a simple, simple bulleted bullet list.
7. Let's Add the Second Page and Finish the Design: So there we go. This is how we could create
this very simple resume. Of course, we could
add a second, second page, but that would basically be a repetition
of what we have here. What I would do is
I would simply, if we add a page here, I will just grab
these elements from the left part and paste
them inside here, right? So you always have this. You could consider this like a footer of our resume even
though it's on the left. And then here on the right, you could simply no
continue with this. Would this play out? So copy and paste. And if you wanted
to add like more, like more, I don't know
what kind of an experience. Or maybe like an essay or like a covering letter or
something like that. We could do, well,
you could basically you could definitely do that. So we could do something
like maybe why me? No. Why should they
choose this person? And then what we could do is to simply just remove
these elements, grab our corporate mumbo jumbo
and put it somewhere here. And of course, change the
color to this black one and make this guy and bit
bigger, something like that. But then of course we would
have to add more paragraphs. So maybe let's go
to our corporate, corporate Ipsum page in here. Let's generate like
maybe 12th paragraphs. There we go. And I'm just going to
copy all of these. There's quite a lot of them. And I'm gonna go back to Canva and I'm going to
paste them inside. And that might be
a bit too much, especially that we
are going to get, we're going to add paragraphs
or selves, so like that. So somewhere here,
somewhere here, and maybe like somewhere here. And let's say that
this is enough. I don't need like too much. I think that this would be
I think this would be okay. Maybe let's move it a bit to the side and move
this guy to the left. Maybe let's get rid of
this last paragraph. And let's of course, remove these spaces here
and there we go. We basically have like a nicely looking whole CV that's I think it's
quite extensive. You know, we'll definitely, we've learned how to create
like a CV in two columns. So we've learned how to
add photos in two ways. That node to make this left column that
we're interested in. So we get the person's photo, but we also have a photo in
the back that's simply add in a bit more possess
to this, to this part. We created a high agree
with our typography. So we've got the
name, the subtitle, the links and the about me page. On the right. We also created a
nice hierarchy. So we got to this section titles that have nicely
looking like very, very delicate
backgrounds right here. And of course we
also created this Why me something like
a covering letter page that's added to our
to our CV or resume. But I think it's a
nice touch to add something like this
if you want to. Now of course, what we could also do is we could,
for instance, grab these two section dividers
and we could maybe change the color and then
we would have to change the color of the font. Maybe let's try to
make it a bit lighter. That's something that
you might want to do. I think that it might
look a bit more like too heavy in this case. But I know it's something
that you can do if you want to if you want to make it look even more
like in your face, I guess you know that
something that she could do. So let me just finish this. I'm gonna grab this guy
and change the color. So it's not necessary to
do something like this, but it's, it's quite maybe not. Well, it is popular
like this effect. When you have like a dark background and
you have a light, and you have a light font, especially that
here on the left. We also have a dark background. We have our fonts light, so it's something that you could do if you
want to eat term, maybe even a bit more
visible than before. And it's a bit more like
coherent with the left part. So we know that something, that, something that
you can consider. But definitely I hope
you'll learn how to create they like IT professional
and nicely looking, nicely laid out resume
and that you learn it to the n2 about building a
hierarchy with your typeface.
 Dawid Tuminski