Transcripts
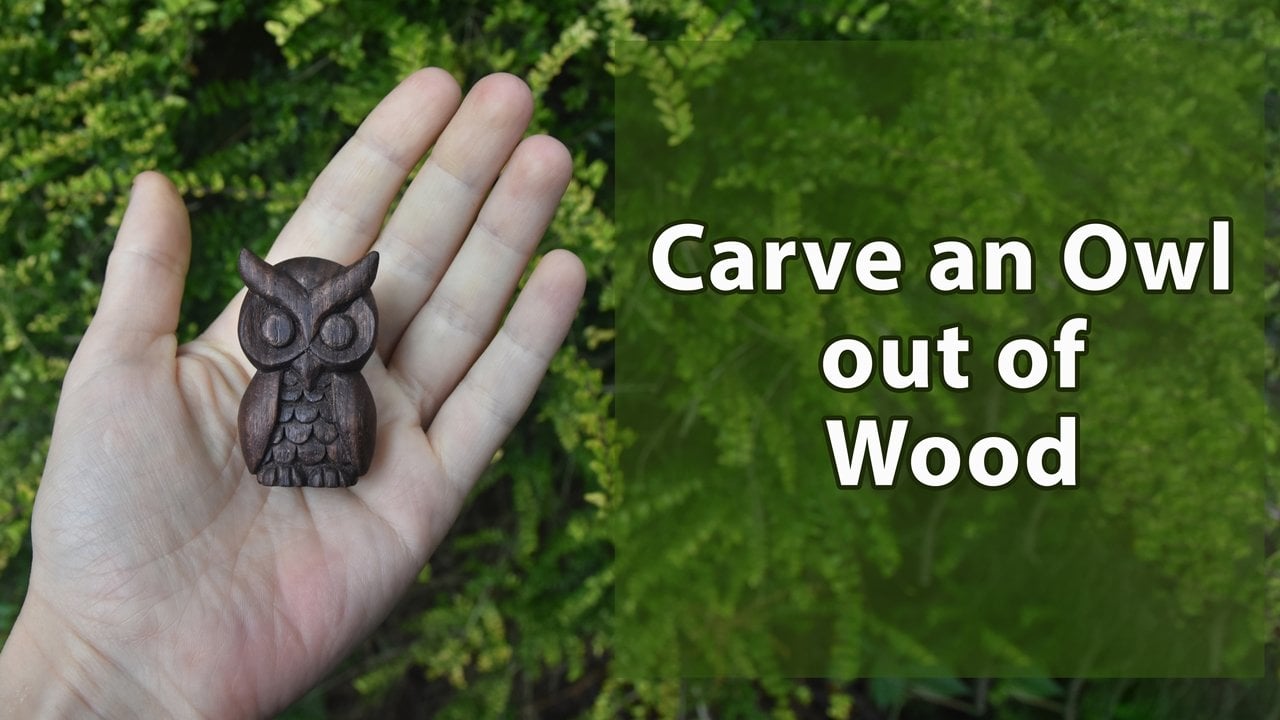
1. Introduction: Hello and welcome to the course on skill shown how to whittle a wooden horse. My name is Nadia and I love woodcarving. I think it's a great past-time that helps you to relax. It takes you back to your roots, to nature, to something that probably your ancestors have done at some point. It is also a great way to make amazing and unique gifts. In the beginning of the course, I will tell you which would use what instruments you're going to need. And then we will move straight to practice. We will make a rough drawing right on the wood and then slowly carved out with a knife. I will walk you through the whole process. And in the end, you will have an opportunity to share your project with the world and tell about your journey. The main thing that you go into need is of course would we're gonna use password. But it doesn't have to be. So it can be mahogany, can be o climb, anything you can put your hands on. And then of course, you're going to need a carving knife and something to shield your hands with. So some gloves. Okay. So let's go.
2. What you are going to need: Hi everyone. I've been covering for a few years now. I made some spoons and figurines, scoops and of course lots of horses. Most of them have a new home now, so it's time to carve another one. And let's get right to it and see what you're going to need. I suggest you start you're carving journey with basswood, I think is really good for beginners, actually for everyone. But as a beginner, you will appreciate its softness. It's not as hard as other types of word. It's more or less easy to manage. And you don't need to apply too much pressure on your knife when carving. However, everything comes with a price. You have to be very careful when carving so as not to accidentally snap a leg of your horse, for example, not to break it. But I say if you take it slowly, basswood is a great start. Of course, if you don't have bus, would he is not a problem at all. I carved these ones out of different types. Here's the horse out of cedar, a little dog out of OK. Some horses out of poplar, mahogany dinosaur, and a rabid made of Apple. This little foxy is made out of maple. Most of these are quite hard and it takes longer to carve something out of these types of word. However, they are more resilient and it is more difficult to scratch or damage them. Mahogany is brilliant and carves beautifully. Cdo though is quite soft and very light. You should also take care when carving it. Just like with basswood. I look is normally very hard, but it has beautiful texture and color. Depending where you live, you can buy Word in craft shop or on Amazon or eBay, especially eBay, because it has a huge variety of different word. And you can also get some local sellers do pay attention to the size of the woodwind buying eBay's full of Penn blanks. These are little off cuts for making pens. They're really tiny, not big enough to make a horse. So make sure the size of your block of wood is more or less manageable. We are going to need a block of 2.5 inch in length, 2d in height, and one end width in centimeters. It's going to be six, length, five height, and 2.5 and width doesn't have to be this precise. I went this little horsey, for example, out of poplar. And the block of wood was two inch by two inch square with a bits less than an inch of width. I suggest you to invest in a good carving knife. I started with something as simple as this. But I must say when I bought a proper knife, the process became a thousand times more enjoyable. More or knives are lovely, strong Swedish knives. Thesis, a classical sturdy knife. It's called mora, a 120. But I would say that a knife or with a small blade is generally better. It gives you more control in this overall easier to carve with. So I would suggest to buy a flex cut. This one is called flux cut, detailed knife. Kn 13, a word about safety. I strongly advise you to buy some not cut or simply rough and gloves. For example, for a garden, your fingers are really important. And if you cut them, you simply won't be able to carve again until they heal. So don't take risks and where some gloves. Next, you need a sought to carve your words into manageable blocks. You might also want some sandpaper. One is 240, could be around 400, or you can use a variety for different jobs without, of course, if you want your craving to be really smooth, but you don't have too many carbs, prefer to leave it rough. So it would look more natural and more handmade. Finishing your horse, it is totally fine to leave it as a ears when you finish carving. But if you want to give the wood extra protection and color, you might consider using an oil or be wax. It gives a shine to the wood and protected from environment, gives it some more of that extra life. Or you can make it like this, put a shiny finish on the horse. Or you can even painted with acrylic paints sharpener to get the best result. Your knife needs to be very sharp. Most carvers pen wartime sharpening their knife, then actually carving. I use this simple sharpener that you can bind any shop. You can also use a sharpening stone and a leather strop. What the sharpening stone then tilt your knife at an angle. If you want to be precise, it's about 22 degrees angle. Slightly. Tilt your knife and then move it the same amount of times in one direction and then the other. For example, you can do it in sets of four.
3. Preparing your wood and learning to carve: If you don't have the right size of wood already, uses sought to cut it. This could be a good moment to start wearing your gloves if you haven't already. Now we have our nice little block of wood ready. But before we start carving, there is one very important thing to consider. You need to whittle with the grain for the most of the time, it is the most natural way to carve. If you take a look at your Word, you can easily notice which way the grain is going. These are little fibers. If you cut against the grain, it is difficult. And you can also damage your project. Also following the grain gives your projects more strength and stability. Basically, when you start calling, you will notice that to carve one way is easier than the other. So follow the easy path. It is called to carve with a grain. We will also be cutting across the grain since we are going to whittle, uh, who's just going to have different directions around the budget, vertical and horizontal. But do try to position it in such a way that you do most of the main whittling along the grain. It is a bit less important with password as it can be quite dense and uniform. So don't worry too much. But still you will notice that in one direction you have to apply more force than to the other. So do cough in a direction where it's easier. A few tips before we start carving the horse, pick up any spare piece of wood and tried to get used to it. Don't cut too much wood at once and don't apply too much force, go slowly and surely. Control you're carving with the thumb is called PUC cut. When you pull your knife towards you, the opposite of it would be pushed cut. When you move your knife away from you, again, control it with your thumb so it won't go flying. Then something that we are going to use a lot. That's a stop cut. You make this treat cut with your knife and then cut towards it from one side or the other. It's allows you to make carving precise without going all the length of the word. The next one is v cut, make two cuts slightly at an angle until they meet.
4. Carving your horse: Now that you have your piece of wood prepared, it's time to draw horse, use a pencil first and then a pen, because pencil gets erased very easily when you handle the word with your hands for a long time. I really noticed. So I make an approximate and kind of rough drawing that somewhat resembles a horse or a pony. And now let's start carving. Take away the big chunks. For example, there is some top to go too crazy and don't accidentally take away too much. Be mindful of the outline. Carve the direction that is easier to carve. Take the chunks on the side. There's big unnecessary parts. Make sure it's symmetrical from both sides, front and back. It's a good idea to outline my horse with a pen. Then I outline the part that I'm definitely not going to need. I keep myself within these borders. As you see. I use pole cuts a lot. I direct the knife towards my thumb. That's why you really need a thumb guard. Now I make sure that the head is round. Then comes important. Make sure you use this top cuts so that's your knife doesn't accidentally go over, snapped. And again, apply this base with a pen and then carve it out. I'm going to do the same with the front of the horse. Outlining using loads of stuff, cuts. Carving using the pole cuts under the horses heads. I'm making a sweeping stroke. Do you see how my knife curls? Actually, that's my wrist. Resulting in the smooth cuts, which is very useful if you don't want straight lines and angles. Be very careful when coughing is, it is very easy to rush at this point in order to finish it and then spoil it by accidentally cutting they outline the area with a pen. Sharpen your knife, which must be quite carefully carved them necessary bits. I continue bringing the rough shape and now I concentrate on the tail. Then I make the head slightly not allowed. It shouldn't be very wide. It would look strange. So you also check the width and take some from the both sides. Now it's time to separate the legs, draw the line in the middle. Then you can use v cuts to cut some space out. Do the same with an E is again, very carefully. Well, I think it's done.
5. Finishing your project: Some finishing touches. You can leave it as is, or sanded with some paper. Polish it until you think it looks good. And you can either leave it as it is or give it some extra shine and protection. I'm using whacks. You could also use linseed oil. It is good for light colored wood, for mahogany or some other dark wood like walnut, you can use walnut oil.
6. Well done!: Well, I hope you enjoyed carving. Now that you have your horse ready, take a photo it and share it in a project. I'm looking forward to see what you have come up with. It must be really good. Now that you acquired a new skill, you can move on to different things like pendants, key rings, are there figurines or you can simply continue carving horses. Good luck.
 Werewolf Pixel, Woodcarving and whittling