Transcripts
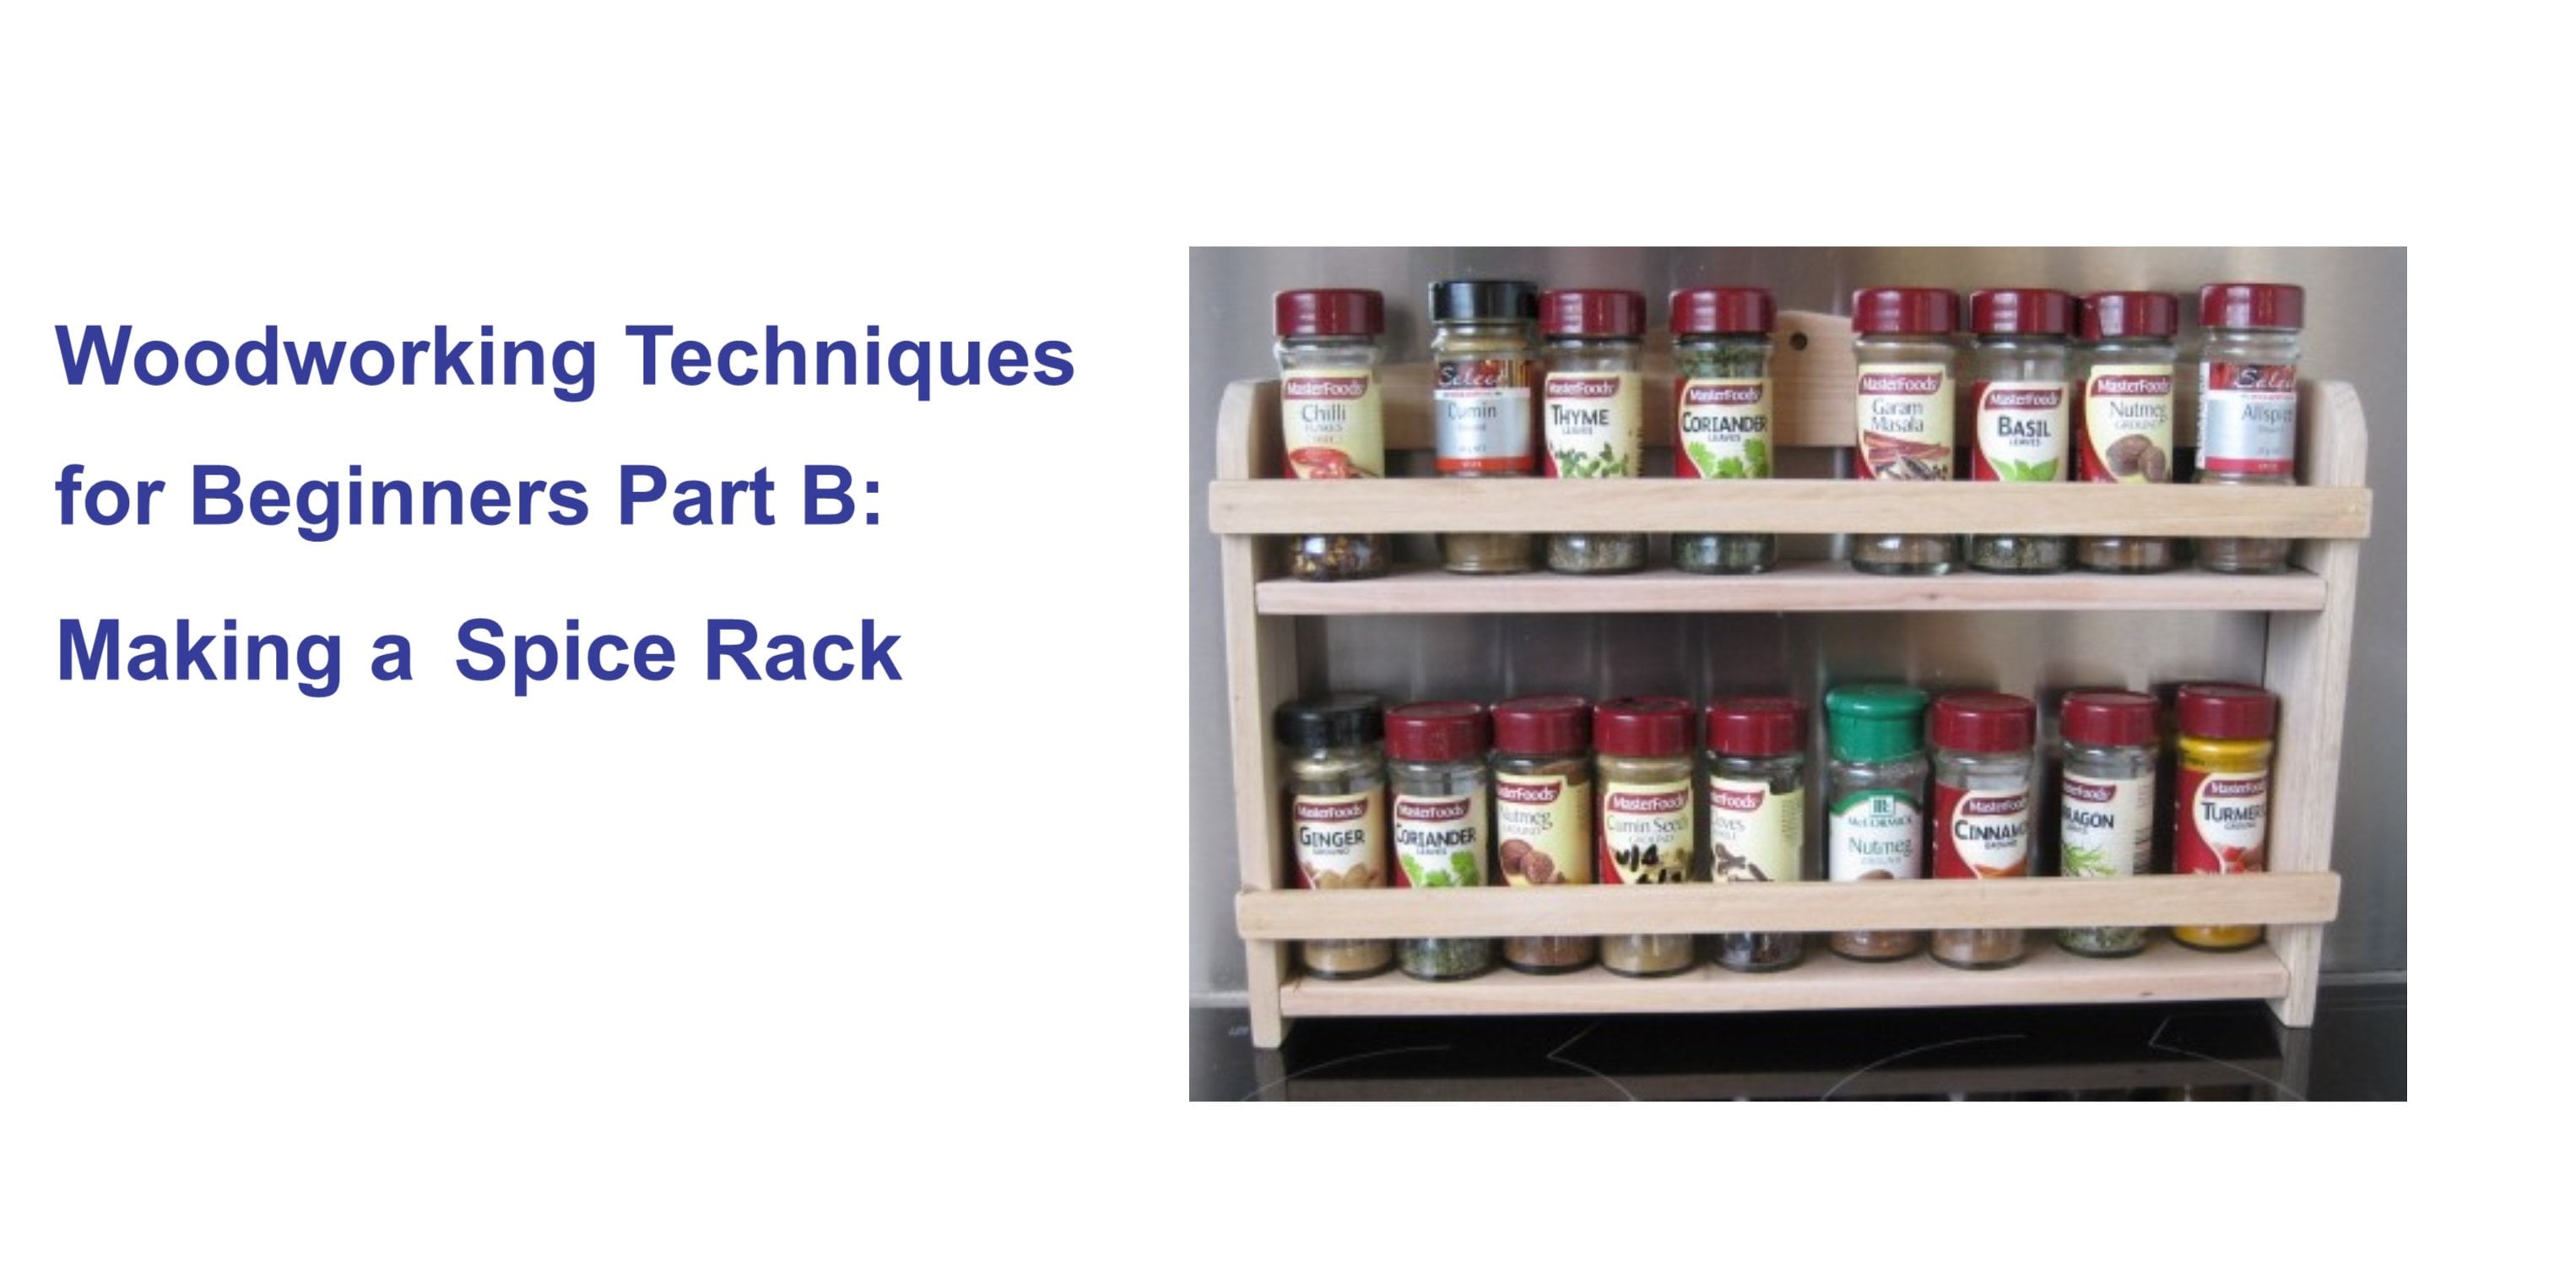
1. Session One Introduction1: Well, good morning. My name is Sam Borowski and I live in Hobart, Tasmania. And this is the fourth of a series on woodworking techniques for beginners. And basically the AI tools. I use a hand tools because you really don't need fans. She talks in see behind me are quite a few times she talks but but that's okay. I'm checking hormone dimers slave up yet then. You don't need them to do a lot of things in this particular program, I'm going to look at how to make a box. Now, boxes are, are really wonderful things because we'll use more time and probably, probably used them since mankind or person-time. What are the side? Put a few sticks together and trying to together miter box. There are all sorts of boxes. And in this program, I'm going to show you the structure of how to make a box. I'm not going to tell you the size and exactly what to do because I don't want to start for your imagination and your own creativity. The box you make can be any size. It can be a really small box. Are the matchbox. It could be a jewelry box or it could be a blanket box, anything that you wish. It doesn't really matter because the techniques I'm going to show you where it will help you with that. Now, the techniques I'm going to show you that our series of steps, the first one is planning how to plan your project. That's very important, not only on, on, on Python, but in your head. The second step is to put it together, start pulling together. And to do that, I'll show you how to do comb joints or finger joints. The next step is gluing it together and putting the top and bottom on the box and deploying it into place, but also finishing it off. Then of course you need to cut the box open. And I'll show you how to do that as well. The next step is cleaning up and putting on hinges and latches and finishing your work. The why you want to, and we'll talk about that. I hope you enjoy this program. Now just before I get started, I should say if this is the first time you're looking at doing woodwork? Can I strongly suggest that you look at woodworking techniques for beginners, part a, because in that, I show you how to use a lot of different tools, how to set up your workshop. They don't realize basic things and show you how to use the splice rail. Now, also, in this session, I'm, I've added a couple of tutorials. One is how to use clamps, and the second one is how to strip would. So I hope you enjoy this program and let's get started.
2. Session Two Planning your Wooden Box: All right, Now look at planning is everything. Because in woodwork it's all about problem-solving. And that's really what I like about it. I lie awake at night thinking about my projects, what are going do and how I'm going to do it. But not only the overall project on each individual, joint and finish and just about everything. Now there's a couple of ways of doing this. One is to plan it out on paper, which is a good option. And I'll show you a little bit of what I've done. And the second one is when you get a bit more experience, is so almost broader sculpture, and I'll show you how to do that as well. Now the first and simplest way I'm planning, of course, is, is to, to, to, to draw it on paper. And here's an example of this is the box rough guide. What I'm gonna do now is show you a bit more detail and discuss it without you having to look at my ugly face. Here's a pretty rough sketch of what I heard to make. I've got the joints here, the top, the sides and so on. Now, it may be that, that, that you are more precise person and you want to draw it exactly and the exact measurements. You'll notice that I haven't given the measurements because that's up to you. You might want to make a big blanket box. You might want to make a very small jewelry box. It's entirely up to you. But Perri, think about the proportions. Proportions are important. You can do that by feel or you can do it by logic. I tend to feel things and that sort of proportion seems right to me. All right. I hope that makes sense. Please let me know if you've got any questions. But another easy way to do this in an interesting way is to find scraps of wood and create for them. And as you can see, I've got quite a few in my workshop with child, which are great love and spend hours looking at. So if you look here, I've gone, I found this lovely pace and pine. I thought, well, that might do it for the base. And then I came across these bits of wood, which from our deck, which has had to date made redone. And it's blue gum, solid Australian timber. So I feel like I can put that life, that a little bit of a play there. Maybe put another one over here. It's wow. So I can put that one there. And one here. Alright. Now of course, if I wanted to make it bigger, repeat box, I can simply join, join all patients together and keep building up. And that's lovely thing about this sort of designing. So that works. The important thing is to work with your feelings. If it feels right, it will probably be right. So I look at this transient, well like, how big should this be? Well, okay. Maybe about here that that would feel right to me when I've decided what I wanted to do. So that looks about the right length to me. So I need another one of those such protect us away. Another piece and put it on top. Then I can thin measure it. And that gives me exactly what I want. Okay, so now the pieces of wood are catch and let's start to look our caveat that, that feels okay to me. I found this piece of wood. I don't know quite what it is because it's covered with paint, horrible stuff as you can see. And I think it's applying. So that would go quite nicely as, as the top. And I'll show you how to strip that lighter. Because as I'll explain later, crystals, very old paint, It's probably lead-based paint, which had to be very careful with, but we'll talk about that later. Now, the joints that I thought I might use for this one I called, as I mentioned, are called com joints or finger George line. What I call finger joints and jamming wanted to show you. And this is how it works. It really beautiful, it really simple and 3D and like that. Didn't that look nice? And I thought I might do that for each corner and show you how to do it. Of course. I mean, you can use other joints, you don't have to use that one. You could use a lap joint, which I've shown you before, where you where you basically cut halfway down, halfway down here, take that out and that, and that fits into it. And I've shown you that in one of the other series. If you want no other choice, let me know and I can certainly cover that. So now I'm going to show you how to make a cone joint. So the next thing to do is to work out the debt tower date. Do you want this will obviously, it's got written sine gets as basswood. So one way to do that, there are several ways to do that. One is to simply put your, your piece of water on there and draw it across. The danger with that is it's not always straight. So another way is to put the piece of wood on until it's exactly here. Put a little bit of a mark. And then with the square, which you all got by now, you can put the square on, put the square on where the mark was, and go across. The other way to do it is to buy one of these gorgeous through o for, you know, by now. So I love our tools. Well, this is a gauge and there's a whole lot of them by the dirt shapes now uses them anymore. This is logical brass and all sorts of stuff in it. And again, you measure the depth of the wood. And then I'll let each really easy. All you do is just go guidelines. This. There you have the scratch mark and on the end, and across, and on and on. But that's how you do it. Well worth by you, you'll find them it say in handwriting take shops, LB or Swanson said it. But they're really useful tools to head.
3. Session Three Making Finger Joints: The next thing to do is to measure out all the fingers. Now, to do that, what I CH2 is just to keep cutting in half. Now, you did it several ways, sort of measure across and march go out and be logical. You can use your sliding square and find the center and turn it over. What I find useful, just just the old fashion complex. Once you have may have had at school and had just find the center point and go across like that. And that gives you the center market. That does that as well as ideas they add and add. And then the next one you need to do is find the center again, put to accomplish on. It's not quite center. Center, center, that's not bad. Again, market there and centered market and cross-site go. Do that again, next one per year. This will be the last one because that's sort of quite nice size for the US really. That's about it. So what I'm gonna do is cut each line down, down to the scratch mark. Because that means that r can they just take out the bits I need? Again candidate so nice and thin. And just take to the first one a little bit. So it started like that. All right. That's the first one done down to the line. I'm going to do the rest because he did all to watch me doing it. And now I've cut each one down to the line. And now I need to take out the grain bits. And then the first thing we can do is you will notice that one of them's at the end. So I can simply put that in the vise like this. And because I've got a line across here, you can't see it. There's a line there. I can then just make sure it is the green one. Sometimes you're going down, you need to go back in here as well. The core. Carefully don't keep adding there. That's now come off. So it's important to put the chisel Jascha inside the lines. So if I'm hitting here where I heated, it will move towards the line. Alright, sorry. I'm just put it on here. And that leaves a mark in the wood. Just a matter of choosing the at the very top bit. And you can see that it comes out quite easily when I do that. Yeah, It's important not to go right through because it will split on the other side. So the trick is to turn it over and go back in to the end and work your way down from the chart. And then the last bit breaks out. Alright, well, i've, I've turned away chipping away and had a bit of fun with that. And look what's happened. It all, it all guys together rather nicely. It's a bit hard to say. You can say how it all works. And it's a very satisfying feeling. I'm here now you can buy attention machines. These tasted them all perfectly. But Chuck boring. This is so much more satisfying. And then are all exact. But that's like, yeah, that's cool. Character. I, I, I detest uniformity. All right. Let's do this artery, the other ones, and then we'll put the box together. I'm going to make it a 100 a half cup of tea now, I say marijuana. Well, you can see that it's all come together and collide place with that all the joint center fit. But of course, as you notice, they don't fit exactly. Yeah. That's that's just garlic handout or plain old-fashioned fiddling around until it does fit, make it tighter, make it all fit perfectly. Now remember I mentioned that beach that you chip off these pitch. This, if if there are gaps here, then it's just a matter of Of cutting her down and sliding the mean and with a bit of blue and sandpaper, you won't notice the difference. So this is how, so? In this case, it fits reasonably comfortably, but that obviously has to go down a bit. A really useful way of doing that. And of course, his girl infections file. And that's just a matter of putting it into each of the slots, taking it down to all the little bits and the bottom, you can get a flat file which would go. That's actually, that's actually quite, quite, quite a lot. So I'll just keep doing that and then come back to you. So what I'm doing here is, is filling in the gaps you see. And I've got small bits of wages that I've, that I've sliced off. And that can be done fairly easily. Particularly you've got a straight grain would, unfortunately with my little picture. Well, it's not very straight grain. So it's matter of putting the chisel right on the age, see how I'm doing it like that. And then just tapping down, you will get a nice wage like that. Another way to make the wages bit sharper, of course, his growth fashion Stanley knife and just put on the ground of it, but just shaving it off. And to kind of recap there. Now, it, it's actually not a bad idea once you've put them all in to actually send it, because it then it covers that whole butt. But you can do that after clapping as well. So all finish the rest and then I'll move on to the next section.
4. Session Four Gluing and Clamping: As you can say, I've started to plant that together. Now, I've added a tutorial clapping is it's actually a bit of, a bit of an art. So I've added an extra tutorial for you on how to do clamping. So in this case, I've got the two rough places, a word for protecting on the side. I've put it level here so I can put a pace it run across there. Now, the important thing is to make short square. Now the y is due. There is quite clever really, is to get a tape measure and measure from point to point. China's case, each 15 and a quarter inches. And there is that, right? So sometimes you need to be adjusted. It's really important to get all square. Otherwise you're gonna have very funny looking box. Now, all I need to do now is Titan, slightly Titan sides that into place. And now I'm going to pretend it's across this way. So now you can see I've got a clamp across the top. This stage, you'll save there. There are little gaps here which, which need to be filled up to us to do that. One is to get small slivers of wood and I've shown you how to do that before you go nicely. So you can see I've got a very thin sliver of wood with a little bit of blue on it and putting it into the, into the gap like that. And just champions into place. Once that's gone as far as it can. It's then a matter of just soaring off the top. And works. Don't want to do that. Always happens when people are watching us at us make mistakes. And then it's just a matter of changing it and sending it down. And you can see you can have the sale. Now the second way to do it if the guests are too small, would slip this in. Is the grout trustee beeswax here with a little bit of beeswax in this one. You see this one better. Fills up the house nicely. Again, basically from any, any Honey provider really to any hardware store. Push it into their sanded off. Okay, now I'm going to do that. The other thing that you can do is core sand the short, so you take the sharpness of the age. Ten. Okay, I'm going to do the rest and then come back to you and I finished. Now, they are less simple wired filling up house is essentially with glue. So you see it is bit of a gap there. And argues is put a bit of oil over the top like that. And we'd send tighter or the electric sander. That's standard image, makes clubs that are basically just little tricky to draw.
5. Session Five Adding Top and Bottom: So now it's fairly complete. Now that the most important thing here is to make sure that these, these, uh, level at the top. Because when you put the top on, of course, you don't want any. One way to do that, of course, is with your square. Just put it onto the, onto the agency. There's any gap there. There'll be regret pair. So I need this one down or, or sanded and doesn't matter. So I can just play and across here and take it down until it's level. Another way through that is, is to get some coarse sandpaper. I haven't done this portrayed but secure downward with tape. And then get your box and simply Robert across until at each corner until you try it and that way you are getting it flat. And it works quite well, particularly for a small box or a big box. Of course you can't really do that. But that's quite a useful trick as well. There. And I can mark it, mark the line with me. Right now, as you can see, it's coming together. Okay. I've got the top and the bottom and I've cut it. I had a bit of applying here. I've cluttered about a quarter and each are about six mil to the side. So it just sticks out a little bit. Now, that's your choice. I'm using go level where you can do bigger bits. It's entirely yours. I had mine out like that but it was too big. Sorry. I cut it back like that. So that's the base. And the top guys I'm here. Now, what I suggest you do is essential now is it's really hard to do once it altogether. And I'm just going to show you a couple of tricks for doing RAM the h's. Now, in this case, I want to take the sharp edge is often the white to do that is with beautiful little plane, this one. And just, just take scriptural fight that facing upwards and on the other side as well. I'm sorry, that way. Once that's done, I've got slightly core sand paper, tape off the edges. Remember to do this bit. And then I've got some very fine Python. Just, just finish it off. Now it's just one other thing I want to show you. When, when you're doing the ends, when you're doing the end grain, it's got to be careful because if you go downwards It's kind of rip it obviously. So, so in this case I'm going to go upwards, just going along like that. And you can say by placing apply an upwards, it actually doesn't split it. Exactly the same thing on the side. But if sandpaper, okay. Now it's important to get the inside, all of the joint kitsch it to tag whale that it's really irritating ones to box is finished. What I'm using is JSR fashion file. That's just taking away if at all. So the next thing to do is to glue the bottom line to the actual box. So I put some glow around it, just a matter of running along. And then with your fingers spreading it out, try not to put too much on because it'll spread into the bottom and it makes it a better place. And I did the same thing on this side. So I'll push it out every big and check it here. Pretty close. Now I'm going to tack it into place. Remember with a hammer to always send the end stuff. Now we're spending our level. You could do a little trick and just check in again. Check it, it applies. Maybe you put them in and maybe turn them over and just have a look and see see if it's all right. And I think it is. Yeah. Yeah. After that, turn it either. And you can see some of the dollar has gone in here. So probably good idea to y for that, for all sets as if life. So again, just before you push them out into place, It's just turn it over and do an I chair and just check that everything everything is easily looking at, right. And then it's just a matter of what do you details in. Now the box is secure and it's ready for clamping. So as you can see here, this is pretty straightforward really. I, i've, I've put the box up on a couple of pieces of wood. I shouldn't say it like that. So each raised and then there's the there's the rough patient, Kimberly, so you don't damage your work and it keeps it nice and straight end, just a matter of clamping the clamping it down. All right. And then yeah, camping always looks a bit clumsy, but but here it is. I've got pages which holding down the sides and underneath and on either end, pushes it all together. And a pastry has to sit there for a few hours earlier tonight. Probably again, a good idea to check to wipe off the glue that it's coming through. A lot easier to do it now than lighter, although it can be central Friday's lecture.
6. Session Six Opening your Box: Well, good morning. It's morning. And Hobart, Tasmania be called running trail you middle of July. And now I've got my box. It's all together. As you can see, it's come up quite nicely. See that the joints. So the next thing to do obviously is, is, is to cut it. So cavity along here and ride around and that takes a tuple of it. And why I've called bad that in a minute. All right, Look, it's it's quite a simple procedure to cut out the box. I've just got a piece of wood here so I can draw a line across, as you can say, where I want to catch. I'll put line all the way around the box. And what I suggest you do is have a fairly fine saw this case account. So because the bigger the saw, the rough ER the cat, and then it's simply a matter of cutting it all away around. I'm not going to bore you would make you watch me do it. But that's what I will do is just cut, follow the line far as aligned very carefully so you work around and then the top will come off. Well, you didn't say that I've cut the box and the relevance does not look good. And I'm sure yours will look terrific as well. Now, of course, at this stage you need to sand off the top. I have a little bit of a fiddle to make it all fit. Because when you sort round, It's always a bit rough. And quite important to get some sandpaper, sand in size and take the sharp part out and then work from there. Now the next thing I want to do is to put some sort of lip in here so that so that the top fits nicely onto, onto the, onto the base. Otherwise, it'll move around. To do that. I've got some are strips of pure and pine. And I've counted, as you can see, 45 degrees. So this one is 45 degrees. Here, like this. Then I need to market. At this point exactly. What I have to do in this is critical, is where we get a bit mixed up. I have to cut the angle in that way. Such a 45 degree angle. And I do that with with 45 degree on my square. That and got it down front as well. Now, what I suggest you do is is to buy more disk box. And I've got a couple of pictures of him for you. I mean, I did that. I mean, I've done hundreds of these in my life, so I totally easy it is not that easy thing to do because it can go either shy. When I've got this should fit in. Which it almost does. Oh, yes, it does. It just needs just a little bit of tagging off at the end. Yeah, it fits on that. And then the next one I have to do is cut the angle, slotted in that and measured. And then work my way around until it's finished. Now, as you can see, I've put three Nyos in place and a bit of glue on the outside and inside. And then I'm just kind of push it into, into place here and click the depth right. You use your, your, your, your adjustable square and just mentioned the debt so that, so that it's all the way along, along network security. Okay? So to adjust for the next one which fits in there, It's what I do is put a put the angle on the edge of the bench and then just with very small plane, just, just playing off what our neighbor. And I've done that and that will fit into the get quite nicely and then put that one into place. So you can see how that's working out or write. And I'll put the other ones him. And then we're going to have capital K. So you say the final paper is going into, into place quite nicely with nice piece of wood on top of that. That's it. And that will own half feet into place. And how the top. Now, you can say that I've now got the chop on and the lip as 14 place. And that holds studied quite securely. On top.
7. Session Seven Hinges and Latches: Well, welcome back. In this section, I'm going to look at hinges. Hadn't had a hinge or your box. And you talk about lectures. So let's take a look and see what we can find out. This is probably a good opportunity to talk about hinges. Hinges are a wonderful things and have been around for thousands of years. I went to an Etruscan museum in Italy. And there were hinges exactly as we have them today, and they were 3000 years old. You can say there are Friday, I love the old ones, as you could imagine. And these are newer designs with a quite, quite narrow, which is, which is useful because they can just sit on their hands and screwed mean, if you have the ones, which are the ones, you can save this sum gets there. Okay? So that means that you need to, when you put it into the void, you need to cut into the wood on either side. And now, one of the lovely things about woodwork, of course, he's learning to compromise and learning curves to problem-solve. If you don't have a hinge, doesn't matter. Good old-fashioned Leyla. If you put live out here and do it on tightly, it makes quite a, quite a nice hinge and it looks quite nice as well, been around for thousands of years. So, so don't think you have to get down to the hardware store and buy some cheap rubbish when you can just use good old fashioned leather. Now, I should tell you, putting on hinges, it can be the most frustrating experience. Because if if as I did just then just get the slightly out, it wasn't chart. So you need a lot of patients and self-discipline, which I didn't really have that I did my best. Now, a pretty ordinary Hindus, but they fold into each other. And what I did is I put the, I measured across. You can see with the square, did that are on either side and then fitted it. But it took a lot of fiddling. So if you don't get it right, don't worry. It's just so high it is. So this works alright, when you're putting screws in, of course. And the drill bit that you use is slightly smaller than the screw. Just slightly. If you do it too, too small, it really hard to get in. And before you put in, of course, usability or paraffin wax and, or soap, whatever you've got and put that in and you can screw that in by hand. Or if Gordon is really gorgeous, little talks, I've got to say my son gave it to me. Then then you can just put it in. All right. You you could do that with your electrical curl. Of course, you can put the screwdriver in electric drill. You don't need one of these things. You build up tools as you go. As I've said many times, it's better to have a few good-quality tools, the hardware rubbish tools. So take your time. Here. I've cut into the wood so they hinge sits comfortably flush with the topic of wood. And the same on the other side. So do that. It was simply a matter of either storing down a little bit or chiseling and then slicing off with the chisel until I got to what I wanted. Now this is a good time to talk about lectures. And this is one that I've made just out of brass. And you can see how it's made and then a nice pace of ordering middle. And I've got some other examples to show you as well. Okay.
8. Session Eight Finishing and Celebrating: Well, good morning. It's a bright sunny day in HIV that Tasmania in, in July. And I've, I'm, I'm in a good mood because I've finished my project and I thought I'd share with you what I've done and hopefully get some thoughts back from you about what you're going to do or have done. This is a really enjoyable time with your project. And that's where you start to decorate it. Now, you can do whatever you like. I mean, you can just oil it as it, as it is, or painted or put lovely flowers or wherever you want it. I thought I might experiment with leaves. These are from gum trees, probably similar. Now the woody spotted gun, by the way, that I've got on here solids or might have a bit of a play with these and perhaps stick them on. I'm going to do that and then finish it off and come back to you. Well, this is my box as it's turned out, as you can see, I've put some gum leaves on the top. Is given by a basic sort of lacquer finish. This is the lecture I was telling you about. Very simple and simply opens up like that. Now, before I go any further, I should mention underneath, I have put leather pieces just so that doesn't scratch the surface of your beautiful and takes. The other important thing is always put your name and date on what you make. I don't see why artists should always put their names on it. And we don't, we're the woodworkers. And you can see at the back the hinges that have settled in and the joints are actually looking quite nice. Inside. You can see I've, I've put a piece of leather just screwed around here so that doesn't fall back. I'm curious to that property, but it's pretty obvious to him that with a chain. Now inside, I've put some leather, which actually looks quite nice. But if you are having a little doesn't really matter because as you can see, it's really nice as a wooden box as well. So that's my project. And of course I'm quite happy with that. So I really hope that you completed your soul well into it. Please put it up on, on screen and let us all have to look. Lotka, I wanted to thank you for joining me in this program. I hope you found it interesting. Please let me know if you've got any questions on the forum and I'm certainly happy to answer them. Good luck and I hope you enjoy making your box. See you next time.
9. Tutorial Interlude on how to strip paint: Okay. Look, I'm sorry about the liking year, that term really dragging Tank video. She's not my expertise, but we'll go I guess a little bit. Now. Remember I mentioned this piece of wood which has got horrible paint on it. So that's sort of might use it for the top. So while I'm waiting for the other two for the clients to take effect might run through and how to how to take paint off. It's a bloody awful job. It's not easy why ahead of it, but it's got to be done. And then underneath that you find beautiful things. First thing to remember, of course, he's safe. Keep this green paint looks fairly thick to me in alg, which majors probably got lead paste. Now, starting to panic about, you just have to be sensible. That's rubber gloves, mask, and wash your hands afterwards. I'm going to show you how to use the scraper and some mucky stuff which helps take it off. You can't get stuff which is my spreader used to be used to horrible costing stuff. But now it's much more user-friendly and much more environmentally friendly. So let's see how we go. Yeah, this is one useful little trick which are probably, you're probably aware of. Putting on rubber gloves is really annoying because sticks, so a bit of the old fashion baby daily talcum powder on, on your hands. And it just slides in really nicely. So you've got a trick for you. Alright, so a more setup with mask and ready to go. And the first way to try, of course, is just a scraper. Save it'll come off. Not much luck there, I'm afraid. So what I'm going to jury is covered, which we touched your back and it'll have to wait a while and then come back and show you how to take it off. Now, what I've got here is, is some paint stripper, pretty ordinary stuff. But do look around for the best one. This works, but for me, it's also toxic, but it doesn't smell too bad. What I've done is put a fairly thick coat on the paint and lifted for about 15 minutes. And now it's a matter of using a scraper, various different sorts and just working your way through. And you can see our secure that with advice. And now it's a matter of shaving it off. And as you can see, it comes off fairly easy. What's interesting is that underneath is as another layer of coat, color of paint because life character paint, because it's a, it's a very old piece. So the top is coming off quite nicely. Just write that off and come back to when I finished that. I'm going to have this horrible stuff to horrible job and can put put it away. But as I say, be very careful with your hands because it it because it's toxic. So you can say i've, I've tagged off the top layer, but unfortunately it's a bit more work. I'm going to have to put another coat of paint stripper on it and wait for that to do its magic and then take that off. I won't bore you with that, but that's where I will do before I can get to the beautiful wood underneath, you can see it's coming through a little bit.
 Dr Ian Broinowski