Transcripts
1. Intro: For this demo, I'll
be showing you how to make a t bol using
the pinch pot method. I'll cover tools, how
to use your hands in an intentional way to help guide the wall of the pinch pot in the direction
you want it to go. I'll also talk about cleaning up the shape in the
leather hard phase, paying special attention
to the rim and the foot. This project is
beginner friendly. Hi. I'm Kelly. I'm an artist and
educator in NYC. I have ten years of experience teaching ceramics
in university settings, as well as community studios. I hope you enjoy this. Oh
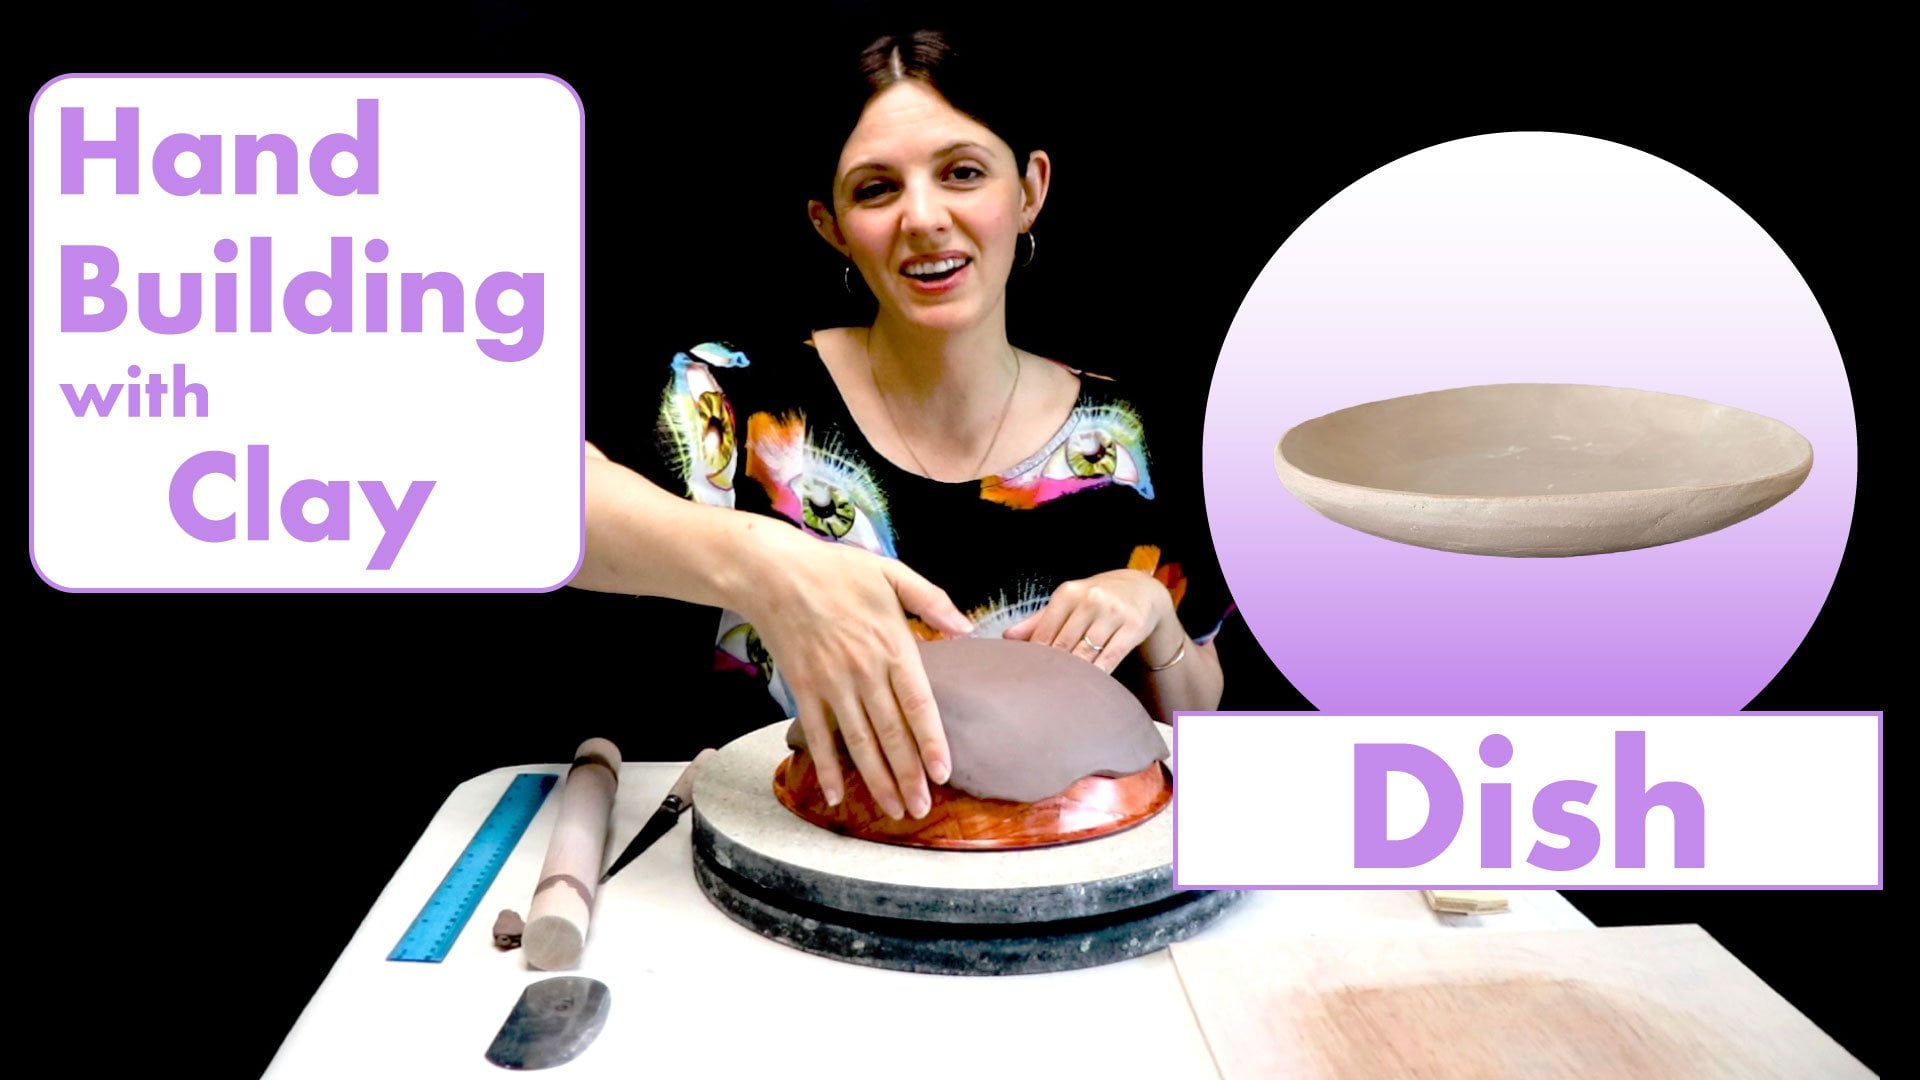
2. Instructions & Tool List: Our class project is to
make a pinch pot T bowl. To get the most
out of this class, follow along with
the demonstration at whatever pace
feels right for you. Once you've finished
with your T bow, take a picture of
it and upload it to the project gallery for feedback from me and
fellow students. To do this, go to the Projects and Resources tab and then click on
Submit a Project. The tools and
supplies you'll need include a fettling knife, a large trimming
tool, a metal rib, some plastic, a red rubber rib, a small trimming tool, a sure form, water, wooden boards, and
a wooden tool.
3. Opening the sphere Expanding the bottom: I've got my ball of clay here, and I took a moment to
smooth out the surface, but if it's a little
bit bumpy, it's okay. The pinch pot technique
is pretty simple, but it can be very sophisticated as a technique if you
use it strategically. I'm going to hold the ball of clay in my non dominant hand, take my thumb of my dominant
hand and start pushing it, maybe wiggling it back
and forth to give it a drilling motion so that it starts to make a hole
in the middle of the clay. All the way to the middle, and then slightly
pushing past the middle. Now, because this project
has a foot on the bottom, we don't want to make
the bottom too thin. I'm just pushing down enough
so that I feel like I have maybe a half inch of clay
still left on the bottom. The next step is to push your thumb down into the
hole and start to push out the tip of your thumb while supporting the outside of the wall with the
rest of your fingers, all with your dominant hand. Pushing out with my thumb and
here's what it looks like. It's a sweeping motion
in addition to a push. Once you do that in one spot, turn the ball slightly so that
you can get the next spot, turn it a little bit more and you just keep
going like that. I'm using my fingertips to also feel the
thickness of the wall. I'm trying to keep it even. This is a good opportunity to practice your tactile skills. Tap into the consciousness
in your fingertips and using the sensations as
your primary source of information to know
how hard to squeeze, how hard to push, and also maybe where you
should leave it alone. If you feel a thin
spot, skip that area, if you feel a thick part, maybe push a little bit harder. Now my hole is expanded
at the bottom. If I were to put
my finger inside, the top part feels
pretty narrow still, but the inside feels very wide.
4. Pinching the walls up and out: Now what I'm going
to do is start positioning my fingers
just as they were. But as I push out, I'm going to create a little
hook with my thumb and start hooking and moving up
hooking and pushing out, but hooking while I make
it's like a pinching, it's more like a sweeping and hooking and supporting
from the outside. The goal here is to continue
expanding the shape while simultaneously allowing the wall of the vessel to get taller. As the walls get
thinner and taller, the importance of paying
attention to the thickness of the clay becomes something you want to pay even
more attention to. Because if you end up squeezing and pinching too
hard in one spot, you'll end up an area
that could crack. So Remembering while you're squeezing your
fingertips together, it is like a pinching
motion that you're doing, but you're not pinching
as hard as you can. Usually when we think
about pinching, we're thinking about squeezing our fingertips together
as hard as they can in order to compress whatever it is
that you're pinching. But that's not really
what we're doing here. We're doing the pinching motion, but stopping the pinching motion when we feel that the space
in between our fingertips is to the point
where we're getting the results that we
want in the thickness that is, showing up for us. Now I've pinched my way
all the way to the top. If your pinch pot is looking
a little wonky, that's okay. It does take practice
to make it even. At this point, the thickness
of my wall is even, and it's basically the
same bottom to top? Now I want to focus on
continuing to pinch out just a little bit pushing my thumb just enough to
start to widen the shape. Now, we are a t here. As you're making your shape, you can think about, well, what kind of shape t
have? Should it be wider? Should it be taller? In a
lot of t bowl traditions. We would usually think about the shape being slightly
wider than it is tall. But the good thing is,
you don't have to be too committed to the height
here because later on, when I show you the second part, cleaning up the
shape, you'll have an opportunity to make this a little shorter
if you want to. I'm just going around
with my thumb, continuing to push out
and widen the form, keeping it as even as possible.
5. Shaping the foot: Now, let's talk about
the bottom for a moment. The bottom here is pretty thick, and that's because we're
going to make a foot. If the pinch pot that
you were making was not necessarily a table with a foot and you were just
making a little dish, you might not leave quite
as much clay at the bottom. You might push your
thumb a little bit further with that initial
hole that you made. You can always switch to the other hand too if
your hand gets tired. I am going to call
it good right there. Maybe just expanding
a little bit more at the bottom. This is pretty good. Like I mentioned.
This part here, you don't have to be concerned with completing it now,
that's going to come later. Also the texture of the surface. If you love the
way that it looks with the subtle fingerprints and that rough texture
of the way that the clay looks the way that
the clay looks when it's expanding gives you
a little bit of this crackling texture that's
actually quite charming. If you like that, you
can always leave it, but this is something
that we will talk about cleaning up later on
if you want it to be smooth. Now talking about the
foot of the piece. I'm going to turn
this upside down, and this part is really fun. I'm going to take my finger
and start dragging it around the circumference of
the bottom part of the piece. I'm thinking about the spot
where the thickness starts, towards the bottom of the piece, I start to feel like the wall
blends into the thick base. The part where those connect, that's where I'm dragging my
finger around the outside. Again, this part is optional. You can totally make a beautiful little
pinch pot that could even be a table without
doing this process here. This is just something added to make it slightly
more interesting. I've made this little
indentation here. Now what I'm going to do is take my thumb and very gently make a tiny little divot in the
center of this bottom part. Then I'm going to use
my pinchers here to start dragging the clay from the middle out towards the edge, drag, t, and I'm going to
do this all the way around. The clay might start
to look a little bit mangled because you're
asking it to move so far. It's such a delicate thin
little aspect of the shape. If it's looking a little
funny, that's fine. Because the clay is plastic, you can get away
with moving it and blending it and pushing it around in a pretty
intuitive way. Once you get it into
the position you want, then you can always
smooth it and make it look like it had
been that way all along. If you want to use two fingers, you can use two fingers. We want to make sure that the
part here in the middle of this little crater isn't too thin from the
bottom of the inside. If you pick it up and touch
some of your fingers to this area here and some to the inside here and you
feel like it's paper thin, that means that you may
have dragged too much clay over or maybe there just wasn't enough clay there to begin with. If that's the case,
you can always blend some clay back
into the center. Or you can just say, Oh, well, and start again
with a fresh piece of clay. Now I have the clay here to solidify the
shape of the foot. Now, in order to
make this look nice, I'm going to take my
finger and drag it along the outside along the
top and the outside. When something is sitting here on the surface of the table, I like to get both
hands involved because when it's being
held in one hand, I can only use one hand. But when it's being held by
the surface it's sitting on, you can use both hands.
There's no reason not to. It's nice because it feels
like they're working together. Okay. Never underrestimate the power of your phone fingertips to
make something look smooth, to blend something together. To drag your
fingertip across what appears to be a crack
or a crevice or some kind of discrepancy in the way that the clay looks like it's
being held together. And we're coming up on the end of this phase
of the project. Now, if your first table doesn't look like
this, that's fine. It might look a little
bit wider or taller. Your foot might be
really short and small, if you didn't have much clay at the bottom, and that's okay. Now you can pick it up, set it down, see how it looks. You can give it a little tap. If you feel like it
would make the look of the foot slightly more sturdy, Then just take a once over, make sure that you take the opportunity while the
clay is still malleable, to smooth out anything that
you think needs smoothing. A little finishing touches
that you want for the shape. That's the basic idea for
the pinch pot footed table, and I do want to show you a phase two of
this project where I go in and clean up the shape. But if you're happy with
the results you see here after your first attempt, and you don't think
it needs anything, then it doesn't need.
You can just leave it.
6. Prepping for leather hard: Now, I'm going to be doing phase two when the
piece is leather hard. Right now it's plastic. In order to get this
to leather hard, I want to either let it sit
out maybe for 12 hours or so. It really depends on
where you live and how hot it is, what
the humidity is like. But somewhere around
six to 12 hours is usually a good rule of thumb. If you're thinking
of not covering it, you want to just let it harden. If you're going to do that, it's best if you store
it upside down. It's going to be
more even that way. If you want to set
it and forget it, maybe you're working on this
at a studio and you know that you're not going
to be able to come to work on it for
another week or so, you definitely don't want
to just leave it here if you do want to do the
leather hard work on it. That's when you'll take
a piece of plastic, either drape it on
top like that or possibly wrapping the whole
thing if you want to be safe. If you were leaving
it for a whole week, I would probably wrap it
underneath like that.
7. Sur-forming the piece: All right. So I've got my leather hard footed t bowl here, I'm going to first check
to make sure that it is, in fact leather hard. If I know that it's good to go, it's not too soft and
it's also not too dry. I'll first go ahead and start
trimming down the piece. If you feel like the
object is not too heavy and no aspect of
the piece is too thick, then you can skip this step. But I'm going to go ahead
and trim things down. I'm going to grab my s form
and start grading the side. The goal here is two things
actually that are happening. One is I'm planning the surface. If you know that you're
going to want to get a smoother surface on there, so it's not so lumpy,
this is planing it. But I'm also getting rid of all of the unnecessary weight. After I'm finished
with this step, there will be a nice
little pile of clay sitting there that
was on your piece, and now it's not adding to
the weight of the object. So if you don't have a s form, the next best thing
that you could use to go through this
process is actually just to use your large
basic trimming tool and make a diagonal scraping
motion across the surface. I strongly recommend getting
a s form. It's much easier. All right. Now that I've eliminated most of the
extra clay from my piece. Then I'm going to
take a good look at the shape and decide if there's something
that I could do to make it a little bit
more sophisticated. Maybe there's something
about the transition from the foot to the
main body of the vessel. I like to make sure that there's an intentional
unification between the two or an
intentional division. Right now it looks like there's neither of
those happening. I'm going to take my
knife and start making a slicing motion all the way
around, make this incision. It's nice to use the
long bladed knife here, the feeling knife
because you can get a lot of distance
with one rotation. Now I'm going to take
the knife and hold it on the side while I gently cut into this bottom corner
and it will slice off the clay to make a nice
little division there. Now I think I'm going to do a similar slicing
along the base of the piece on the
outside just to clean up the separate ridges there. This is looking pretty good. On the inside of the foot, if it seemed like there was a
lot of extra clay in there, you could take your
smaller ended trim tool, either the curved end or the squared end and see
if you could scoop out a little bit of that. Okay.
8. The lip: The next step is probably the most important
part of making the piece feel fully functional. That's tending to the rim, also known as the lip. When you're drinking
from a vessel, this part is really important. The first thing I'm going
to do is make it flat. Now, if you struggle to make this flat as
you're trimming it, there is a technique for that, but I'll be showing you on a different project because
I think doing this by hand without doing any real
measuring is pretty simple. With your knife, hold it as though you're
peeling an apple and just draw the blade around
the rim and go slow, go a little bit at a time. You might have to make a couple of rotations to make it even. When you've decided that
it's straight enough, take a look and notice how
there are two corners here, one on the outside,
and one on the inside. In order for it to feel like you can drink
out of it easily, it's helpful if you get rid
of the internal corner, you only have the
external corner there. I'm going to take my knife and slowly start whittling
down the inside, going all the way
around At this point, I'm going along the inside of where I had just gotten
rid of that corner, and now I'm getting rid of the two corners that were
left from that slice. You'll just notice some
corners and edges here. If you just take your time, going over it lightly, bit by bit, taking your time. You can get rid of the
corner so that you now have only an
edge on the outside, and then it looks
like it's sloping. This is going to create a
slide so that if you're drinking t out of this t
bowl or something else, as you're drinking, the liquid comes over that curved
edge like a slide. And then having the edge
there makes it easier for you to anchor the lip
against your own lip. Okay. Oh.
9. Cleaning up the inside: Once you feel satisfied with the shape and the
thinness of your lip, you can take a look inside and see how smooth or rough it is. Maybe it needs some cleaning up. Now, the inside of a vessel is the hardest part of the
object to make smooth. It's helpful if you
had already done most of your smoothing while
the clay was still plastic. But if you're seeing
some rough spots, maybe the edge of the tool had nicked in a couple of areas. You can take your finger
and see if you can just use the softness
of your own skin, to blend over those
little rough spots. It really is the
best way to do it. If you try using some tools, maybe the wooden tool
will be helpful. Running the edge
of this curved end across the rough areas. That can help you
out a decent amount. It's worth trying. And if you want to try
using a metal rib, you can try that as well, but it tends to be a
little bit more difficult. They make metal ribs of all
different sizes and shapes. This is something that you'd
want to have a variety of shapes on hand, if you
wanted to try that. I prefer to just use my fingers.
10. Softening edges: Finishing touches for
this piece involve just smoothing out
little corners or edges that I
want to get rid of. I'm going to use
water for this step, and you want to use
water very cautiously. I'm just going to dip
my finger and then, very gently run it along the edge here just to
soften it a little bit, so it's not quite so sharp. I'll do the same thing
for the very bottom. If this is really sharp there, it that with some water as well. Then additionally, if
you felt like there were any little bumps or things like little bits of
crumbs of clay somewhere that you want to smooth
out or blend together, you can use a tiny bit of moisture to deal
with some of that. Really, this is optional.
You don't have to do it. It's only if you are feeling like you need just a
little bit of softening. At this point, you could say, this piece is finished, and you can go
ahead and fire it, glaze it, and savor
a cup of tea.
11. Final thoughts: Thank you for watching the
pinch pot Tb demonstration, I hope you got something cool from the insights
that I had to offer, remember too that
when you're pinching, it's all about the way that you pressurize your fingers in very intentional ways
that is going to allow the wall to be built up in the direction you
needed to go in. There's a common
belief that making a pinch pot is literally
just pinching the clay, and there's so much
more to it than that. If you want to glaze
and fire your work, and you're not sure how
because you don't have access to a kn or glazes. I recommend that you check out the PDF that I have included, and it gives you a
lot of information about how to get that
sorted out for yourself. Did you know that clay
shrinks as it's drying? And then again, when
it's in the kiln? That means that when you're
building your object, if it feels a little too big, that means it's probably
going to be a size that you'll like when it's
finished. Thank you so much.
 Clay With Kelley, Hand building with Clay