Get Inspired and Create: Handmade Watercolor Christmas Cards with a Festive Touch (Mixed Media) | Shari Wagner | Skillshare

Playback Speed


1.0x


  • 0.5x
  • 0.75x
  • 1x (Normal)
  • 1.25x
  • 1.5x
  • 1.75x
  • 2x

Get Inspired and Create: Handmade Watercolor Christmas Cards with a Festive Touch (Mixed Media)

teacher avatar Shari Wagner, Artist and lifelong learner

Watch this class and thousands more

Get unlimited access to every class
Taught by industry leaders & working professionals
Topics include illustration, design, photography, and more

Watch this class and thousands more

Get unlimited access to every class
Taught by industry leaders & working professionals
Topics include illustration, design, photography, and more

Lessons in This Class

    • 1.

      Intro

      1:20

    • 2.

      Materials and Preparation

      6:56

    • 3.

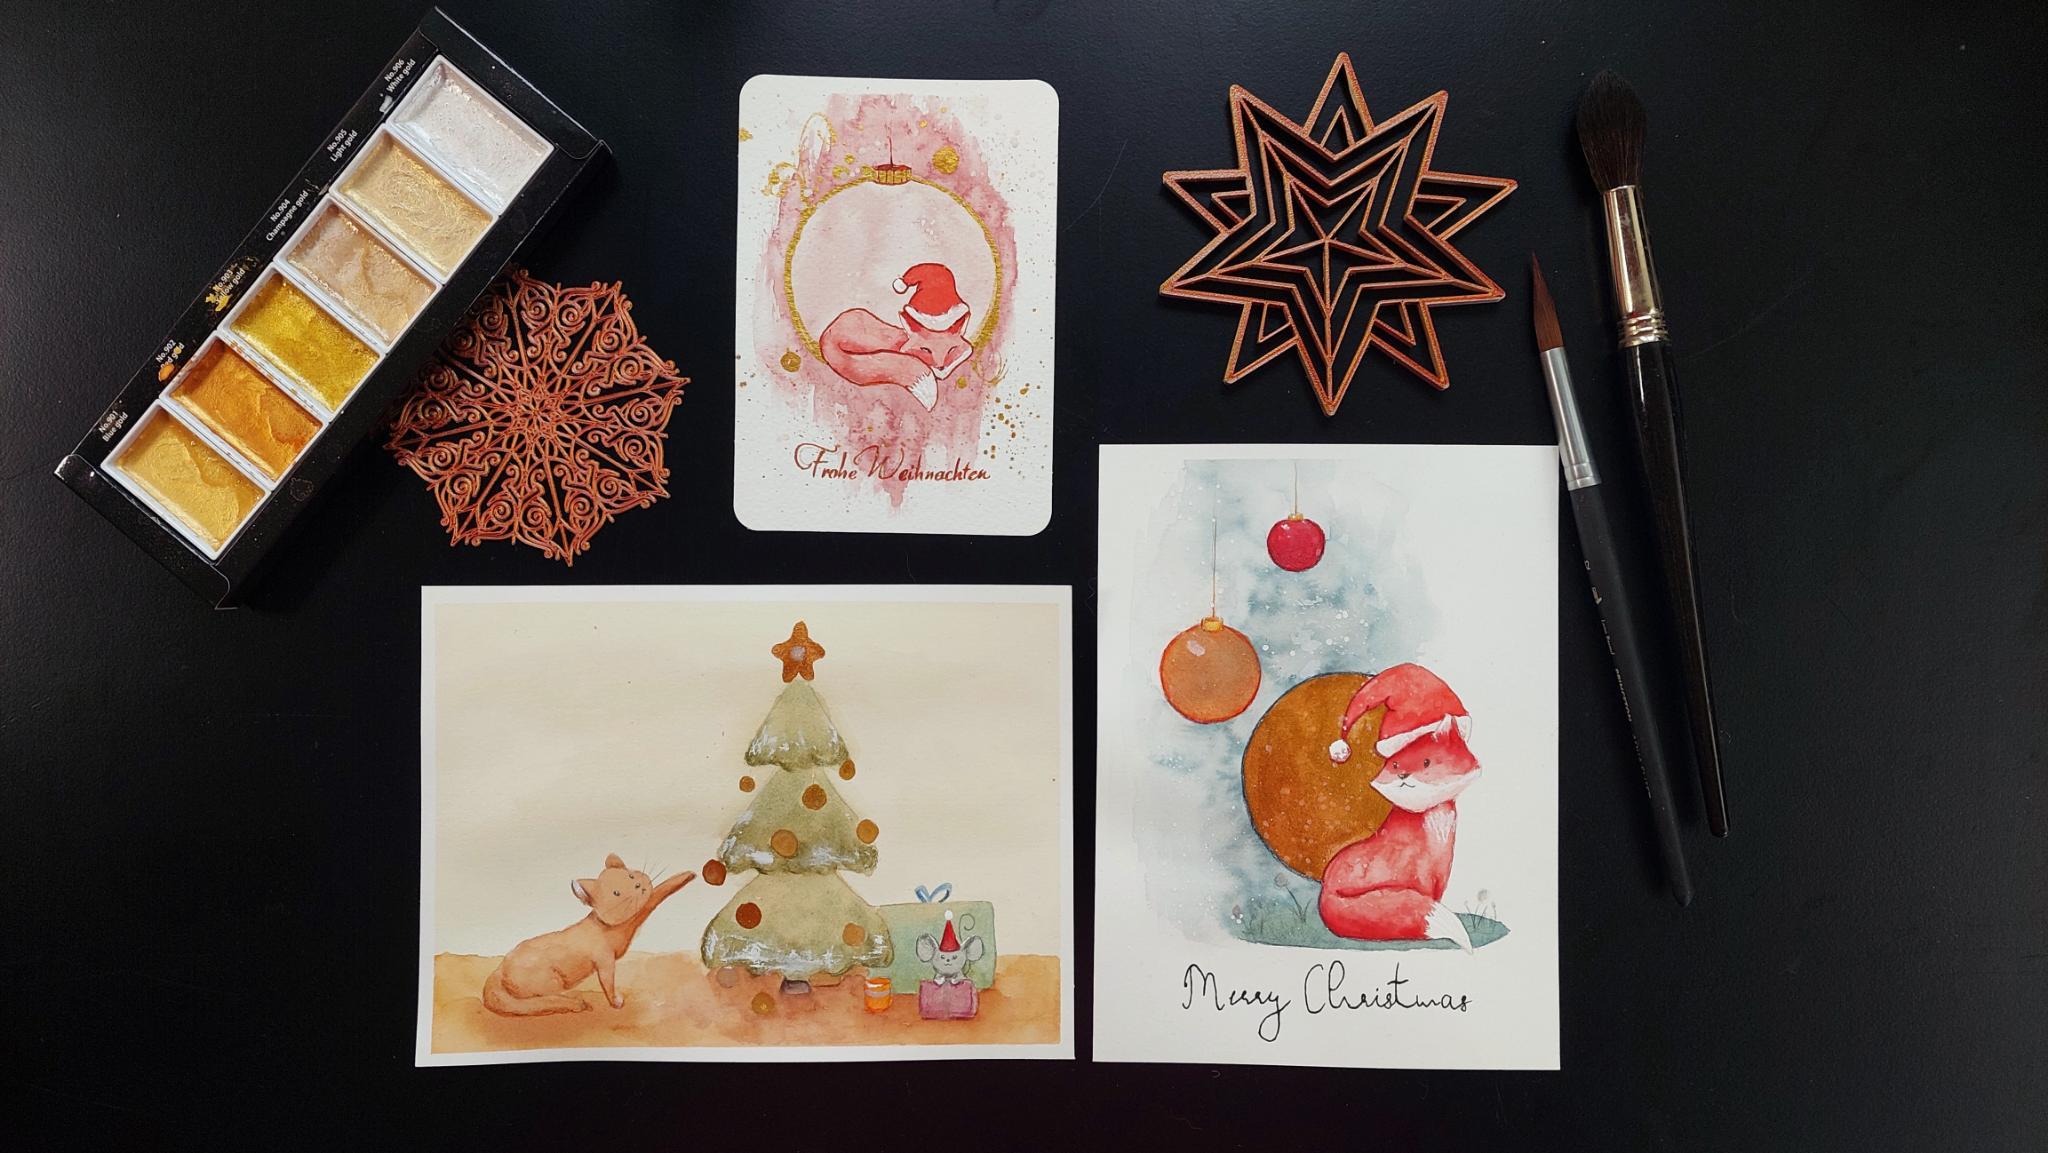
      First Christmas Card: Sleeping Fox

      8:44

    • 4.

      Second Chrismas Card: Fox and Christmas Baubles

      10:11

    • 5.

      Third Christmas Card: Cat and Mouse

      10:05

    • 6.

      Outro

      0:38

  • --
  • Beginner level
  • Intermediate level
  • Advanced level
  • All levels

Community Generated

The level is determined by a majority opinion of students who have reviewed this class. The teacher's recommendation is shown until at least 5 student responses are collected.

21

Students

--

Projects

About This Class

Create Cute Handmade Christmas Cards with Watercolors and a Festive Touch of Gold

Looking for a fun and creative way to spread holiday cheer? Join me in this inspiring class where we’ll design beautiful, personalized Christmas cards using watercolors and gold accents! Whether you’re a beginner or a seasoned artist, this class is perfect for anyone wanting to make heartfelt, handmade cards without the stress.

Here’s what we’ll cover:

  • How to use simple materials to create cute designs.
  • Tips for adding festive details with watercolor and gold highlights.
  • Access to templates you can use for quick, stress-free designs.
  • Ideas for customizing your cards with optional tools like fineliner, ink, and colored pencils.

This class is not only a source of inspiration for your own unique designs, but it’s also ideal if you’re short on time and need last-minute cards that still feel thoughtful and special.

By the end, you’ll have a set of lovely Christmas cards that are as fun to make as they are to share. So, grab your supplies, and let’s get creative together – I can’t wait to see what you’ll create!
Meet Your Teacher

Teacher Profile Image

Shari Wagner

Artist and lifelong learner

Teacher

Hello fellow Artists!

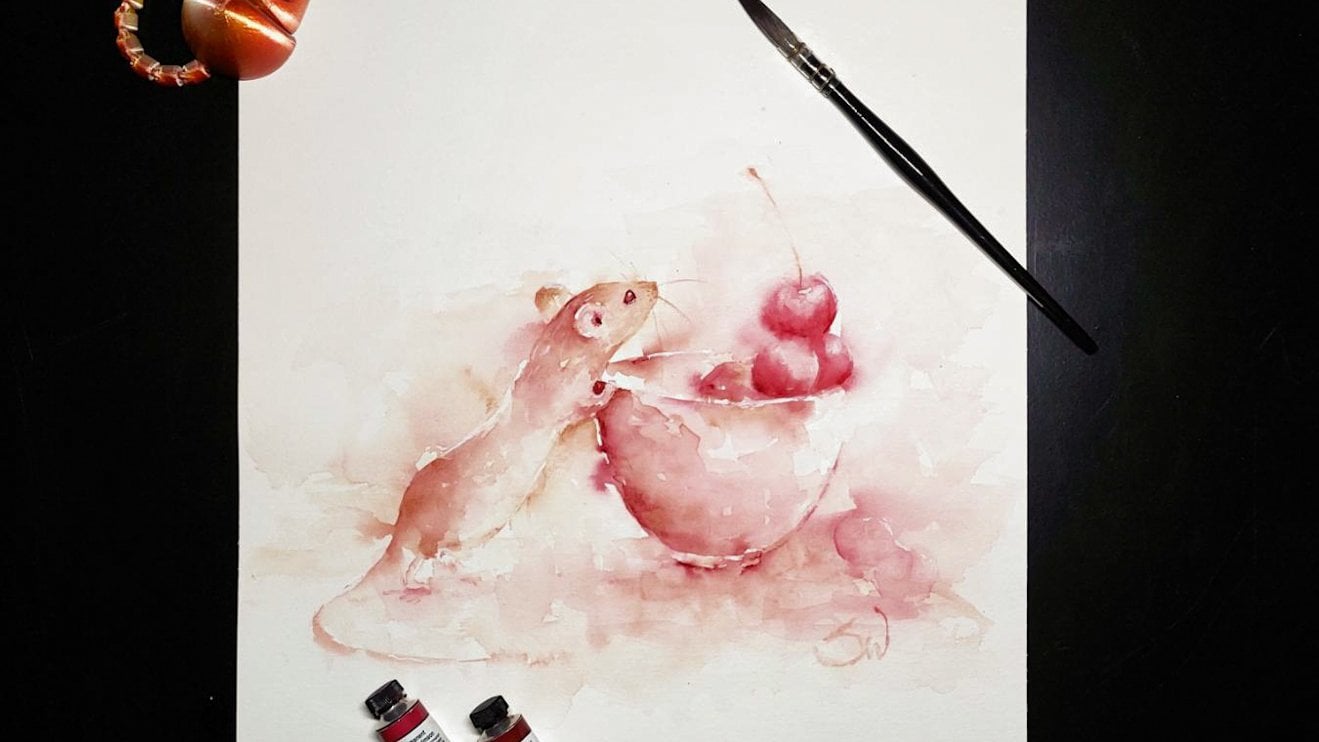
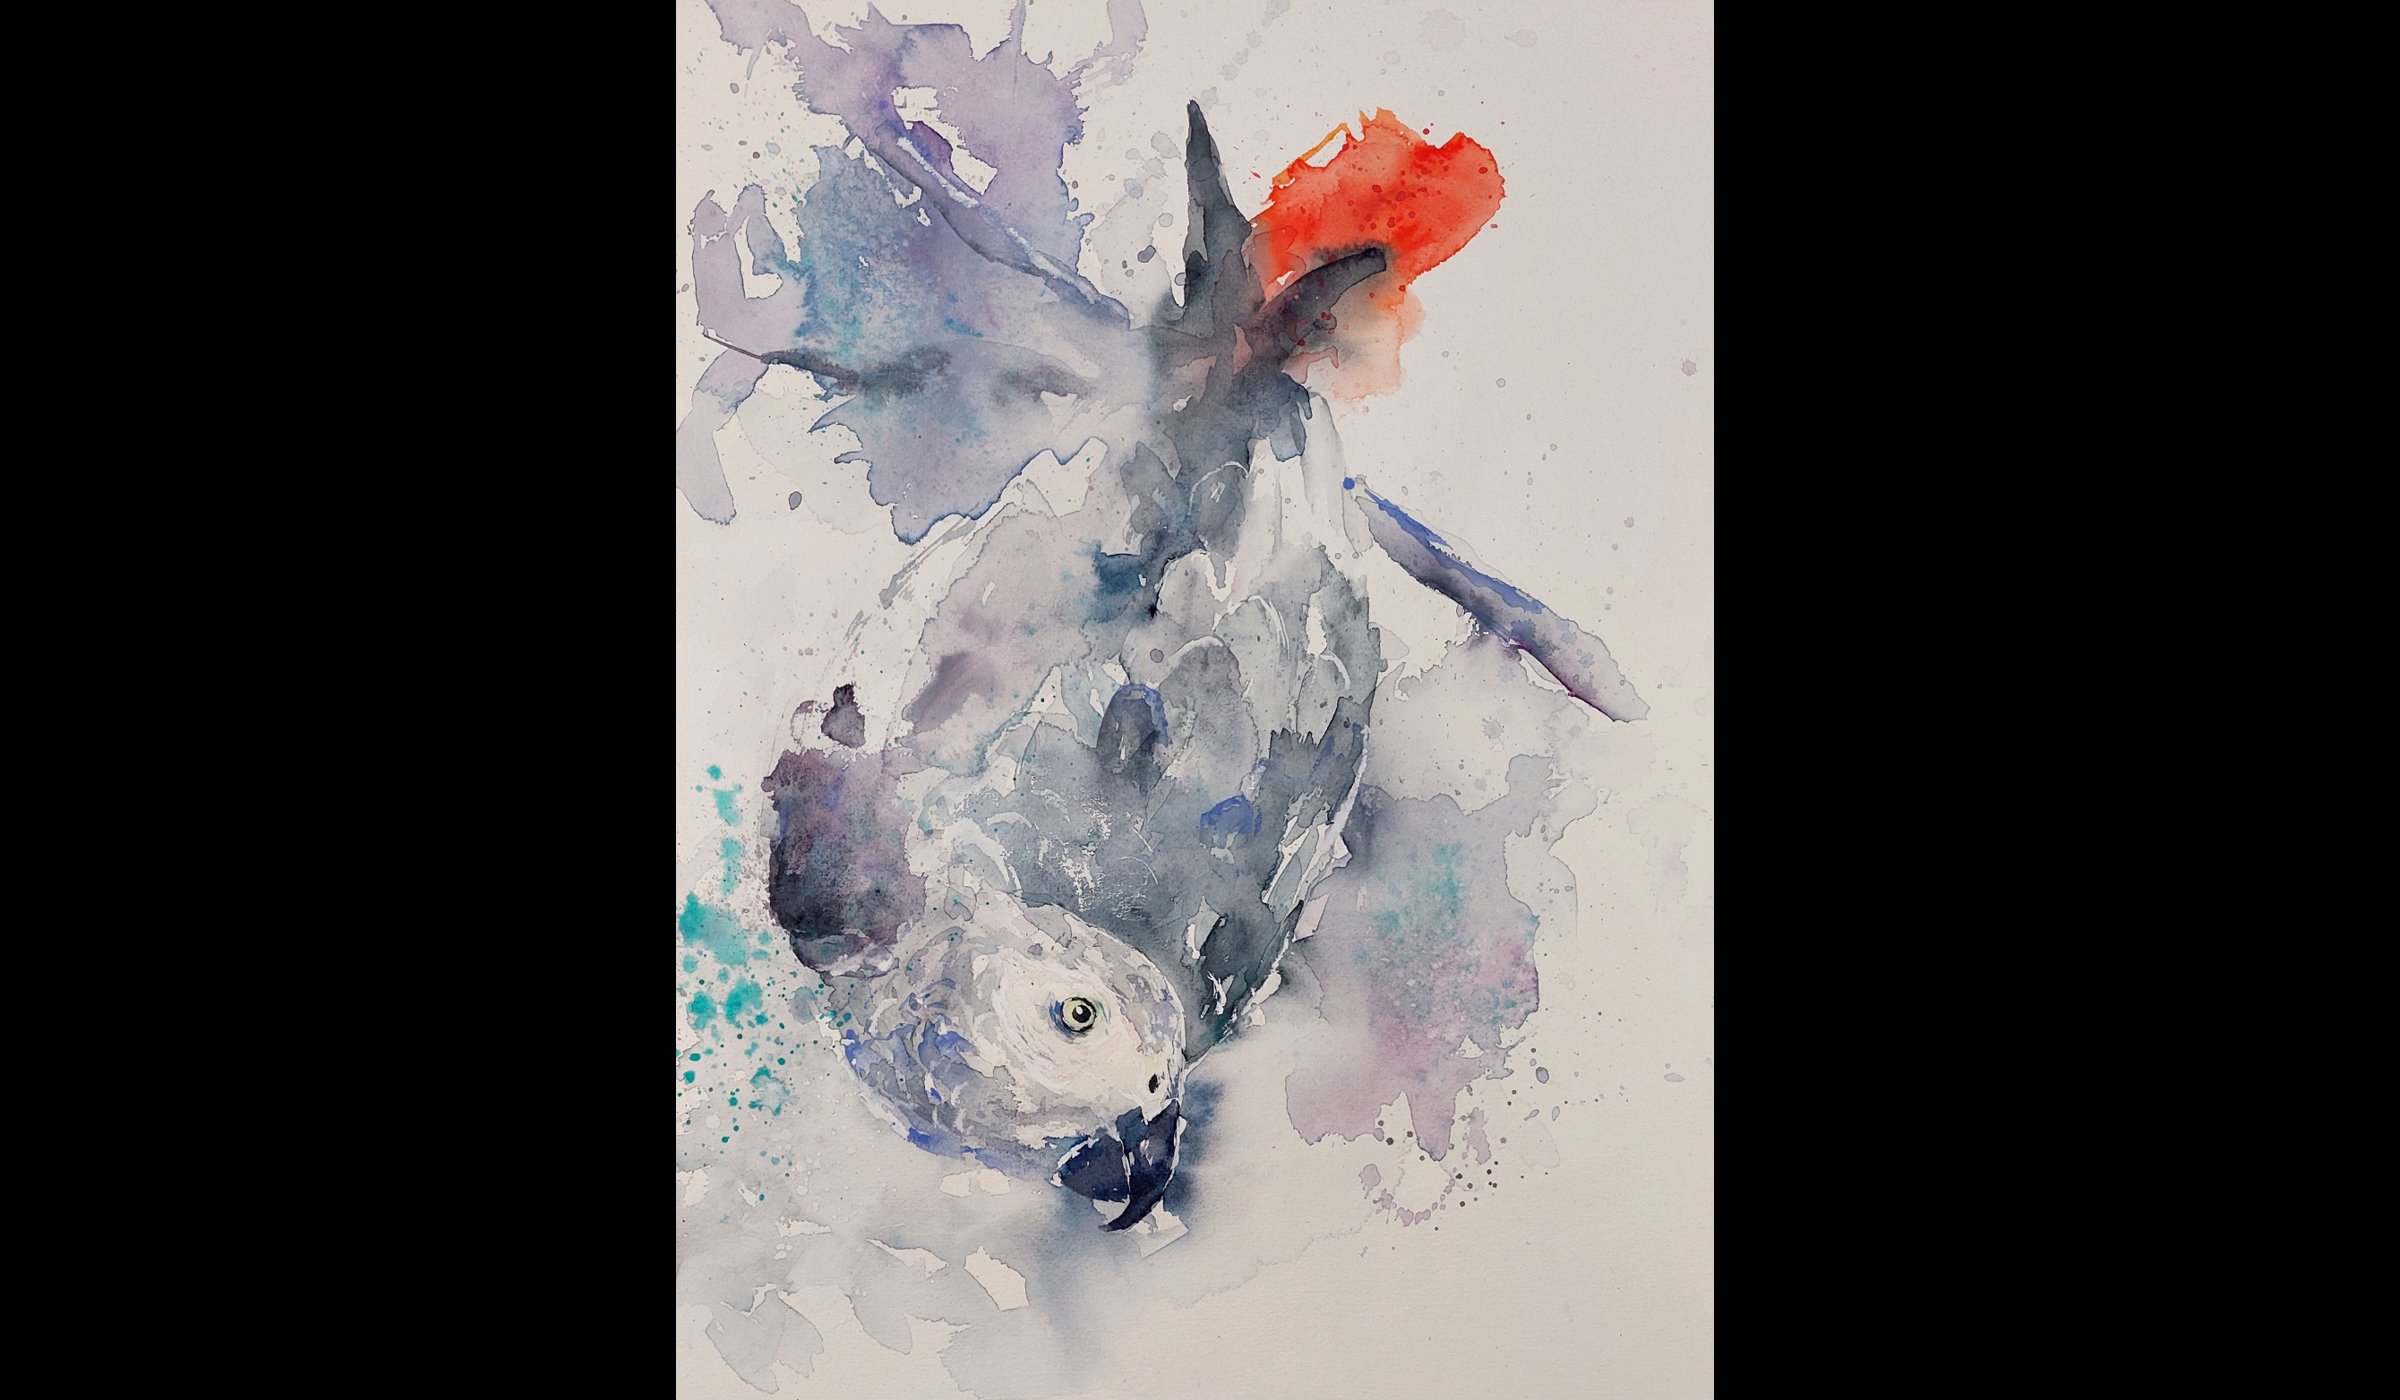
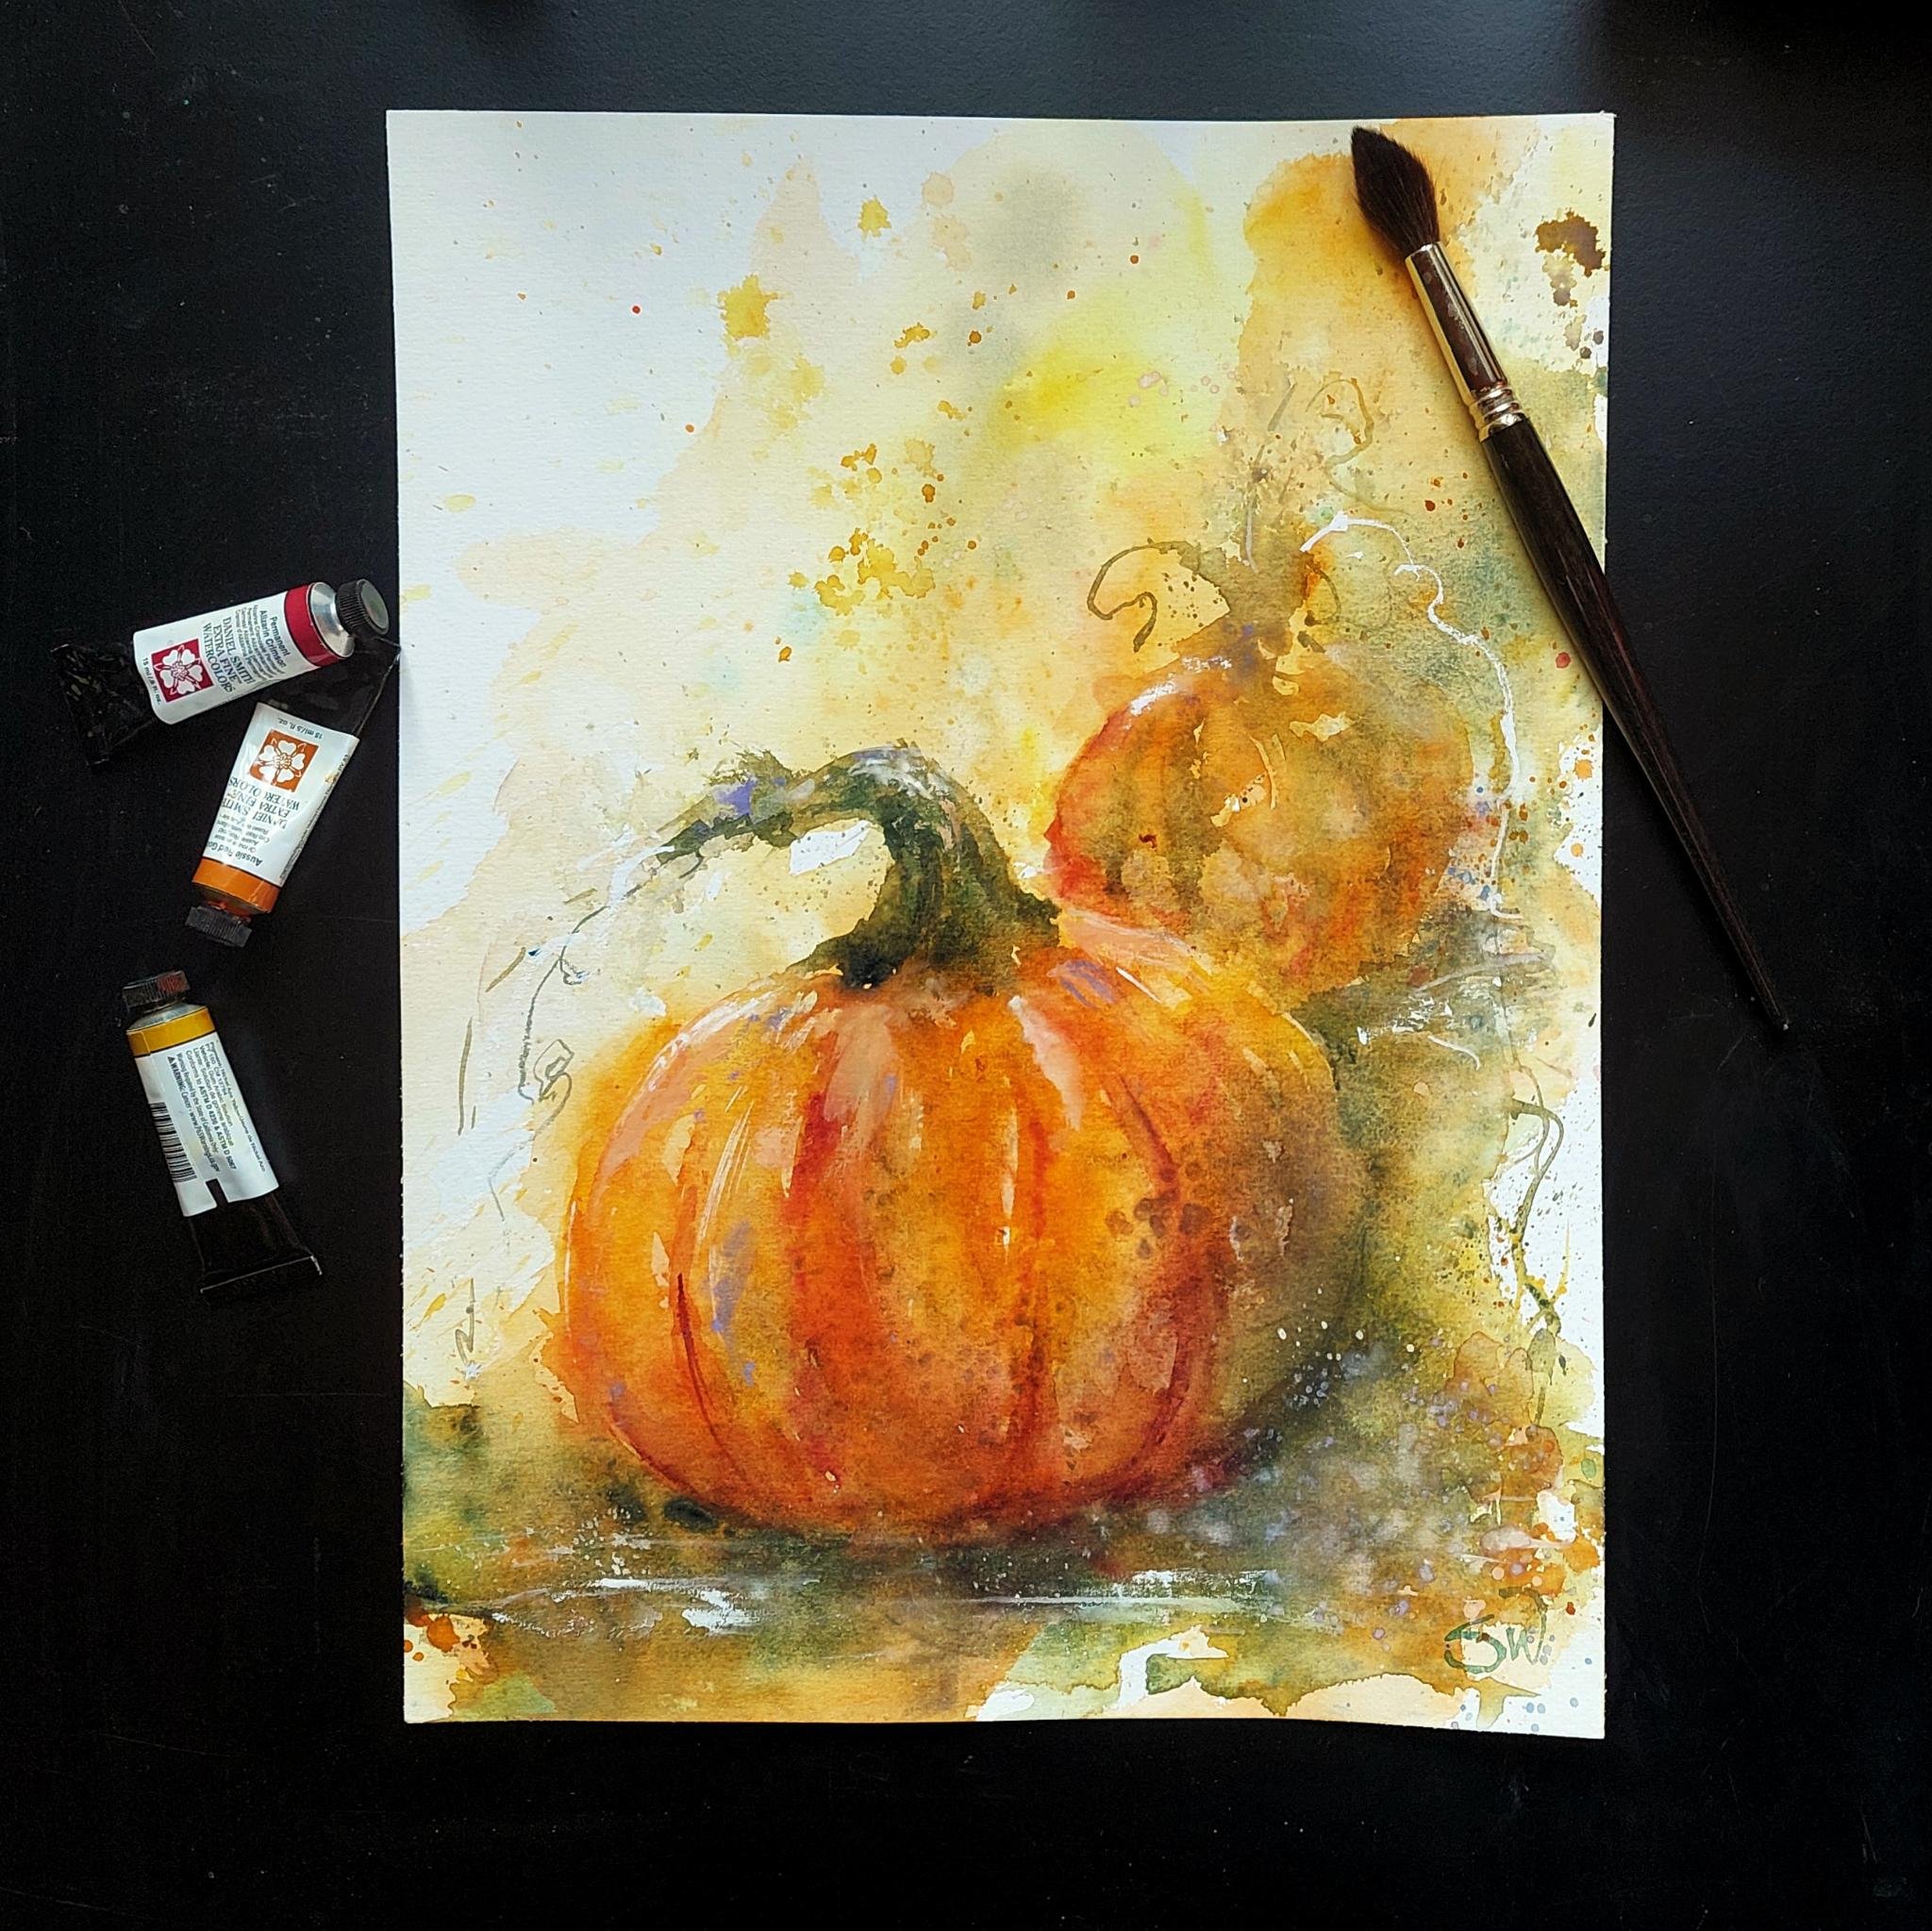
I'm an artist passionate about learning, experimenting, and exploring new techniques. Rather than sticking to one distinct style, I enjoy the freedom of trying different approaches, often with a more relaxed, loose style. While my current focus is on teaching watercolor classes, I look forward to diving into other mediums in the future, such as oils, acrylics, and maybe even charcoal.

Through my classes here on Skillshare, I aim to share my techniques and insights to help you explore your own creativity and develop your skills. I believe that the journey of creating art is just as important as the final result, and I'm excited to guide you along the way.

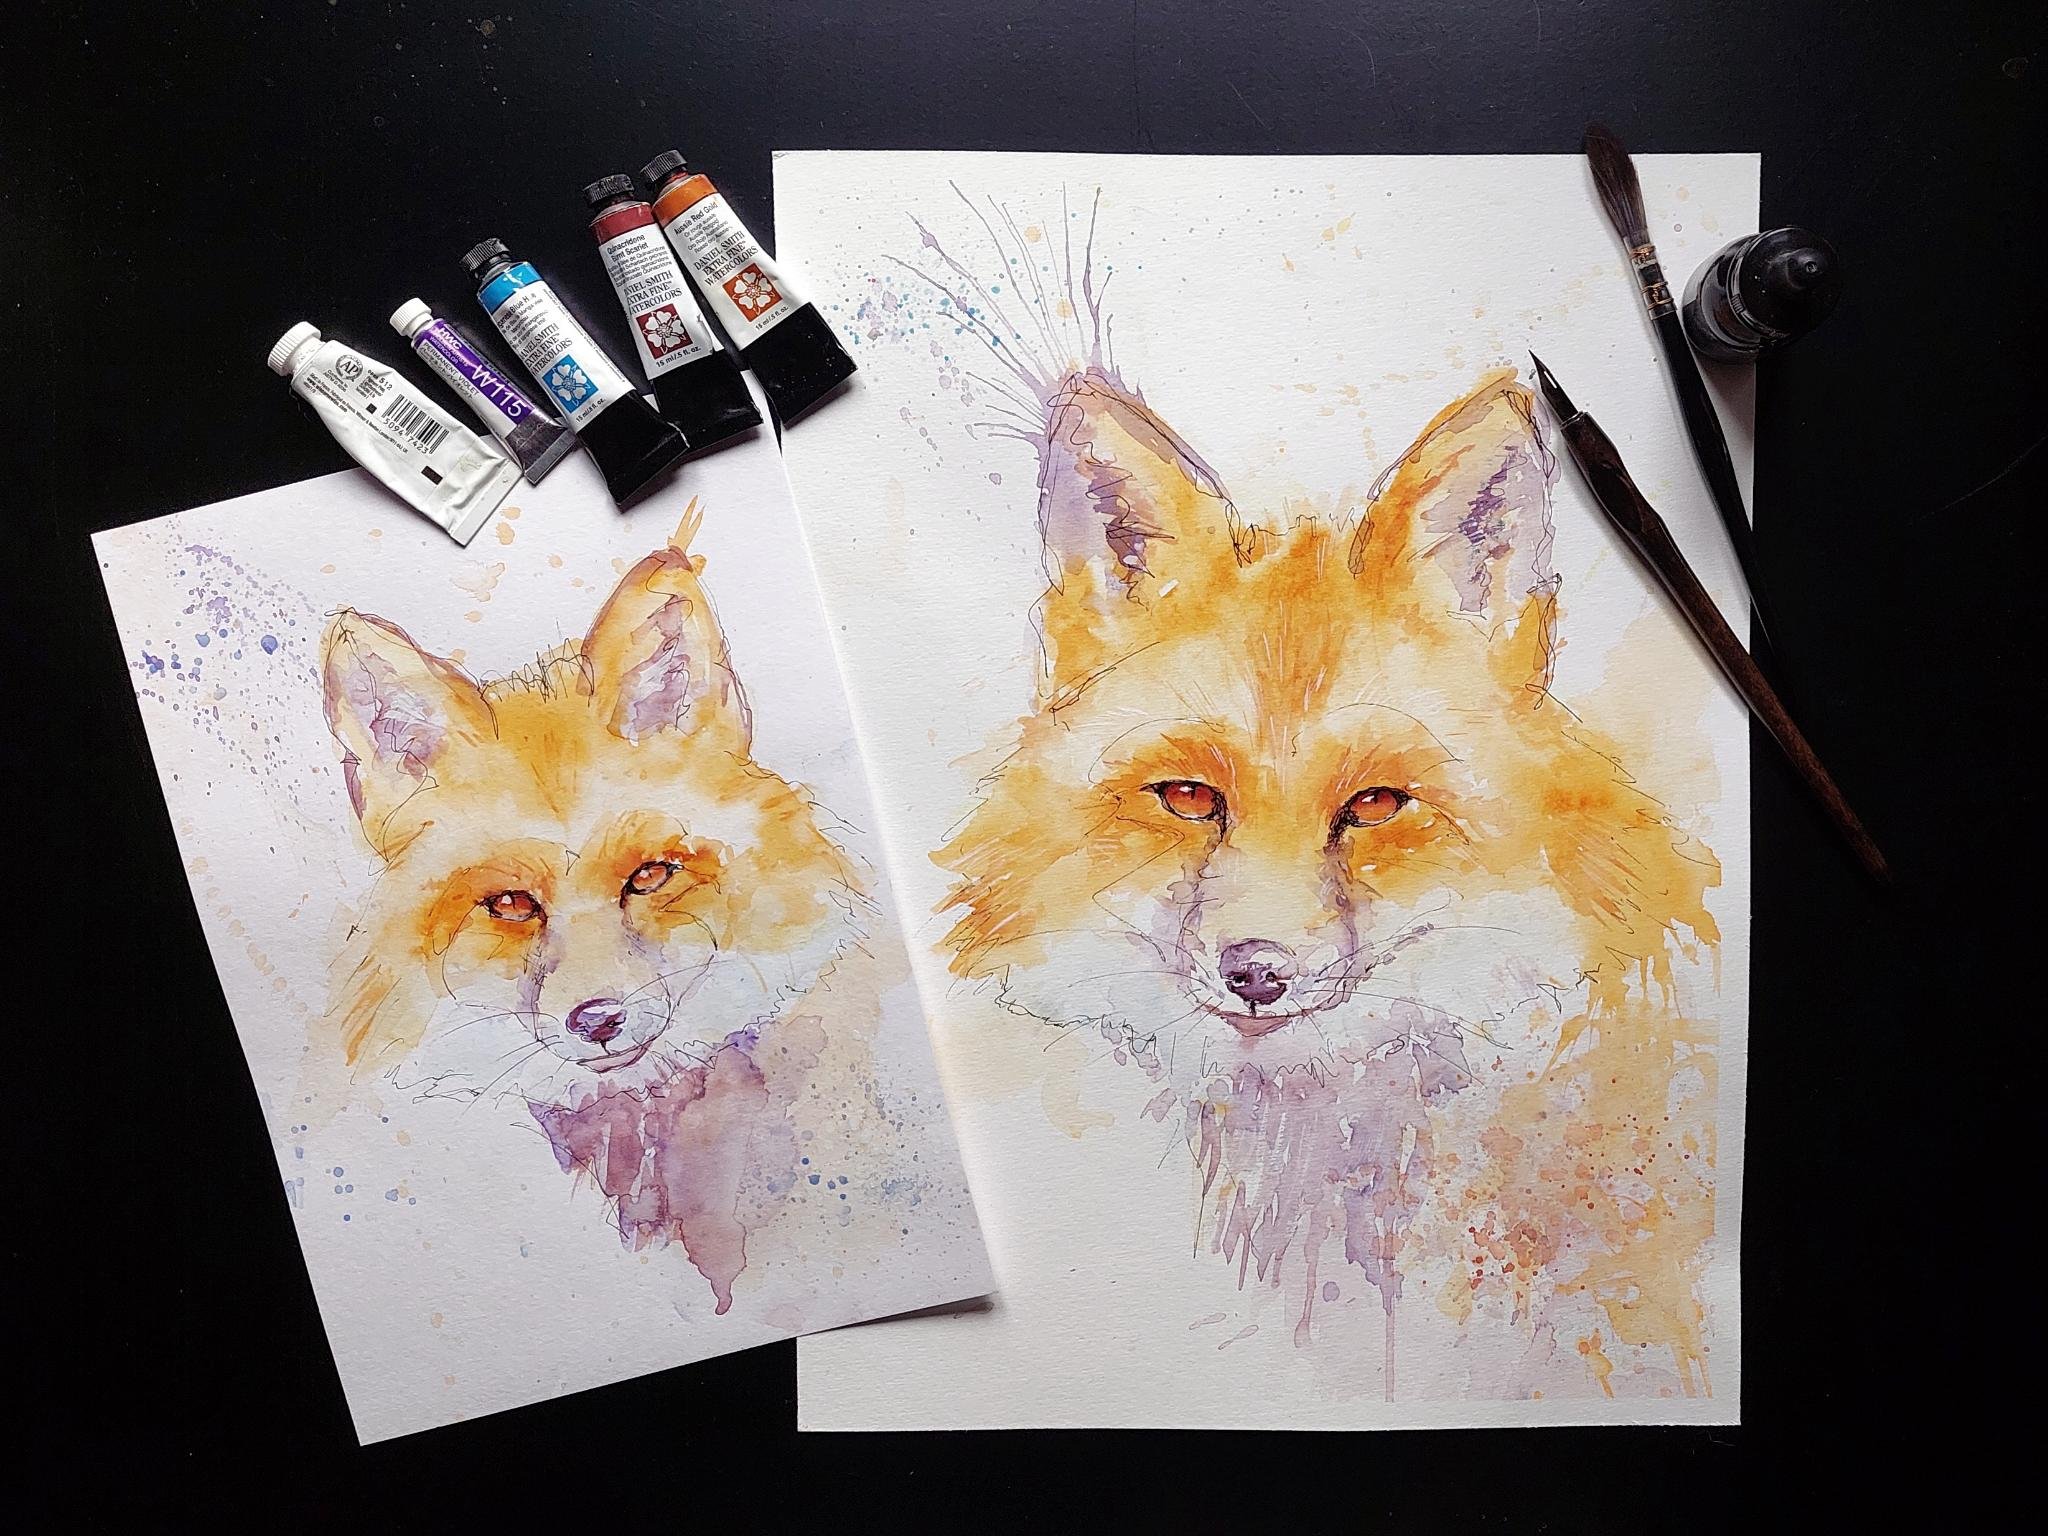
Here are just some of my various Paintings in watercolor, oil and acrylics.

See full profile

Level: Beginner

Class Ratings

Expectations Met?
    Exceeded!
  • 0%
  • Yes
  • 0%
  • Somewhat
  • 0%
  • Not really
  • 0%

Why Join Skillshare?

Take award-winning Skillshare Original Classes

Each class has short lessons, hands-on projects

Your membership supports Skillshare teachers

Learn From Anywhere

Take classes on the go with the Skillshare app. Stream or download to watch on the plane, the subway, or wherever you learn best.

Transcripts

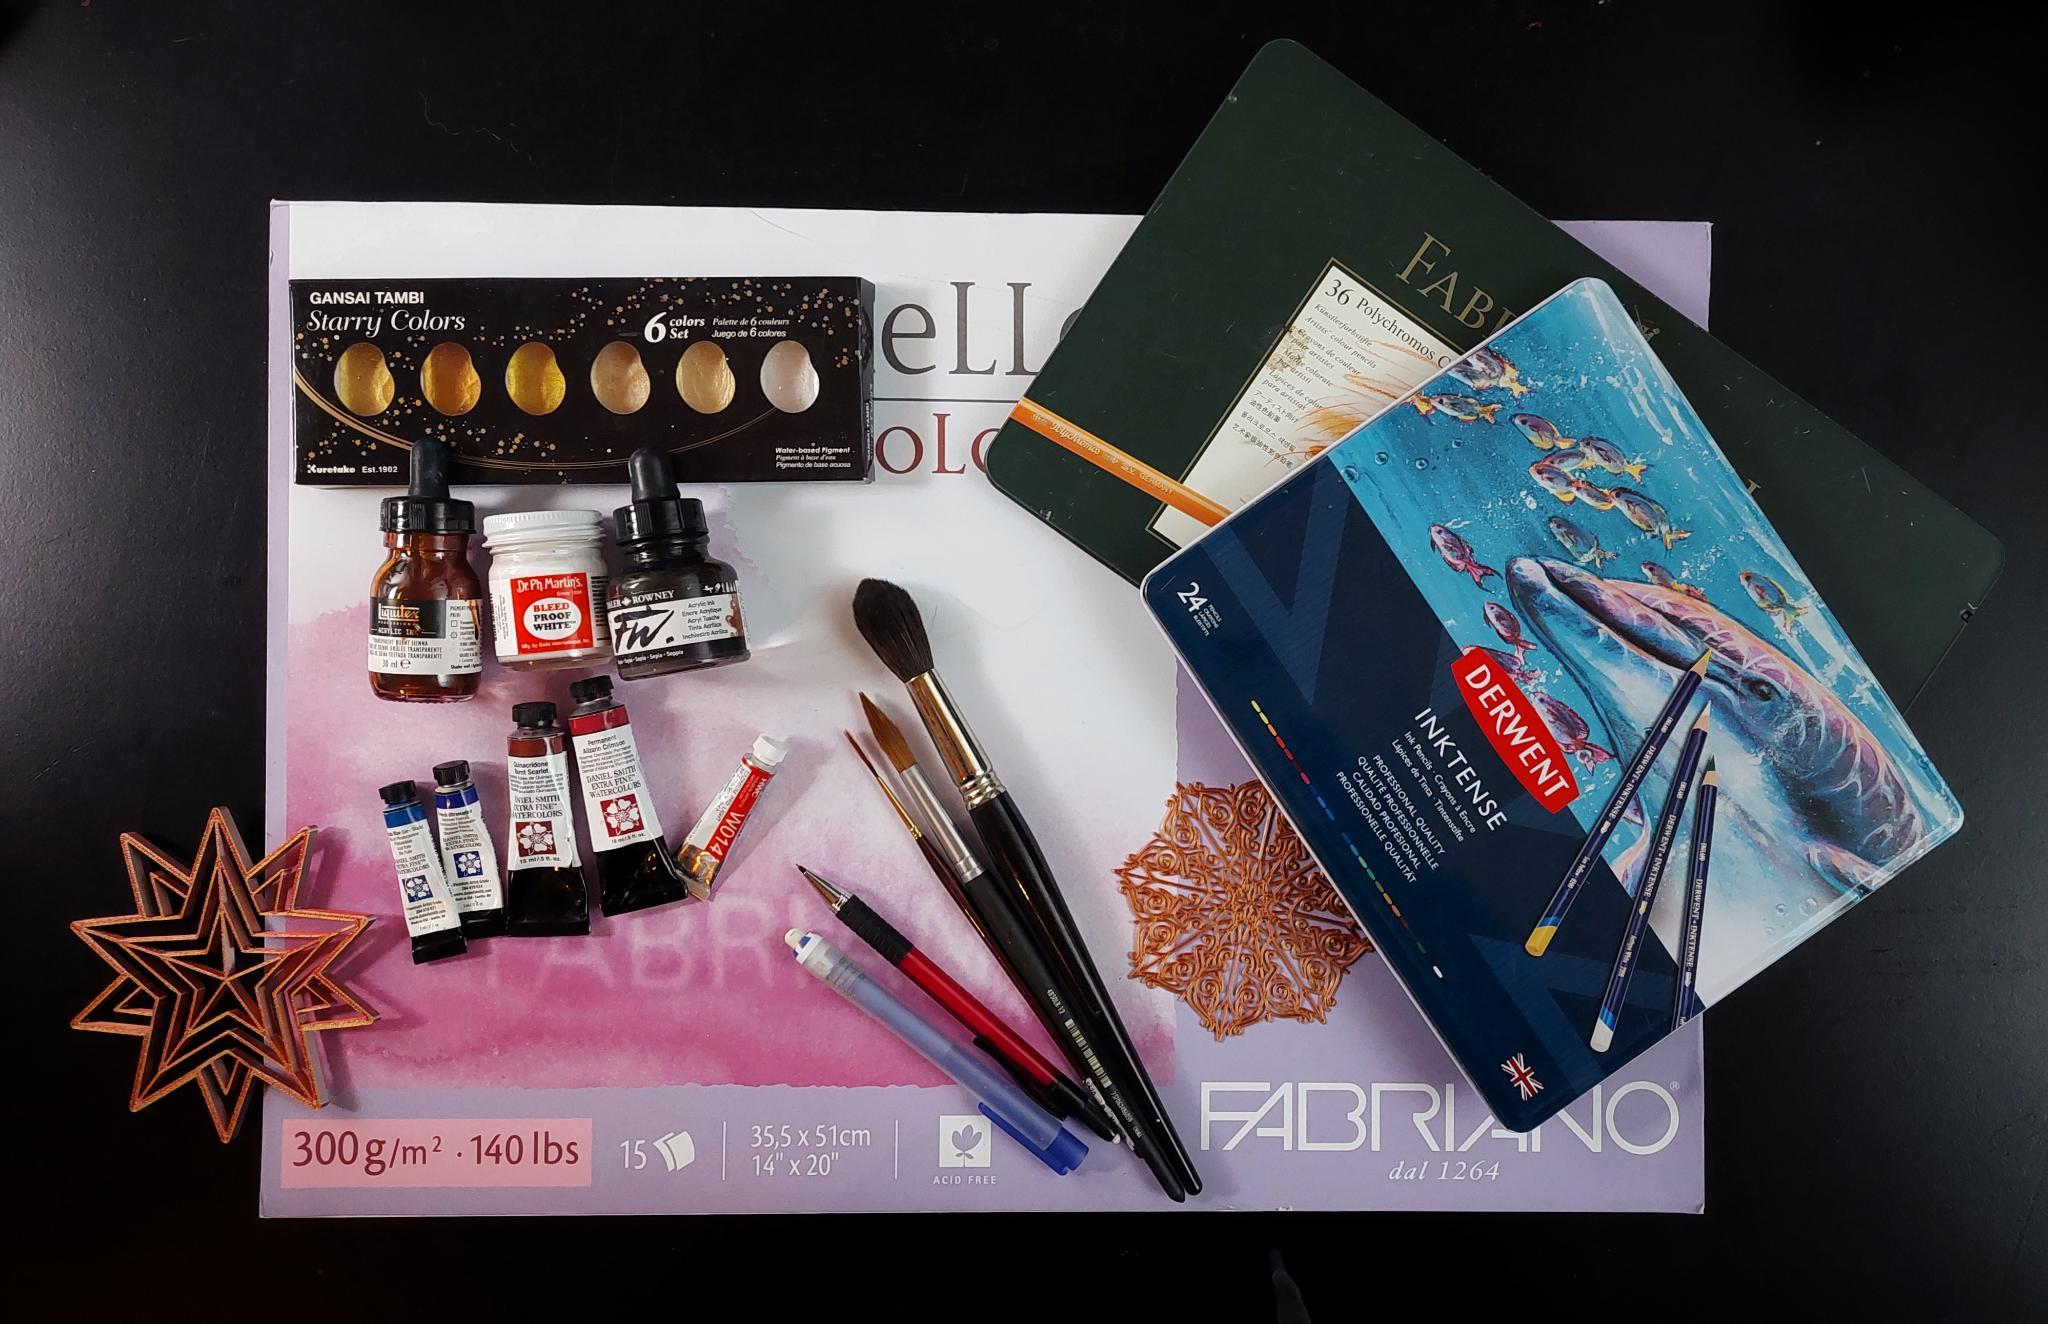
1. Intro: Hi, I'm Shari. Welcome to my Skecher class. I'm so excited to have you join me for this class. Today we'll be creating beautiful handmade Christmas cards, a heartfelt way to spread joy to your loved ones during the holiday season. This class is perfect for anyone looking for inspiration to create their own unique cards, but it's also ideal if you need to make last minute cards without spending too much time planning. I'll show you how to make festive cards step by step, using watercolors, a bit of creativity, and a touch of golden shimmer. Work with watercolor paper, pencils and watercolor paints, but don't worry if you don't have everything. You can use ink with calligraph pin, fine liners or colored pencils. Whatever you have on hand will work just fine. The real magic happens with gold watercolor paint, which we'll use to add that festive sparkle to our cards. I also provide you with templates that you can use to jump start your designs and keep things simple whether you're a beginner or more experienced. This class is all about making the process fun and easy while inspiring you to create heartfelt handmade cards that will make your loved ones smile. Let's get started. I'm so excited to see what you'll create. 2. Materials and Preparation: What materials do I use? For this project, I mostly use this 3.5 years hot pressed cotton paper. I used hot press because I wanted some watermarks in my little paintings, and I like the smooth surface of this paper for the cards. But for this project, the paper is not that important. Use what you have, but I would recommend a thicker paper that can handle enough water. Of course, there are already pre cut cards available. They should do fine, too, and you don't have to cut them yourself. And, of course, we need some watercolor paints. Pick whichever art we are liking. Just the primary colors should do well enough. I will use Daniel Smith's colors and I think a whole wine colour. And of course, the golden watercolor paints. I have a set with different shades. If you don't have those metallic watercolor paints, you can use a metallic pen or gold foil you can stick on or even gold leaf. A acrylic ink would be nice, too. You could use it with a calligraphy pen for very fine details. I also have a water mixable gold powder, but working with that gets very messy. So I wouldn't recommend using that for our project. Next up are the inks. I will use some earth tones like burn Sienna. As for other tools, you'll need a pencil and an eraser. A variety of brushes like a mop brush and a brush with a pointy tip and a rigger. Don't forget our trusty toothbrush. And I will also use this calligraphy pen. I think those are the more essential things. Of course, you can leave things like the metallic paint out if you want. Before I forget, white gouache would also be good to have at hand. And if you like, you will also need my sketches, which you can download here. Feel free to use them however you like. I have some examples here how you could use the sketches to make a card. You will have to transfer the sketches to your watercolor paper. For that, you can use graphite transfer paper. Or you can just saw the paper with a sketch against the window or a glass table with a lamp beneath it should work fine. Or use a light table. Of course, if you have. To make my life a little easier, I also use other tools like the circle template for drawing circles. Of course, other things you find around the house like carpet roll, glasses, lids, and so on should work too. For one card, I used such a stamp thingy, which I stuck to an old CD case. But as always, use whatever you have and like for your cards. Lastly, I used ink pencils, which are like watercolor pencils, but they are kind of waterproof after you activated and write them. And, of course, some colored pencils. So these are the main things I personally used for this project, but please use the things you have. Be creative and do not restrict yourself to the things I use. I recommend to try all your materials you will use beforehand, particularly if you don't use some of them often. You should know how they react with each other and you can also choose your colors when playing around. This step is not for making beautiful paintings, but for doodling and trying out stuff before moving on to the real thing. Before we can get started, we need to cut our paper to the right size if we don't use the pre cut watercolor cards. I want to make mine about the size of an A five sheet. Plan ahead if you want to have a folding card. After you cut the paper, we finally can start. Have fun. 3. First Christmas Card: Sleeping Fox: After we transferred the sketch, we are ready to throw some colors on. As I said, this class is mainly for inspiration, but you can also just follow me. I sped things up as I won't go into every little detail what I am doing. It should be quite clear when you watch it. I used a burnt sienna ink for the outline. I'm not too precious with the lines of the circle, for I plan to use metallic paint on top. Oh et it dry and remove the pencil sketch if necessary. I will use a mix of reds. I have a iteran burnt scarlet and cadmium light on my palette. You will see me tone down the colours in all my paintings with blue and green. Now decide where to put more colour and which colors. I decided to stay tone and tone for this card. M To bring a bit more interest to the little fox, I paint some places a bit darker, mostly there where I guess the shadows would be. And of course, some white guage for acons. I choose which tone of metallic I want to have. Wow. I make some decoration with a metallic paint, Let your creativity run free. Work with dots, stripes, ornaments, whatever you like. You watched any of my other tutorials, you know that I love to splatter paint around. It's just so fun. I decided to use a stem for the Christmas greeting. Unfortunately, I just have one color, and that is dove gray. You barely see it. So I just took my calligraph pen and trace it. And there you have a cute little Christmas postcard. 4. Second Chrismas Card: Fox and Christmas Baubles: I really like foxes, so my next card will also have one. This time, I will not ink the outlines and will go straight in with some blue colour. On my palette is pal blue and ultramarine, but as always, choose the shade you like. I begin with a lighter layer, and when I am sure where I want the color to be, I go in with more pigment. For some texture, I just drop a bit of water onto the wet paint. I mix a bit more green into the blue for the ground beneath the fox. The fox gets its first layer of red. A big circle I want to have in full metallic paint. Like the other fox, I will make some areas darker this time with ink pencils and colored pencils. The eyes, nose and mouth is drawn in with a dark shade of colored pencil. Test the colors of the pencil on a separate sheet of paper and see if the colors match. I'm not quite satisfied with the circle. The edge does not look that nice, so I will try to remedy that with a dark shade of colored pencil again. And you can't miss the white guash for the details and accents. I thought the ground beneath the fox could get some more details. I used the same dark shade of colored pencil as before. I trace the writing with my calligraphy pen and acrylic ink. Lastly, of course, I splattering with white quash. I really like that one. And 5. Third Christmas Card: Cat and Mouse: For my third card, I wanted a little scene. I painted everything with a watered down yellowish layer so that everything has that warm undertone. M After I dried a bit, I painted the other things in like the tree, the cat, and so on. M. Like, with the fox, I render the cat a bit more with ink pencils and colored pencils. I make a small gradient in the tree with the idea to put a bit of white gouache in the darker areas. I do that with ink pencils. I work out the smaller details with colored pencil or even graphite pencil. The Christmas bauble scared a nice metallic paint. Lastly, I use the white gouache for highlights and accents. I hope you had fun with this one. O 6. Outro: Thank you so much for joining me in this class. I hope you feel inspired and ready to create your own beautiful handmade Christmas cards. Whether you're making these for friends, family or just for fun, remember, the most important part is enjoying the creative process. If you enjoyed this class, I love to see your creations. Please share your finished cards in the project section. It would absolutely make my day. And if you have any questions, feel free to reach out. Happy holidays and keep creating.